2006 BMW X5 4.8IS clutch
[x] Cancel search: clutchPage 62 of 202

62n
Ignition lock Starting engine Ignition key positions 0 Steering lock engaged
1Steering lock disengaged
2 Ignition on
3Starting engineSteering lock engaged The key can only be inserted or
removed in this position.
After removing the key, turn the steer-
ing wheel slightly to the left or right until
you hear the lock engage.
If the key is not removed, an acoustic
signal sounds after the driver's door is
opened.390de010
Automatic transmission:
Only move the selector lever from
position P with the engine running.
To turn the key back to position 0 or to
remove it, first place the selector lever
in position P: interlock.<
Steering lock disengaged Slightly moving the steering often
makes it easier to turn the key from 0
to 1.
Individual electrical devices are ready
for operation. Starting engine
Manual transmission:
Depress the clutch when starting
the engine. If you do not, a lock pre-
vents the engine from starting.<
Before starting >Engage the handbrake
>Be sure that the gearshift lever is in
Neutral or the selector lever in Park if
the vehicle is equipped with an auto-
matic transmission
>Depress the clutch.
If the clutch is not depressed, the
engine cannot be started
>Press the footbrake with an auto-
matic transmission.
Do not run the engine in closed
rooms, otherwise the inhalation of
toxic exhaust gases can cause uncon-
sciousness and death. The exhaust
gases contain carbon monoxide, an
odorless and colorless, but highly toxic
gas.
Never leave an unattended vehicle with
the engine running, as such a vehicle
represents a potential safety hazard.
To prevent the vehicle from rolling,
always select neutral or the position P
and engage the handbrake before leav-
ing the vehicle with the engine run-
ning.<
When starting the engine, do not press
the accelerator pedal.
Page 64 of 202

64n
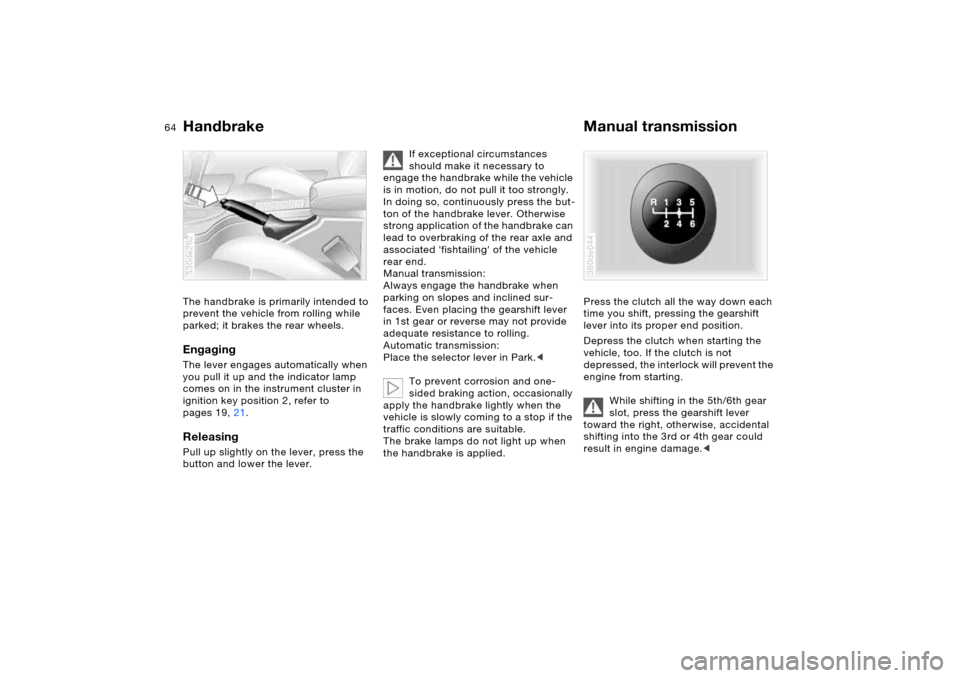
Handbrake Manual transmissionThe handbrake is primarily intended to
prevent the vehicle from rolling while
parked; it brakes the rear wheels.EngagingThe lever engages automatically when
you pull it up and the indicator lamp
comes on in the instrument cluster in
ignition key position 2, refer to
pages 19, 21.Releasing Pull up slightly on the lever, press the
button and lower the lever. 530de262
If exceptional circumstances
should make it necessary to
engage the handbrake while the vehicle
is in motion, do not pull it too strongly.
In doing so, continuously press the but-
ton of the handbrake lever. Otherwise
strong application of the handbrake can
lead to overbraking of the rear axle and
associated 'fishtailing' of the vehicle
rear end.
Manual transmission:
Always engage the handbrake when
parking on slopes and inclined sur-
faces. Even placing the gearshift lever
in 1st gear or reverse may not provide
adequate resistance to rolling.
Automatic transmission:
Place the selector lever in Park.<
To prevent corrosion and one-
sided braking action, occasionally
apply the handbrake lightly when the
vehicle is slowly coming to a stop if the
traffic conditions are suitable.
The brake lamps do not light up when
the handbrake is applied.
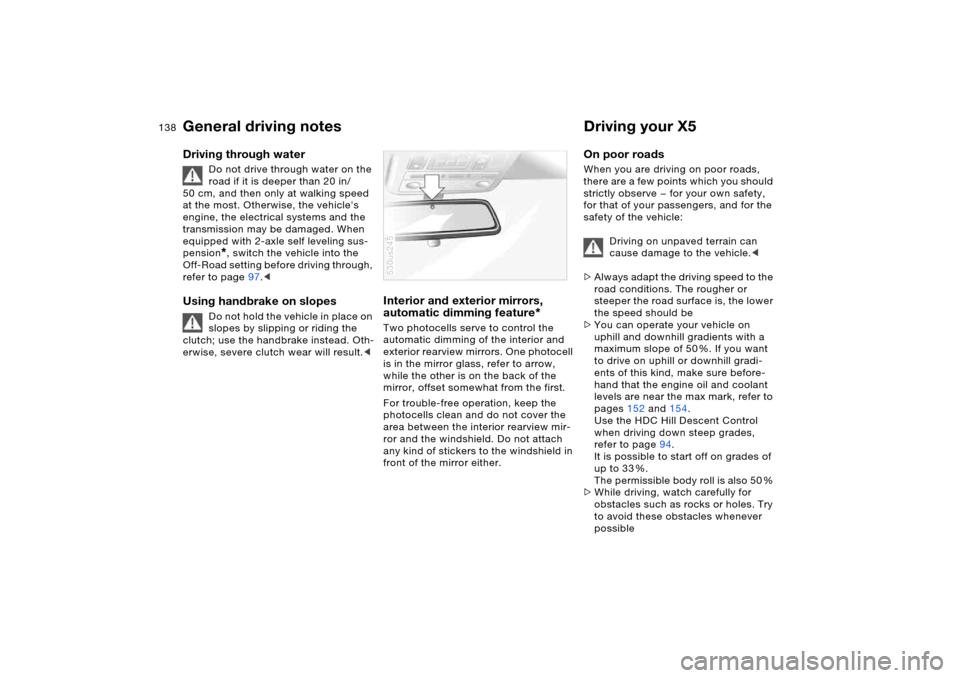
Press the clutch all the way down each
time you shift, pressing the gearshift
lever into its proper end position.
Depress the clutch when starting the
vehicle, too. If the clutch is not
depressed, the interlock will prevent the
engine from starting.
While shifting in the 5th/6th gear
slot, press the gearshift lever
toward the right, otherwise, accidental
shifting into the 3rd or 4th gear could
result in engine damage.< 380de044
Page 72 of 202

72n
Cruise control* Activating system As of ignition key position 2:
Press the button; the indicator lamp in
the instrument cluster comes on, refer
to page22. Cruise control is ready to
use.Deactivating systemPress the button repeatedly until the
indicator lamp in the instrument cluster
goes out.
The cruise control is also deactivated
when the ignition key is turned to posi-
tion 0.
The speed stored in the memory is
deleted.Maintaining and storing speed or
accelerating Briefly press button
+:
The system maintains and stores the
current vehicle speed. Every time you
briefly press the button, the speed
increases by approx. 0.6 mph/1 km/h.
Press and hold button
+:
The vehicle accelerates without pres-
sure on the accelerator pedal. When
you release the button, the system
maintains and stores the current speed.
On downhill grades, the controlled
speed can be exceeded if the engine's
braking action is insufficient. Speed can
drop on uphill grades if the engine out-
put is insufficient.
DecelerationBriefly press button
–:
When cruise control is active, every
brief touch of the button reduces the
speed by approx. 0.6 mph/1 km/h.
Press and hold button –:
With the cruise control active, the sys-
tem automatically reduces the throttle
opening to slow the vehicle. When you
release the button, the system main-
tains and stores the current speed.
Interrupting cruise control When the system is activated, press
button 1. The indicator lamp stays on.
You can use the cruise control again
whenever required by resuming the
speed that was stored last.
In addition, cruise control is interrupted
automatically:
>When you apply pressure to the
brake pedal
>When you apply pressure to the
clutch pedal or when you move the
automatic transmission selector lever
from Drive to Neutral
>If you exceed or fall below the con-
trolled speed for an extended period,
by depressing the accelerator, for
example
>When DSC Dynamic Stability Control
is active.Resuming stored setting Press the button:
The vehicle accelerates to and main-
tains the last speed stored.
Page 136 of 202

136n
Moving parts should be allowed to
break in. To ensure that your vehicle
provides maximum economy through-
out a long service life, we request that
you comply with the following instruc-
tions:
Engine and differential Obey your local and state maximum
speed limits.
Up to 1,200 miles/2,000 km:
Drive at varying engine speeds and
road speeds, but do not exceed
4,500 rpm and the following road
speeds during this initial period:
>6-cylinder engine
100 mph/160 km/h
>8-cylinder engine
106 mph/170 km/h
Avoid full-throttle operation and use of
the transmission's kick-down mode
during these initial miles.
From 1,200 miles/2,000 km:
The engine and vehicle speed can
gradually be increased.
Tires Due to technical factors associated with
their manufacture, tires do not achieve
their full traction potential until after an
initial break-in period. Therefore, drive
reservedly during the first 200 miles/
300 km.
Obey your local and state maximum
speed limits.
When the vehicle is operated on
wet or slushy roads, a wedge of
water may form between the tire and
the road surface. This phenomenon is
referred to as hydroplaning and can
lead to partial or complete loss of trac-
tion, vehicle control and braking effec-
tiveness. Reduce your speed on wet
roads.< Brake system Brakes require an initial break-in period
of approx. 300 miles/500 km to achieve
optimal contact and wear patterns
between brake pads and rotors.
To break in the separate handbrake
drums, apply the handbrake lightly
when coasting to a standstill at a traffic
signal, for instance, provided that traffic
conditions allow you to do so.
To avoid corrosion, repeat this proce-
dure from time to time.
The brake lamps do not light up
when the handbrake is applied.
Vacuum for the brake system servo unit
on your BMW is available only when the
engine is running. When you move the
vehicle with the engine switched off,
when towing, for instance, substantially
higher levels of pedal force will be
required to brake the vehicle.< ClutchThe function of the clutch is only at its
optimized level after a distance driven
of approx. 300 miles/500 km. During
this break-in period, engage the clutch
gently.Following component
replacementsObserve the break-in instructions again
if previously addressed components
must be replaced again during subse-
quent driving.
Breaking-in
Page 138 of 202

138n
General driving notes Driving your X5 Driving through water
Do not drive through water on the
road if it is deeper than 20 in/
50 cm, and then only at walking speed
at the most. Otherwise, the vehicle's
engine, the electrical systems and the
transmission may be damaged. When
equipped with 2-axle self leveling sus-
pension
*, switch the vehicle into the
Off-Road setting before driving through,
refer to page97.<
Using handbrake on slopes
Do not hold the vehicle in place on
slopes by slipping or riding the
clutch; use the handbrake instead. Oth-
erwise, severe clutch wear will result.<
Interior and exterior mirrors,
automatic dimming feature
*
Two photocells serve to control the
automatic dimming of the interior and
exterior rearview mirrors. One photocell
is in the mirror glass, refer to arrow,
while the other is on the back of the
mirror, offset somewhat from the first.
For trouble-free operation, keep the
photocells clean and do not cover the
area between the interior rearview mir-
ror and the windshield. Do not attach
any kind of stickers to the windshield in
front of the mirror either. 530us245
On poor roads When you are driving on poor roads,
there are a few points which you should
strictly observe — for your own safety,
for that of your passengers, and for the
safety of the vehicle:
Driving on unpaved terrain can
cause damage to the vehicle.<
>Always adapt the driving speed to the
road conditions. The rougher or
steeper the road surface is, the lower
the speed should be
>You can operate your vehicle on
uphill and downhill gradients with a
maximum slope of 50 %. If you want
to drive on uphill or downhill gradi-
ents of this kind, make sure before-
hand that the engine oil and coolant
levels are near the max mark, refer to
pages152 and154.
Use the HDC Hill Descent Control
when driving down steep grades,
refer to page94.
It is possible to start off on grades of
up to 33 %.
The permissible body roll is also 50 %
>While driving, watch carefully for
obstacles such as rocks or holes. Try
to avoid these obstacles whenever
possible
Page 140 of 202

140n
Safe braking Emergency stops You brake most effectively when you
apply maximum pedal pressure in situa-
tions requiring it: emergency stops.
Since the vehicle maintains steering
responsiveness, you can nevertheless
avoid possible obstacles with a mini-
mum of steering effort.
Pulsation at the brake pedal combined
with sounds from the hydraulic circuits
indicates to the driver that ABS is in its
active mode.Brake fluid level If the brake fluid level is too low and
brake pedal travel has become longer,
there may be a malfunction in one of
the two brake system's hydraulic cir-
cuits.
Proceed to the nearest BMW
Sports Activity Vehicle center.
In so doing, increased pressure on the
brake pedal may be required, and slight
pulling to the side and longer braking
distances may result. Please remember
to adapt your driving style accord-
ingly.<
Disk brakes When the vehicle is driven only occa-
sionally, during extended periods when
the vehicle is not used at all, and in
operating conditions where brake appli-
cations are less frequent, there is an
increased tendency for corrosion to
form on rotors, while contaminants
accumulate on the brake pads. This
occurs because the minimal pressure
that the pads must exert to clean the
rotors during brake applications is not
reached.
If the brake rotors are corroded, they
will tend to respond to braking with a
pulsating effect that even extended
application will fail to cure.
When driving in wet conditions and in
heavy rain, it is advisable to apply light
pressure to the brake pedal from time
to time. Monitor traffic conditions to
ensure that this maneuver does not
endanger other road users. The heat
generated in this process helps dry the
pads and rotors to ensure that the brak-
ing force is then immediately available
when required.
Extended or steep mountain descents
should be driven in the gear in which
only minimal periodic brake application
is required. This avoids excessive strain on the brakes and possible impairment
of braking action.
Do not drive with the clutch pedal
depressed, at idle or with the
engine switched off, as otherwise there
will be no engine braking effect or
power assistance for braking and steer-
ing.
BMW recommends having brake
inspections performed at a BMW
Sports Activity Vehicle center only. If
you do not, parts of the 4-wheel drive
system could be damaged.
No floor mats, carpets or other objects
may lie in the area of pedal travel, as
otherwise pedal operation may be
impaired.<
Brake pads
For your own safety: use only
brake pads that BMW has
approved for your particular vehicle
model. BMW cannot evaluate non-
approved brake pads to determine if
they are suited for use, and therefore
cannot ensure the operating safety of
the vehicle if they are installed.<
Page 177 of 202

177n
OverviewControlsMaintenanceRepairsDataIndex
Tow-starting and towing>The freedom of movement is
restricted during cornering
>The angled position of the tow bar
creates lateral forces.
Only attach the tow bar to the tow
fittings, as attachment to other
vehicle parts can lead to damage.<
With tow-rope:
When starting off in the towing vehicle,
make sure that the tow-rope is taut.
Use nylon ropes or nylon straps
for towing, and avoid all exces-
sively sudden jerking movements. Only
attach tow ropes to the tow fittings, as
attachment to other vehicle parts can
lead to damage.<
With tow truck:
Do not tow the X5 with the front or
rear axle raised individually, other-
wise the wheels may lock and the
transfer case may be damaged.<
The X5 may only be transported on a
flat bed.530de403
Tow-starting
Do not tow-start vehicles with an
automatic transmission.
For information on jump starting, refer
to page174.<
Only tow-start vehicles with a catalytic
converter with the engine cold. It is bet-
ter to jump start the engine, refer to
page174.
1. Switch on the hazard warning flash-
ers and observe local regulations.
2. Turn the ignition key to position 2.
3. Shift into 3rd gear.
4. Tow-start with the clutch completely
depressed and slowly release the
clutch. After the engine starts, imme-
diately depress the clutch again
completely.
5. Stop at a suitable location, remove
the tow bar or rope and switch off the
hazard warning flashers.
6. Have the vehicle checked.
Do not activate the HDC Hill
Descent Control during tow-
starting, refer to page94.<
Page 188 of 202

Everything from A to ZCargo area124
capacity182
cover, refer to Roll-up
cover125
emergency operation,
refer to Unlocking
manually35,36
enlarging124
floor cover127
lamps103
lid, refer to Liftgate/
tailgate35,36
opening, remote control31
opening/closing, refer to
Liftgate35
opening/closing, refer to
Tailgate36
opening from inside35
opening from outside35
Cargo-area partition net125
Cargo bay, refer to Cargo
area124
Cargo floor, pull-out128
Cargo loading130
Caring for leather, refer to
Caring for your vehicle
brochure
Caring for the carpet, refer to
Caring for your vehicle
brochure
Car keys, refer to Keys30Car phone, refer to separate
Owner's Manual
Car phone provision116
Car radio, refer to Owner's
Manual for Radio/Onboard
Computer
Car wash, refer to Caring for
your vehicle brochure
Cassette operation, refer to
Owner's Manual for Radio/
Onboard Computer
CD changer, refer to Owner's
Manual for Radio/Onboard
Computer
CD operation, refer to
Owner's Manual for Radio/
Onboard Computer
Center armrest, refer to
Storage
compartments119
Center brake lamp, replacing
bulbs164
Central locking system30
interior34
Changes, technical, refer to
For your own safety9
Changing a wheel165
Changing gears with
automatic transmission
with Steptronic66
Changing tires145Changing wheels
compact wheel167
spare wheel167
Charge-current indicator
lamp19
Charging battery171
CHECK button77
Check Control77
Child's seat, refer to Child-
restraint systems57
Child-restraint fixing system
LATCH59
Child-restraint systems57
Child-safety locks60
Chocks166
Chrome parts, care, refer to
Caring for your vehicle
brochure
Cigarette lighter121,122
Cigarette lighter socket, refer
to Socket121
Circulation of air, refer to
Recirculated-air
mode105,110
Cleaning, vehicle, refer to
Caring for your vehicle
brochure
Cleaning rear window71
Climate control in the rear
passenger area111Clock82
12 or 24-hour mode82
hour signal83
setting82
setting, also refer to
Owner's Manual for Radio/
Onboard Computer
setting time and date82
Closing
from inside34
from outside31
Clothes hooks120
Clutch136
breaking-in136
Cockpit14
Code
activating88
deactivating89
establishing88
Cold starting, refer to
Starting engine63
Combination of wheels/
tires148
Comfort seat46
Comfort starting, refer to
Starting engine63
Compact Disc operation,
refer to Owner's Manual
for Radio/Onboard
Computer
Compact wheel, changing
wheels167