2006 BMW MOTORRAD K 1200 GT jump start
[x] Cancel search: jump startPage 5 of 172
Spring preload.......... 69
Shock absorbers . . . . . . . . 70
Electronic Suspension
Adjustment ESA
OE
....... 71
Tyres . . ................. 73
5 Riding . . . . . . .......... 75
Safety instructions . . . . . . . 76
Checklist . . . . . . .......... 78
Starting ................. 78
Running in . . . . .......... 81
Parking your
motorcycle . . . . .......... 82
Refuelling . . . . . .......... 83
Tyre pressure control
RDC
OE
.................. 85
Brake system, general . . . 85
Brake system with BMW
Motorrad Integral ABS . . . 86
Electronic engine
management with BMW
Motorrad ASC
OE
......... 90
6 Accessories .......... 93
General instructions . . . . . 94
Power socket . .......... 94
Luggage . . . . . . .......... 95 Case . . .
................. 95
Topcase
OA
.............. 98
7 Maintenance . . . ..... 101
General instructions . . . . 102
Toolkit . ................ 102
Engine oil . . . . . ......... 103
Brake system,
general ................ 105
Brake pads . . . . ......... 105
Brake fluid . . . . ......... 107
Clutch . ................ 109
Tyres . . ................ 109
Rims . . . ................ 110
Wheels . ................ 110
Front-wheel stand . ..... 117
Bulbs . . ................ 119
Jump start . . . . ......... 127
Battery . ................ 128
8 Care . ................ 133
Care products . ......... 134
Washing motorcycle . . . . 134
Cleaning easily damaged
components . . . ......... 135
Paint care . . . . . ......... 136 Protective wax
coating
................ 136
Laying up the
motorcycle . . . . ......... 136
Restoring motorcycle to
use .................... 137
9 Technical data . . ..... 139
Troubleshooting
chart . . . ................ 140
Threaded fasteners ..... 141
Engine . ................ 142
Riding specifications . . . . 145
Clutch . ................ 145
Transmission . . ......... 145
Final drive . . . . . ......... 147
Running gear . . ......... 147
Brakes . ................ 148
Wheels and tyres . . ..... 148
Electrics . . . . . . ......... 149
Frame . . ................ 151
Dimensions . . . ......... 151
Weights ................ 152
Page 81 of 172
with OE ASC:Switch on the ignition.
Pre-ride check is
performed. ( 79)
ABS self-diagnosis is per-
formed. ( 80)
ASC self-diagnosis is per-
formed. ( 80)
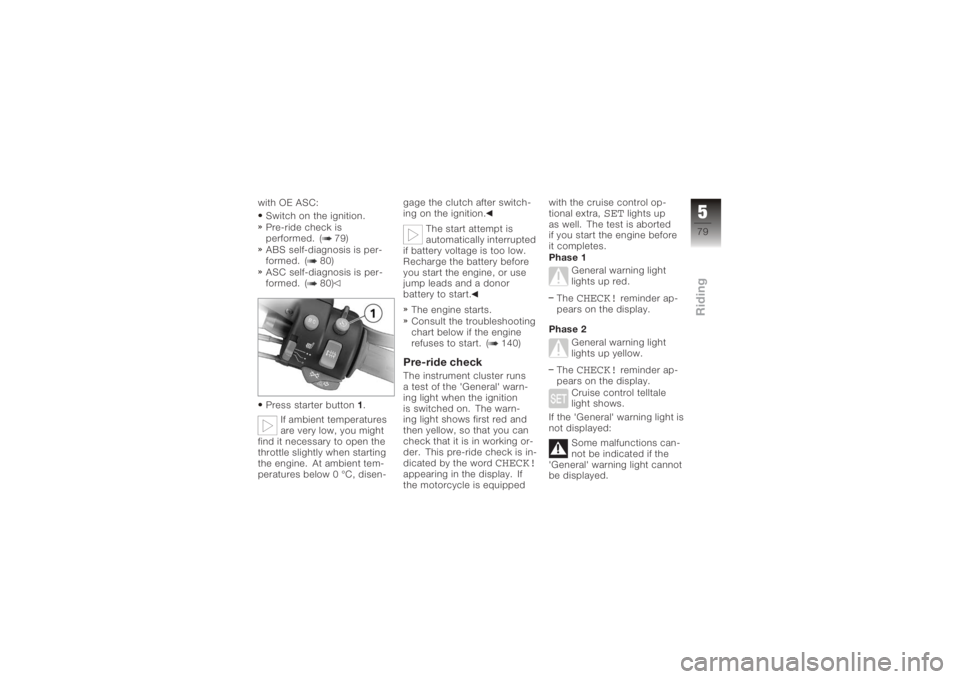
Press starter button 1.
If ambient temperatures
are very low, you might
find it necessary to open the
throttle slightly when starting
the engine. At ambient tem-
peratures below 0 °C, disen- gage the clutch after switch-
ing on the ignition.
The start attempt is
automatically interrupted
if battery voltage is too low.
Recharge the battery before
you start the engine, or use
jump leads and a donor
battery to start.
The engine starts.
Consult the troubleshooting
chart below if the engine
refuses to start. ( 140)
Pre-ride checkThe instrument cluster runs
a test of the 'General' warn-
ing light when the ignition
is switched on. The warn-
ing light shows first red and
then yellow, so that you can
check that it is in working or-
der. This pre-ride check is in-
dicated by the word
CHECK!
appearing in the display. If
the motorcycle is equipped with the cruise control op-
tional extra,
SET
lights up
as well. The test is aborted
if you start the engine before
it completes.
Phase 1
General warning light
lights up red.
The
CHECK!
reminder ap-
pears on the display.
Phase 2 General warning light
lights up yellow.
The
CHECK!
reminder ap-
pears on the display.
Cruise control telltale
light shows.
If the 'General' warning light is
not displayed:
Some malfunctions can-
not be indicated if the
'General' warning light cannot
be displayed.
579zRiding
Page 103 of 172
Maintenance
General instructions . . . . . . . . . . 102
Toolkit . . . . . . . . . . . . . . . . . . . . . . . 102
Engine oil . . . . . . . . . . . . . . . . . . . . 103
Brake system, general . . . . . . . . 105
Brake pads . . . . . . . . . . . . . . . . . . . 105
Brake fluid . . . . . . . . . . . . . . . . . . . 107
Clutch . . . . . . . . . . . . . . . . . . . . . . . 109
Tyres . . . . . . . . . . . . . . . . . . . . . . . . 109
Rims . . . . . . . . . . . . . . . . . . . . . . . . . 110
Wheels . . . . . . . . . . . . . . . . . . . . . . 110
Front-wheel stand . . . . . . . . . . . . 117
Bulbs . . . . . . . . . . . . . . . . . . . . . . . . 119
Jump start . . . . . . . . . . . . . . . . . . . 127
Battery . . . . . . . . . . . . . . . . . . . . . . . 128
7101zMaintenance
Page 129 of 172
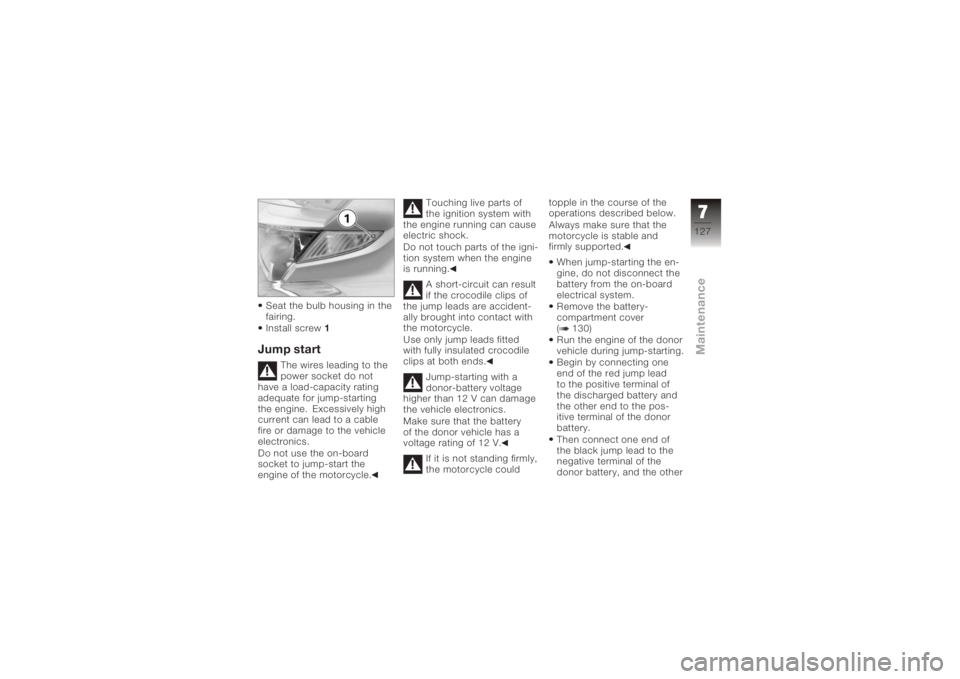
Seat the bulb housing in the
fairing.
Install screw1Jump start
The wires leading to the
power socket do not
have a load-capacity rating
adequate for jump-starting
the engine. Excessively high
current can lead to a cable
fire or damage to the vehicle
electronics.
Do not use the on-board
socket to jump-start the
engine of the motorcycle. Touching live parts of
the ignition system with
the engine running can cause
electric shock.
Do not touch parts of the igni-
tion system when the engine
is running.
A short-circuit can result
if the crocodile clips of
the jump leads are accident-
ally brought into contact with
the motorcycle.
Use only jump leads fitted
with fully insulated crocodile
clips at both ends.
Jump-starting with a
donor-battery voltage
higher than 12 V can damage
the vehicle electronics.
Make sure that the battery
of the donor vehicle has a
voltage rating of 12 V.
If it is not standing firmly,
the motorcycle could topple in the course of the
operations described below.
Always make sure that the
motorcycle is stable and
firmly supported.
When jump-starting the en-
gine, do not disconnect the
battery from the on-board
electrical system.
Remove the battery-
compartment cover
( 130)
Run the engine of the donor
vehicle during jump-starting.
Begin by connecting one
end of the red jump lead
to the positive terminal of
the discharged battery and
the other end to the pos-
itive terminal of the donor
battery.
Then connect one end of
the black jump lead to the
negative terminal of the
donor battery, and the other
7127zMaintenance
Page 130 of 172
end to the negative terminal
of the discharged battery.
Start the engine of the
vehicle with the discharged
battery in the usual way; if
the engine does not start,
wait a few minutes before
repeating the attempt
in order to protect the
starter motor and the donor
battery.
Allow both engines to idle
for a few minutes before
disconnecting the jump
leads.
Disconnect the jump lead
from the negative termin-
als first, then disconnect the
second lead from the posit-
ive terminals.
Installing battery-
compartment cover
( 130)
BatteryMaintenance instructionsCorrect upkeep, recharging
and storage will prolong the
life of the battery and are es-
sential if warranty claims are
to be considered.
Compliance with the points
below is important in order to
maximise battery life:Keep the surface of the bat-
tery clean and dry
Do not open the battery
Do not top up with water
Be sure to read and com-
ply with the instructions for
charging the battery on the
following pages
Do not turn the battery up-
side down
If the battery is not dis-
connected, the on-board
electronics (e.g. clock, etc.)
gradually drain the battery. This can cause the battery
to run flat. If this happens,
warranty claims will not be ac-
cepted.
If the motorcycle is to be out
of use for more than four
weeks, disconnect the battery
or connect a suitable trickle
charger to the battery.
BMW Motorrad has de-
veloped a trickle-charger
specially designed for com-
patibility with the electronics
of your motorcycle. Using this
charger, you can keep the
battery charged during long
periods of disuse, without
having to disconnect the bat-
tery from the motorcycle's
on-board systems. You can
obtain additional information
from your authorised BMW
Motorrad dealer.
7128zMaintenance
Page 168 of 172
H
Handlebar fittingsGeneral view, left side, 16
General view, right side, 17
Handlebars Adjusting, 59
Hazard warning flashers, 16, 17
Switching off, 46
Switching on, 45
Headlight Adjusting headlight beam
throw, 61
High-beam headlight, 19
Low-beam headlight, 19
Side lights, 19
Helmet holder, 15, 68
High-beam headlight, 16 Telltale light, 23
Horn, 16
I
Idle Telltale light, 23 Ignition
Switching off, 43
Switching on, 43
Immobiliser Warning, 27
Instrument cluster Overview, 18
Sensor for lighting, 18
J
Jump start, 127
L
Laying up, 136
Lights Switch on the high-beam
headlight, 60
Switching off parking
lights, 61
Switching on parking
lights, 60
Switching on the low-beam
headlight, 60
Switching on the side
lights, 60 M
Maintenance
General instructions, 102
Intervals, 155
Multifunction display, 18 Adjust the dimmer, 47
Overview, 22
O
Odometer and tripmeters Odometer, 46
Resetting tripmeter, 47
Select the tripmeter, 46
On-board computer, 17 Oil level, 52
Range, 50
Reset average consump-
tion, 52
Resetting average
speed, 51
Selecting readings, 49
P
Parking, 82
Power socket, 11, 94
Pre-ride check, 79
11166zIndex