2006 BMW 650I CONVERTIBLE Reverse light
[x] Cancel search: Reverse lightPage 54 of 236
Controls
53Reference
At a glance
Driving tips
Communications
Navigation
Entertainment
Mobility
Automatic functions
>Both exterior mirrors are automatically
heated when the engine is running or the
ignition is switched on.
>When the vehicle is moving forward, the
interior and exterior mirrors dim as a func-
tion of the incoming light.
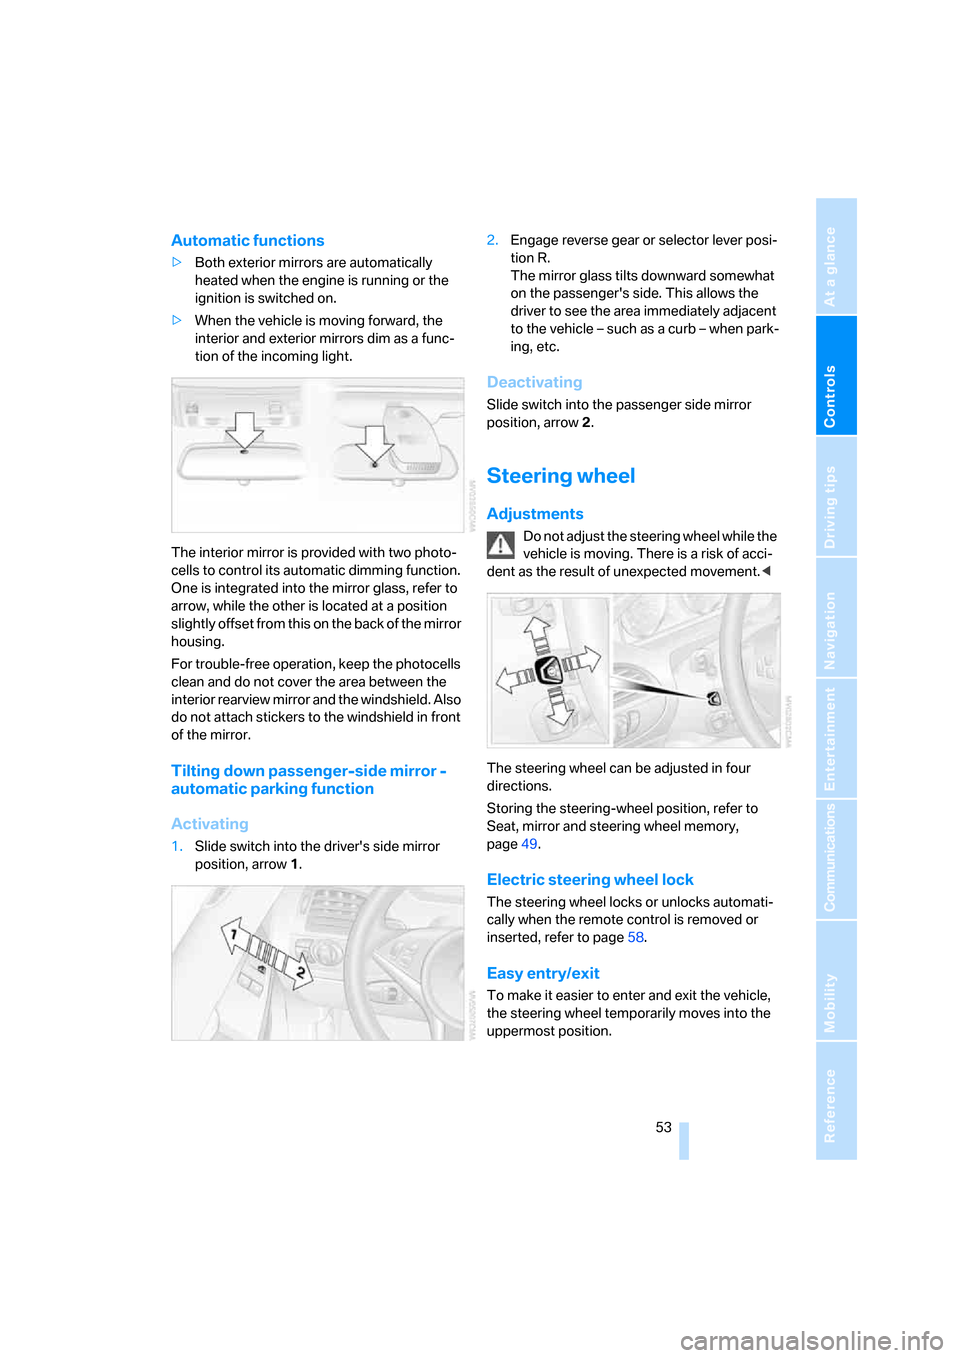
The interior mirror is provided with two photo-
cells to control its automatic dimming function.
One is integrated into the mirror glass, refer to
arrow, while the other is located at a position
slightly offset from this on the back of the mirror
housing.
For trouble-free operation, keep the photocells
clean and do not cover the area between the
interior rearview mirror and the windshield. Also
do not attach stickers to the windshield in front
of the mirror.
Tilting down passenger-side mirror -
automatic parking function
Activating
1.Slide switch into the driver's side mirror
position, arrow 1.2.Engage reverse gear or selector lever posi-
tion R.
The mirror glass tilts downward somewhat
on the passenger's side. This allows the
driver to see the area immediately adjacent
to the vehicle – such as a curb – when park-
ing, etc.
Deactivating
Slide switch into the passenger side mirror
position, arrow 2.
Steering wheel
Adjustments
Do not adjust the steering wheel while the
vehicle is moving. There is a risk of acci-
dent as the result of unexpected movement.<
The steering wheel can be adjusted in four
directions.
Storing the steering-wheel position, refer to
Seat, mirror and steering wheel memory,
page49.
Electric steering wheel lock
The steering wheel locks or unlocks automati-
cally when the remote control is removed or
inserted, refer to page58.
Easy entry/exit
To make it easier to enter and exit the vehicle,
the steering wheel temporarily moves into the
uppermost position.
Page 61 of 236
Driving
60
Manual transmission
1.Briefly press the Start/Stop button with the
vehicle stopped.
2.Shift into first gear or reverse.
3.Apply the handbrake.
SMG Sequential Manual Gearbox*
1.Apply the handbrake.
2.Move selector lever into a drive position.
3.Briefly press Start/Stop button.
If the transmission is in N when the engine is
switched off, you will be given an optical and
acoustic reminder.
Automatic transmission*
1.Move the selector lever into position P with
the vehicle stopped.
2.Briefly press Start/Stop button.
Handbrake
The handbrake is primarily intended to prevent
the vehicle from rolling while parked; it brakes
the rear wheels.
Indicator lamp
The indicator lamp lights up, and a sig-
nal also sounds when starting off. The
handbrake is engaged.
Indicator lamp for Canadian models.
Engaging
The lever engages automatically.
Releasing
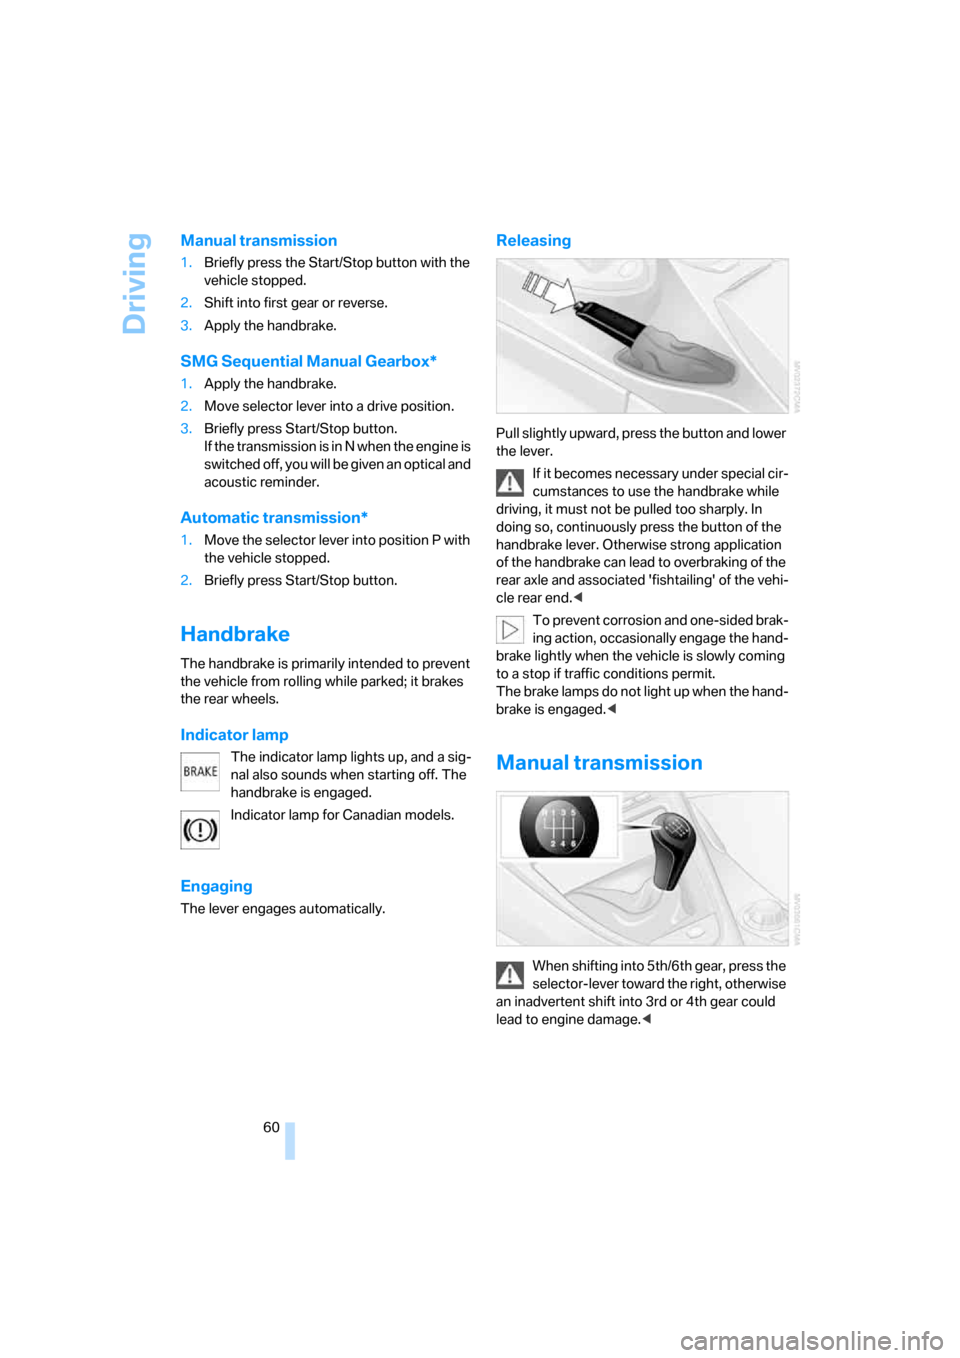
Pull slightly upward, press the button and lower
the lever.
If it becomes necessary under special cir-
cumstances to use the handbrake while
driving, it must not be pulled too sharply. In
doing so, continuously press the button of the
handbrake lever. Otherwise strong application
of the handbrake can lead to overbraking of the
rear axle and associated 'fishtailing' of the vehi-
cle rear end.<
To prevent corrosion and one-sided brak-
ing action, occasionally engage the hand-
brake lightly when the vehicle is slowly coming
to a stop if traffic conditions permit.
The brake lamps do not light up when the hand-
brake is engaged.<
Manual transmission
When shifting into 5th/6th gear, press the
selector-lever toward the right, otherwise
an inadvertent shift into 3rd or 4th gear could
lead to engine damage.<
Page 62 of 236
Controls
61Reference
At a glance
Driving tips
Communications
Navigation
Entertainment
Mobility
Reverse gear
Select only when the vehicle is stationary.
Press the gearshift lever to the left, overcoming
a slight resistance.
The backup lamps switch on automatically with
the ignition switched on.
SMG Sequential Manual
Gearbox*
The concept
The SMG Sequential Manual Gearbox is an
automated manual transmission in which an
electrohydraulic system handles the clutching
and gear changes.
You operate the SMG using the selector-lever
in the center console and two shift paddles on
the steering wheel.
It offers the following functions:
>Choice of manual or automatic mode:
Sequential mode or Drive mode
>Choice of two drive programs: Normal or
Sport, refer to Dynamic Driving Control
page64
>Automatic downshifting and protection
against incorrect shifting even in sequential
operation
>Acceleration assistant, refer to page64.
Selector-lever positions
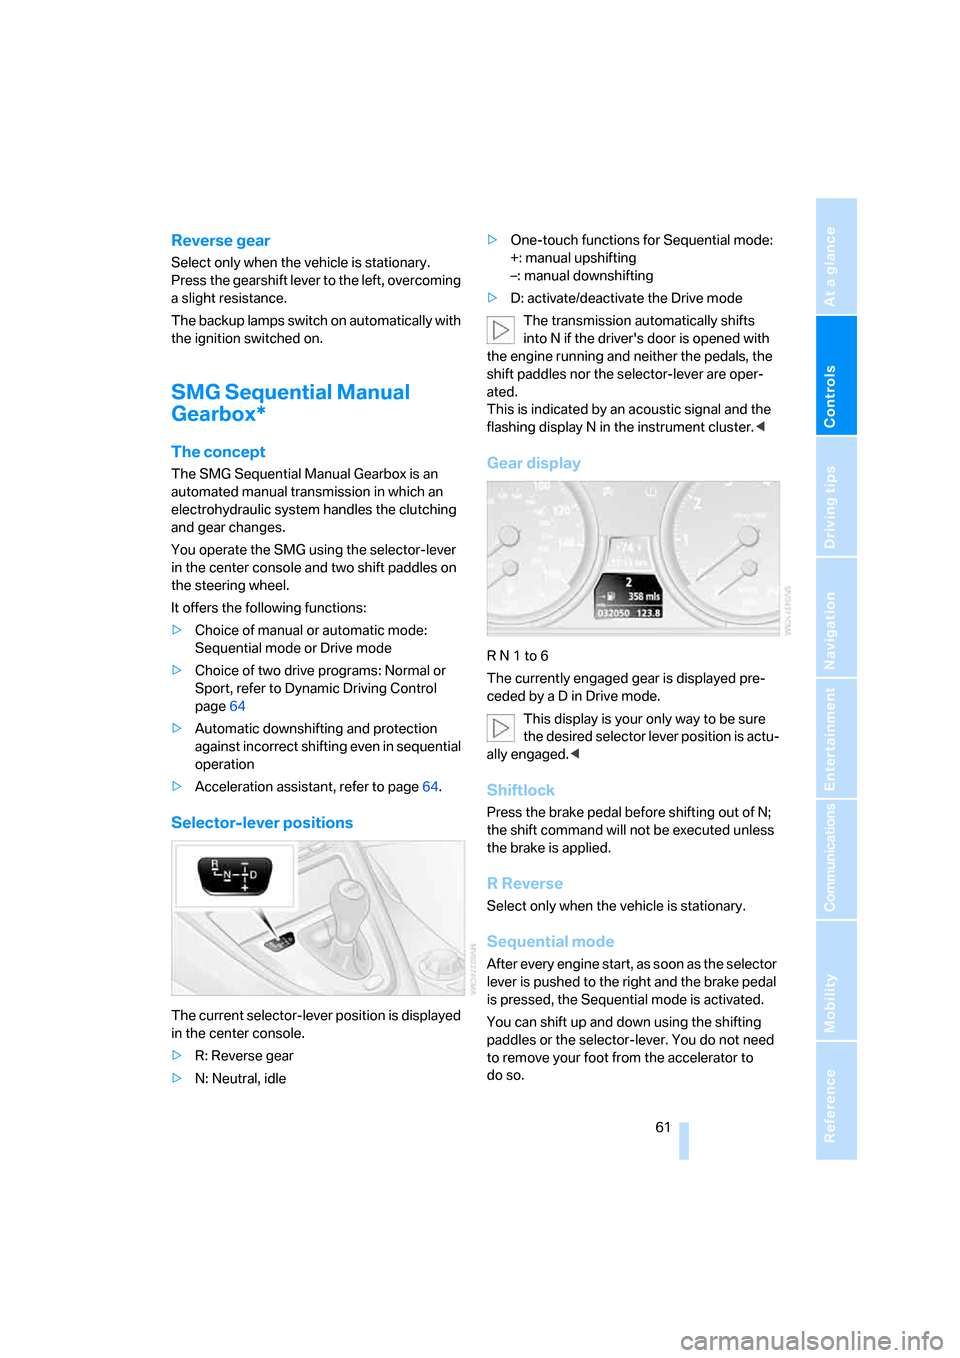
The current selector-lever position is displayed
in the center console.
>R: Reverse gear
>N: Neutral, idle>One-touch functions for Sequential mode:
+: manual upshifting
–: manual downshifting
>D: activate/deactivate the Drive mode
The transmission automatically shifts
into N if the driver's door is opened with
the engine running and neither the pedals, the
shift paddles nor the selector-lever are oper-
ated.
This is indicated by an acoustic signal and the
flashing display N in the instrument cluster.<
Gear display
R N 1 to 6
The currently engaged gear is displayed pre-
ceded by a D in Drive mode.
This display is your only way to be sure
the desired selector lever position is actu-
ally engaged.<
Shiftlock
Press the brake pedal before shifting out of N;
the shift command will not be executed unless
the brake is applied.
R Reverse
Select only when the vehicle is stationary.
Sequential mode
After every engine start, as soon as the selector
lever is pushed to the right and the brake pedal
is pressed, the Sequential mode is activated.
You can shift up and down using the shifting
paddles or the selector-lever. You do not need
to remove your foot from the accelerator to
do so.
Page 65 of 236
Driving
64 3.Using the screwdriver from the onboard
toolkit, refer to page197, press the lever at
the point marked in red and move the selec-
tor lever into the desired position.
Dynamic Driving Control
The Dynamic Driving Control makes it possible
for your BMW to react in an even more perfor-
mance-oriented manner at the push of a button:
>The engine responds more spontaneously
to accelerator pedal movements.
>Cruise control:
The stored speed is reached more quickly
when requested.
Additionally with SMG:
>Gearshifts are faster.
>The engine speed range is used optimally in
the Drive mode.
With automatic transmission:
>The Sport program is activated.
Activating system
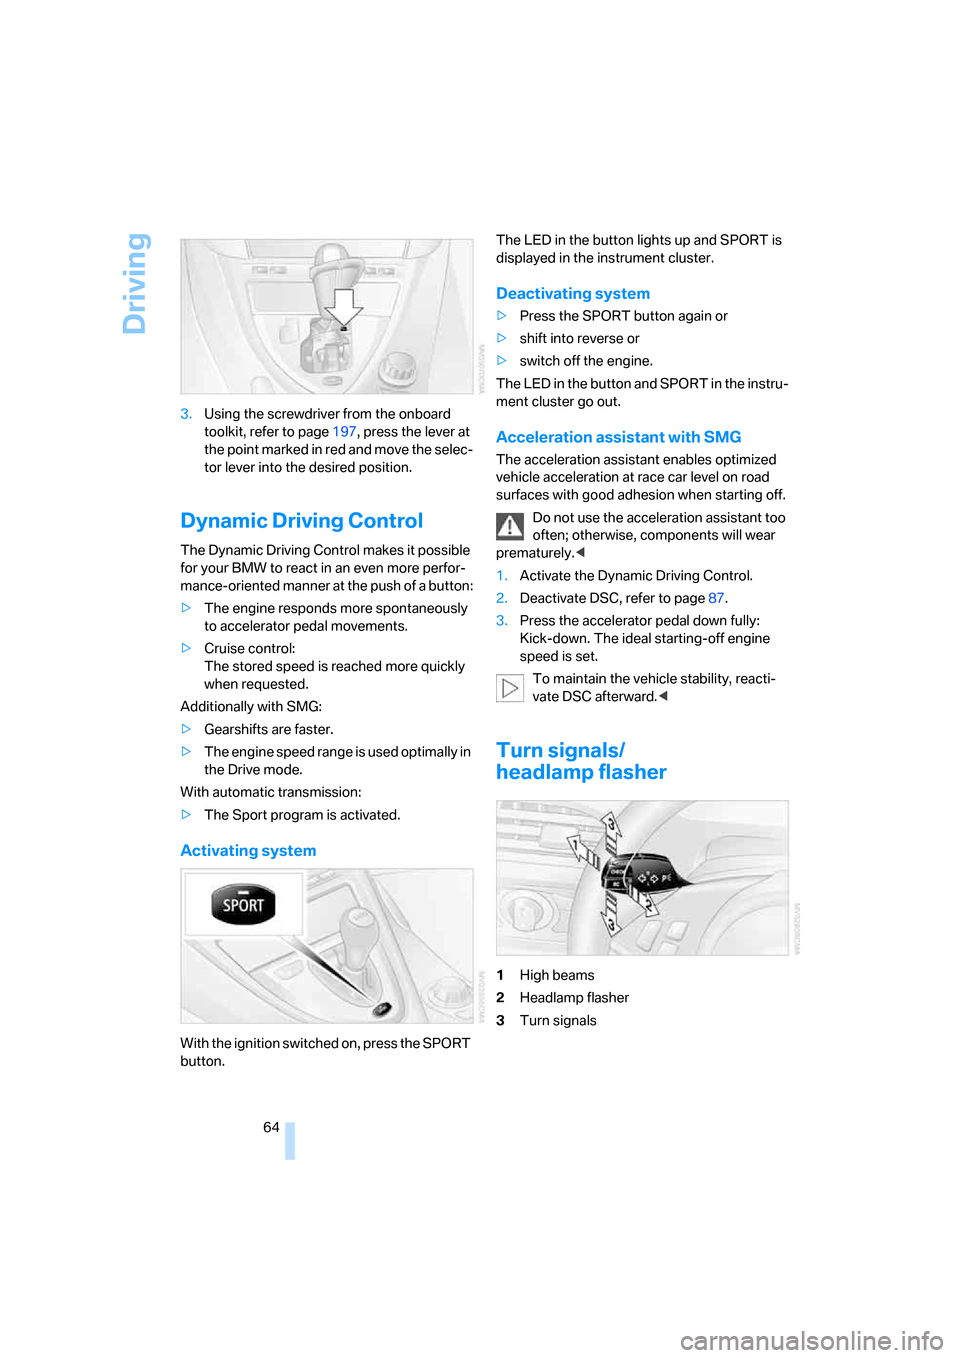
With the ignition switched on, press the SPORT
button.The LED in the button lights up and SPORT is
displayed in the instrument cluster.
Deactivating system
>Press the SPORT button again or
>shift into reverse or
>switch off the engine.
The LED in the button and SPORT in the instru-
ment cluster go out.
Acceleration assistant with SMG
The acceleration assistant enables optimized
vehicle acceleration at race car level on road
surfaces with good adhesion when starting off.
Do not use the acceleration assistant too
often; otherwise, components will wear
prematurely.<
1.Activate the Dynamic Driving Control.
2.Deactivate DSC, refer to page87.
3.Press the accelerator pedal down fully:
Kick-down. The ideal starting-off engine
speed is set.
To maintain the vehicle stability, reacti-
vate DSC afterward.<
Turn signals/
headlamp flasher
1High beams
2Headlamp flasher
3Turn signals
Page 86 of 236
Controls
85Reference
At a glance
Driving tips
Communications
Navigation
Entertainment
Mobility
Technology for comfort, convenience and
safety
PDC Park Distance Control*
The concept
The PDC assists you when you are parking.
Acoustic signals and an optical display
* alert
you to the approach of an object from behind
your vehicle. To measure the distance, there
are four ultrasonic sensors in each bumper.
The range of these sensors is approx. 7 ft/2 m.
But an acoustic warning first sounds at approx.
24 in/60 cm for the sensors at the front and two
rear corners and at approx. 5 ft/1,50 m for the
center rear sensors.
PDC is a parking aid that can indicate the
presence of objects when they are being
approached slowly, as is usually the case when
parking. Avoid approaching an object at high
speed; otherwise, the physical circumstances
could cause the system warning to be activated
too late.<
Automatically activating
With the engine running or the ignition switched
on, the system starts to operate automatically
approx. 1 second after you shift into reverse.
Wait this short period before driving.
Switching on manually
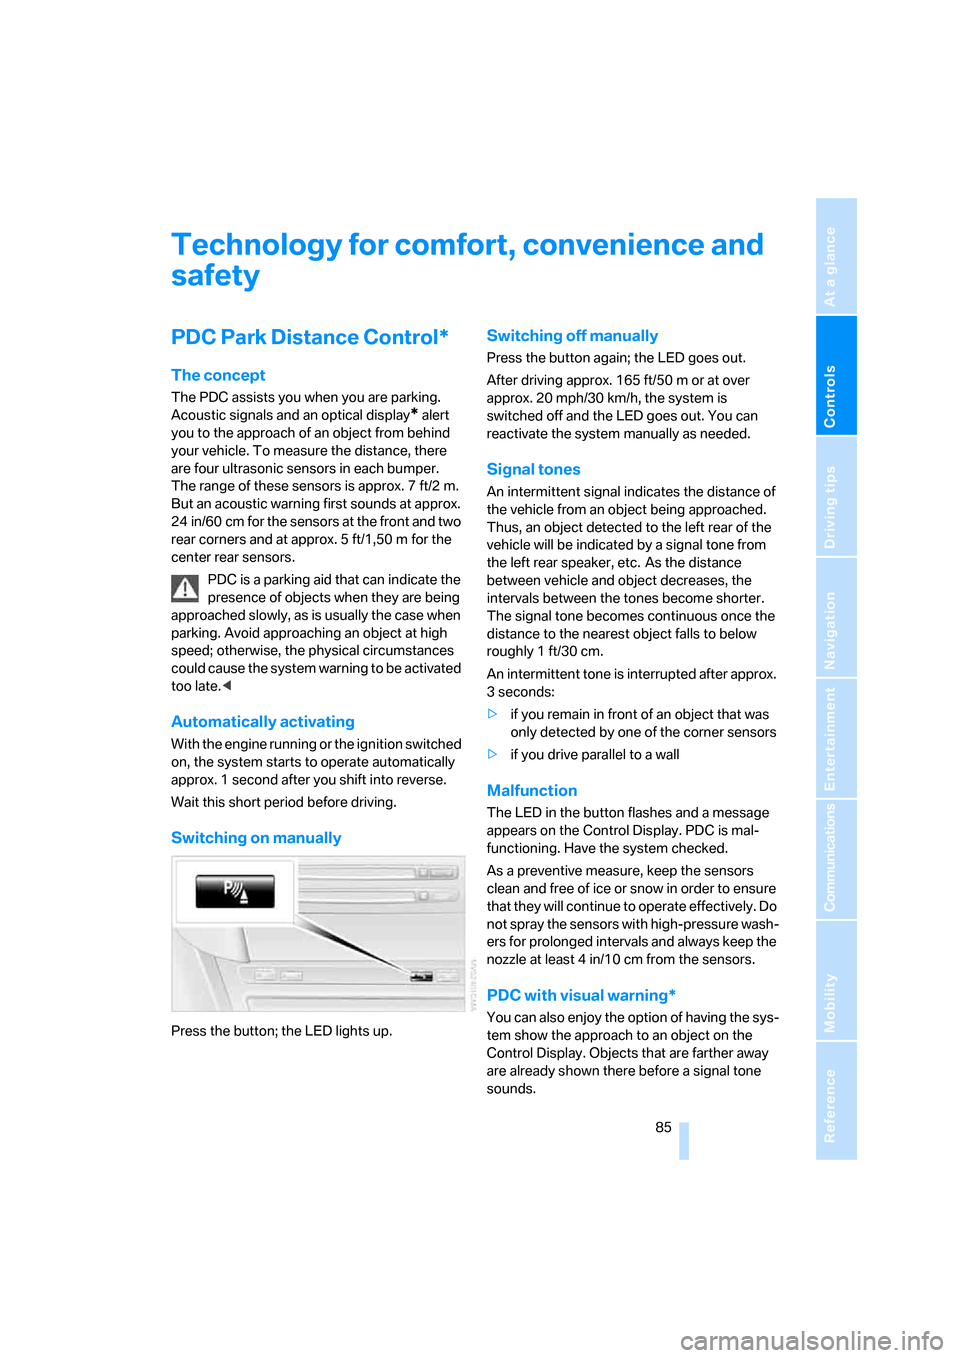
Press the button; the LED lights up.
Switching off manually
Press the button again; the LED goes out.
After driving approx. 165 ft/50 m or at over
approx. 20 mph/30 km/h, the system is
switched off and the LED goes out. You can
reactivate the system manually as needed.
Signal tones
An intermittent signal indicates the distance of
the vehicle from an object being approached.
Thus, an object detected to the left rear of the
vehicle will be indicated by a signal tone from
the left rear speaker, etc. As the distance
between vehicle and object decreases, the
intervals between the tones become shorter.
The signal tone becomes continuous once the
distance to the nearest object falls to below
roughly 1 ft/30 cm.
An intermittent tone is interrupted after approx.
3seconds:
>if you remain in front of an object that was
only detected by one of the corner sensors
>if you drive parallel to a wall
Malfunction
The LED in the button flashes and a message
appears on the Control Display. PDC is mal-
functioning. Have the system checked.
As a preventive measure, keep the sensors
clean and free of ice or snow in order to ensure
that they will continue to operate effectively. Do
not spray the sensors with high-pressure wash-
ers for prolonged intervals and always keep the
nozzle at least 4 in/10 cm from the sensors.
PDC with visual warning*
You can also enjoy the option of having the sys-
tem show the approach to an object on the
Control Display. Objects that are farther away
are already shown there before a signal tone
sounds.
Page 98 of 236
Controls
97Reference
At a glance
Driving tips
Communications
Navigation
Entertainment
Mobility
cannot detect fog. To avoid safety risks, you
should always switch on the lamps manually
under these conditions.<
Adaptive Head Light*
The concept
Adaptive Head Light is a variable headlamp
control system that enables better illumination
of the road surface. Depending on the steering
angle and other parameters, the light from the
headlamp follows the course of the road.
Activating Adaptive Head Light
In switch position1, the Adaptive Head Light is
active and the automatic headlamp control is
switched on.
To avoid blinding oncoming traffic, the Adaptive
Head Light is not active when driving in reverse
and points toward the passenger side when the
vehicle is stopped.
Malfunction
The LED next to the symbol for automatic head-
lamp control flashes. The Adaptive Head Light
is malfunctioning or has failed. Have the system
checked as soon as possible.
High beams/
roadside parking lamps
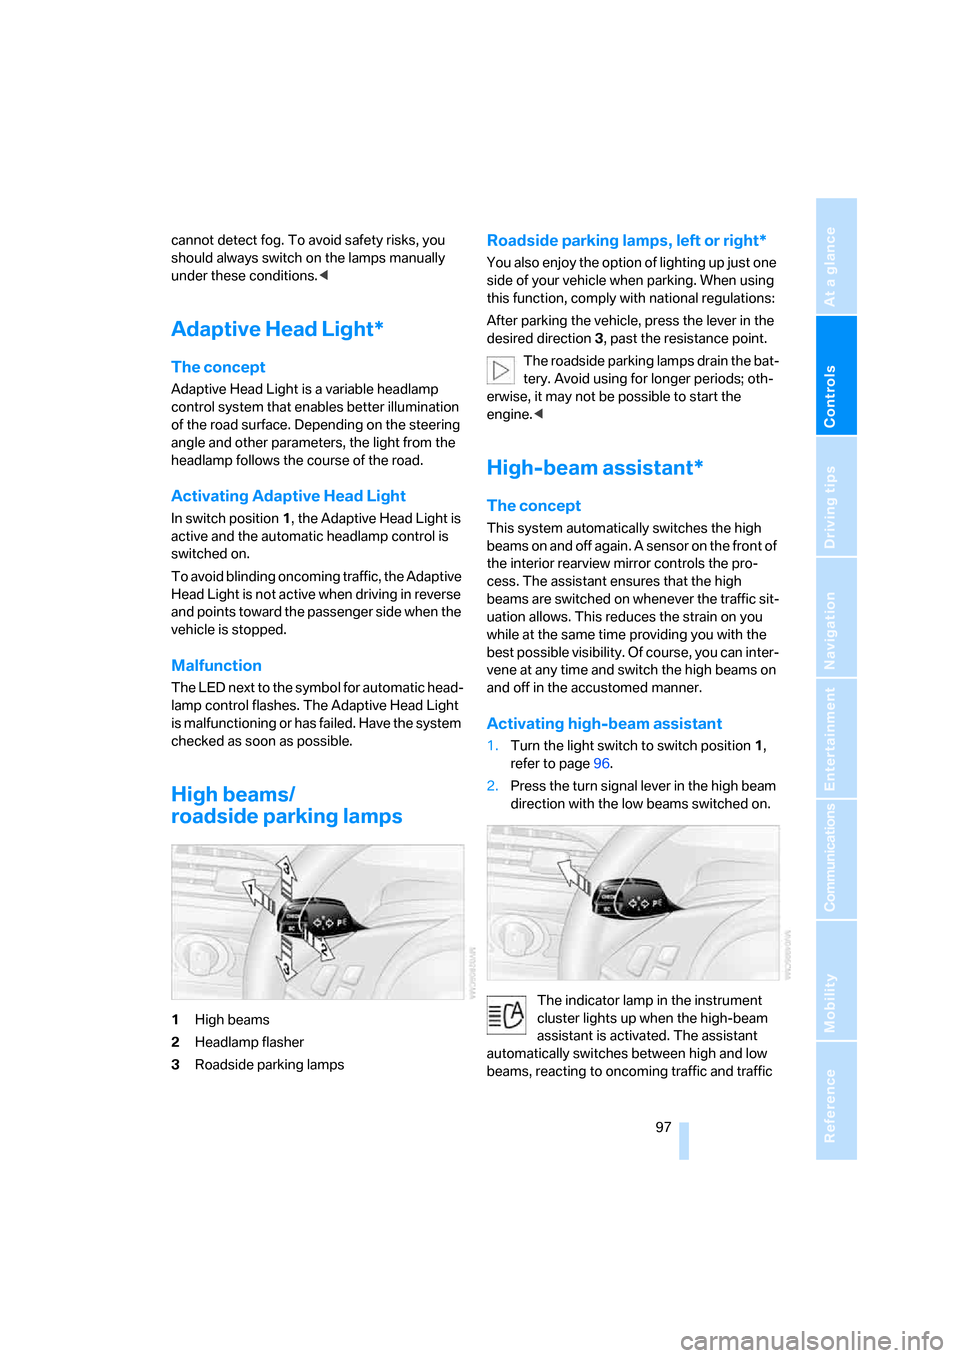
1High beams
2Headlamp flasher
3Roadside parking lamps
Roadside parking lamps, left or right*
You also enjoy the option of lighting up just one
side of your vehicle when parking. When using
this function, comply with national regulations:
After parking the vehicle, press the lever in the
desired direction3, past the resistance point.
The roadside parking lamps drain the bat-
tery. Avoid using for longer periods; oth-
erwise, it may not be possible to start the
engine.<
High-beam assistant*
The concept
This system automatically switches the high
beams on and off again. A sensor on the front of
the interior rearview mirror controls the pro-
cess. The assistant ensures that the high
beams are switched on whenever the traffic sit-
uation allows. This reduces the strain on you
while at the same time providing you with the
best possible visibility. Of course, you can inter-
vene at any time and switch the high beams on
and off in the accustomed manner.
Activating high-beam assistant
1.Turn the light switch to switch position1,
refer to page96.
2.Press the turn signal lever in the high beam
direction with the low beams switched on.
The indicator lamp in the instrument
cluster lights up when the high-beam
assistant is activated. The assistant
automatically switches between high and low
beams, reacting to oncoming traffic and traffic
Page 111 of 236
Practical interior accessories
110
Cigarette lighter
Press in the lighter with the engine running or
the ignition switched on.
The lighter can be removed as soon as it pops
back out.
Hold or touch the hot cigarette lighter by
the knob only. Holding or touching it in
other areas could result in burns.
Always take along the remote control when you
leave the vehicle; otherwise, children could, for
example, use the lighter and burn themselves.<
Connecting electrical devices
Socket
With the engine running or the ignition switched
on, the cigarette lighter socket can be used as a
power outlet for hand flashlights, car vacuum
cleaners, etc., with power ratings of up to
approx. 200 W at 12 V. Avoid damaging the
socket by inserting plugs of different shapes or
sizes.
In front passenger footwell
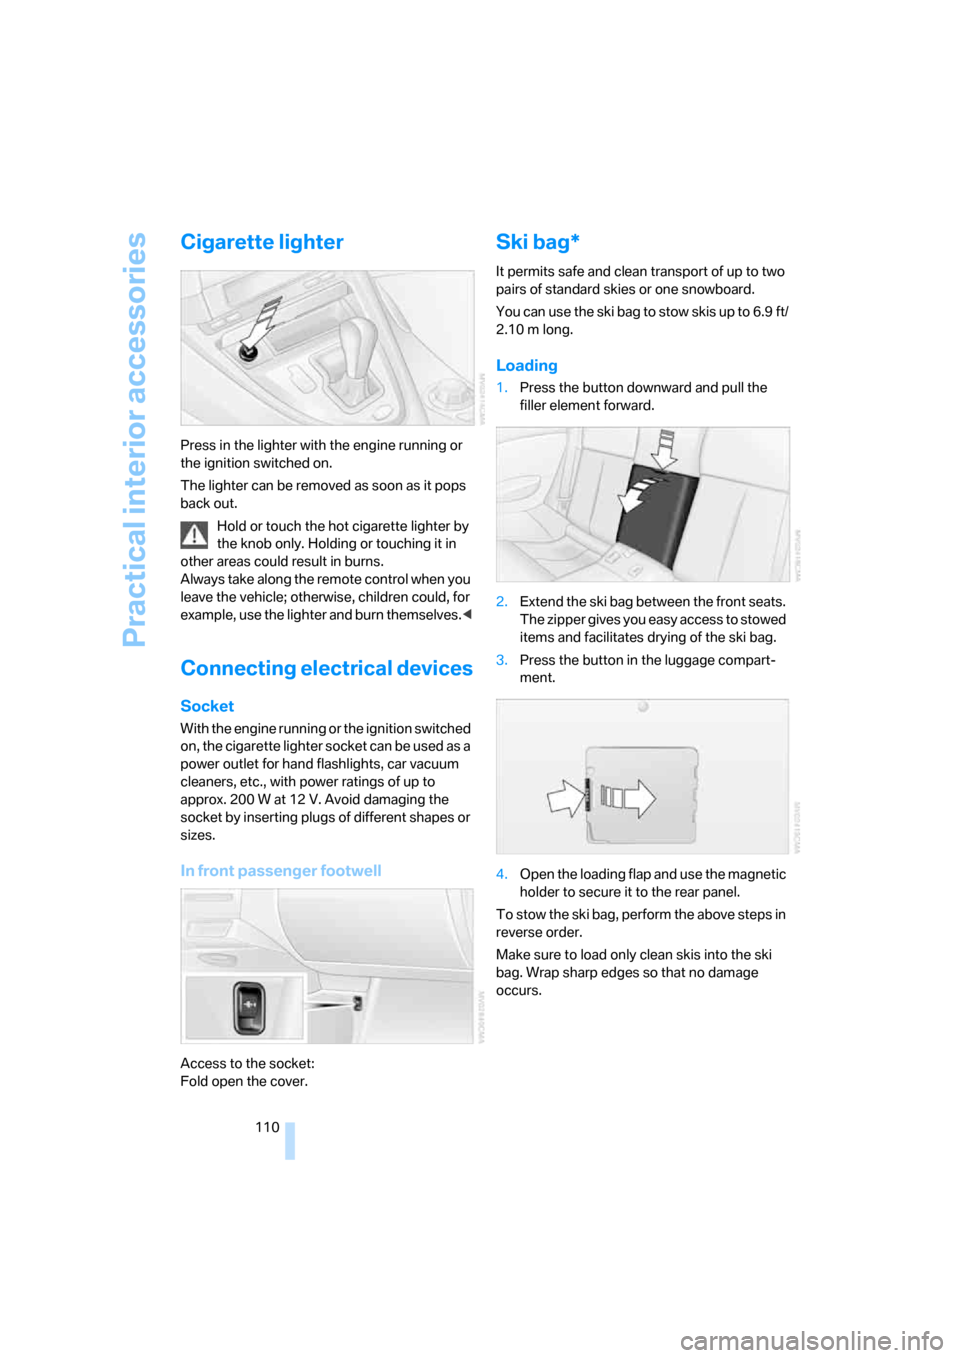
Access to the socket:
Fold open the cover.
Ski bag*
It permits safe and clean transport of up to two
pairs of standard skies or one snowboard.
You can use the ski bag to stow skis up to 6.9 ft/
2.10 m long.
Loading
1.Press the button downward and pull the
filler element forward.
2.Extend the ski bag between the front seats.
The zipper gives you easy access to stowed
items and facilitates drying of the ski bag.
3.Press the button in the luggage compart-
ment.
4.Open the loading flap and use the magnetic
holder to secure it to the rear panel.
To stow the ski bag, perform the above steps in
reverse order.
Make sure to load only clean skis into the ski
bag. Wrap sharp edges so that no damage
occurs.
Page 219 of 236

Everything from A to Z
218 "Assist. window off"21
AUC Automatic recirculated-
air control103
Audio140
– controls140
– switching on/off140
– tone control141
– volume141
"Audio", refer to Tone
control141
Automatic
– air distribution101
– air volume101
– headlamp control96
– service notification175
– steering wheel adjustment,
refer to Easy entry/exit53
– storing stations145
Automatically switching
between high beams and
low beams, refer to High-
beam assistant97
Automatic car washes116
– also refer to Comfort
access37
– also refer to the Caring for
your vehicle brochure
Automatic climate control100
– automatic air
distribution101
– convertible program101
– switching off103
Automatic curb monitor53
Automatic lighting
– refer to Automatic headlamp
control96
– refer to Daytime driving
lamps96
– refer to High-beam
assistant97
– refer to Interior lamps99
– refer to Pathway lighting96
"Automatic programs"101
Automatic recirculated-air
control AUC103
Automatic station search145Automatic transmission with
Steptronic62
– deactivating selector lever
interlock63
– Dynamic Driving Control64
– interlock62
– kick-down63
– selector lever lock,
Interlock62
– shiftlock62
– towing205
– tow-starting206
– with comfort access37
"Automatic ventilation"104
AUTO program with
automatic climate
control101
"Autostore" on the
radio144,146
Average fuel consumption75
– setting units83
Average speed75
"Avoid ferries" for
navigation131
Avoid freeways for
navigation130
"Avoid highways" for
navigation131
Avoiding unintentional
alarms36
"Avoid tollroads" for
navigation131
Axle loads, refer to
Weights210
"A - Z"168
B
Backrest contour, refer to
Lumbar support48
Backrests, refer to Seats48
Backup lamps
– refer to Reverse gear61
– replacing bulbs, refer to Tail
lamps199
"Balance", refer to Tone
control142Balance, refer to Tone
control142
Balance adjustment in audio
mode, right/left142
Band-aids, refer to First-aid
kit203
Bass, refer to Tone
control141
"Bass", tone control142
Bass, tone control141
Battery
– disposal38
– jump starting203
– refer to Vehicle battery200
Battery change38
Being towed205
Belts, refer to Safety belts51
Beverage holder, refer to Cup
holders109
Blower, refer to Air
volume102
"BMW Assist"176
BMW Assist174
– enabling174
– services offered175
"BMW Contact"178
"BMW Contact
Numbers"178
BMW homepage4
BMW Maintenance
System195
"BMW Service"176
"BMW Service settings"175
BMW website4
Bottle holder, refer to Cup
holders109
Brake Assistant, refer to DBC
Dynamic Brake Control86
Brake fluid193
– level193
– warning lamp193
Brake force display90
Brake hydraulic system193
Brake lamps
– brake force display90
– replacing bulbs, refer to Tail
lamps199