2006 BMW 650I CONVERTIBLE mirror
[x] Cancel search: mirrorPage 92 of 236
Controls
91Reference
At a glance
Driving tips
Communications
Navigation
Entertainment
Mobility
Protective action
To ensure that the safety systems con-
tinue to provide optimized protection,
please follow the adjustment instructions on
page47.<
The front airbags help protect the driver and
front passenger by responding to frontal
impacts in which safety belts alone cannot pro-
vide adequate restraint. When needed, the
head and side airbags help provide protection in
the event of a side impact. The relevant side air-
bag supports the side upper body area. The
head airbag supports the head. The knee airbag
protects the legs from colliding with the cockpit.
The airbags are deliberately not triggered in
every impact situation, e. g. less severe acci-
dents or rear-end collisions.
For details on the correct seat position, refer to
page47.
Do not apply adhesive materials to the
cover panels of the airbags, cover them or
modify them in any other way.
Do not attempt to remove the airbag retention
system from the vehicle. Do not modify or
tamper with either the wiring or the individual
components in the airbag system.This category
includes the upholstery in the center of the
steering wheel, on the instrument panel, the
side trim panels on the doors and on the Coupe,
the roof pillars along with the sides of the head-
liner. Do not attempt to remove or dismantle the
steering wheel.
Do not touch the individual components
directly after the system has been triggered,
because there is a danger of burns.
In the event of malfunctions, deactivation, or
triggering of the airbag restraint system, have
the testing, repair, removal, and disposal of air-
bag generators carried out only by a BMW cen-
ter or a workshop that works according to BMW
repair procedures with appropriately trained
personnel and has the required explosives
licenses. Unprofessional attempts to service
the system could lead to failure in an emer-
gency or undesired airbag activation, either of
which could result in personal injury.
Automatic deactivation of front
passenger airbags
The occupation of the seat is detected by eval-
uating the impression on the occupied seat sur-
face of the front passenger seat. The system
correspondingly activates or deactivates the
front, knee and side airbag on the front passen-
ger side.
The current status of the front passenger
airbag, i.e. deactivated or activated, is
indicated by the indicator lamp over the interior
rearview mirror, refer to Operating state of front
passenger airbags below.<
Before transporting a child in the front
passenger seat, read the safety informa-
tion and follow the instructions under Trans-
porting children safely, refer to page56.
The front, knee and side airbag on the front pas-
senger side can be deactivated for teenagers
and adults in certain seat positions; the indica-
tor lamp for the front passenger airbags lights
up when this occurs. In these cases, change the
seat position so that the front passenger air-
bags are activated and the indicator lamp goes
out. If the desired status cannot be produced by
changing the seat position, transport the corre-
sponding person in the rear seat.
Do not fit seat covers, seat cushion padding,
beaded mats or other items onto the front pas-
senger seat unless they are specifically recom-
mended by BMW. Do not place objects under
the seat which could press against the seat
from below. Otherwise a correct evaluation of
the occupied seat surface cannot be ensured.<
Page 98 of 236
Controls
97Reference
At a glance
Driving tips
Communications
Navigation
Entertainment
Mobility
cannot detect fog. To avoid safety risks, you
should always switch on the lamps manually
under these conditions.<
Adaptive Head Light*
The concept
Adaptive Head Light is a variable headlamp
control system that enables better illumination
of the road surface. Depending on the steering
angle and other parameters, the light from the
headlamp follows the course of the road.
Activating Adaptive Head Light
In switch position1, the Adaptive Head Light is
active and the automatic headlamp control is
switched on.
To avoid blinding oncoming traffic, the Adaptive
Head Light is not active when driving in reverse
and points toward the passenger side when the
vehicle is stopped.
Malfunction
The LED next to the symbol for automatic head-
lamp control flashes. The Adaptive Head Light
is malfunctioning or has failed. Have the system
checked as soon as possible.
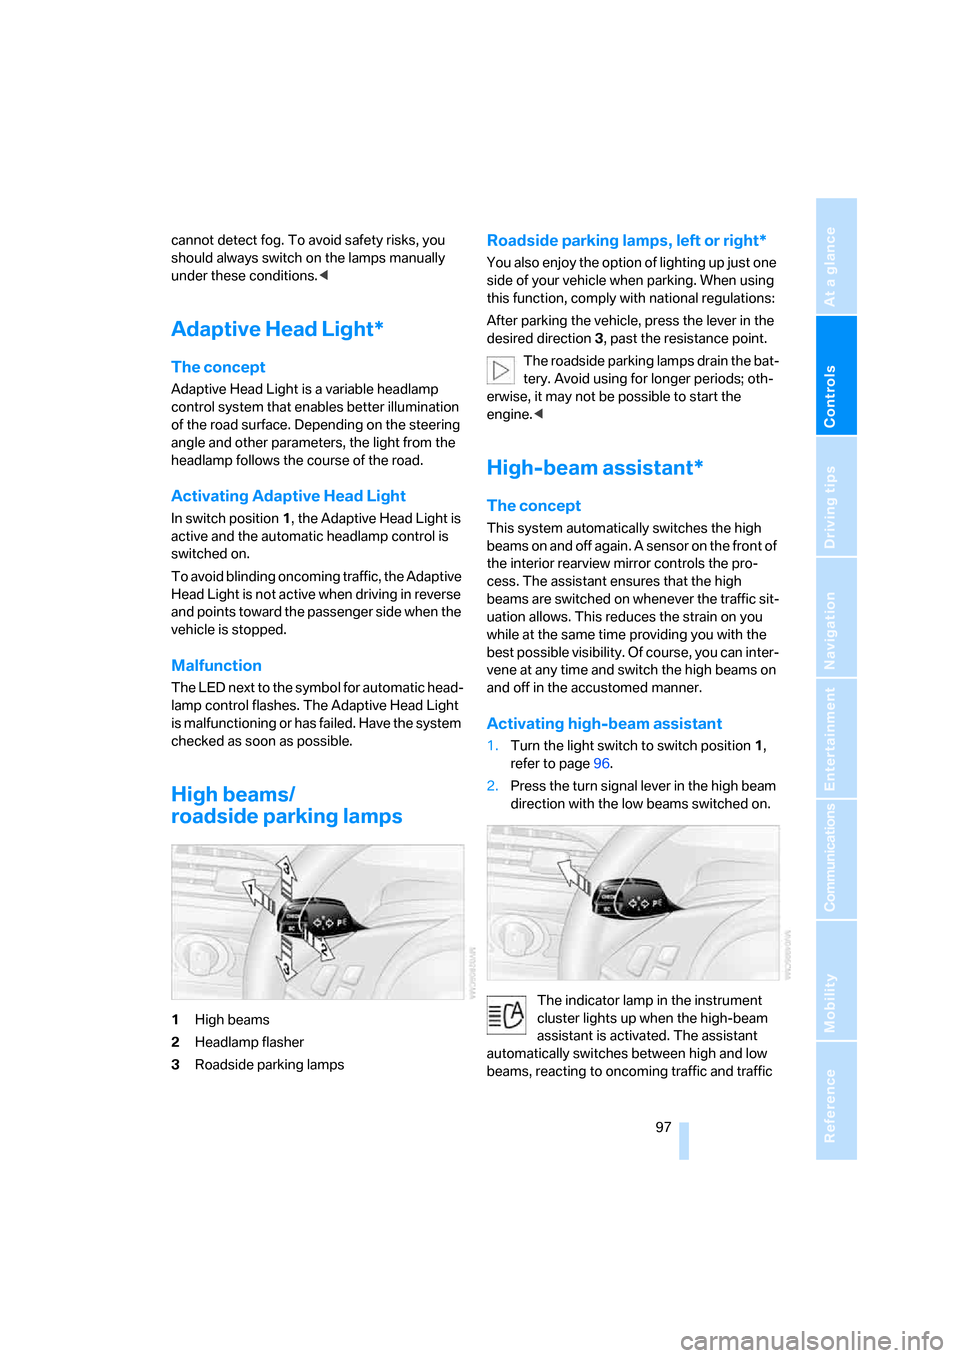
High beams/
roadside parking lamps
1High beams
2Headlamp flasher
3Roadside parking lamps
Roadside parking lamps, left or right*
You also enjoy the option of lighting up just one
side of your vehicle when parking. When using
this function, comply with national regulations:
After parking the vehicle, press the lever in the
desired direction3, past the resistance point.
The roadside parking lamps drain the bat-
tery. Avoid using for longer periods; oth-
erwise, it may not be possible to start the
engine.<
High-beam assistant*
The concept
This system automatically switches the high
beams on and off again. A sensor on the front of
the interior rearview mirror controls the pro-
cess. The assistant ensures that the high
beams are switched on whenever the traffic sit-
uation allows. This reduces the strain on you
while at the same time providing you with the
best possible visibility. Of course, you can inter-
vene at any time and switch the high beams on
and off in the accustomed manner.
Activating high-beam assistant
1.Turn the light switch to switch position1,
refer to page96.
2.Press the turn signal lever in the high beam
direction with the low beams switched on.
The indicator lamp in the instrument
cluster lights up when the high-beam
assistant is activated. The assistant
automatically switches between high and low
beams, reacting to oncoming traffic and traffic
Page 99 of 236
Lamps
98 ahead and to well-lit areas such as towns and
cities.
Manually switching between high and
low beams
You can intervene at any time if you wish or the
situation requires.
>If the high-beam assistant has switched on
the high beams, but you want to use the low
beams, simply switch to the low beams with
the turn signal lever. This also deactivates
the high-beam assistant.
To reactivate the system, briefly press the
turn signal lever in the high beam direction
again.
>If the high-beam assistant has switched on
the low beams, but you want to use the high
beams, switch to the high beams in the
accustomed manner. The system is deacti-
vated in the process and you must switch to
the low beams manually.
To reactivate the system, briefly press the
turn signal lever in the high beam direction
again.
>You use the headlamp flasher in the usual
way when the low beams are on.
System limits
The high-beam assistant cannot replace
personal decisions about the benefits of
using high beams. In situations that require
them, you should switch to the low beams man-
ually to avoid a safety risk.<
In the following sample situations, the system
either does not function or functions only in a
limited way and a personal reaction may be
required:
>Under extremely unfavorable weather con-
ditions, such as heavy fog or precipitation
>To make out poorly-lit road users such as
pedestrians, cyclists, people on horseback,
horse-drawn vehicles, train or ship traffic
close to the road and wild animals crossing
the road>In tight curves, on steep hilltops or in
depressions, with cross traffic or partially
concealed oncoming traffic on the freeway
>In poorly lit places and with highly reflective
signs
>In the low speed range
>When the windshield is fogged up, dirty or
covered with stickers, decals, etc. in the
area of the interior rearview mirror
>When the sensor is dirty. Clean the sensor
on the front side of the interior rearview mir-
ror with a cloth moistened with a small
amount of glass cleaner.
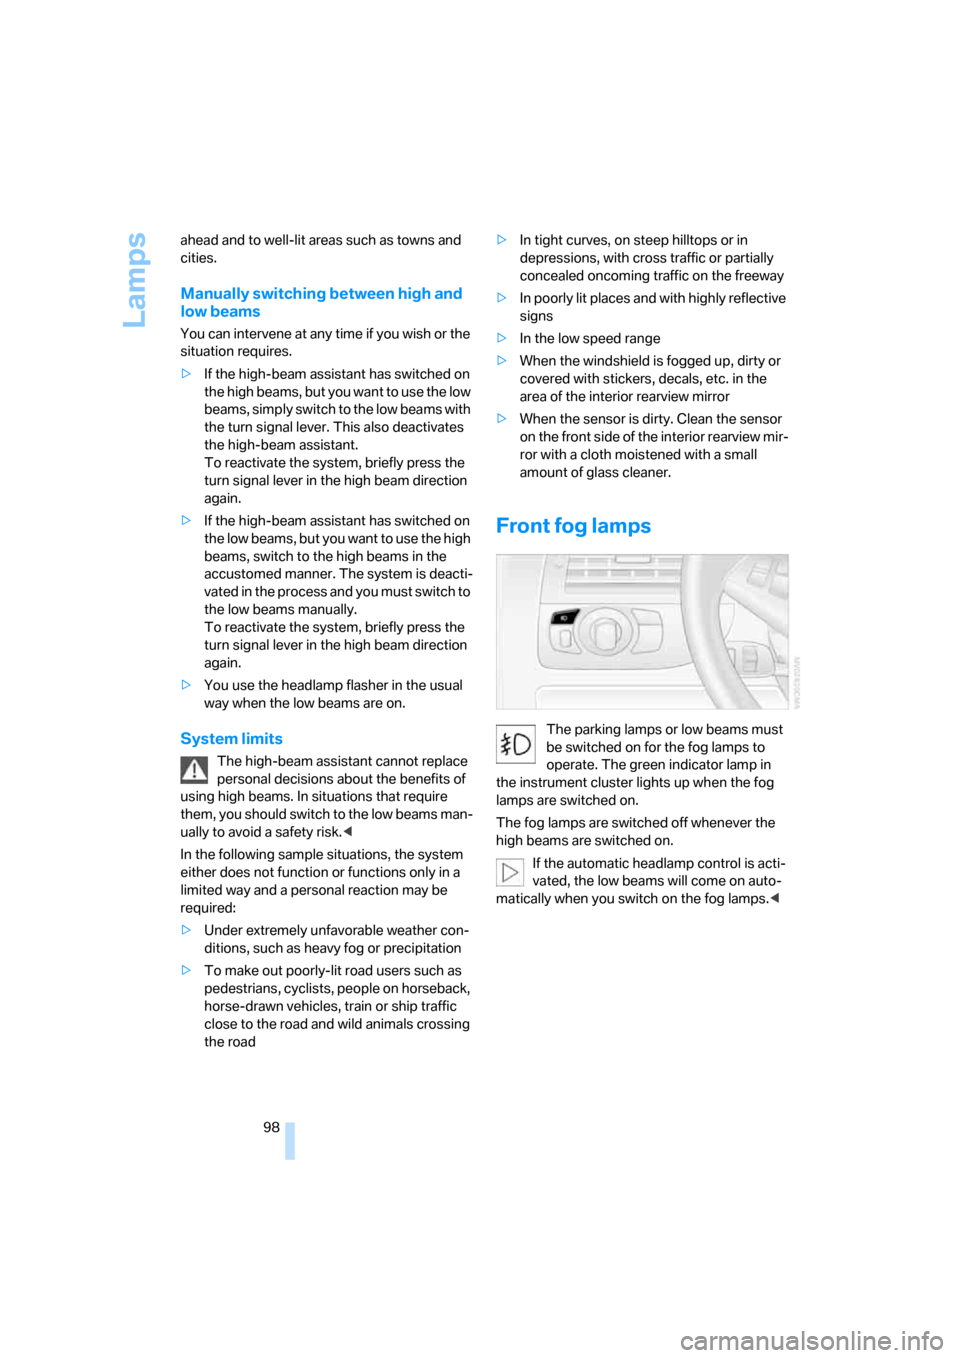
Front fog lamps
The parking lamps or low beams must
be switched on for the fog lamps to
operate. The green indicator lamp in
the instrument cluster lights up when the fog
lamps are switched on.
The fog lamps are switched off whenever the
high beams are switched on.
If the automatic headlamp control is acti-
vated, the low beams will come on auto-
matically when you switch on the fog lamps.<
Page 117 of 236
Things to remember when driving
116 steep downhill stretches. Even light but consis-
tent pedal pressure can lead to high tempera-
tures, brake wear and possibly even brake fail-
ure.<
The braking action of the engine can be further
increased by downshifting in the manual mode
of the automatic transmission, possibly as far as
first gear, refer to page63. This prevents an
excessive load on the brakes.
Do not drive with the clutch depressed, in
idle or with the engine switched off; other-
wise, there will be no engine braking action or
power-assisted braking and steering.
Never allow floor mats, carpets or any other
objects to protrude into the area of movement
of the pedals and impair their operation.<
Corrosion on brake rotors
When the vehicle is driven only occasionally,
during extended periods when the vehicle is not
used at all, and in operating conditions where
brake applications are less frequent, there is an
increased tendency for corrosion to form on
rotors, while contaminants accumulate on the
brake pads. This occurs because the minimum
pressure which must be exerted by the pads
during brake applications to clean the rotors is
not reached.
Should corrosion form on the brake rotors, the
brakes will tend to respond with a pulsating
effect that even extended application will fail to
cure.
When vehicle is parked
Condensation forms in the automatic climate
control during operation, and then exits under
the vehicle. Traces of condensed water under
the vehicle are therefore normal.
Before driving into a car wash
To prevent the exterior mirrors on this vehicle
from being damaged, always fold them in by
hand before entering an automatic car wash.
With comfort access and automatic
transmission
Insert the remote control into the ignition lock.
The engine can be switched off in the selector
lever position N. Also refer to page37.
Cargo loading
To avoid loading the tires beyond their
approved carrying capacity, never over-
load the vehicle. Overloading can lead to over-
heating and increases the rate at which damage
develops inside the tires. The ultimate result
can assume the form of a sudden blow-out.<
Determining loading limit
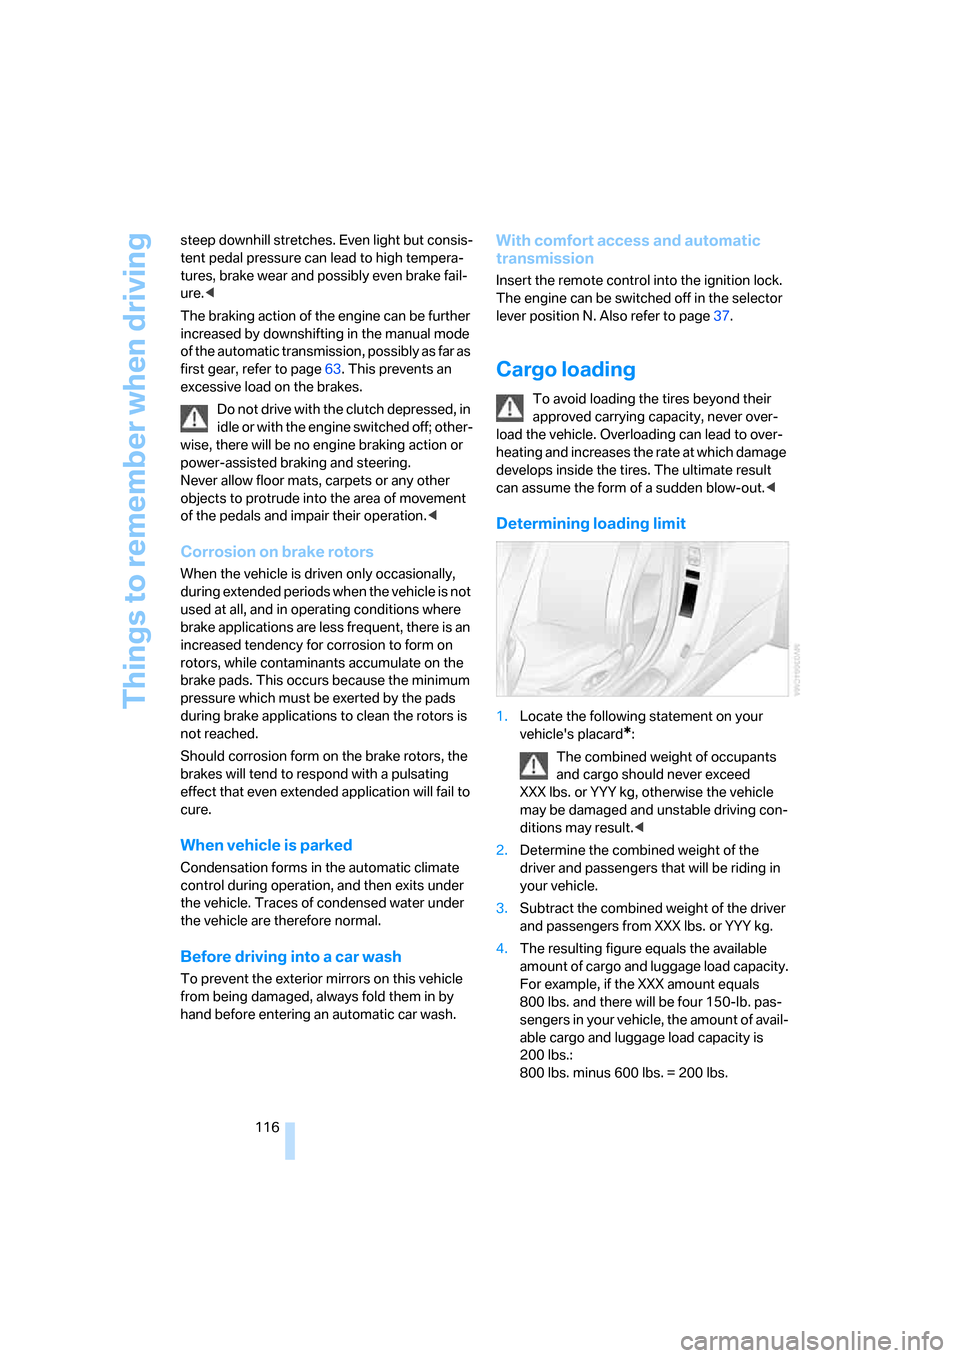
1.Locate the following statement on your
vehicle's placard
*:
The combined weight of occupants
and cargo should never exceed
XXX lbs. or YYY kg, otherwise the vehicle
may be damaged and unstable driving con-
ditions may result.<
2.Determine the combined weight of the
driver and passengers that will be riding in
your vehicle.
3.Subtract the combined weight of the driver
and passengers from XXX lbs. or YYY kg.
4.The resulting figure equals the available
amount of cargo and luggage load capacity.
For example, if the XXX amount equals
800 lbs. and there will be four 150-lb. pas-
sengers in your vehicle, the amount of avail-
able cargo and luggage load capacity is
200 lbs.:
800 lbs. minus 600 lbs. = 200 lbs.
Page 202 of 236
Mobility
201Reference
At a glance
Controls
Driving tips
Communications
Navigation
Entertainment
Power failure
Following a temporary interruption of the power
supply, the operation of some equipment is lim-
ited and must be reinitialized. Individual settings
are also lost and must be updated:
>Seat, mirror and steering wheel memory
The position must be stored again, refer to
page49.
>Time and Date
The values must be updated, refer to
page82.
>Radio
Stations must be stored again if necessary,
refer to page146.
>Navigation system
Wait until the system starts, refer to
page137.
Fuses
Never attempt to repair a blown fuse, and
do not replace a defective fuse with a sub-
stitute of another color or amperage rating, as
this could lead to overloading of the wiring, ulti-
mately resulting in a fire in the vehicle.<
Spare fuses and a pair of plastic tweezers are
located in the compartment for the onboard tool
kit, refer to page197.
Information on fuse allocation is located below
the bracket for the onboard tool kit, see below.
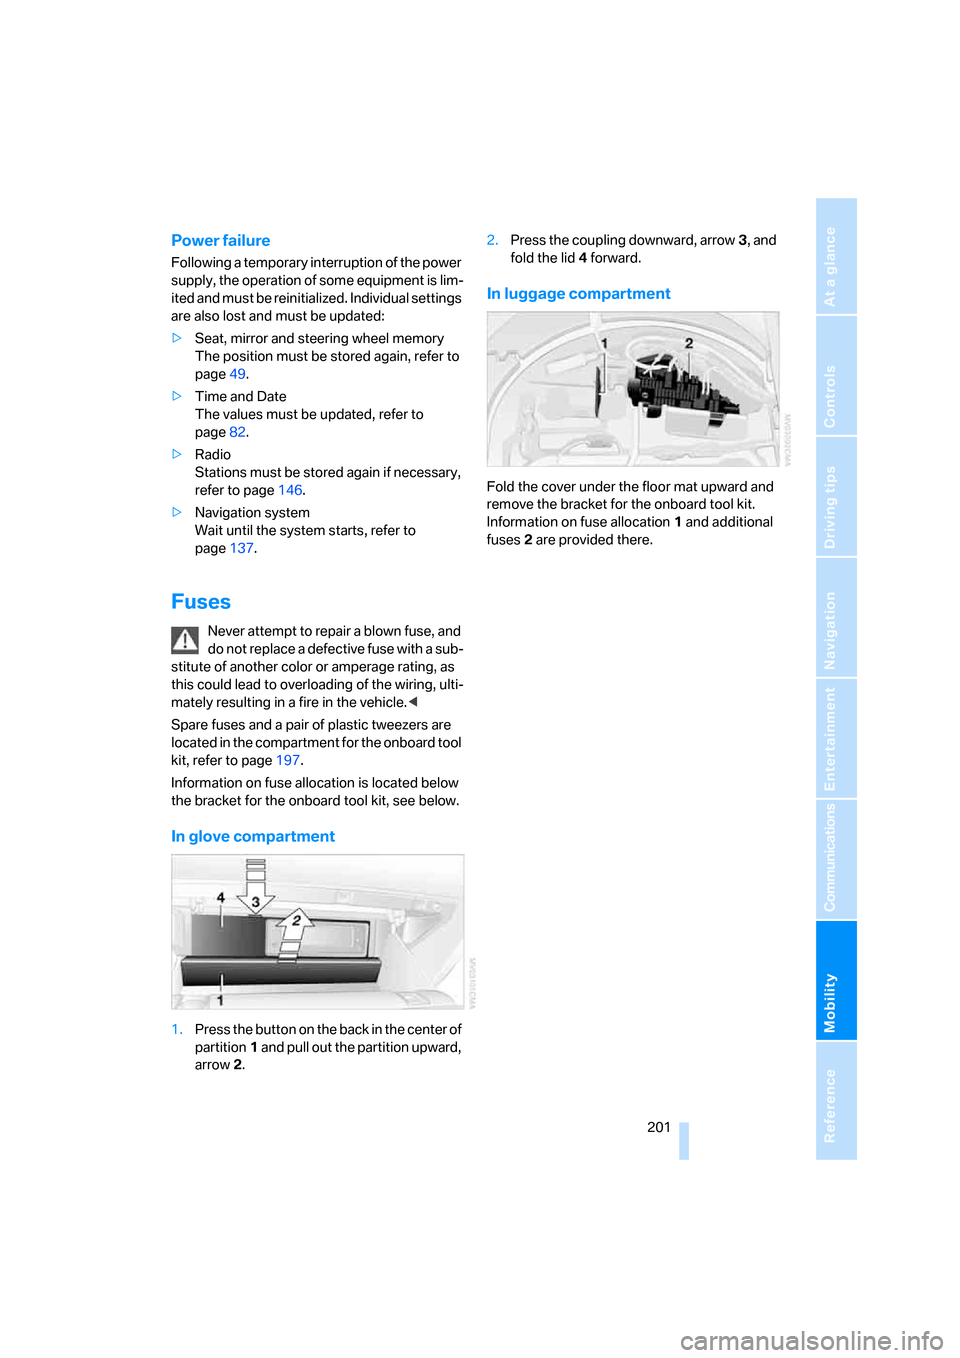
In glove compartment
1.Press the button on the back in the center of
partition1 and pull out the partition upward,
arrow2.2.Press the coupling downward, arrow3, and
fold the lid 4 forward.
In luggage compartment
Fold the cover under the floor mat upward and
remove the bracket for the onboard tool kit.
Information on fuse allocation1 and additional
fuses2 are provided there.
Page 223 of 236
Everything from A to Z
222 Dynamic Brake Control
DBC86
Dynamic Drive88
Dynamic Driving Control64
Dynamic Stability Control
DSC86
Dynamic Traction Control
DTC87
E
Easy entry, refer to Getting in
back51
Easy entry/exit53
EBV, refer to Electronic brake-
force distribution86
Eject button, refer to Buttons
on CD player140
Electrical malfunction
– convertible top43
– door lock32
– driver's door32
– fuel filler door182
– glass sunroof41
– luggage compartment lid34
– storage compartment, hotel
function33
Electric steering wheel
adjustment53
Electronic brake-force
distribution86
Electronic oil level check191
Emergency assistance, refer
to Roadside Assistance203
Emergency call202
Emergency operation, refer to
Manual operation
– convertible top43
– door lock32
– driver's door32
– fuel filler door182
– glass sunroof41
– hotel function33
– luggage compartment lid34
– selector lever interlock,
automatic transmission63Emergency release for
luggage compartment lid in
luggage compartment34
Emergency services, refer to
Roadside Assistance203
"Emission inspect."78
"Enable services"175
"End call"167
Engine
– breaking-in114
– data210
– overheated, refer to Coolant
temperature74
– speed210
– starting59
– starting, comfort access36
– starting difficulties59
– switching off59
– switching off when equipped
with Automatic transmission
with comfort access37
Engine compartment191
Engine coolant193
Engine oil
– additives192
– approved oils192
– electronic oil level check191
– recommended oils192
– temperature75
– temperature gauge75
– topping off192
"Engine oil level"192
Engine output, refer to Engine
data210
Engine overheating, refer to
Coolant temperature74
Engine speed, refer to Engine
specifications210
Engine starting, refer to
Starting engine59
"Enter address"122,128
Entering address121,124
Entering destination via town/
city name122
Entering intersection123
Entering town/city for
navigation122Entering zip code for
navigation123
"Entertainment"140
"Entertainment
settings"141,148
Entertainment sound output
on/off141
Entry map for destination125
Equalizer, refer to Tone
control143
"Equalizer", tone control143
"ESN"150
ESP Electronic Stability
Program, refer to DSC
Dynamic Stability
Control86
Event Data Recorders196
Exhaust system, refer to Hot
exhaust system114
Exterior mirrors52
– automatic dimming
feature53
– automatic heating53
– folding in and out52
– tilting down passenger-side
mirror53
Eye for tow-starting and
towing, refer to Tow
fitting204
Eyes for lashing, refer to
Securing cargo117
F
"Fader", refer to Tone
control142
Fader, refer to Tone
control142
Failure messages, refer to
Check Control79
False alarms, refer to Avoiding
unintentional alarms36
Fastening safety belts, refer to
Safety belts51
Fastest route for
navigation130
Page 225 of 236

Everything from A to Z
224 Heated
– mirrors, refer to Automatic
functions53
– rear window102
– seats52
– steering wheel54
Heater101
Heating
– exterior mirrors53
– interior100
– rear window102
– residual heat103
– seats52
– steering wheel54
Heating with engine switched
off, refer to Residual
heat103
Heavy cargo, refer to Securing
cargo117
Height, refer to
Dimensions211
Height adjustment
– seats48
– steering wheel53
High-beam assistant97
High beams97
– headlamp flasher97
– indicator lamp13
– replacing bulbs198
High Definition Radio148
Highs, refer to Tone
control141
High water, refer to Driving
through water115
Hills115
Holder for cups109
"Home address" in
navigation130
Homepage4
Hood190
Horn10
Hotel function33
– unlocking manually33
Hot exhaust system114
"Hour memo"83
"House number" for desti-
nation entry124Hydraulic brake assistant,
refer to DBC Dynamic Brake
Control86
Hydroplaning115
– also refer to Minimum tread
depth187
I
IBOC, refer to High Definition
Radio148
Ice, refer to Outside temper-
ature warning74
ID3-Tag, refer to Information
about track155
iDrive16
– adjusting brightness83
– assistance window20
– changing date and time82
– changing language84
– changing menu page19
– changing settings82
– changing unit of measure
units and display form83
– controller16
– controls16
– displaying menus17
– selecting menu item19
– selecting or confirming
entry19
– start menu17
– status information20
– symbols18
Ignition58
– switched off58
– switched on58
Ignition key, refer to Keys/
remote control28
Ignition key position 1, refer to
Radio readiness58
Ignition key position 2, refer to
Ignition on58
Ignition lock58
– starting engine with comfort
access37Indicator/warning lamps
– active steering90
– airbags92
– DSC13,87
– DTC13,87
– Flat Tire Monitor89
– fog lamps13,98
– handbrake13,60
– overview13
– safety belt warning52
Individually programmable
buttons on steering
wheel54
Individual settings, refer to
Personal Profile29
Inflation pressure, refer to Tire
inflation pressure184
Inflation pressure monitoring,
refer to Flat Tire Monitor88
Information
– on another location126
– on country126
– on current position126
– on destination location126
"Information" for
navigation126
"Information on
destination"128
Initializing
– Flat Tire Monitor88
– radio, refer to Storing
stations146
– refer to Power failure201
– seat, mirror and steering
wheel memory49
– time and date82
"Input map"126
Installation location
– CD changer157
– navigation drive120
Instructions for navigation
system, refer to Voice
instructions135
Instrument cluster12
Instrument illumination, refer
to Instrument lighting99
Instrument lighting99
Page 226 of 236

Reference 225
At a glance
Controls
Driving tips
Communications
Navigation
Entertainment
Mobility
Instrument panel, refer to
Instrument cluster12
Integrated key28
Integrated universal remote
control106
Interesting destination for
navigation126
"Interim time"82
Interior lamps99
– switching on with remote
control31
Interior motion sensor36
– switching off36
Interior rearview mirror53
– automatically dimming, refer
to Automatic functions53
Interlock on automatic
transmission62
Intermittent wiper mode65
J
Jacking points200
Joystick, refer to iDrive16
Jump starting203
K
Keyless-Go, refer to Comfort
access36
Keyless opening and closing,
refer to Comfort access36
Key Memory, refer to Personal
Profile29
"Keypad"169
Keys28
– key-related settings, refer to
Personal Profile29
Kick-down
– automatic transmission with
Steptronic63
– SMG Sequential Manual
Gearbox62
Knock control183
L
Lamps, refer to Parking lamps/
low beams96
Lamps and bulbs197
"Languages"84
"Languages" for
navigation135
Lashing eyes, refer to
Securing cargo117
Last destinations, refer to
Destination list127
"Last seat pos."49
LATCH child-restraint fixing
system57
Length, refer to
Dimensions211
License plate lamps, replacing
bulbs200
Light-emitting diodes
LEDs200
Lighter110
"Lighting"65,96
Lighting
– instruments99
– of the vehicle, refer to
Lamps96
– refer to High-beam
assistant97
Light switch96
"Limit"81
Loading, refer to Cargo
loading116
"Lock after driving"32
Lock buttons in the doors,
refer to Locking33
Locking
– from inside33
– from outside31
– without key, refer to Comfort
access36
Locking and unlocking doors
– from inside32
– from outside30
Locking out, refer to
Unlocking36
Locking without key, refer to
Comfort access36"LOGIC7", refer to Tone
control142
Low beams96
– automatic96
– replacing bulbs197
Lower back support, refer to
Lumbar support48
Luggage compartment
– capacity210
– emergency release34
– hotel function33
– increasing capacity,
Convertible35
– opening/closing, refer to
Luggage compartment
lid34
– opening from inside34
– opening from outside34
– opening with remote
control31
Luggage compartment lid34
– emergency operation34
– emergency release34
– opening from inside34
– opening from outside34
– opening with remote
control31,34
– unlocking manually34
Lumbar support48
LW, waveband144
M
M+S tires, refer to Winter
tires189
Maintenance
– refer to Service
requirements77
– refer to the Service and
Warranty Information
Booklet for US models195
– refer to Warranty and
Service Guide Booklet for
Canadian models195
Maintenance system195