Page 151 of 194
Navigation (NAV) 146
–Press the button �page 18, to leave the map
side menu.When you change the map orientation with the side menu active,
this map orientation remains only for the time the side menu is
active. After the map side menu is deactivated, the orientation
entered in Setup becomes active again
�page 153.
When you make the selection North, the map is oriented to the
North
�page 145, fig.153. The vehicle always remains in the center
of the display.
When you make the selection Drive, the vehicle symbol is oriented
pointing upward. The map rotates around the vehicle.
An active map side menu is deactivated again by pressing the
button
�page 144.
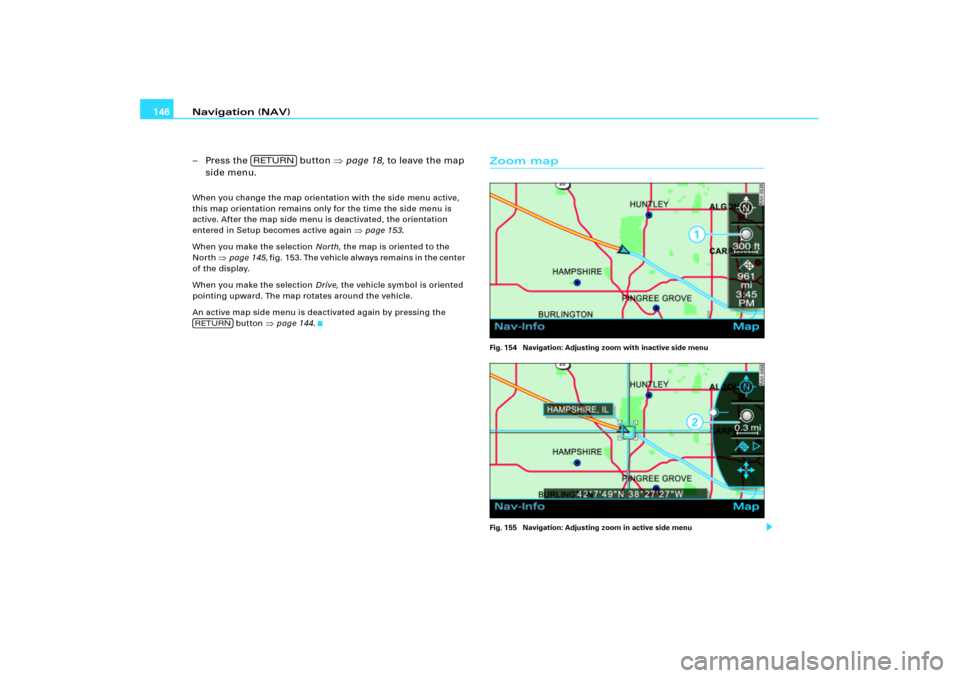
Zoom mapFig. 154 Navigation: Adjusting zoom with inactive side menu
Fig. 155 Navigation: Adjusting zoom in active side menu
RETURN
RETURN
Page 152 of 194
Navigation (NAV)147
General operation
RADIO, CD
NAME, TEL
NAV, INFO
CAR, SETUP
Changing scale with inactive side menu:
–Press the Map control button in the navigation menu.
– Rotate the control knob counterclockwise to zoom into
the map (smaller scale, display of details), or
– Rotate the control knob clockwise, to zoom out of the
map (larger scale, more overview). You are shown the
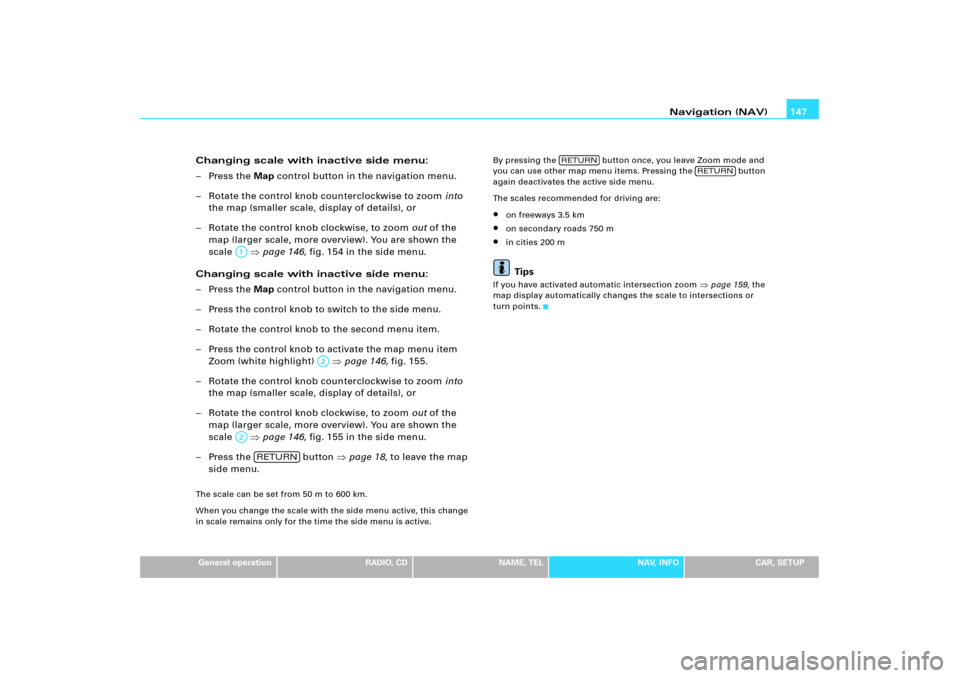
scale �page 146, fig.154 in the side menu.
Changing scale with inactive side menu:
–Press the Map control button in the navigation menu.
– Press the control knob to switch to the side menu.
– Rotate the control knob to the second menu item.
– Press the control knob to activate the map menu item
Zoom (white highlight) �page 146, fig.155.
– Rotate the control knob counterclockwise to zoom into
the map (smaller scale, display of details), or
– Rotate the control knob clockwise, to zoom out of the
map (larger scale, more overview). You are shown the
scale �page 146, fig.155 in the side menu.
–Press the button �page 18, to leave the map
side menu.The scale can be set from 50 m to 600 km.
When you change the scale with the side menu active, this change
in scale remains only for the time the side menu is active.By pressing the button once, you leave Zoom mode and
you can use other map menu items. Pressing the button
again deactivates the active side menu.
The scales recommended for driving are:
�
on freeways 3.5 km
�
on secondary roads 750 m
�
in cities 200 mTips
If you have activated automatic intersection zoom
�page 159, the
map display automatically changes the scale to intersections or
turn points.
A1
A�
A�
RETURN
RETURN
RETURN
Page 157 of 194
Navigation (NAV) 152�
Intersection map
�page 158
�
Auto intersection zoom
�page 159
�
Compass
�page 160
�
Version information
�page 160
�
Demo mode
�page 161
�
Set position/direction
�page 161
The sound and tuning settings and the brightness of the display can
be entered using the control buttons
�page 169.
Tips
We recommend that you enter these settings when the vehicle is
stationary. Please note
�page 9.
Map scheme
The map display can be changed according to driving
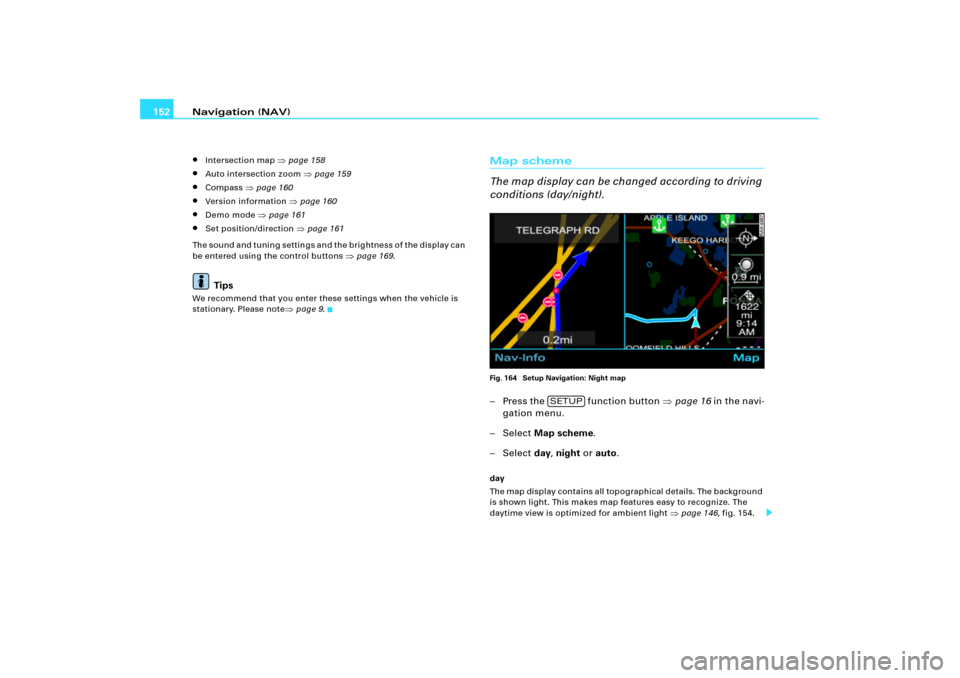
conditions (day/night).Fig. 164 Setup Navigation: Night map– Press the function button �page 16 in the navi-
gation menu.
– Select Map scheme.
– Select day, night or auto.day
Th e m a p d i s p l a y c o n t a i n s a ll to p o g ra p h i c a l d e t a i l s . The b a ckg ro u n d
is shown light. This makes map features easy to recognize. The
daytime view is optimized for ambient light
�page 146, fig.154.
SETUP
Page 158 of 194
Navigation (NAV)153
General operation
RADIO, CD
NAME, TEL
NAV, INFO
CAR, SETUP night
The map display contains all topographical details. The background
is shown dark
�page 152, fig.164. This provides a glare-free view
o f t h e m a p . T h e s t r e e t n a m e s a n d t h e i r l a y o u t , p l a c e n a m e s a n d m a p
contents are in contrasting light colors
auto
The map scheme changes automatically from day to night display
when the low-beam lights are turned on.
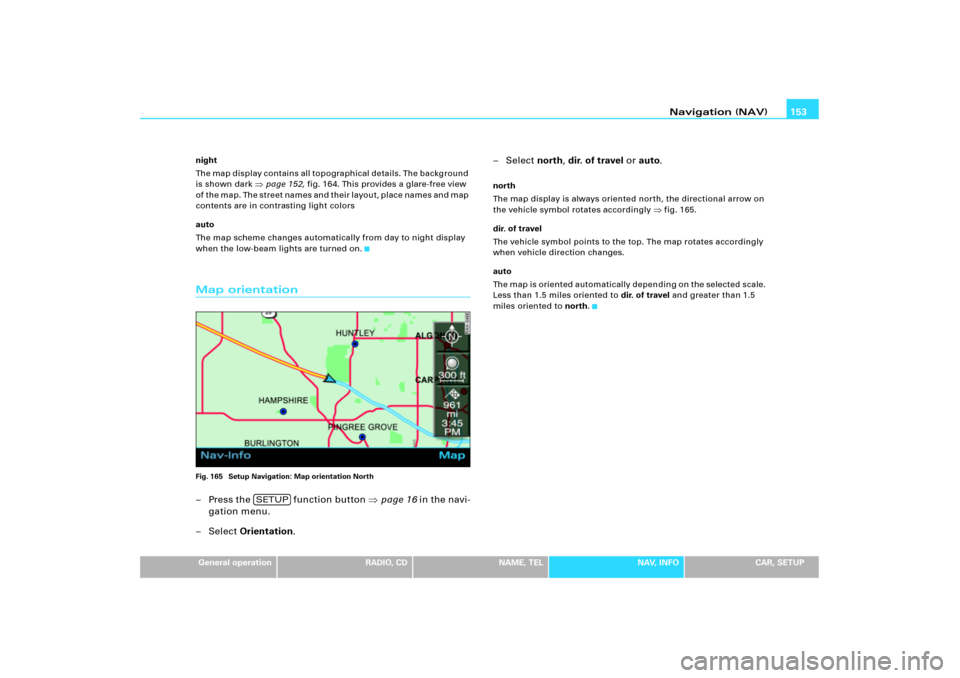
Map orientationFig. 165 Setup Navigation: Map orientation North– Press the function button �page 16 in the navi-
gation menu.
–Select Orientation.– Select north, dir. of travel or auto.
north
The map display is always oriented north, the directional arrow on
the vehicle symbol rotates accordingly
�fig.165.
dir. of travel
The vehicle symbol points to the top. The map rotates accordingly
when vehicle direction changes.
auto
The map is oriented automatically depending on the selected scale.
Less than 1.5 miles oriented to dir. of travel and greater than 1.5
miles oriented to north.
SETUP
Page 161 of 194
Navigation (NAV) 156Yo u c a n m o d i fy t h e m a p c o n t e n t s d i s p la ye d to s ui t yo u r w is he s . Th e
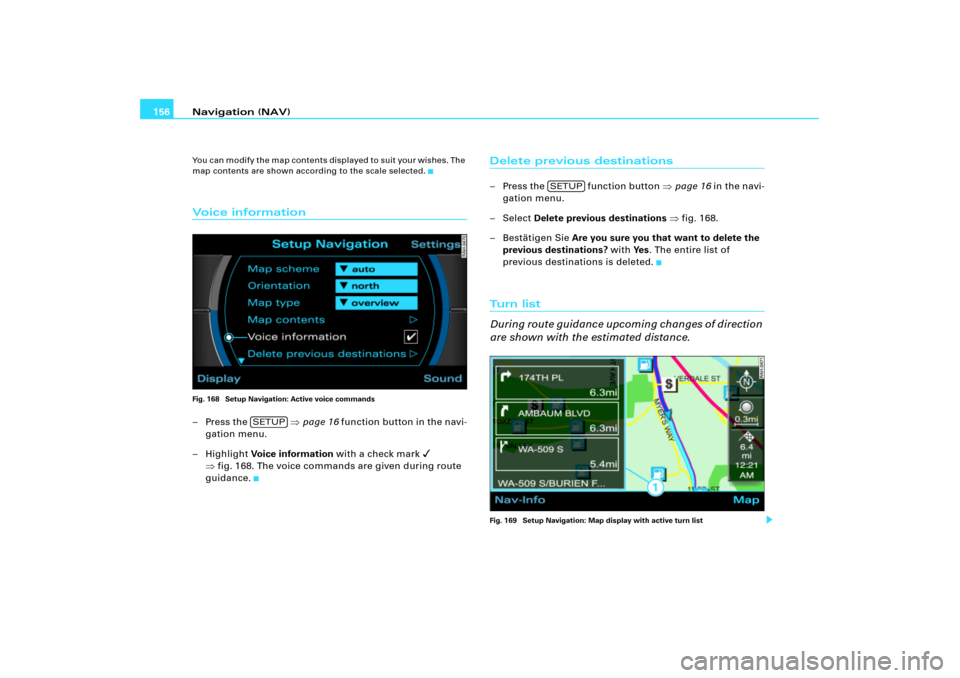
map contents are shown according to the scale selected.Vo i c e i n fo r m a t i o nFig. 168 Setup Navigation: Active voice commands–Press the �page 16 function button in the navi-
gation menu.
– Highlight Voice information with a check mark
�
�fig.168. The voice commands are given during route
guidance.
Delete previous destinations– Press the function button �page 16 in the navi-
gation menu.
– Select Delete previous destinations �fig.168.
– Bestätigen Sie Are you sure you that want to delete the
previous destinations? with Ye s. The entire list of
previous destinations is deleted.Tu rn l i s t
During route guidance upcoming changes of direction
are shown with the estimated distance.Fig. 169 Setup Navigation: Map display with active turn list
SETUP
SETUP
Page 163 of 194
Navigation (NAV) 158The immediate upcoming event (for example, an upcoming freeway
interchange) is shown in the bottom section of the table.
I f yo u p as s a n e v e n t , it is d e le t e d f ro m t h e t h re e - p a r t t a b l e . Th e n e x t
event drops down into the list.
For events, the symbol is displayed
�page 157, f i g .1 7 0 , fo r f r e e w a y
exits the number as well as the distance and estimated time of
arrival to the event is displayed.
The following freeway information can be displayed:
�
Freeway interchanges
�
Freeway exits
�
Parking areas
�
Filling stations and rest areas
Times of less than one minute until you reach the event are not
shown.
The name underneath the three-part table shows you the freeway,
secondary road and street names for the current location.Tips
If you have activated the Turn list
�page 156 and freeway informa-
tion, you are shown the list of freeway information on freeways
�page 157, fig.170 and the Turn list on other roads
�page 156,
fig.169.
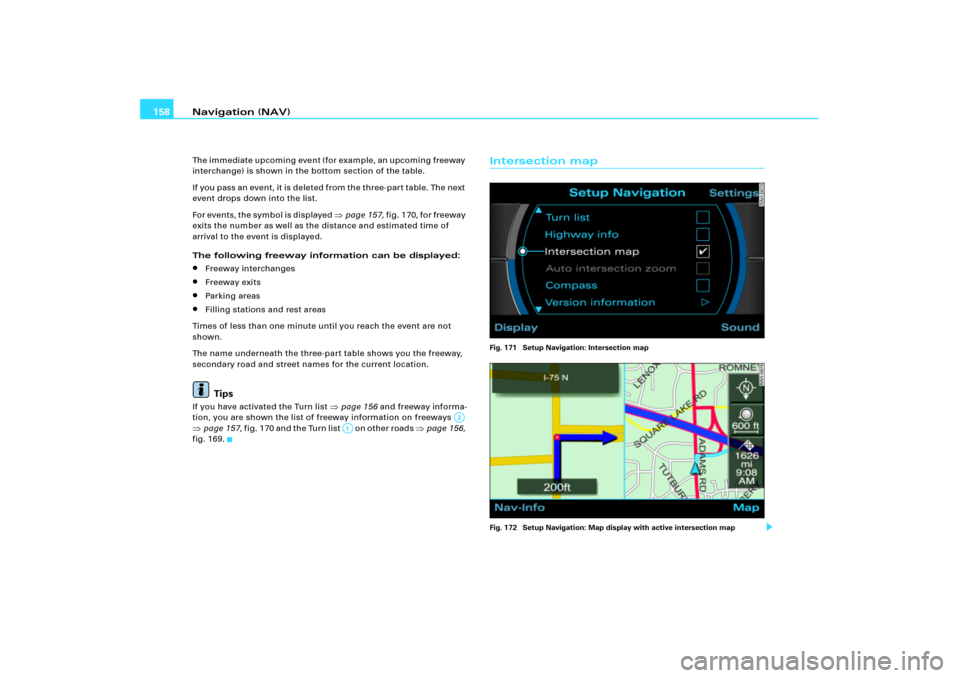
Intersection mapFig. 171 Setup Navigation: Intersection map
Fig. 172 Setup Navigation: Map display with active intersection map
A�
A;
Page 164 of 194
Navigation (NAV)159
General operation
RADIO, CD
NAME, TEL
NAV, INFO
CAR, SETUP
– Press the function button �page 16 in the navi-
gation menu.
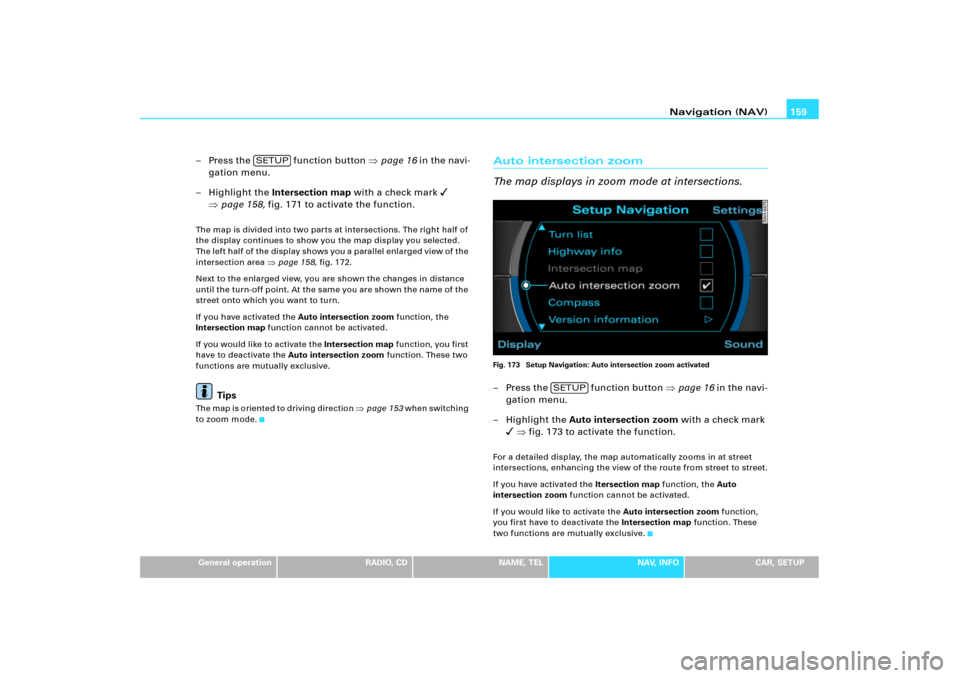
– Highlight the Intersection map with a check mark
�
�page 158, fig.171 to activate the function.
The map is divided into two parts at intersections. The right half of
the display continues to show you the map display you selected.
Th e l e ft h a l f o f t he d i s p l a y s h o w s y o u a p a ra l l e l e n l a r g e d v i e w o f t h e
intersection area
�page 158, fig.172.
Next to the enlarged view, you are shown the changes in distance
until the turn-off point. At the same you are shown the name of the
street onto which you want to turn.
If you have activated the Auto intersection zoom function, the
Intersection map function cannot be activated.
If you would like to activate the Intersection map function, you first
have to deactivate the Auto intersection zoom function. These two
functions are mutually exclusive.
Tips
The map is oriented to driving direction
�page 153 when switching
to zoom mode.
Auto intersection zoom
The map displays in zoom mode at intersections.Fig. 173 Setup Navigation: Auto intersection zoom activated– Press the function button �page 16 in the navi-
gation menu.
– Highlight the Auto intersection zoom with a check mark
� �fig.173 to activate the function.
For a detailed display, the map automatically zooms in at street
intersections, enhancing the view of the route from street to street.
If you have activated the Itersection map function, the Auto
intersection zoom function cannot be activated.
If you would like to activate the Auto intersection zoom function,
you first have to deactivate the Intersection map function. These
two functions are mutually exclusive.
SETUP
SETUP
Page 175 of 194
SETUP 170The following submenus are available in the Setup
function:
Tips
You can read about system-specific Setup settings functions in the
description for each primary function.
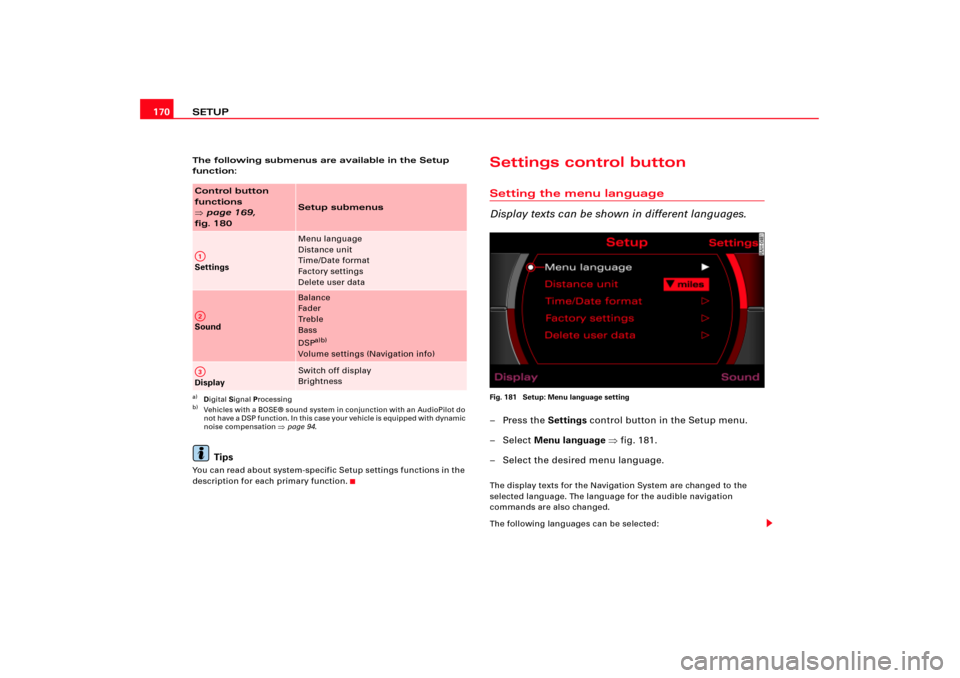
Settings control buttonSetting the menu language
Display texts can be shown in different languages.Fig. 181 Setup: Menu language setting–Press the Settings control button in the Setup menu.
– Select Menu language �fig.181.
– Select the desired menu language.The display texts for the Navigation System are changed to the
selected language. The language for the audible navigation
commands are also changed.
The following languages can be selected:
Control button
functions �
page 169,
fig. 180
Setup submenus
Settings
Menu language
Distance unit
Time/Date format
Factory settings
Delete user data
Sound
Balance
Fader
Tr e b l e
Bass
DSP
a)b)
Volume settings (Navigation info)
a)Digital Signal Processingb)Vehicles with a BOSE® sound system in conjunction with an AudioPilot do
n o t h av e a D SP f un ct i o n. I n th is c as e y o ur v e hi cl e is equ ip p ed w i th d y n am ic
noise compensation �page 94.
Display
Switch off display
Brightness
A1A�A3