2005 VOLVO S40 lock
[x] Cancel search: lockPage 66 of 127
1. The gear selector must be in the Park position.
2. Please be aware that leaving the key in this position will increase battery drain.
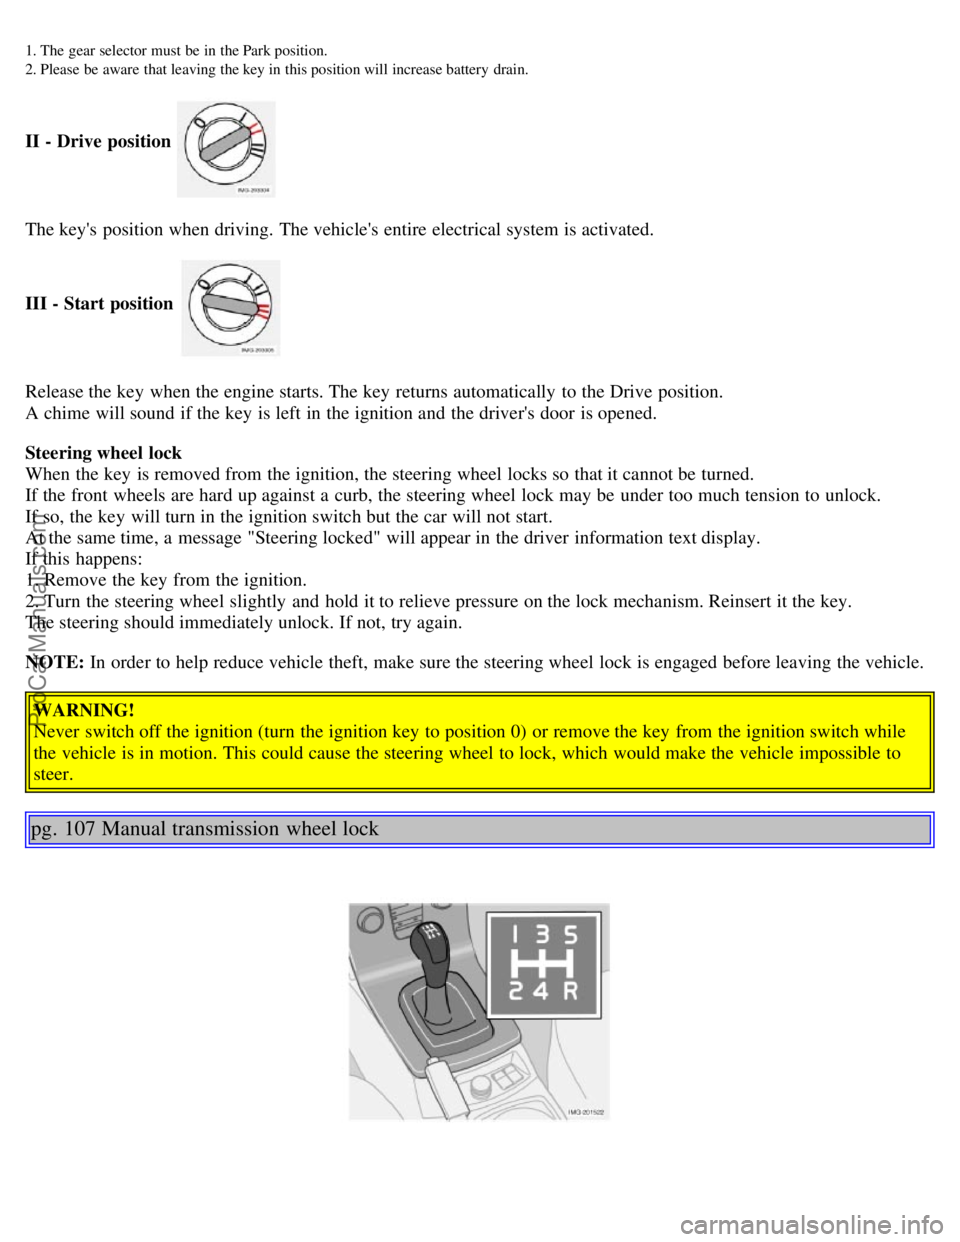
II - Drive position
The key's position when driving. The vehicle's entire electrical system is activated.
III - Start position
Release the key when the engine starts. The key returns automatically to the Drive position.
A chime will sound if the key is left in the ignition and the driver's door is opened.
Steering wheel lock
When the key is removed from the ignition, the steering wheel locks so that it cannot be turned.
If the front wheels are hard up against a curb, the steering wheel lock may be under too much tension to unlock.
If so, the key will turn in the ignition switch but the car will not start.
At the same time, a message "Steering locked" will appear in the driver information text display.
If this happens:
1. Remove the key from the ignition.
2. Turn the steering wheel slightly and hold it to relieve pressure on the lock mechanism. Reinsert it the key.
The steering should immediately unlock. If not, try again.
NOTE: In order to help reduce vehicle theft, make sure the steering wheel lock is engaged before leaving the vehicle.
WARNING!
Never switch off the ignition (turn the ignition key to position 0) or remove the key from the ignition switch while
the vehicle is in motion. This could cause the steering wheel to lock, which would make the vehicle impossible to
steer.
pg. 107 Manual transmission wheel lock
ProCarManuals.com
Page 67 of 127
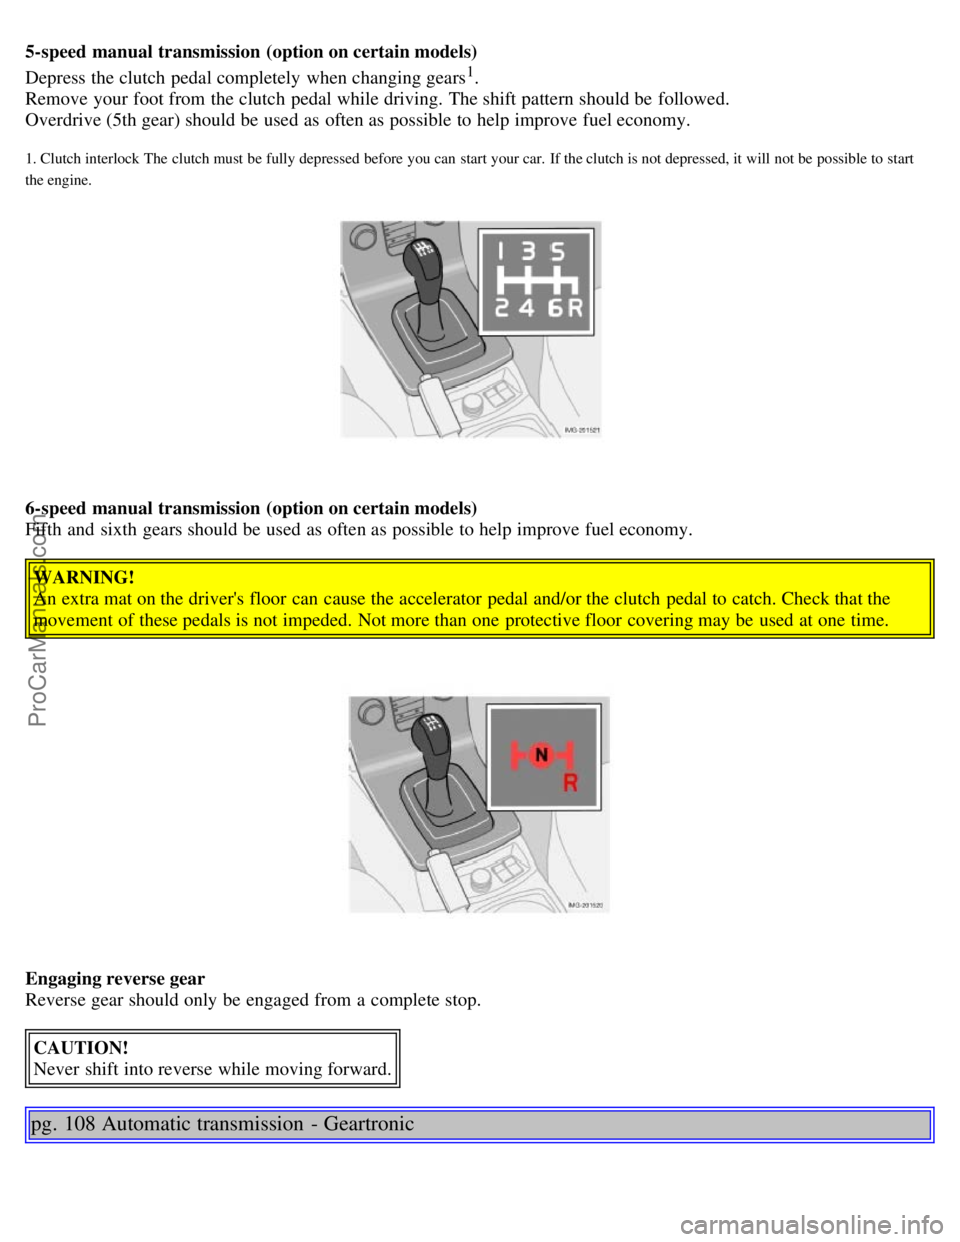
5-speed manual transmission (option on certain models)
Depress the clutch pedal completely when changing gears1.
Remove your foot from the clutch pedal while driving. The shift pattern should be followed.
Overdrive (5th gear) should be used as often as possible to help improve fuel economy.
1. Clutch interlock The clutch must be fully depressed before you can start your car. If the clutch is not depressed, it will not be possible to start
the engine.
6-speed manual transmission (option on certain models)
Fifth and sixth gears should be used as often as possible to help improve fuel economy.
WARNING!
An extra mat on the driver's floor can cause the accelerator pedal and/or the clutch pedal to catch. Check that the
movement of these pedals is not impeded. Not more than one protective floor covering may be used at one time.
Engaging reverse gear
Reverse gear should only be engaged from a complete stop.CAUTION!
Never shift into reverse while moving forward.
pg. 108 Automatic transmission - Geartronic
ProCarManuals.com
Page 68 of 127
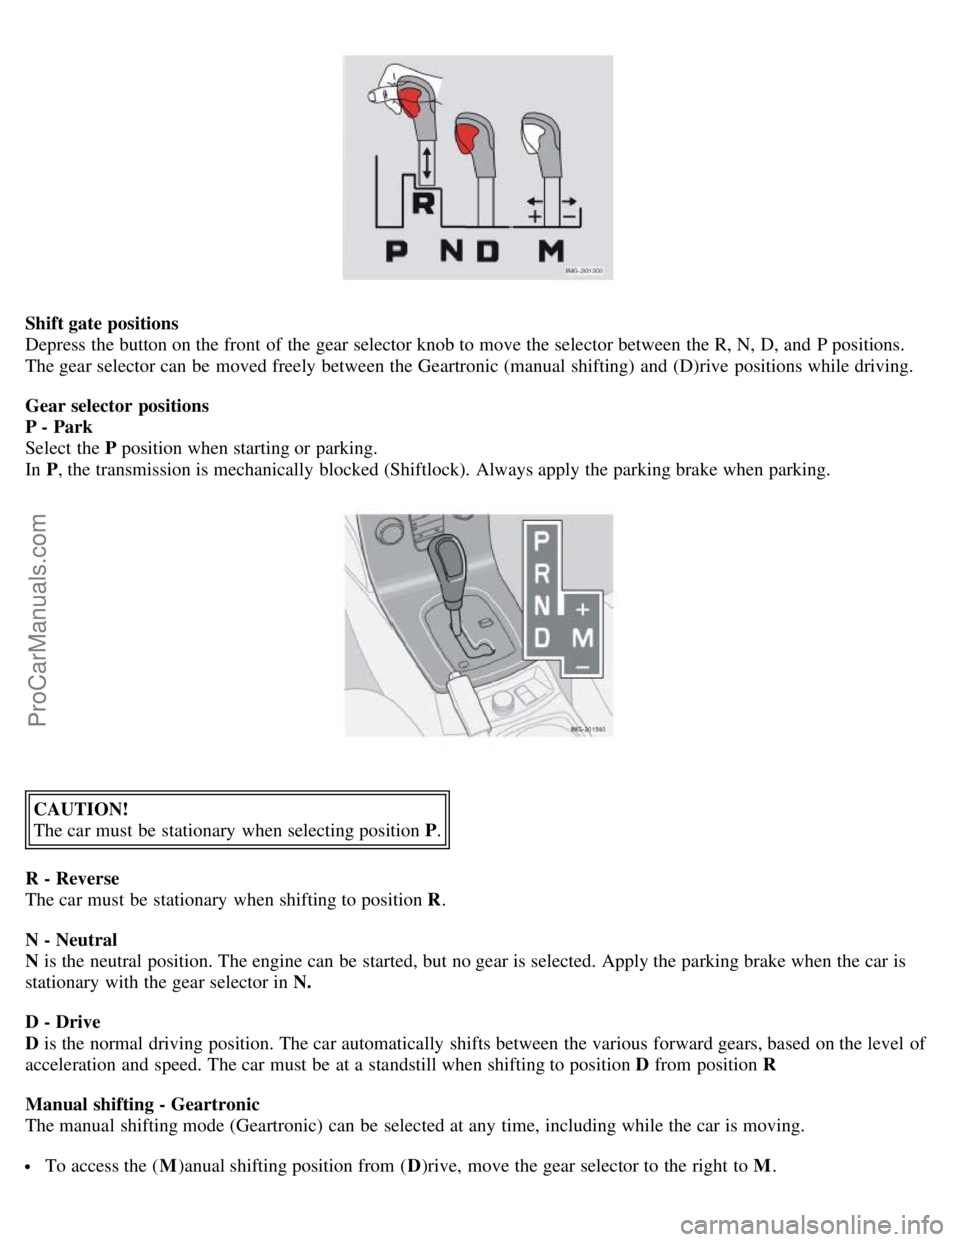
Shift gate positions
Depress the button on the front of the gear selector knob to move the selector between the R, N, D, and P positions.
The gear selector can be moved freely between the Geartronic (manual shifting) and (D)rive positions while driving.
Gear selector positions
P - Park
Select the P position when starting or parking.
In P , the transmission is mechanically blocked (Shiftlock). Always apply the parking brake when parking.
CAUTION!
The car must be stationary when selecting position P .
R - Reverse
The car must be stationary when shifting to position R .
N - Neutral
N is the neutral position. The engine can be started, but no gear is selected. Apply the parking brake when the car is
stationary with the gear selector in N.
D - Drive
D is the normal driving position. The car automatically shifts between the various forward gears, based on the level of
acceleration and speed. The car must be at a standstill when shifting to position D from position R
Manual shifting - Geartronic
The manual shifting mode (Geartronic) can be selected at any time, including while the car is moving.
To access the ( M)anual shifting position from ( D)rive, move the gear selector to the right to M .
ProCarManuals.com
Page 69 of 127
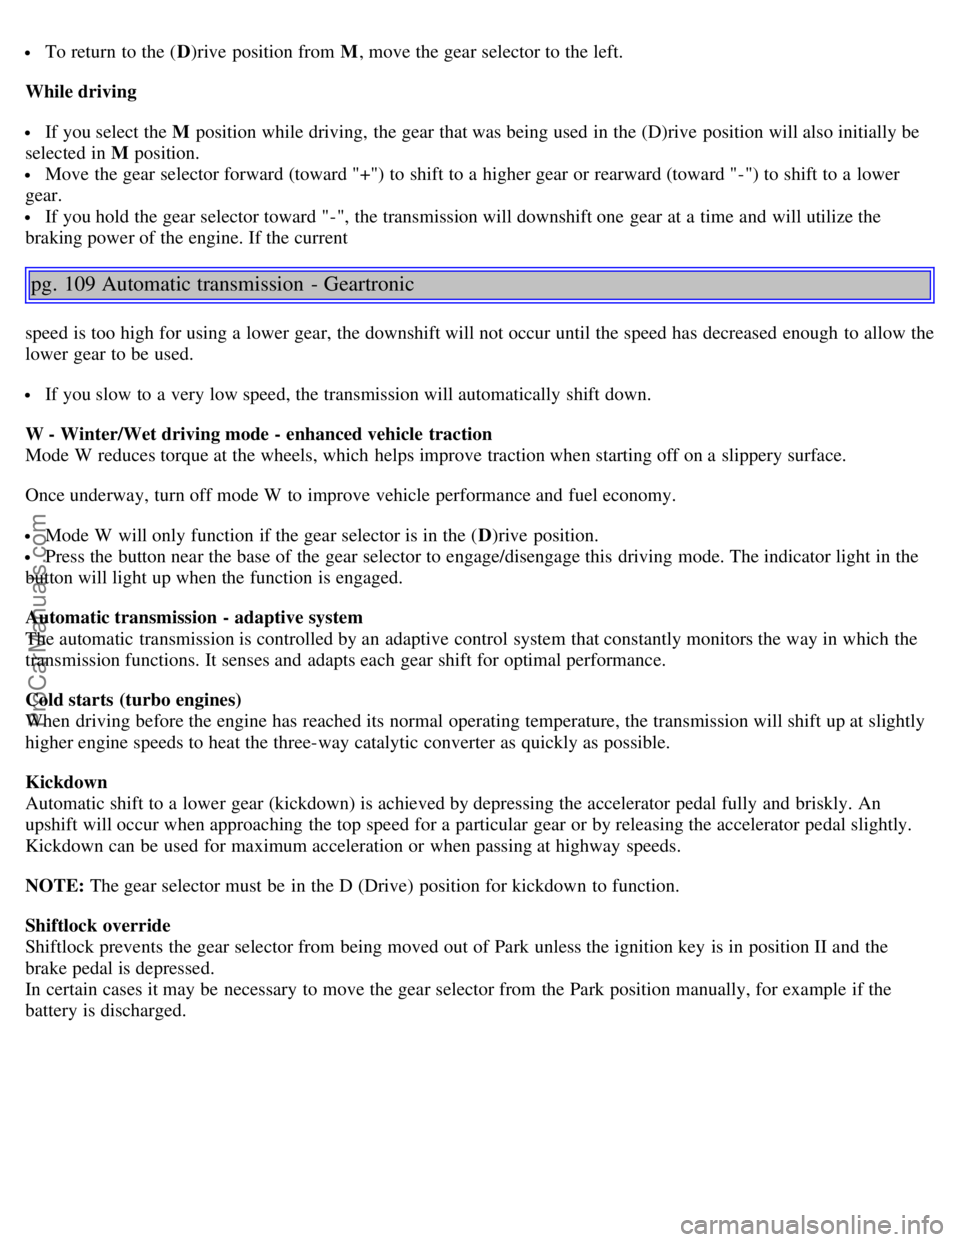
To return to the (D)rive position from M , move the gear selector to the left.
While driving
If you select the M position while driving, the gear that was being used in the (D)rive position will also initially be
selected in M position.
Move the gear selector forward (toward "+") to shift to a higher gear or rearward (toward "-") to shift to a lower
gear.
If you hold the gear selector toward "-", the transmission will downshift one gear at a time and will utilize the
braking power of the engine. If the current
pg. 109 Automatic transmission - Geartronic
speed is too high for using a lower gear, the downshift will not occur until the speed has decreased enough to allow the
lower gear to be used.
If you slow to a very low speed, the transmission will automatically shift down.
W - Winter/Wet driving mode - enhanced vehicle traction
Mode W reduces torque at the wheels, which helps improve traction when starting off on a slippery surface.
Once underway, turn off mode W to improve vehicle performance and fuel economy.
Mode W will only function if the gear selector is in the ( D)rive position.
Press the button near the base of the gear selector to engage/disengage this driving mode. The indicator light in the
button will light up when the function is engaged.
Automatic transmission - adaptive system
The automatic transmission is controlled by an adaptive control system that constantly monitors the way in which the
transmission functions. It senses and adapts each gear shift for optimal performance.
Cold starts (turbo engines)
When driving before the engine has reached its normal operating temperature, the transmission will shift up at slightly
higher engine speeds to heat the three-way catalytic converter as quickly as possible.
Kickdown
Automatic shift to a lower gear (kickdown) is achieved by depressing the accelerator pedal fully and briskly. An
upshift will occur when approaching the top speed for a particular gear or by releasing the accelerator pedal slightly.
Kickdown can be used for maximum acceleration or when passing at highway speeds.
NOTE: The gear selector must be in the D (Drive) position for kickdown to function.
Shiftlock override
Shiftlock prevents the gear selector from being moved out of Park unless the ignition key is in position II and the
brake pedal is depressed.
In certain cases it may be necessary to move the gear selector from the Park position manually, for example if the
battery is discharged.
ProCarManuals.com
Page 70 of 127
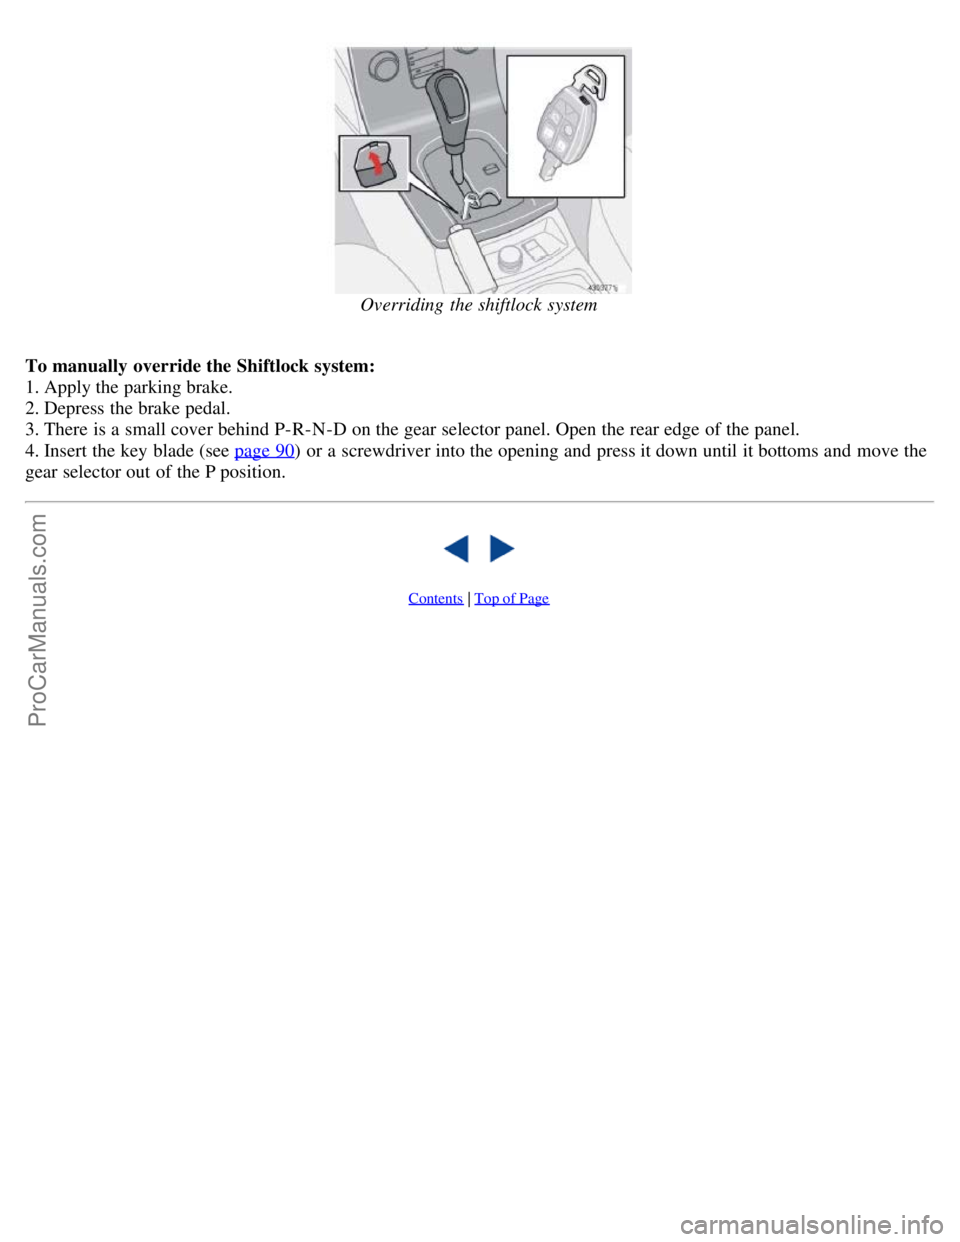
Overriding the shiftlock system
To manually override the Shiftlock system:
1. Apply the parking brake.
2. Depress the brake pedal.
3. There is a small cover behind P-R-N-D on the gear selector panel. Open the rear edge of the panel.
4. Insert the key blade (see page 90
) or a screwdriver into the opening and press it down until it bottoms and move the
gear selector out of the P position.
Contents | Top of Page
ProCarManuals.com
Page 79 of 127
failure.
pg. 132 Snow chains, snow tire, studded tires
Snow chains
Snow chains can be used on your Volvo with the following restrictions:
Snow chains should be installed on front wheels only. Use only Volvo approved snow chains.
If accessory, aftermarket or "custom" tires and wheels are installed and are of a size different than the original tires
and wheels, chains in some cases CANNOT be used. Sufficient clearances between chains and brakes, suspension and
body components must be maintained.
Some strap -on type chains will interfere with brake components and therefore CANNOT be used.
All Wheel Drive models: Snow chains should only be installed on the front wheels. Only chains adapted for AWD
models should be used.
Consult your Volvo retailer for additional snow chain information.
CAUTION!
Check local regulations regarding the use of snow chains before installing.
Always follow the chain manufacturer's installation instructions carefully. Install chains as tightly as possible and
retighten periodically.
Never exceed the chain manufacturer's specified maximum speed limit. (Under no circumstances should you
exceed 31 mph
(50 km/h).
Avoid bumps, holes or sharp turns when driving with snow chains.
The handling of the vehicle can be adversely affected when driving with chains. Avoid fast or sharp turns as well
as locked wheel braking.
Snow tires, studded tire
1
Tires for winter use:
Owners who live in or regularly commute through areas with sustained periods of snow or icy driving conditions are
strongly advised to fit suitable winter tires to help retain the highest degree of traction.
It is important to install winter tires on all four wheels to help retain traction during cornering, braking, and
accelerating. Failure to do so could reduce traction to an unsafe level or adversely affect handling.
Do not mix tires of different design as this could also negatively affect overall tire road grip.
Winter tires wear more quickly on dry roads in warm weather. They should be removed when the winter driving
season has ended.
Studded tires should be run-in 300-600 miles (500-1000 km) during which the car should be driven as smoothly as
possible to give the studs the opportunity to seat properly in the tires. The tires should have the same rotational
direction throughout their entire lifetime.
NOTE: Please consult state or provincial regulations restricting the use of studded winter tires before installing such
tires.
1. Where permitted
pg. 133 Temporary Spare
Temporary spare
The spare tire in your vehicle is called a "temporary spare".
ProCarManuals.com
Page 80 of 127
Recommended tire pressure (see the placard on the B-pillar or on the fuel filler door) should be maintained irrespective
of which position on the car the temporary spare tire is used on.
In the event of damage to this tire, a new one can be purchased from your Volvo retailer.WARNING!
Current legislation prohibits the use of the "temporary spare" tire other than as a temporary replacement for a
punctured tire. It must be replaced as soon as possible by a standard tire. Road holding and handling may be affected
with the "temporary spare" in use. Do not exceed 50 m.p.h. (80 km/h). Do not drive farther than 50 miles (80 km) on
a temporary spare tire.
CAUTION!
The car must not be driven with wheels of different dimensions or with a spare tire other than the one that came with
the car. The use of different size wheels can seriously damage your car's transmission.
pg. 134 Wheel nuts
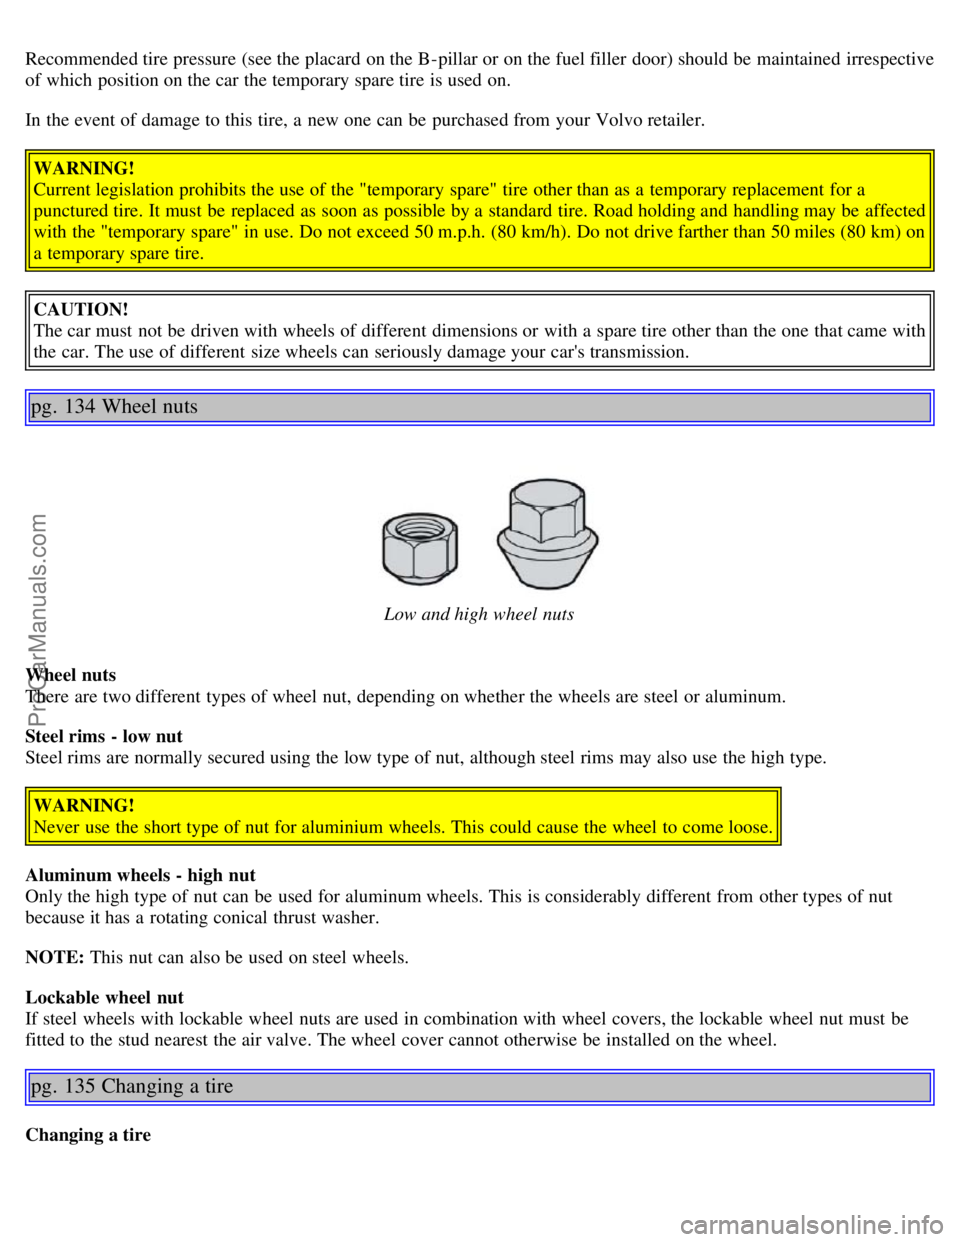
Low and high wheel nuts
Wheel nuts
There are two different types of wheel nut, depending on whether the wheels are steel or aluminum.
Steel rims - low nut
Steel rims are normally secured using the low type of nut, although steel rims may also use the high type. WARNING!
Never use the short type of nut for aluminium wheels. This could cause the wheel to come loose.
Aluminum wheels - high nut
Only the high type of nut can be used for aluminum wheels. This is considerably different from other types of nut
because it has a rotating conical thrust washer.
NOTE: This nut can also be used on steel wheels.
Lockable wheel nut
If steel wheels with lockable wheel nuts are used in combination with wheel covers, the lockable wheel nut must be
fitted to the stud nearest the air valve. The wheel cover cannot otherwise be installed on the wheel.
pg. 135 Changing a tire
Changing a tire
ProCarManuals.com
Page 81 of 127
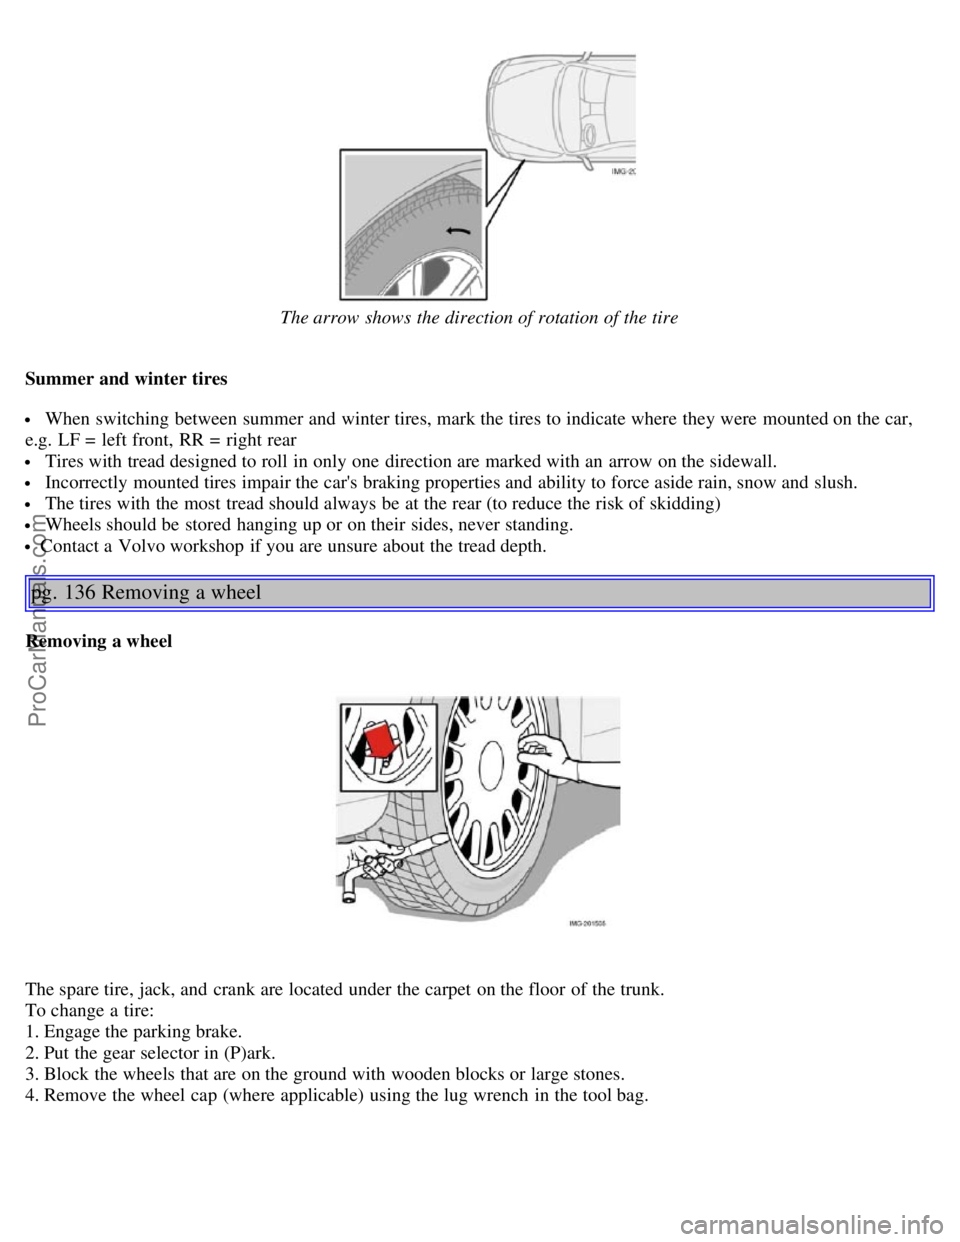
The arrow shows the direction of rotation of the tire
Summer and winter tires
When switching between summer and winter tires, mark the tires to indicate where they were mounted on the car,
e.g. LF = left front, RR = right rear
Tires with tread designed to roll in only one direction are marked with an arrow on the sidewall.
Incorrectly mounted tires impair the car's braking properties and ability to force aside rain, snow and slush.
The tires with the most tread should always be at the rear (to reduce the risk of skidding)
Wheels should be stored hanging up or on their sides, never standing.
Contact a Volvo workshop if you are unsure about the tread depth.
pg. 136 Removing a wheel
Removing a wheel
The spare tire, jack, and crank are located under the carpet on the floor of the trunk.
To change a tire:
1. Engage the parking brake.
2. Put the gear selector in (P)ark.
3. Block the wheels that are on the ground with wooden blocks or large stones.
4. Remove the wheel cap (where applicable) using the lug wrench in the tool bag.
ProCarManuals.com