2005 VOLKSWAGEN GOLF check engine light
[x] Cancel search: check engine lightPage 10 of 444
Engine coo lant 3.2:47
Add i
tive s 3.2:47
Ca n I
add plain water to the en gi ne coolant ? 3.2 :
Engine data 3.3: 5
Eng ine
hood 3.2: 41
How do unlock the engin e hood? 3.2: 41 Warn ing light 3.2: 41
Engin e management 3.2: 9
E ngin e oi l 3.2: 42
Adding 3.2: 45
Add itives 3.2: 46
Check ing leve l 3.2: 44
Consumption 3.2: 4 3
Dip s
tick 3.2: 44
How do know how much oil m y e ngine is
consuming ? 3.2: 43 c h an ge 3.2: 46
S p ecifica tion s 3.2: 42
Specificatio ns gaso line engine 3.2: 42
Wha t kind of e ngine oil should put in my ve hicle? 3.2: 42
When should check the e n gi ne oi l
l eve l? 3.2 : 4 3
Where is th e oil dip stick 3.2:
44
E ngin e oil pr essure
Warning light 3.2: 45
Eng ine oil
senso r
Warning light 3.2:
44
Environme nt
Avoidi ng pollution 3.2:23,36
C le
aning th e e ngin e compartment 3.2 : 28 Drive economicall y 3.2:
Warni ng ligh t 3.2: 9 also Elec tronic Co ntrol
3.2:6
B utt on 3.2 : 7
Warning
lig ht 3.2: 7
Even t Data Hecorder 3.2:
34
Examples of improper seating
position s 2.1:
Infant seats 2.1: 59
Sa fe ty belt ex te
nder 2.1: 24
Sa fet y belts 2.1:
F loor mat s 2.1: 9
Fog light s 3.1
:43
F r
ont ai rbags
De
scription 2.1:32
Front air b ag sys tem
2.1: 32
A irb ag deploym ent zone 2.1:38
Th e bas ics 2.1: 32
Fronta l
collisions and the laws of
physics
1 5
Fr
ont center armres t 3.1: 65
Front seats 3.1: 58
F u el
fille r cap
Warni ng light 3.2:35
Fuel ga uge
Displa y 3.1:
F ue l level 3.1:
Fuse box
th e in strume nt panel, left 3.2: 92 the instrument panel, rig ht 3.2: 92
Fu ses 3.2:
Page 35 of 444
km)-All
Engine: oil and oil filter
Engine : fo r l eaks
Exhaus t sys te m :
plu gs: Replace
Water separator : Dra in wa te r (TDI engi n e
only)
F uel Repla ce (TDI engine only)
electrolyte le vel
(Golf, }etta, New Beetle)
Door check stra ps: Lubri cate
Dus t and polle n place
Windsh ie ld was her: leve l; add if
n ecessary
A uto m atic shif t lock: operation
A utomatic tra nsmission:
Manua l tran smission: oil level; add if
n ecessary; ch eck for leaks
Timing belt: olin e engin e only)
Automati c transmission final drive: level and for leaks
Wheels: Rotate from Front rear
Next Servic e:
D at
e: ... .... .... ..... ........
M
iles/ km: ...................
w hi ch ever occurs first
14 Warranty Voucher
T ires/spare wheel:
sys tem: for damage/leaks, brake
p ad thickness and brake level
Drive shafts:
O n-Board diagn ost ic sys tem: fault
m em ory; purge if necessary
and lubricate
Front axle: dust seal on ball joints and tic ro ds; ch eck tic rods
Headlights: Adjust
Hear spoiler: Lubricate (New Beetle only)
bag system:
Hoad test: kic kdown, braking, steering, heating and ve ntil ation, air
te ms
starte r and auxiliary bauery: check
(w here applicable)
tread depth, adj ust
Tire pressure monitoring system senso rs: bauery ch arge, re pla ce wheel ele ctron ics and a lu minum va lve if necessary (where cable).
Tod ay's date and Volkswagen Dea le r sta m p
Page 283 of 444
when dri ving in deep snow or on loose faces.
w he n r ocking the ve hicl e out.
Switch
ba ck on w he n yo u no longer need wheel s pin. The
remains switch ed oiT.
Ho w
works
The electroni c stab ilization progra m
helps to reduce the ris k of skiddin g braking th e w heels individually. works o nl y
w he n th e e ngine is ru nning.
The sys te m uses th e steering whee l an gle and road speed to calculate th e changes of tio n desired by the driver, and constantl y pares thi s informat ion with the actual behavior of the vehicl e. accurately ( for example if the hicle is beginni ng to skid ) tomatically by applyin g th e at the priate wheel.
The forces acti ng on the braked wheel help to
b rin g the vehicle back on course. th e ve hicl e is tending away at the rear, the brake
wide r dius in a curve. th e brake is mainly applied to the
in sid e wheel.
How the Anti-slip regulation
reduces engine powe r to he lp preven t the driven wheels of front-wheel d rive vehicles
losing traction during acceleration. The sys te m works in the entire speed ra nge in conjunctio n
with fails , the will a lso be out of action. h elp s the ve hicl e to moving. accele rat e and climb a grad ient in slipp ery d itions wh ere thi s may o therwise be diffi cult or even imposs ibl e.
When do the indicator light and the button come on or flash?
T he indicator light comes on for about
2 seconds as o perati o nal check when the
3.2 Tips and Advice
The indicator ligh t flashes while yo u are driv ing when the is wo rking.
They come on if there is a malfun ction in the
They come on when the
Th ey also come o n in the event of an malfunction because the system works in conjunction with the ABS.
the indicator light comes on immedia tel y
a fter the engine is started , th ere m ay be a
sys tem-controlled deactivation. You can vate the tion off and on agai n. th e in dicator ligh t
goes out , the sys te m is full y ope rational again.
the battery has been disconnected, th e
A lways adjust your speed and driving style to road, traffi c and weather conditions. Never le t the extra safety that can provide tempt you into taking extra risk s.
Alway s drive sa fe ly .
and
cannot reduc e the ris k of cident, for example if you drive too for conditions or if you do not keep your distance from the vehicle in front of yo u.
Although
Always remember that vehicle alterations or modificatio ns can affec t the functio n of the EDL and
different wheel/ tire combination and brake or chassis modifications=> page 32, and technical modifi cations".
Changing
EDL and sys te m s work and reduce their effecti veness.
Smart
Page 289 of 444
Booklet 3 .2 Tips and Advic e
recommend that you have the
thi ckne ss of your brake pads checked by an au
t horized Vol kswagen dealer mo re fre quent ly
t h an recommende d in the serv ice sched ule.
you drive with wet brakes, for example afte r a
dri ving through water, after heavy rainfall or after washing the ve hicle, braking power be
reduced and s to ppin g distances will be longer
because the brake discs will be we t or in winter mayb e eve n frozen-the brakes must be dried
with several ca re ful brak e applicatio ns.
Brak e fluid absor bs water
and must be changed
every two years. Heavy use of the brakes can cause vapor lock if the brake fluid is too old.
Vapor lock redu ces braking power, increases
stopping distances and ca n even cause total
brake failure.
New tires and new bra ke pads do no t pro
v id e m aximum gri p, control o r b raking abil ity.
To red uce the risk of l osi ng control, a s io n an d se rio us perso nal injuries, drive with
specia l ca re for the first 350 miles (560 km).
New brake pads do not have th e best sto p
ping power for the fir st ISO mile s (240 km ) and
m ust be b roken in. can compensate for the slightly reduced braki ng abil ity by dri ving care and applyin g more pressure on th e
brake pedal.
Never follow oth e r veh icles to close ly or
p u t you rse lf in to other s ituations th at might
requ ire su d den , hard bra king especially when the brake pads have not been broken in.
apply brakes for a test.
Always dry brakes and clea n off icc coat
i ngs an d salt coatings with a few cautious brake applications.
A lways read and heed in in tire s and brake on page 12.
Always avoid overheati ng the brakes!
When driving downhill, t11 e brakes have to
work har d and h eat up quickly.
Before driving down a lo ng, steep hill, al
ways reduce speed and downshift to a lower
gear. This will let the vehicle usc engine
Always ch ange th e brake fluid at l east
every two years. Hard braki ng wi th o ld flui d may cause a va po r lock . Vapor loc k duces powe r, inc reases stoppin g di stan ces and can even cause tota l b rak e failure.
A damaged front spoiler or n ew non standard spoiler can reduce t h e airflow to th e
brakes and cause them to ove rh eat.
Always see an authorized Volkswag en
dealer or qualified workshop
Be sure to re ad and heed all and th e page
Driving and protecting the environm ent 13
Page 291 of 444
WARNING (c o ntinu ed )
Alwa ys read and heed all W ARN IN GS an d additional information regarding sa fet y booklet 2 . I
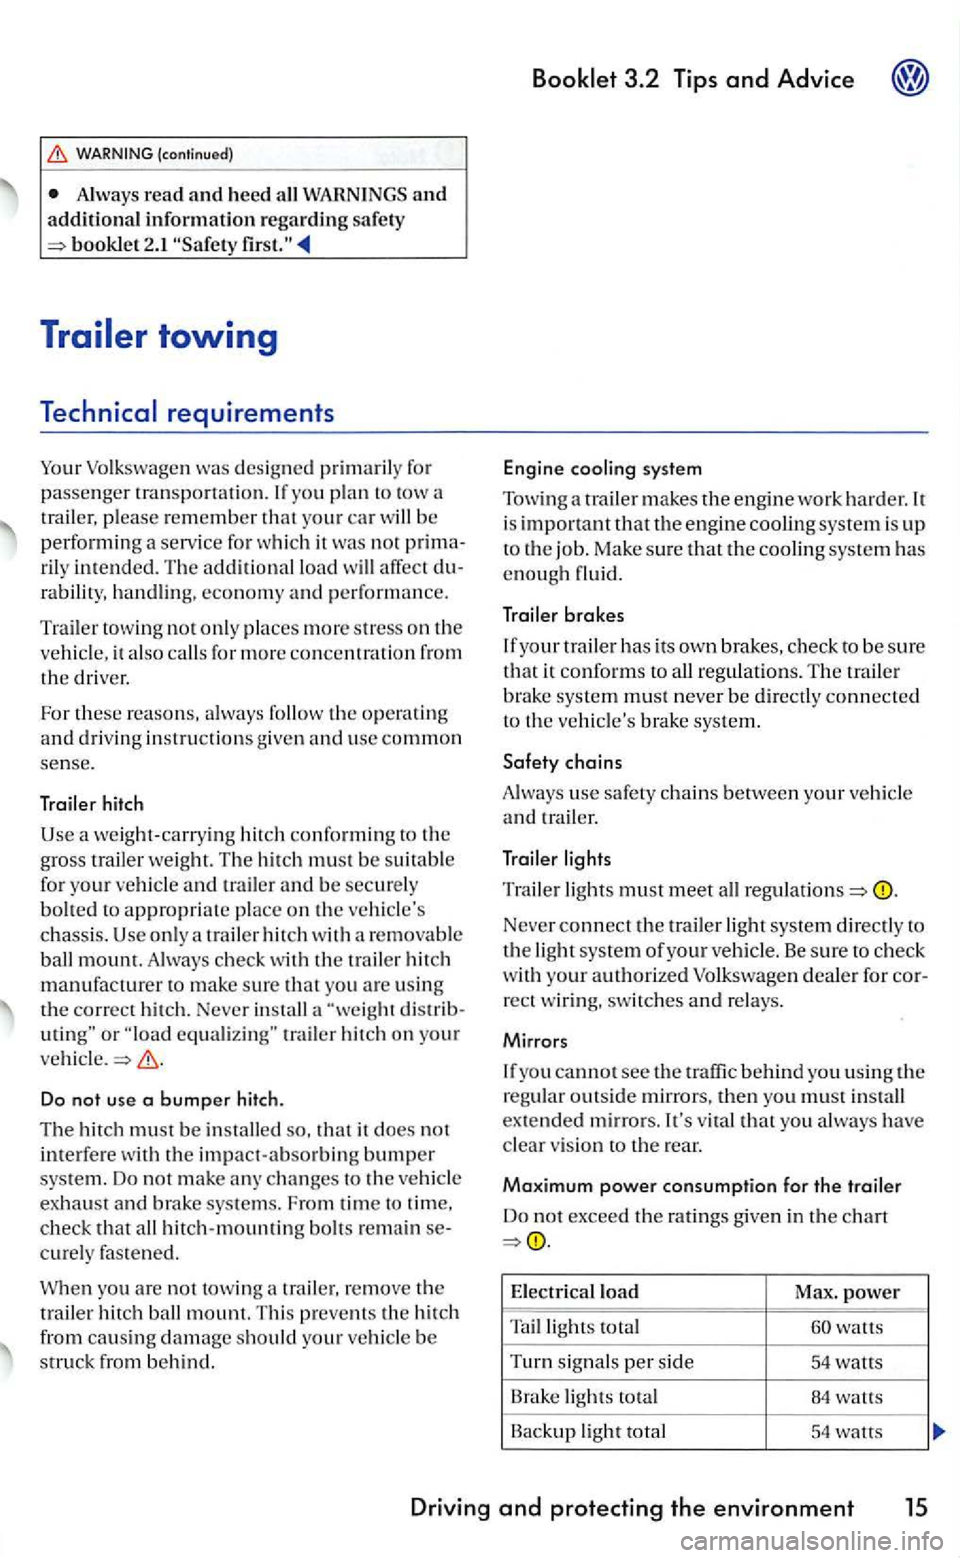
yo u plan to tow a
tr ailer, p lease re m ember th a t yo ur car will be performing a serv ice for which it was not
ra b ility, ha ndl ing, econ o m y and performa nce.
Tra
ile r towin g not o nl y places more stress on the ve hicl e, it als o calls fo r more concentratio n fr o m the driver.
For these re a so ns, always follow th e o pe ra ting
and d rivi ng instructio ns given and use common sense.
Trail er hit ch
trail er hit ch on your ve hicle.
D o not use a bumper hitch.
The hitch must be installed so, it does not
interfe re the impact-absorbin g bumper system. Do not make any ch an ges to th e ve hicl e
ex haust and b rake system s. Fro m time to tim e, check that all hi tch-mounting bo lt s remain curely fas te ned .
When you are no t towin g
Engine cooling system
Tow ing a tra iler makes the engine wo rk ha rder. is important that th e engine cooling system is u p
t o the job. Ma ke s ure that th e coo ling system has enough fluid .
Traile r bra kes
Never connect the tr a iler light syste m direc tly to the light syste m of your ve hicle . Be su re to check wit h your authorized Volkswage n dealer for rec t w iring, switches
you alwa ys have clear v is ion to th e rear.
Maxim um power consumption for the traile r
Do not exceed the ratings given in the c hart
E lectric al load
Max . power
T ailligh ts total watts
T urn sig na ls p
er sid e 54 watts
B rak e lig hts total 84
Backup light total 54 walls
Driving and protecting the environ ment 15
Page 316 of 444
WARNING (continued)
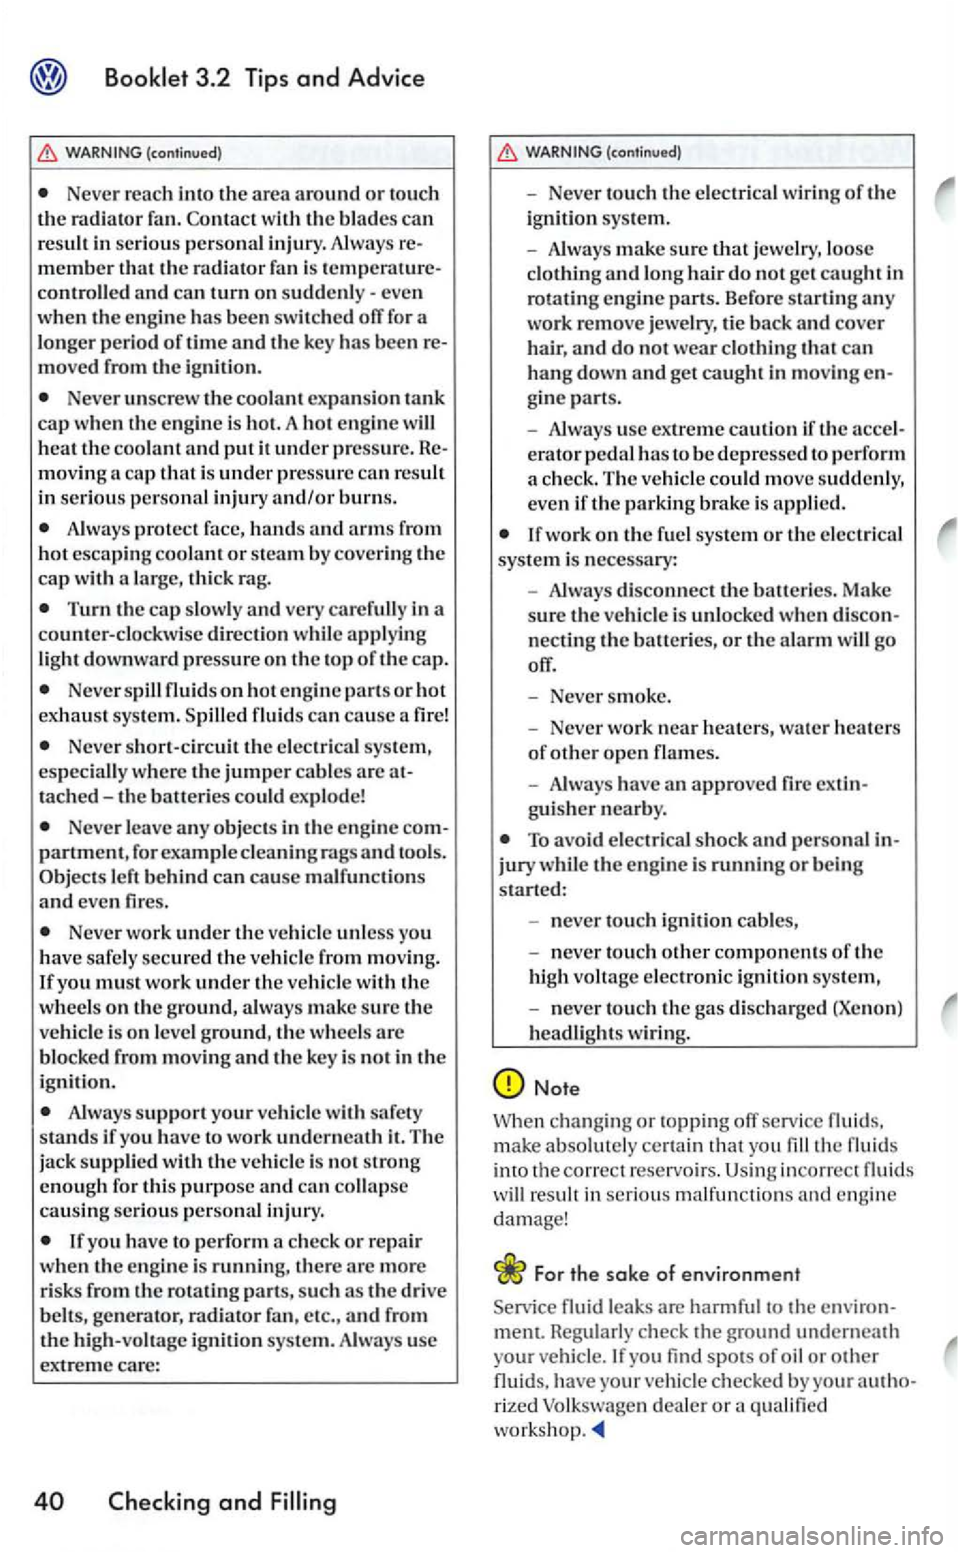
Never reach into the area around or tou ch the radiator fan. Contact w ith the blade s can resuh in se riou s personal injury. Always m ember that the radiator fan is controll ed and can turn on
m oved from the ignit ion.
Never unscrew the coolant expa nsio n tank cap when th e engin e is hot. A hot engine will heat the coo la nt and put it under pressure . mov in g a cap that i s under pressure ca n rcsuh in seriou s personal injury and/or burns.
A lway s prote ct face, hand s and arms from hot esca ping coolant or steam b y cove ring the ca p with a large, thick rag.
Turn the cap slow ly a nd very carefully in a
counter- clo ckw ise direction whil e applying
light downward pressure on the top of the cap.
Never spill on hot engine parts o r hot
e xhau st sys te m . S pilled
Neve r short-circuitthc elec trica l sys te m ,
es peciall y w here th e jumper cabl es are tached -th e balleri es could explode!
Neve r leave any objects in the e ngine partment, for exam ple cleaning rag s and too ls. Objects
Neve r work unde r the veh ic le unless you
h ave safely secured th e ve hicl e from movin g.
I f yo u must work under th e ve hicl e wit h th e
w hee ls on th e ground, always make sure the vehicl e is on leve l ground, th e wh eels arc
b locked from movin g and th e key is not in the
ignition.
Always support your ve hicle with safety
s tands if you have to wo rk underneath it. The
ja ck suppli ed with the ve hicle is not s tron g enough for this purpose and can co llap se causin g se riou s personal injury.
If you have to perform a check or r ep a ir
w hen th e e ngine is running, there arc more
ri sks from
the ro tating parts, such as the drive
WARNING (con tinued)
Neve r to uch the e lec tr ica l w ir in g of the ig ni tio n sys tem.
Always make sure that j ewe lry, loose clothing and lo ng hair do not get caught in
rota ting engine pans. Before startin g any work remove jewelry, tie back and cover
hair, and do not wear clothing that can hang down and get caught in mov ing gin e parts.
Always use extre me cauti on if the erator pedal has to be depresse d to perform
a ch eck. The vehicle could move suddenly, eve n if the parking brake is applied.
If wor k on the fu el sys te m or th e electrica l
syste m is necessa ry:
Always discon nect th e balleries. Make
sure th e vehicle is unlo cked when
Neve r sm oke .
Neve r work nea r heaters, wa te r h eaters of other open names .
A lways have an approve d fire ext guis her nearby.
To avo id electrical shock and personal jury w hil e the eng ine is running or being
s tarted :
n ever touch ignition cables,
never to uch othe r component s of the
high vohage electronic ignition syste m,
never touch the gas discharged (Xeno n) headlights wiring.
Note
Whe n chang ing or topp ing orr service fluids. make absolutel y ce rtain that you fill the fluid s
into the corr ect reservoirs. Using incorrec t fluids will resuh in serious malf unct ions and engine
damage!
For the sake of environment
Service fluid leaks are harmful to the environ-
ment. Reg ularl y check the ground undernea th
your vehicle . you find spots of oil or other
fluids. have your vehic le checked by your rized dealer or a qualified
Page 319 of 444
Engine
ternal combustion engines use a certain amount of oil.
th e break-in period,
when consumption has sta bili zed.
conditions, t he rate of
as its viscosity, th e
residue and by the oxidation level of the oil. As engines consumption may
increase over time
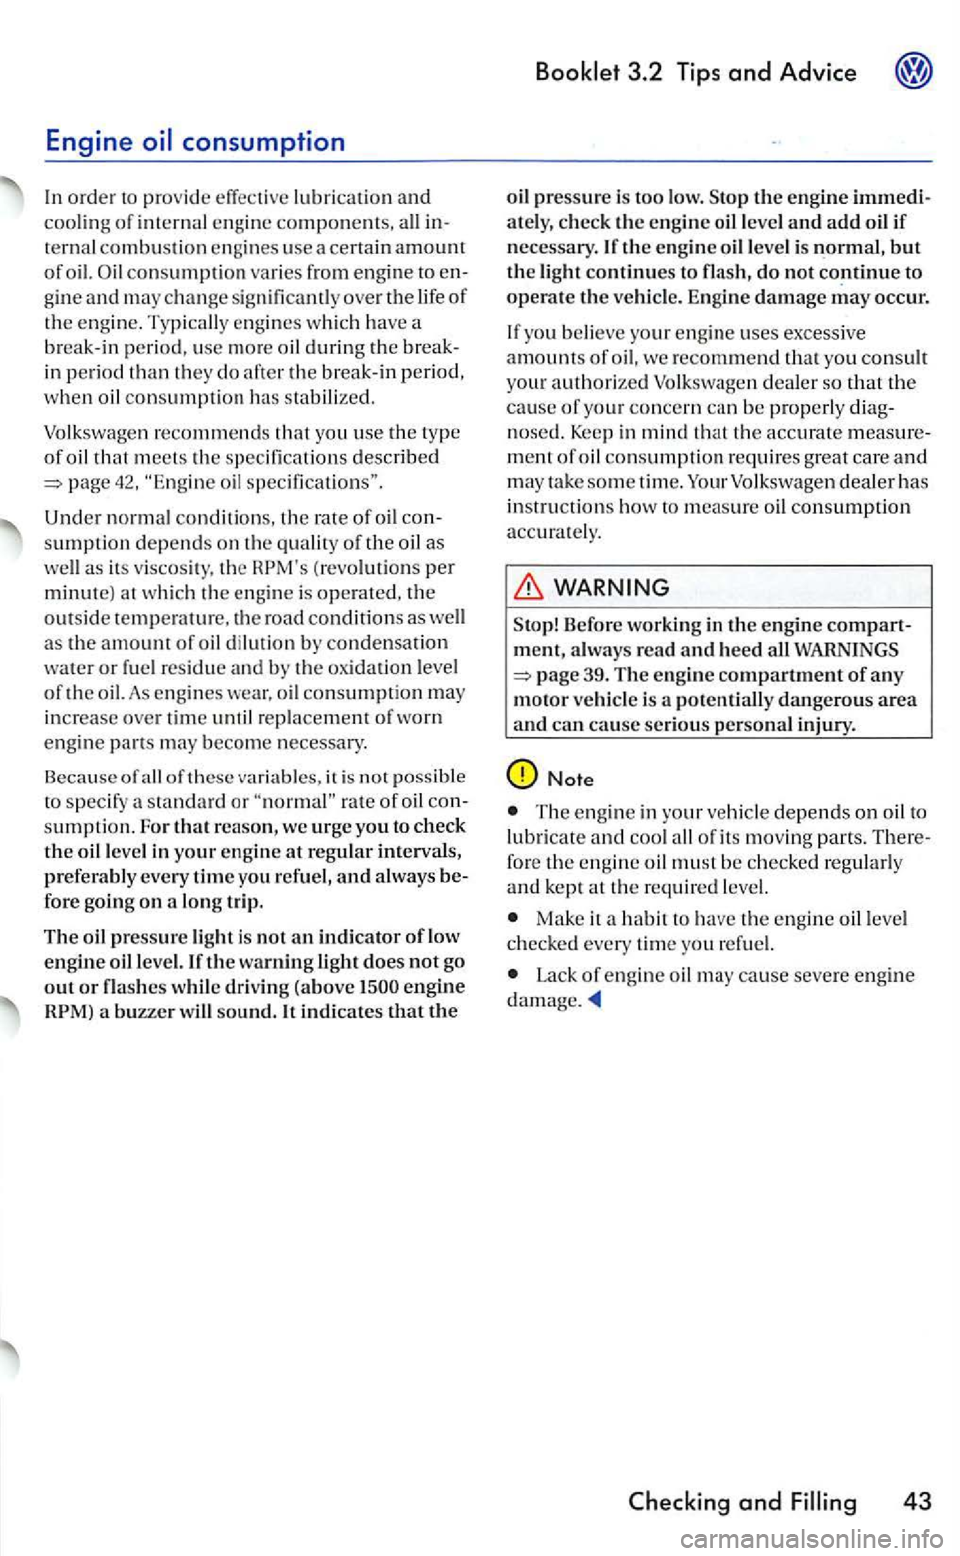
of thes e it is not rate of sumption. For reaso n, w e urge you to check the oil le vel in your engin e at regular interval s, prefe ra bl y every time yo u and always
fore go ing o n a trip.
The
en gine
pressure is too low. S to p the en gine ately, check th e en g in e o il leve l and add if
n ecessary . If th e e ng ine oil level is no rmal, but
th e light con tinues to flash, do not continue to
o pera te t he ve hicl e. Engine damage
so that th e cause of your concern can be pro perly
ment of consumpt ion requires great care and may take sometime. consumption
Sto p! Be fore workin g in the e ngine ment, always read an d heed all WARN INGS 39. The e ng in e compart m en t of any moto r ve hic le is a potentially dangero us a rea and can cause serious pe rsonal inju ry.
0Note
The eng ine in you r to all of it s movin g pa rts. fore th e en g in e must be ch ecked and kept at th e required
Make it a habit to have the engine
Lack of engine
and
Page 320 of 444
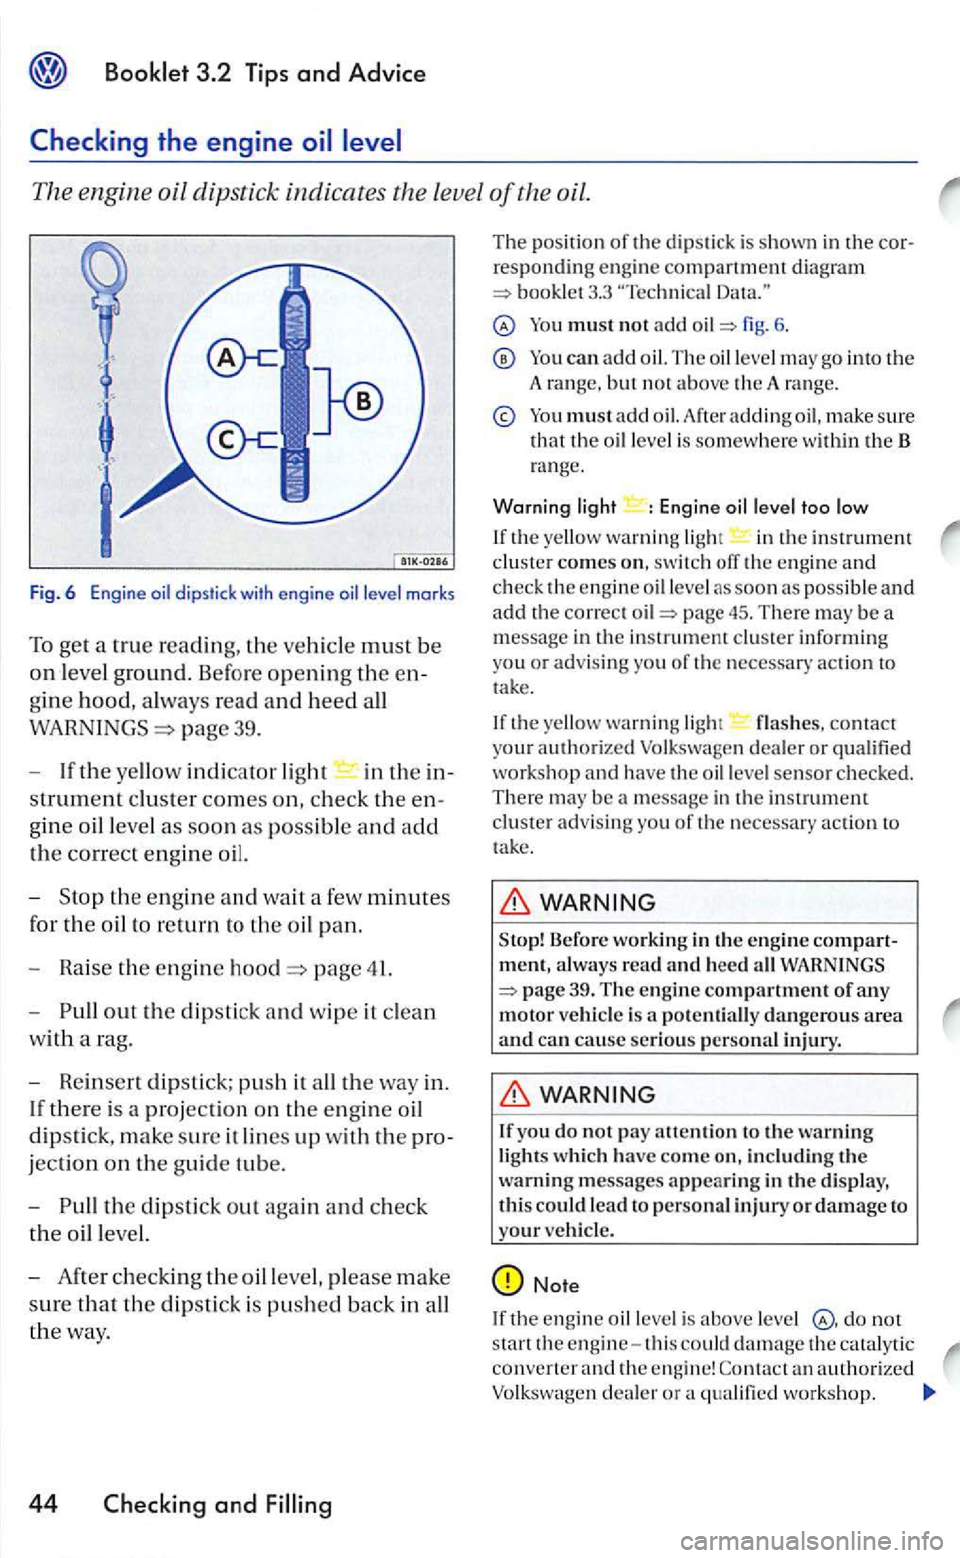
The engine oil dipstick indicates the leve l of the oil.
Fig. 6 E ngine level marks
To get a true reading, the ve hicl e must be
on leve l ground. Before opening the en
gine hood, always read and heed all
page 39.
If the yellow indicator light in th e in-
s
trument cluster comes on, check the e n
gine o
il leve l as soon as possible and add
the correct engin e oil.
the eng in e and wait a few minutes
for
the oil to return to the o il pan.
p a ge 41.
out the dipstic k and w ip e it clean
w ith a rag.
Rein se rt dips tick; push it all the way in.
If
ther e is a projection on the en gin e oi l
dipstick, make sure it lines up with the pro
jection on the guide tube.
the dipsti ck out aga in and ch eck
the o il l evel.
You must not add fig. 6 .
You can add
You m ust add oil. adding oil, make sure the level is somewhere within t h e B range.
Warning light : Engin e oi l level too low
If the yellow warn in g ligh t in the instrument cluster comes on, switc h ofT the engine and check the engine level as soon as possible and add the correct page 45. There may be a message in the instrumem cluste r informing you or advis ing you of the necessary action to
take.
If the yello w
warning ligh t flashes, contact your authorized Volkswa gen dealer or qualified workshop and have the oil leve l sensor checked. There be
WARN IN G
Before workin g in th e e ng in e compartm ent, always read and heed 39. T he engin e compartment of any motor vehicl e is potentiall y dangerous are a and can cause serio us personal injury.
WARN ING
If you do not pay attentio n to the warning light s which ha ve com e o n, incl ud in g the warning messages appearing in the d isplay, this could lead t o personal in juryordamage to
your ve hicle.
Note
If the engine oil is above level not
start the engine-this could damage the catal ytic converter and the engi ne!