Page 318 of 506

’05 TUNDRA_U (L/O 0408)
307
2005 TUNDRA from Aug. ’04 Prod. (OM34427U)
OPERATION OF INSTRUMENTS AND
CONTROLS
Other equipment
Multi−information display 308
. . . . . . . . . . . . . . . . . . . . . . . . . . . . . . . . . . . .
Clock 318
. . . . . . . . . . . . . . . . . . . . . . . . . . . . . . . . . . . . \
. . . . . . . . . . . . . . . . . .
Cigarette lighter and ashtrays 318
. . . . . . . . . . . . . . . . . . . . . . . . . . . . . . . .
Power outlets (12 VDC) 319
. . . . . . . . . . . . . . . . . . . . . . . . . . . . . . . . . . . . \
.
Power outlet (115 VAC) 320
. . . . . . . . . . . . . . . . . . . . . . . . . . . . . . . . . . . . \
. .
Glove box 322
. . . . . . . . . . . . . . . . . . . . . . . . . . . . . . . . . . . . \
. . . . . . . . . . . . . .
Garage door opener box 322
. . . . . . . . . . . . . . . . . . . . . . . . . . . . . . . . . . . . \
Auxiliary boxes 325
. . . . . . . . . . . . . . . . . . . . . . . . . . . . . . . . . . . . \
. . . . . . . . .
Rear console box 327
. . . . . . . . . . . . . . . . . . . . . . . . . . . . . . . . . . . . \
. . . . . . .
Coin holder 329
. . . . . . . . . . . . . . . . . . . . . . . . . . . . . . . . . . . . \
. . . . . . . . . . . .
Compact disc and cassette tape holder 332
. . . . . . . . . . . . . . . . . . . . . . .
Cassette tape holder 333
. . . . . . . . . . . . . . . . . . . . . . . . . . . . . . . . . . . . \
. . . .
Cup holders 334
. . . . . . . . . . . . . . . . . . . . . . . . . . . . . . . . . . . . \
. . . . . . . . . . . .
Note pad holder 336
. . . . . . . . . . . . . . . . . . . . . . . . . . . . . . . . . . . . \
. . . . . . . .
Grocery bag/cargo net hooks 336
. . . . . . . . . . . . . . . . . . . . . . . . . . . . . . . .
Floor mat 337
. . . . . . . . . . . . . . . . . . . . . . . . . . . . . . . . . . . . \
. . . . . . . . . . . . . .
SECTION 1− 10
Page 319 of 506
’05 TUNDRA_U (L/O 0408)
308
2005 TUNDRA from Aug. ’04 Prod. (OM34427U)
1. “E/M” button
2. Garage door opener buttons
3. “MODE” button
4. Garage door opener indicator
5. Outside temperature display
6. Compass
Multi−information display—
Page 320 of 506

’05 TUNDRA_U (L/O 0408)
309
2005 TUNDRA from Aug. ’04 Prod. (OM34427U)
Operate the multi −information display
with the ignition switch on.
When the ignition switch is turned to
“ON”, the last previously used mode dis-
played just before the ignition switch is
turned off will appear.
When the instrument panel lights are
turned on, the brightness of the display
will be reduced. “E/M” button
This button is used to switch between
English/U.S. Customary System and
metric units of the outside temperature
display.
Each time you push this button, the dis-
play switches. This is also linked to the
multi
−information display. The display vari-
ations are as follows;
Indication
Outside
temperature
English/U.S. Customary System (E)�F
Metric (M)�C
The initial mode will be English/U.S. Cus-
tomary System units, however, if the unit
is switched to metric and the ignition
switch is off, it will display metric units
when the ignition switch is turned to “ON”. “MODE” button
This button is used to select the item.
Every time you push the “MODE” button,
the display toggles.
For more details, see “—Outside tempera-
ture display” in this Section.
CAUTION
Do not adjust the display while the
vehicle is moving. Be sure to adjust
the display only when the vehicle is
stopped.
—Before using the
multi
−information display
Page 324 of 506

’05 TUNDRA_U (L/O 0408)
313
2005 TUNDRA from Aug. ’04 Prod. (OM34427U)
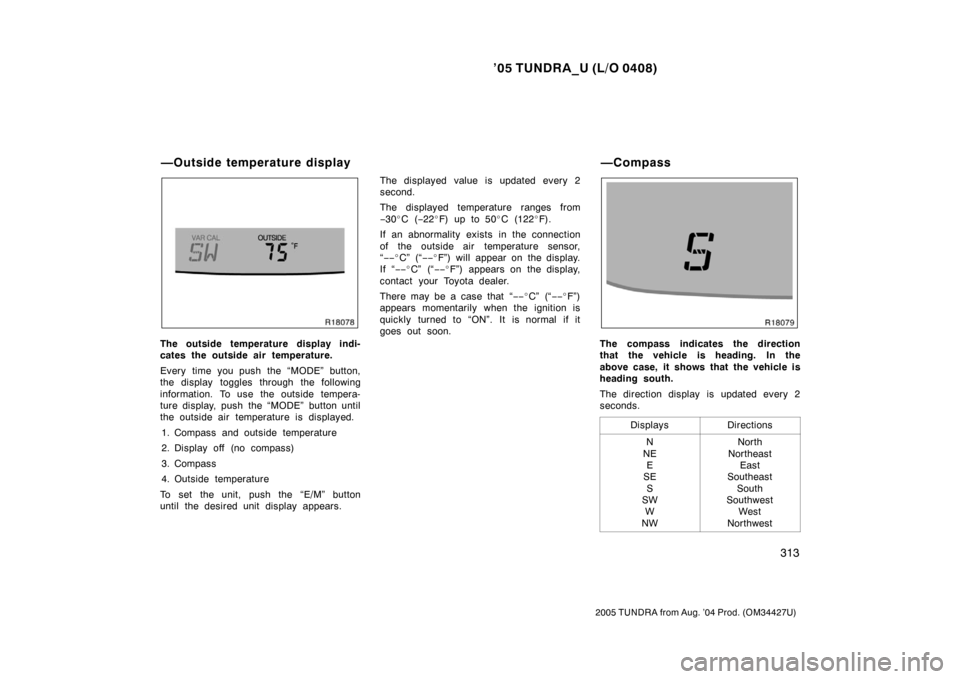
The outside temperature display indi-
cates the outside air temperature.
Every time you push the “MODE” button,
the display toggles through the following
information. To use the outside tempera-
ture display, push the “MODE” button until
the outside air temperature is displayed.
1. Compass and outside temperature
2. Display off (no compass)
3. Compass
4. Outside temperature
To set the unit, push the “E/M” button
until the desired unit display appears. The displayed value is updated every 2
second.
The displayed temperature ranges from
−
30 �C ( −22 �F) up to 50 �C (122 �F).
If an abnormality exists in the connection
of the outside air temperature sensor,
“ −− �C” (“ −−�F”) will appear on the display.
If “ −−�C” (“ −−�F”) appears on the display,
contact your Toyota dealer.
There may be a case that “−− �C” (“ −−�F”)
appears momentarily when the ignition is
quickly turned to “ON”. It is normal if it
goes out soon.The compass indicates the direction
that the vehicle is heading. In the
above case, it shows that the vehicle is
heading south.
The direction display is updated every 2
seconds.
Displays
Directions
N
NE E
SE
S
SW W
NWNorth
Northeast East
Southeast
South
Southwest West
Northwest
—Outside temperature display —Compass
Page 326 of 506

’05 TUNDRA_U (L/O 0408)
315
2005 TUNDRA from Aug. ’04 Prod. (OM34427U)
CALIBRATING THE COMPASS (deviation
calibration)
The direction display on the compass
deviates from the true direction deter-
mined by the earth’s magnetic field. The
angle of deviation varies according to the
geographic position of the vehicle.
To adjust for this deviation;
1. Stop the vehicle in a level place and switch the display to the outside tem-
perature. (To switch to this mode, see
“—Outside temperature display” in this
Section.)
2. Push and hold both the “MODE” and “E/M” buttons simultaneously for 5 sec-
onds until the “VAR” indication appears
on the compass display.
3. Push the “E/M” button several times until the desired zone number appears
on the compass display.
If the button is not pushed for 10 sec-
onds, the display returns to the compass/
outside temperature mode and the number
that is last set is memorized.
To select the zone where the vehicle is
currently located, refer to the following
map.
Page 327 of 506
’05 TUNDRA_U (L/O 0408)
316
2005 TUNDRA from Aug. ’04 Prod. (OM34427U)
Zone numbers
After calibration, leaving the system for
several seconds returns to the compass
mode.
CAUTION
Do not adjust the display while the
vehicle is moving. Be sure to adjust
the display only when the vehicle is
stopped.
Samoa: 5 Guam: 8 Saipan: 8
Page 328 of 506

’05 TUNDRA_U (L/O 0408)
317
2005 TUNDRA from Aug. ’04 Prod. (OM34427U)
CALIBRATING THE COMPASS (circling
calibration)
Sometimes the direction display on the
compass may not change after a turn. In
this case, the compass needs to be cali-
brated.
To calibrate the compass manually, do the
following;
1. Stop the vehicle in a level place and switch the display to the outside tem-
perature. (To switch to this mode, see
“—Outside temperature display” in this
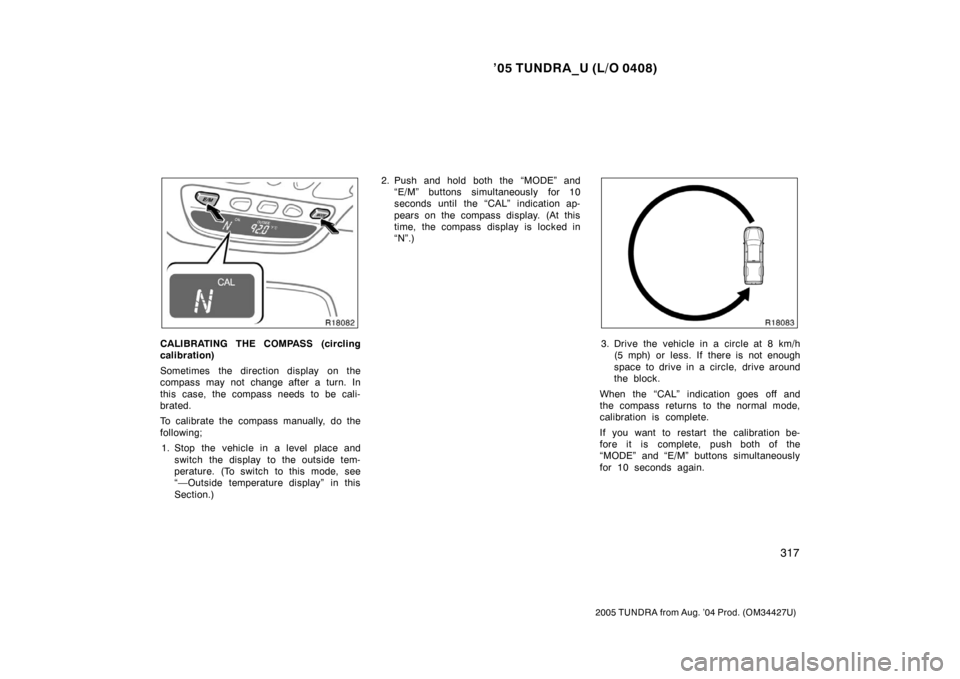
Section.) 2. Push and hold both the “MODE” and
“E/M” buttons simultaneously for 10
seconds until the “CAL” indication ap-
pears on the compass display. (At this
time, the compass display is locked in
“N”.)3. Drive the vehicle in a circle at 8 km/h(5 mph) or less. If there is not enough
space to drive in a circle, drive around
the block.
When the “CAL” indication goes off and
the compass returns to the normal mode,
calibration is complete.
If you want to restart the calibration be-
fore it is complete, push both of the
“MODE” and “E/M” buttons simultaneously
for 10 seconds again.
Page 329 of 506

’05 TUNDRA_U (L/O 0408)
318
2005 TUNDRA from Aug. ’04 Prod. (OM34427U)
Perform circling calibration just after
you have purchased your Toyota. And
then always perform circling calibration
after the battery has been removed, re-
placed or disconnected.
�Do not perform circling calibration of
the compass in a place where the
earth’s magnetic field is subject to in-
terference by artificial magnetic fields
(underground parking, under a steel
tower, between buildings, roof parking,
near a crossing, near a large vehicle,
etc.).
�During calibration, do not operate elec-
tric systems (moon roof, power win-
dows, etc.) as they may interfere with
the calibration.
CAUTION
�When doing the circling calibration,
be sure to secure a wide space,
and watch out for people and ve-
hicles in the neighborhood. Do not
violate any local traffic rules while
performing circling calibration.
�Do not adjust the display while the
vehicle is moving. Be sure to adjust
the display only when the vehicle is
stopped.
To reset the hour: Push the “H” button.
To reset the minutes: Push the “M” button.
The key must be in the “ACC” or “ON”
position.
If the electrical power source has been
disconnected from the clock, the time dis-
play will automatically be set to 1:00 (one
o’clock).
When the instrument panel lights are
turned on, the brightness of the time in-
dication will be reduced.Cigarette lighter and front ashtray
Rear ashtray
Clock Cigarette lighter and ashtrays