Page 188 of 351
178
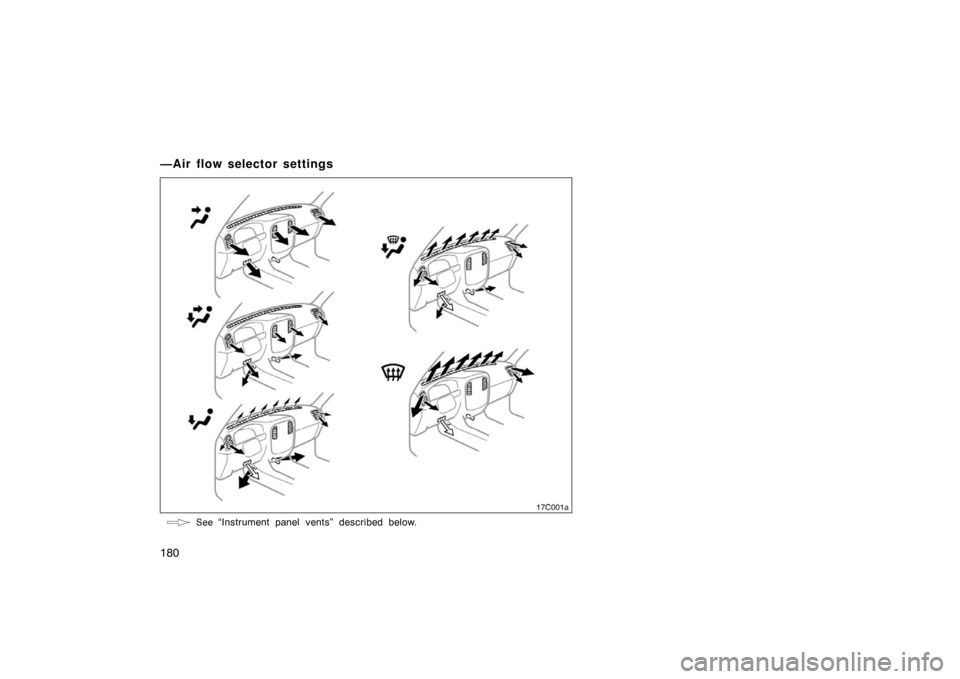
4. Floor/Windshield—Air flows mainly
from the floor vents and windshield
vents.
It is recommended that you close the
lower vent. For details about this, see
“Instrument panel vents” described be-
low.
For details about air flow selector settings,
see “Air flow selector settings” described
below.
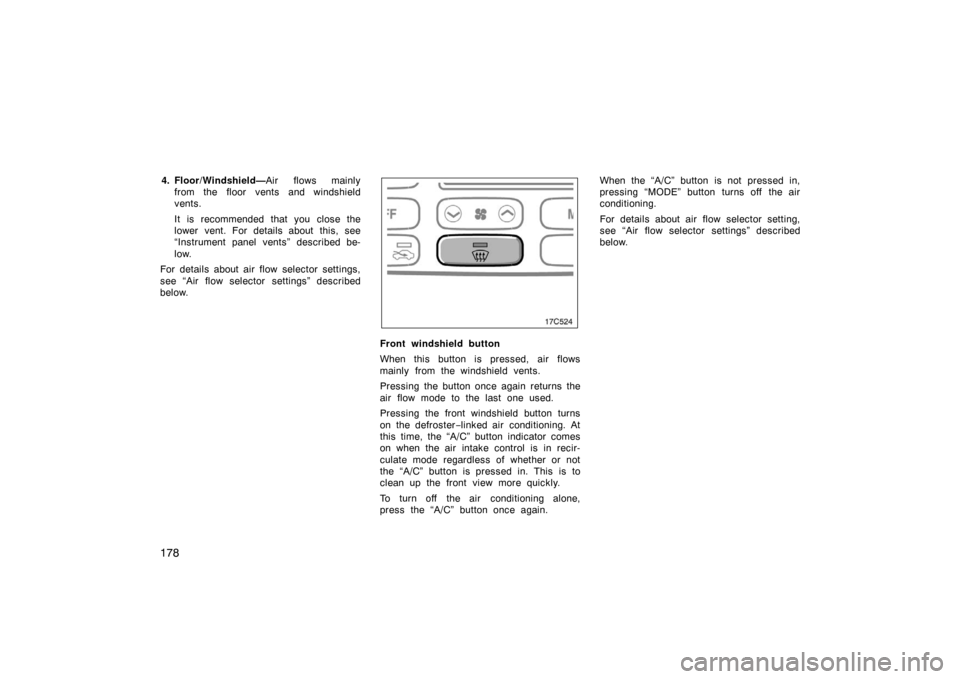
Front windshield button
When this button is pressed, air flows
mainly from the windshield vents.
Pressing the button once again returns the
air flow mode to the last one used.
Pressing the front windshield button turns
on the defroster −linked air conditioning. At
this time, the “A/C” button indicator comes
on when the air intake control is in recir-
culate mode regardless of whether or not
the “A/C” button is pressed in. This is to
clean up the front view more quickly.
To turn off the air conditioning alone,
press the “A/C” button once again. When the “A/C” button is not pressed in,
pressing “MODE” button turns off the air
conditioning.
For details about air flow selector setting,
see “Air flow selector settings” described
below.
Page 190 of 351
180
—Air flow selector settings
See “Instrument panel vents” described below.
17C001a
Page 193 of 351
183
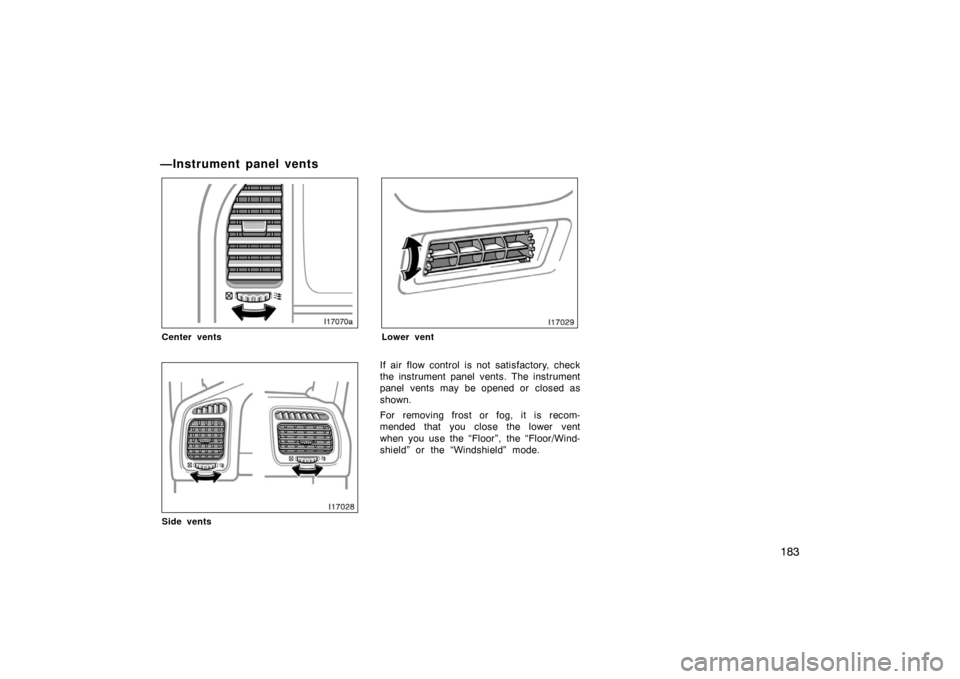
—Instrument panel vents
Center vents
Side vents
Lower vent
If air flow control is not satisfactory, check
the instrument panel vents. The instrument
panel vents may be opened or closed as
shown.
For removing frost or fog, it is recom-
mended that you close the lower vent
when you use the “Floor”, the “Floor/Wind-
shield” or the “Windshield” mode.
Page 198 of 351
188
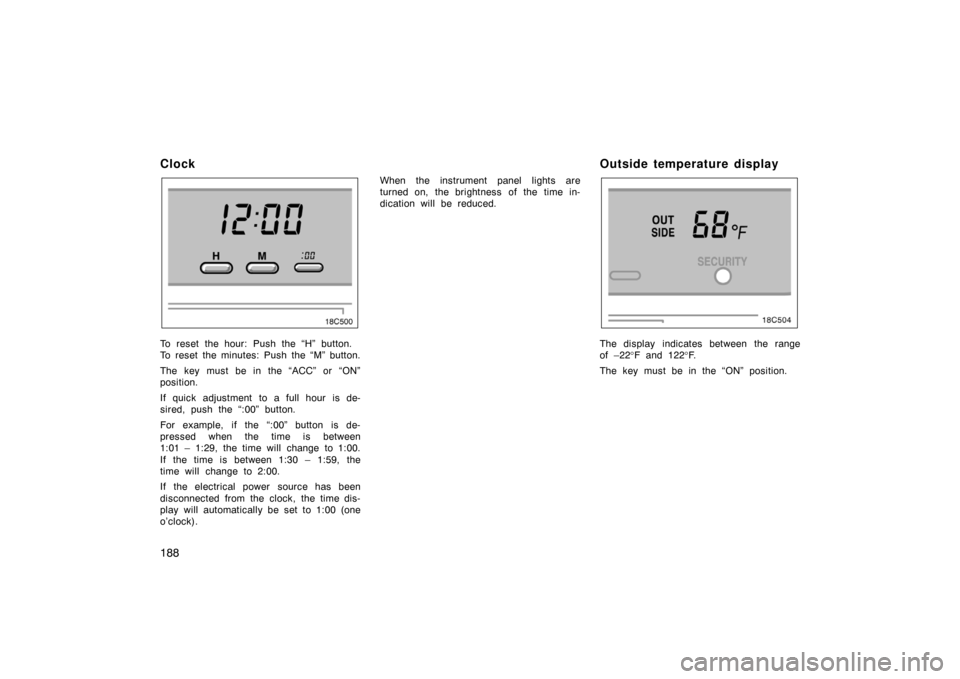
Clock
To reset the hour: Push the “H” button.
To reset the minutes: Push the “M” button.
The key must be in the “ACC” or “ON”
position.
If quick adjustment to a full hour is de-
sired, push the “:00” button.
For example, if the “:00” button is de-
pressed when the time is between
1:01 – 1:29, the time will change to 1:00.
If the time is between 1:30 – 1:59, the
time will change to 2:00.
If the electrical power source has been
disconnected from the clock, the time dis-
play will automatically be set to 1:00 (one
o’clock).When the instrument panel lights are
turned on, the brightness of the time in-
dication will be reduced.
Outside temperature display
The display indicates between the range
of –22
°F and 122 °F.
The key must be in the “ON” position.
Page 203 of 351
193
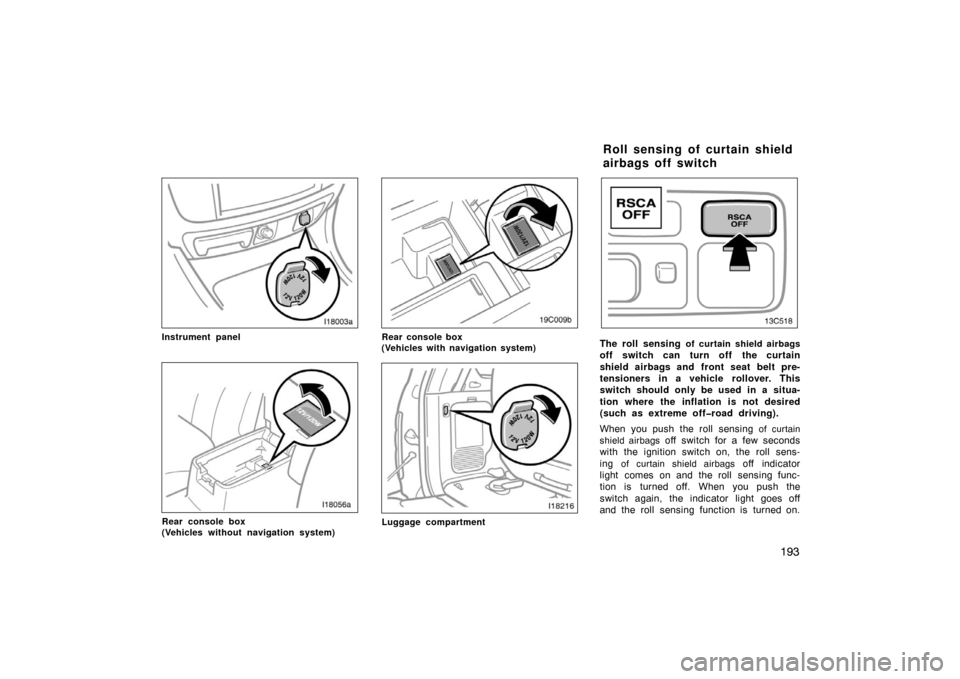
Instrument panel
Rear console box
(Vehicles without navigation system)
Rear console box
(Vehicles with navigation system)
Luggage compartment
The roll sensing of curtain shield airbags
off switch can turn off the curtain
shield airbags and front seat belt pre-
tensioners in a vehicle rollover. This
switch should only be used in a situa-
tion where the inflation is not desired
(such as extreme offroad driving).
When you push the roll sensing
of curtain
shield airbags
off switch for a few seconds
with the ignition switch on, the roll sens-
ing
of curtain shield airbags off indicator
light comes on and the roll sensing func-
tion is turned off. When you push the
switch again, the indicator light goes off
and the roll sensing function is turned on.
Roll sensing of curtain shield
airbags off switch
Page 205 of 351
195
Glove box
To use the glove box, do this.
To open: Pull the lever.
With the instrument panel lights on, the
glove box light will come on when the
glove box is open.
To lock: Insert the master key and turn it
clockwise.
CAUTION
To reduce the chance of injury in
case of an accident or a sudden stop,
always keep the glove box door
closed while driving.
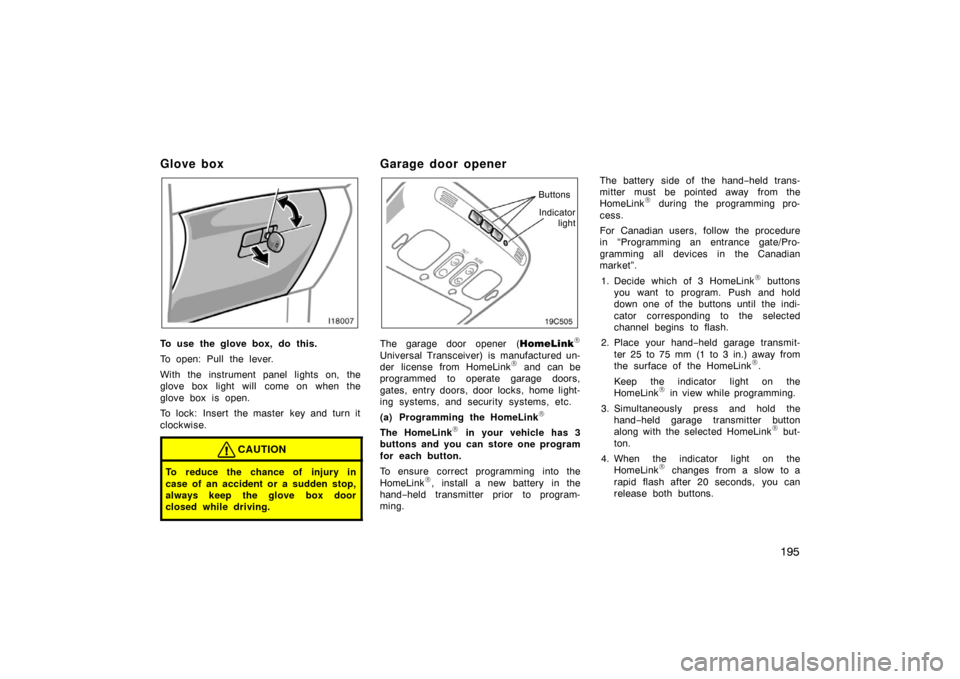
Garage door opener
Indicatorlight
Buttons
The garage door opener (
HomeLink\b
Universal Transceiver) is manufactured un-
der license from HomeLink\b and can be
programmed to operate garage doors,
gates, entry doors, door locks, home light-
ing systems, and security systems, etc.
(a) Programming the HomeLink
\b
The HomeLink\b in your vehicle has 3
buttons and you can store one program
for each button.
To ensure correct programming into the
HomeLink
\b, install a new battery in the
hand− held transmitter prior to program-
ming. The battery side of the hand
−held trans-
mitter must be pointed away from the
HomeLink
\b during the programming pro-
cess.
For Canadian users, follow the procedure
in “Programming an entrance gate/Pro-
gramming all devices in the Canadian
market”.
1. Decide which of 3 HomeLink
\b buttons
you want to program. Push and hold
down one of the buttons until the indi-
cator corresponding to the selected
channel begins to flash.
2. Place your hand −held garage transmit-
ter 25 to 75 mm (1 to 3 in.) away from
the surface of the HomeLink
\b.
Keep the indicator light on the
HomeLink
\b in view while programming.
3. Simultaneously press and hold the hand− held garage transmitter button
along with the selected HomeLink
\b but-
ton.
4. When the indicator light on the HomeLink
\b changes from a slow to a
rapid flash after 20 seconds, you can
release both buttons.
Page 230 of 351
220
Limitedslip differential
Some Toyotas are equipped with a lim-
ited−slip differential. If one of the rear
wheels begins to spin, the limited −slip dif-
ferential is designed to aid traction by
automatically transmitting driving force to
the other rear wheel. If you are not sure
whether your vehicle is equipped with one,
you can ask your Toyota dealer.
CAUTION
Do not start or run the engine while
your vehicle is supported by a jack.
The vehicle could be driven off the
jack and could pose a danger or re-
sult in serious injury.
NOTICE
Use only a spare tire of the same
size, construction and load capacity
as the original tires on your Toyota
because damage to the limitedslip
differential could possibly occur with
another tire type.
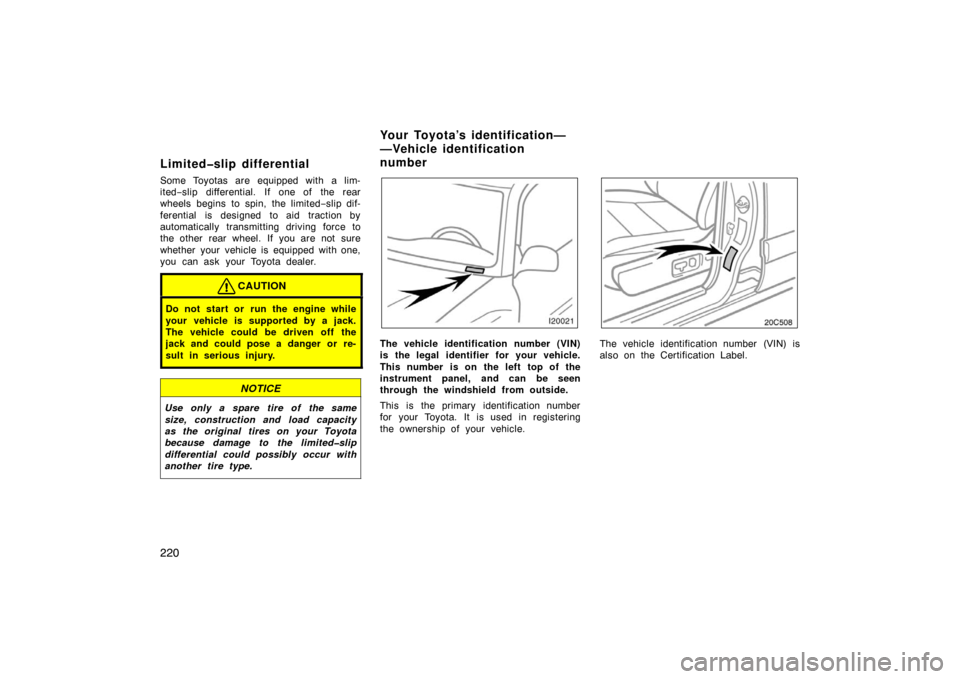
The vehicle identification number (VIN)
is the legal identifier for your vehicle.
This number is on the left top of the
instrument panel, and can be seen
through the windshield from outside.
This is the primary identification number
for your Toyota. It is used in registering
the ownership of your vehicle.
20c508
The vehicle identification number (VIN) is
also on the Certification Label.
Your Toyota’s identification—
—Vehicle identification
number
Page 241 of 351
231
�Never allow anyone to ride in
the luggage compartment. It is
not designed for passengers.
They should ride in their seats
with their seat belts properly
fastened. Otherwise, they are
much more likely to suffer seri-
ous bodily injury, in the event
of sudden braking or a colli-
sion.
� Do not place anything on the
luggage cover. Such items may
be thrown about and possibly
injure people in the vehicle
during sudden braking or an
accident. Secure all items in a
safe place.
� Do not drive with objects left
on top of the instrument panel.
They may interfere with the
driver’s field of view. Or they
may move during sharp vehicle
acceleration or turning, and im-
pair the driver’s control of the
vehicle. In an accident they
may injure the vehicle occu-
pants.NOTICE
Do not load the vehicle beyond
the vehicle capacity weight giv-
en in Section 8.
Cargo capacity depends on the to-
tal weight of the occupants.
(Cargo capacity) = (Total load capac-
ity) – (Total weight of occupants)
STEPS FOR DETERMINING COR-
RECT LOAD LIMIT
1. Locate the statement “The com- bined weight of occupants and car-
go should never exceed XXX
pounds” on your vehicle’s placard.
2. Determine the combined weight of the driver and passengers that will
be riding in your vehicle.
3. Subtract the combined weight of the driver and passengers from
XXX kilograms or XXX pounds.
—Capacity and distribution