Page 268 of 351

258
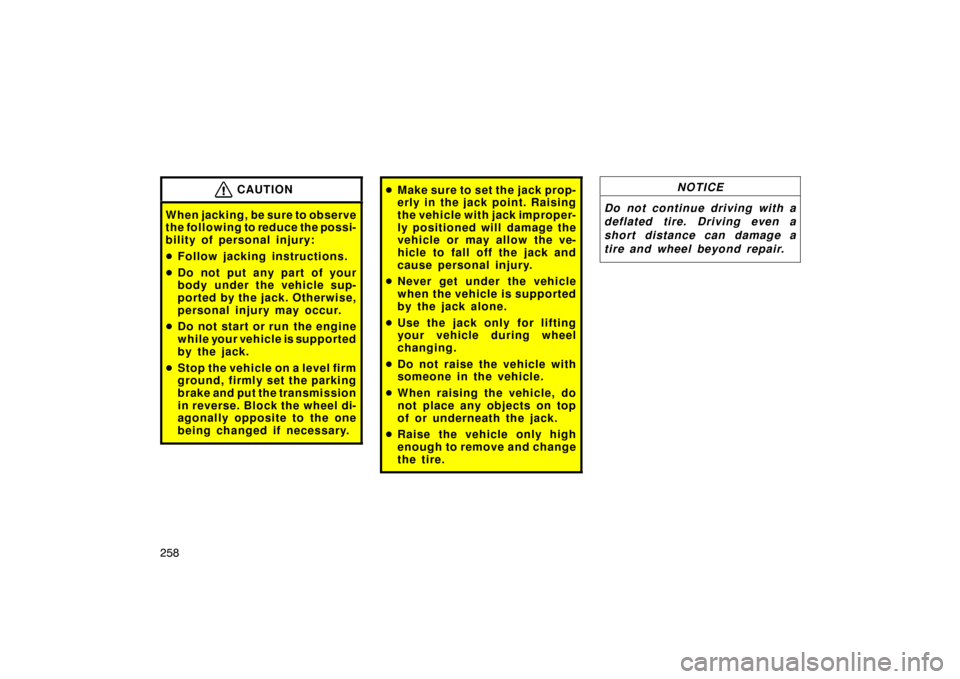
CAUTION
When jacking, be sure to observe
the following to reduce the possi-
bility of personal injury:
�Follow jacking instructions.
� Do not put any part of your
body under the vehicle sup-
ported by the jack. Otherwise,
personal injury may occur.
� Do not start or run the engine
while your vehicle is supported
by the jack.
� Stop the vehicle on a level firm
ground, firmly set the parking
brake and put the transmission
in reverse. Block the wheel di-
agonally opposite to the one
being changed if necessary.
�Make sure to set the jack prop-
erly in the jack point. Raising
the vehicle with jack improper-
ly positioned will damage the
vehicle or may allow the ve-
hicle to fall off the jack and
cause personal injury.
� Never get under the vehicle
when the vehicle is supported
by the jack alone.
� Use the jack only for lifting
your vehicle during wheel
changing.
� Do not raise the vehicle with
someone in the vehicle.
� When raising the vehicle, do
not place any objects on top
of or underneath the jack.
� Raise the vehicle only high
enough to remove and change
the tire.NOTICE
Do not continue driving with a
deflated tire. Driving even a
short distance can damage a
tire and wheel beyond repair.
Page 270 of 351
260
When connecting a jack handle exten-
sion with a jack handle end, use a
jack handle to tighten the bolts on the
joints as shown in the illustration.
When connecting the jack handle with
extension, tighten the wing bolt on the
joint securely. Make sure the hollow
meets the bolt on every joint when
you tighten the bolts.
NOTICE
Tighten all the joints securely.
Otherwise, the extension may
come off and it may damage
the paint or vehicle body.
2. Remove the access hole cover onthe rear bumper with a flat −bladed
screwdriver.
To protect the paint, place several
sheets of paper over the paintwork.3. Insert the jack handle end into the lowering screw through the access
hole and turn it counterclockwise
with pushing it to the front lightly.
Page 271 of 351
261
4. After the tire is lowered completelyto the ground, remove the holding
bracket as shown in the illustration.When storing the spare tire, put it in
place with the outer side of the wheel
facing up and hook the holding brack-
et as shown in the illustration. Then
secure the ti re, taking care that the
tire goes straight up without catching
on any other part, to prevent it from
moving during a collision or sudden
braking.
Check the tire from the side to see
that the tire is stored horizontally.
—Blocking the wheel
2. Block the wheel diagonally op- posite the flat tire to keep the
vehicle from rolling when it is
jacked up.
When blocking the wheel, place a
wheel block in front of one of the front
wheels or behind one of the rear
wheels.
Page 272 of 351
262
—Removing wheel ornament
3. Remove the wheel ornament.
Pry off the wheel ornament, using the
beveled end of the wheel ornament
remover as shown.
CAUTION
Do not try to pull off the orna-
ment by hand. Take due care in
handling the ornament to avoid
unexpected personal injury.
—Loosening wheel nuts
4. Loosen all the wheel nuts.
Always loosen the wheel nuts before
raising the vehicle.
Turn the wheel nuts counterclockwise
to loosen. To get maximum leverage,
fit the wrench to the nut so that the
handle is on the right side, as shown
above. Grab the wrench near the end
of the handle and pull up on the han-
dle. Be careful that the wrench does
not slip off the nut.
Do not remove the nuts yet—just un-
screw them about one −half turn.
CAUTION
Never use oil or grease on the
bolts or nuts. The nuts may loos-
en and the wheels may fall off,
which could cause a serious ac-
cident.
Page 275 of 351

265
To raise the vehicl
e, insert the jack
handle end into the joint of the jack
(it is a loose fit) and turn it clockwise
with the handle, making sure the han-
dle remains firmly fitted onto the jack
handle end. As the jack touches the
vehicle and begins to lift, double −
check that it is properly positioned.
CAUTION
Never get under the vehicle when
the vehicle is supported by the
jack alone.
—Changing wheels
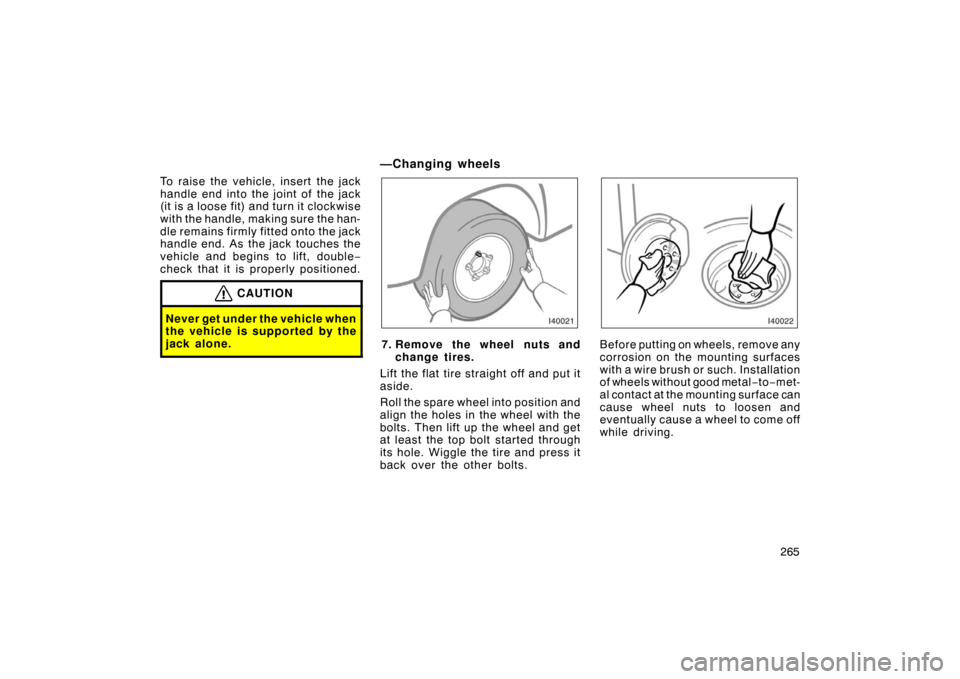
7. Remove the wheel nuts and change tires.
Lift the flat tire straight off and put it
aside.
Roll the spare wheel into position and
align the holes in the wheel with the
bolts. Then lift up the wheel and get
at least the top bolt started through
its hole. Wiggle the tire and press it
back over the other bolts.Before putting on wheels, remove any
corrosion on the mounting surfaces
with a wire brush or such. Installation
of wheels without good metal− to−met-
al contact at the mounting surface can
cause wheel nuts to loosen and
eventually cause a wheel to come off
while driving.
Page 276 of 351
266
—Reinstalling wheel nuts
8. Reinstall all the wheel nuts fin-ger tight.
Reinstall the wheel nuts (tapered end
inward) and tighten them as much as
you can by hand. Press back on the
tire and see if you can tighten them
more.
CAUTION
Never use oil or grease on the
bolts or nuts. Doing so may lead
to overtightening the nuts and
damaging the bolts. The nuts
may loosen and the wheels may
fall off, which could cause a seri-
ous accident. If there is oil or
grease on any bolt or nut, clean
it.
—Lowering your vehicle
9. Lower the vehicle completely and tighten the wheel nuts.
Turn the jack handle extension coun-
terclockwise with handle to lower the
vehicle, making sure the handle re-
mains firmly fitted onto the jack han-
dle extension.
Use only the wheel nut wrench and
turn it clockwise to tighten the nuts.
Do not use other tools or any addition-
al leverage other than your hands,
such as a hammer, pipe or your foot.
Make sure the wrench is securely en-
gaged over the nut.
Page 280 of 351

270
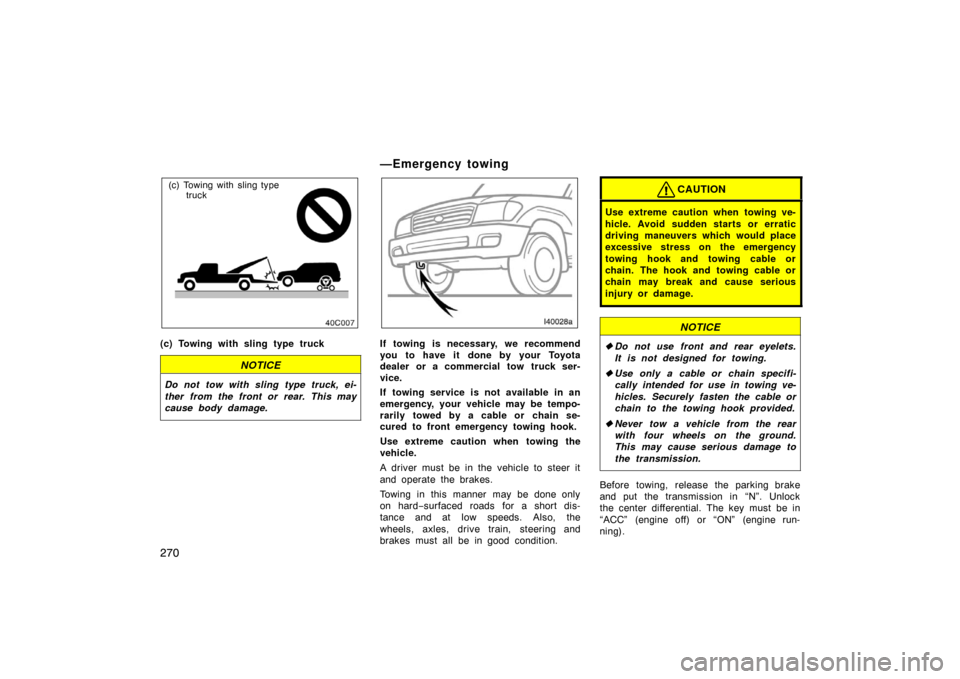
(c) Towing with sling type truck
(c) Towing with sling type truck
NOTICE
Do not tow with sling type truck, ei-
ther from the front or rear. This may
cause body damage.
—Emergency towing
If towing is necessary, we recommend
you to have it done by your Toyota
dealer or a commercial tow truck ser-
vice.
If towing service is not available in an
emergency, your vehicle may be tempo-
rarily towed by a cable or chain se-
cured to front emergency towing hook.
Use extreme caution when towing the
vehicle.
A driver must be in the vehicle to steer it
and operate the brakes.
Towing in this manner may be done only
on hard− surfaced roads for a short dis-
tance and at low speeds. Also, the
wheels, axles, drive train, steering and
brakes must all be in good condition.
CAUTION
Use extreme caution when towing ve-
hicle. Avoid sudden starts or erratic
driving maneuvers which would place
excessive stress on the emergency
towing hook and towing cable or
chain. The hook and towing cable or
chain may break and cause serious
injury or damage.
NOTICE
� Do not use front and rear eyelets.
It is not designed for towing.
� Use only a cable or chain specifi-
cally intended for use in towing ve-
hicles. Securely fasten the cable or
chain to the towing hook provided.
� Never tow a vehicle from the rear
with four wheels on the ground.
This may cause serious damage to
the transmission.
Before towing, release the parking brake
and put the transmission in “N”. Unlock
the center differential. The key must be in
“ACC” (engine off) or “ON” (engine run-
ning).
Page 282 of 351

272
—Tips for towing a stuck vehicle
The following methods are effective to
use when your vehicle is stuck in the
mud, sand or other condition from
which the vehicle cannot be driven out
under its own power. Use extreme cau-
tion when towing the vehicles. In addi-
tion, keep away from the vehicles and
towing cable or chain when towing.
�Remove the sand soil in the front and
the back of the tires.
�Place stones or wood under the tires.
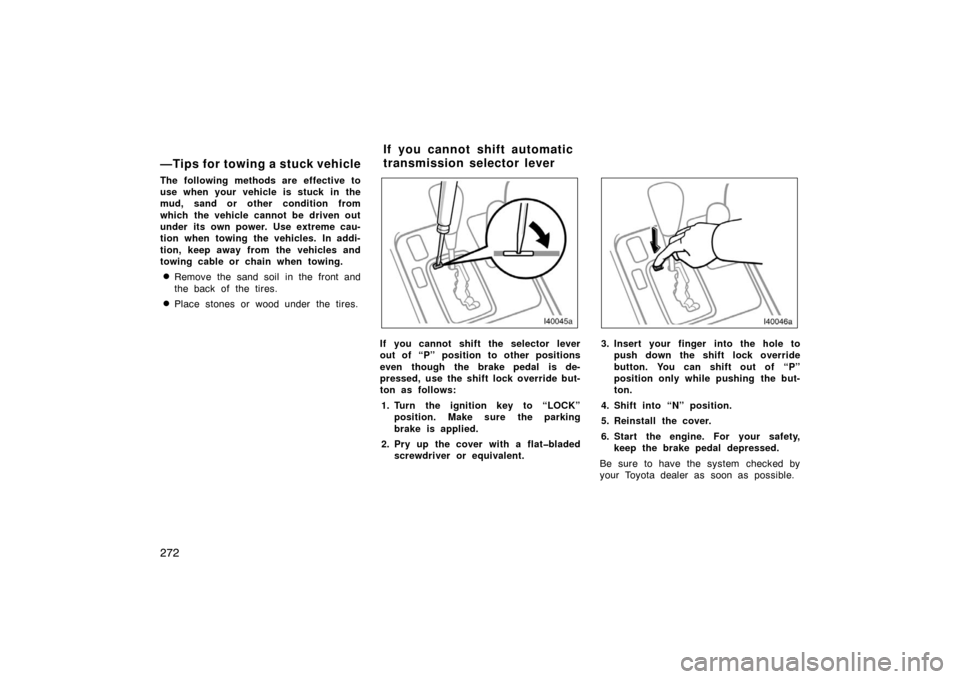
If you cannot shift the selector lever
out of “P” position to other positions
even though the brake pedal is de-
pressed, use the shift lock override but-
ton as follows:1. Turn the ignition key to “LOCK” position. Make sure the parking
brake is applied.
2. Pry up the cover with a flat�bladed screwdriver or equivalent.3. Insert your finger into the hole topush down the shift lock override
button. You can shift out of “P”
position only while pushing the but-
ton.
4. Shift into “N” position.
5. Reinstall the cover.
6. Start the engine. For your safety, keep the brake pedal depressed.
Be sure to have the system checked by
your Toyota dealer as soon as possible.
If you cannot shift automatic
transmission selector lever