Page 126 of 173
11 6
1Function switch display screen
Touch the switches displayed on the
screen to control the radio, cassette
tape player and disc players. For de-
tails, see page 118.
2“AUDIO” button
Push this button to display the audio
control screen. For details, see page
118.
3“SEEK·TRACK” button
Push either side of this button to seek up
or down for a station, or to access a desi-
red program or track. For details, see
pages 122, 125, 128, and 132.
4“LOAD” button
Push this button to insert the compact
discs. For details, see pages 120 and
126.
5“DISC” button
Push this button to turn the compact disc
player with changer and DVD player on.
For details, see pages 121 and 128.
6“TUNE” knob
Turn this knob to move up or down the
station band. For details, see page 121.
Quick reference
Page 131 of 173

121
NOTICE
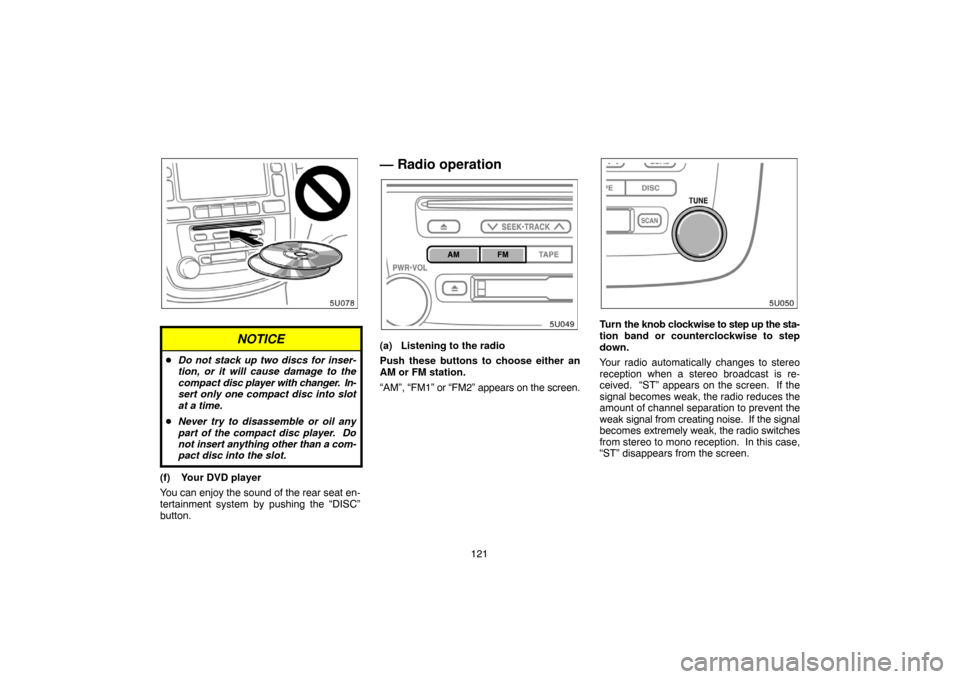
�Do not stack up two discs for inser-
tion, or it will cause damage to the
compact disc player with changer. In-
sert only one compact disc into slot
at a time.
�Never try to disassemble or oil any
part of the compact disc player. Do
not insert anything other than a com-
pact disc into the slot.
(f) Your DVD player
You can enjoy the sound of the rear seat en-
tertainment system by pushing the “DISC”
button.
— Radio operation
(a) Listening to the radio
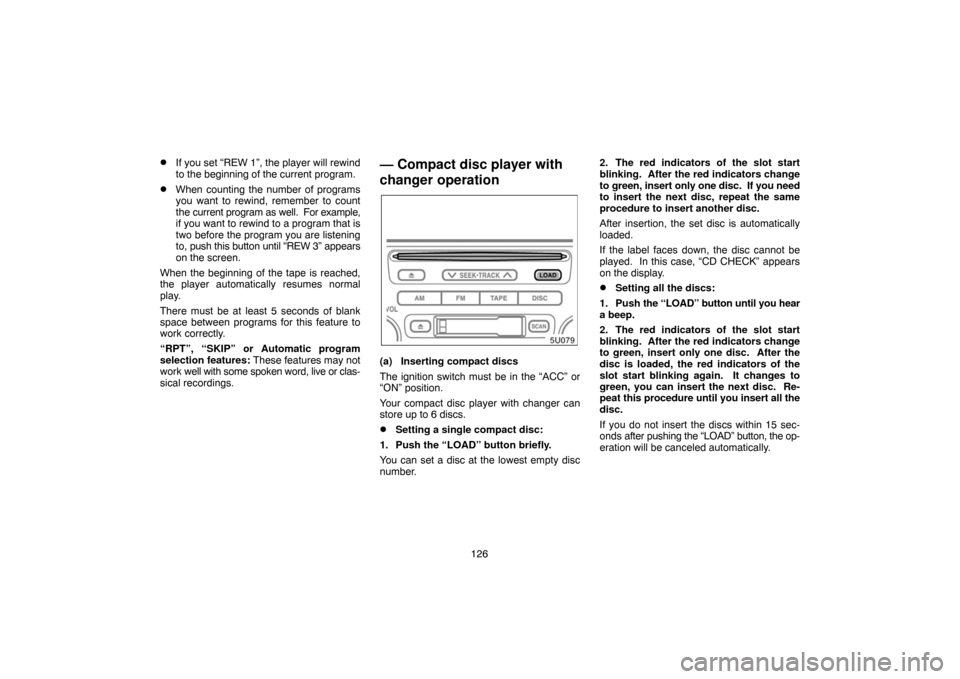
Push these buttons to choose either an
AM or FM station.
“AM”, “FM1” or “FM2” appears on the screen.
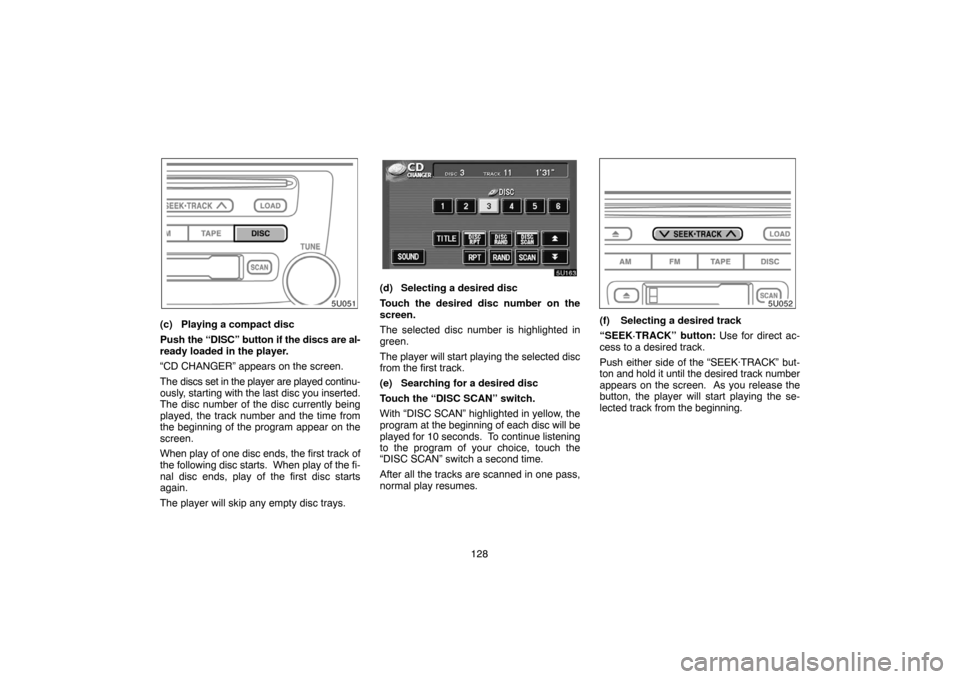
Turn the knob clockwise to step up the sta-
tion band or counterclockwise to step
down.
Your radio automatically changes to stereo
reception when a stereo broadcast is re-
ceived. “ST” appears on the screen. If the
signal becomes weak, the radio reduces the
amount of channel separation to prevent the
weak signal from creating noise. If the signal
becomes extremely weak, the radio switches
from stereo to mono reception. In this case,
“ST” disappears from the screen.
Page 136 of 173

126
�If you set “REW 1”, the player will rewind
to the beginning of the current program.
�When counting the number of programs
you want to rewind, remember to count
the current program as well. For example,
if you want to rewind to a program that is
two before the program you are listening
to, push this button until “REW 3” appears
on the screen.
When the beginning of the tape is reached,
the player automatically resumes normal
play.
There must be at least 5 seconds of blank
space between programs for this feature to
work correctly.
“RPT”, “SKIP” or Automatic program
selection features: These features may not
work well with some spoken word, live or clas-
sical recordings.
— Compact disc player with
changer operation
(a) Inserting compact discs
The ignition switch must be in the “ACC” or
“ON” position.
Your compact disc player with changer can
store up to 6 discs.
�Setting a single compact disc:
1. Push the “LOAD” button briefly.
You can set a disc at the lowest empty disc
number.2. The red indicators of the slot start
blinking. After the red indicators change
to green, insert only one disc. If you need
to insert the next disc, repeat the same
procedure to insert another disc.
After insertion, the set disc is automatically
loaded.
If the label faces down, the disc cannot be
played. In this case, “CD CHECK” appears
on the display.
�Setting all the discs:
1. Push the “LOAD” button until you hear
a beep.
2. The red indicators of the slot start
blinking. After the red indicators change
to green, insert only one disc. After the
disc is loaded, the red indicators of the
slot start blinking again. It changes to
green, you can insert the next disc. Re-
peat this procedure until you insert all the
disc.
If you do not insert the discs within 15 sec-
onds after pushing the “LOAD” button, the op-
eration will be canceled automatically.
Page 138 of 173

128
(c) Playing a compact disc
Push the “DISC” button if the discs are al-
ready loaded in the player.
“CD CHANGER” appears on the screen.
The discs set in the player are played continu-
ously, starting with the last disc you inserted.
The disc number of the disc currently being
played, the track number and the time from
the beginning of the program appear on the
screen.
When play of one disc ends, the first track of
the following disc starts. When play of the fi-
nal disc ends, play of the first disc starts
again.
The player will skip any empty disc trays.
(d) Selecting a desired disc
Touch the desired disc number on the
screen.
The selected disc number is highlighted in
green.
The player will start playing the selected disc
from the first track.
(e) Searching for a desired disc
Touch the “DISC SCAN” switch.
With “DISC SCAN” highlighted in yellow, the
program at the beginning of each disc will be
played for 10 seconds. To continue listening
to the program of your choice, touch the
“DISC SCAN” switch a second time.
After all the tracks are scanned in one pass,
normal play resumes.
(f) Selecting a desired track
“SEEK·TRACK” button: Use for direct ac-
cess to a desired track.
Push either side of the “SEEK·TRACK” but-
ton and hold it until the desired track number
appears on the screen. As you release the
button, the player will start playing the se-
lected track from the beginning.
Page 159 of 173
149
Special shaped discs
Transparent/translucent discs
Low quality discs
Labeled discs
NOTICE
Do not use special shaped, transparent/
translucent, low quality or labeled discs
such as those shown in the illustrations.
The use of such discs may damage the
player or changer, or it may be impossi-
ble to eject the disc.