Page 73 of 173

63
Volume
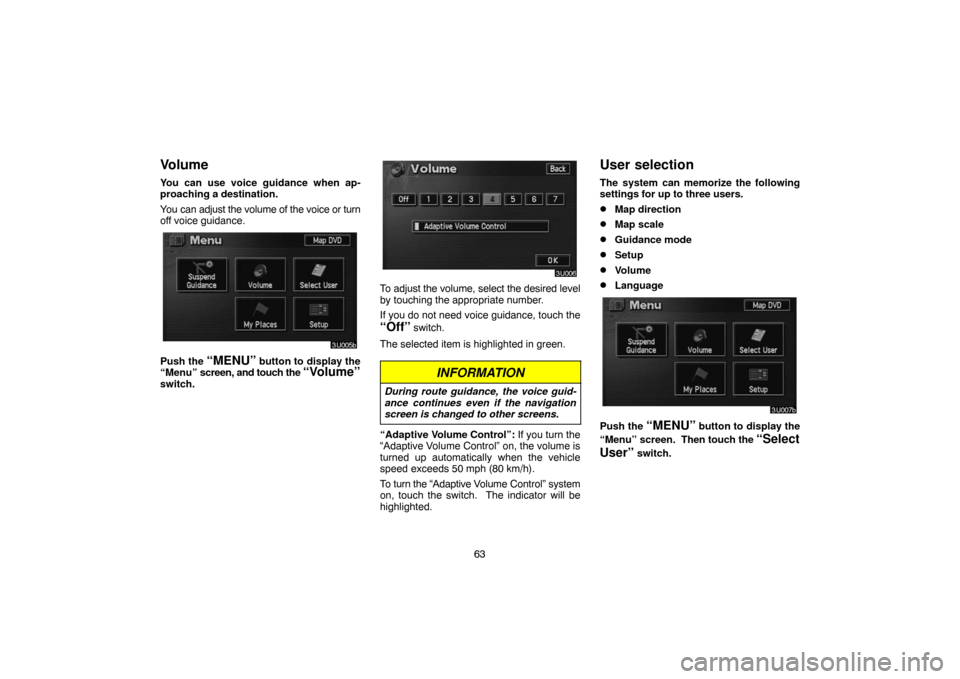
You can use voice guidance when ap-
proaching a destination.
You can adjust the volume of the voice or turn
off voice guidance.
Push the “MENU” button to display the
“Menu” screen, and touch the “Volume”
switch.
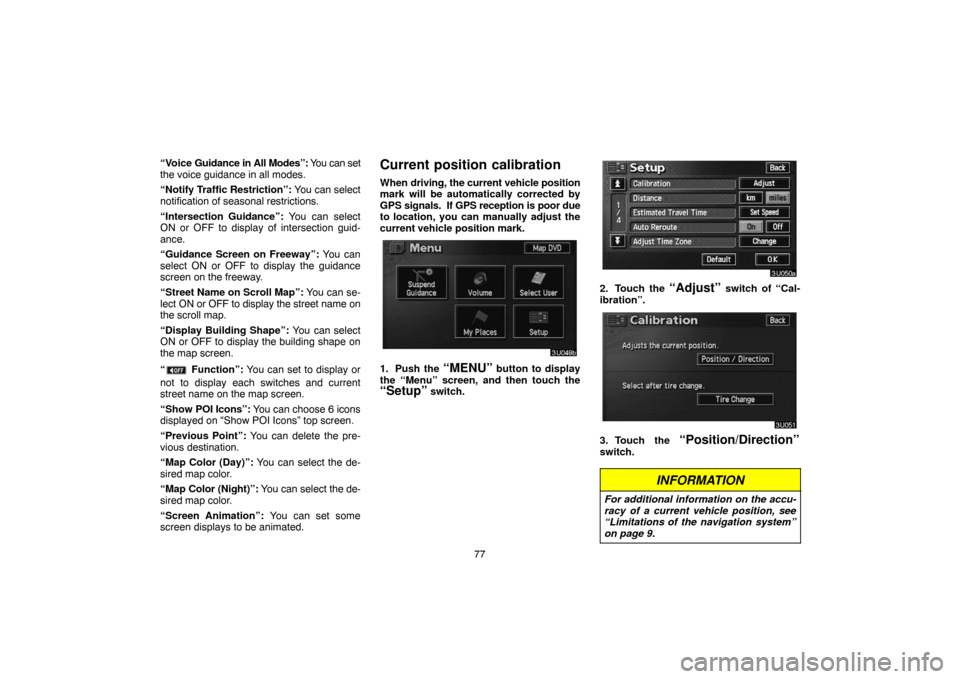
To adjust the volume, select the desired level
by touching the appropriate number.
If you do not need voice guidance, touch the
“Off” switch.
The selected item is highlighted in green.
INFORMATION
During route guidance, the voice guid-
ance continues even if the navigation
screen is changed to other screens.
“Adaptive Volume Control”: If you turn the
“Adaptive Volume Control” on, the volume is
turned up automatically when the vehicle
speed exceeds 50 mph (80 km/h).
To turn the “Adaptive Volume Control” system
on, touch the switch. The indicator will be
highlighted.
User selection
The system can memorize the following
settings for up to three users.
�Map direction
�Map scale
�Guidance mode
�Setup
�Volume
�Language
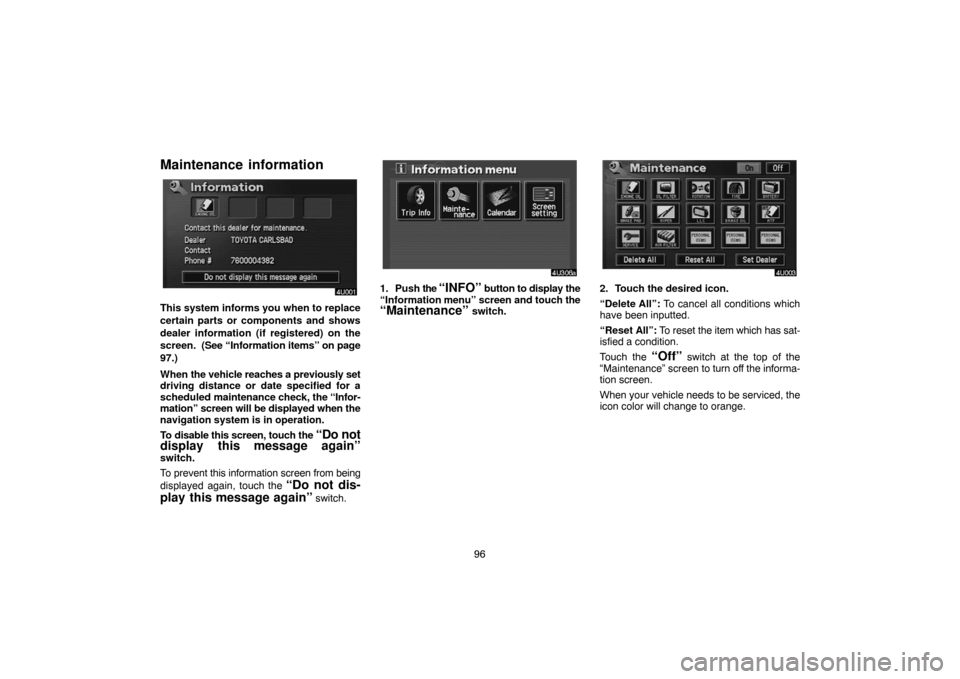
Push the “MENU” button to display the
“Menu” screen. Then touch the
“Select
User”
switch.
Page 87 of 173

77 “Voice Guidance in All Modes”: You can set
the voice guidance in all modes.
“Notify Traffic Restriction”: You can select
notification of seasonal restrictions.
“Intersection Guidance”: You can select
ON or OFF to display of intersection guid-
ance.
“Guidance Screen on Freeway”: You can
select ON or OFF to display the guidance
screen on the freeway.
“Street Name on Scroll Map”: You can se-
lect ON or OFF to display the street name on
the scroll map.
“Display Building Shape”: You can select
ON or OFF to display the building shape on
the map screen.
“
Function”: You can set to display or
not to display each switches and current
street name on the map screen.
“Show POI Icons”: You can choose 6 icons
displayed on “Show POI Icons” top screen.
“Previous Point”: You can delete the pre-
vious destination.
“Map Color (Day)”: You can select the de-
sired map color.
“Map Color (Night)”: You can select the de-
sired map color.
“Screen Animation”: You can set some
screen displays to be animated.
Current position calibration
When driving, the current vehicle position
mark will be automatically corrected by
GPS signals. If GPS reception is poor due
to location, you can manually adjust the
current vehicle position mark.
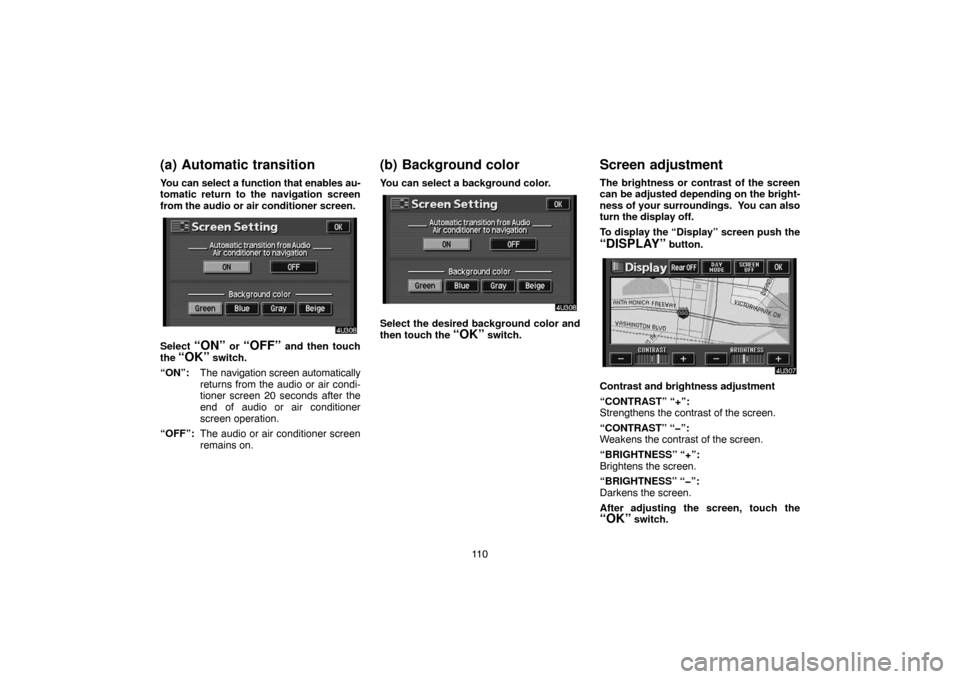
1. Push the “MENU” button to display
the “Menu” screen, and then touch the
“Setup” switch.
2. Touch the “Adjust” switch of “Cal-
ibration”.
3. Touch the “Position/Direction”
switch.
INFORMATION
For additional information on the accu-
racy of a current vehicle position, see
“Limitations of the navigation system”
on page 9.
Page 106 of 173

96
Maintenance information
This system informs you when to replace
certain parts or components and shows
dealer information (if registered) on the
screen. (See “Information items” on page
97.)
When the vehicle reaches a previously set
driving distance or date specified for a
scheduled maintenance check, the “Infor-
mation” screen will be displayed when the
navigation system is in operation.
To disable this screen, touch the
“Do not
display this message again”
switch.
To prevent this information screen from being
displayed again, touch the
“Do not dis-
play this message again”
switch.
1. Push the “INFO” button to display the
“Information menu” screen and touch the
“Maintenance” switch.
2. Touch the desired icon.
“Delete All”: To cancel all conditions which
have been inputted.
“Reset All”: To reset the item which has sat-
isfied a condition.
Touch the
“Off” switch at the top of the
“Maintenance” screen to turn off the informa-
tion screen.
When your vehicle needs to be serviced, the
icon color will change to orange.
Page 120 of 173

11 0
(a) Automatic transition
You can select a function that enables au-
tomatic return to the navigation screen
from the audio or air conditioner screen.
Select “ON” or “OFF” and then touch
the
“OK” switch.
“ON”:The navigation screen automatically
returns from the audio or air condi-
tioner screen 20 seconds after the
end of audio or air conditioner
screen operation.
“OFF”:The audio or air conditioner screen
remains on.
(b) Background color
You can select a background color.
Select the desired background color and
then touch the
“OK” switch.
Screen adjustment
The brightness or contrast of the screen
can be adjusted depending on the bright-
ness of your surroundings. You can also
turn the display off.
To display the “Display” screen push the
“DISPLAY” button.
Contrast and brightness adjustment
“CONTRAST” “+”:
Strengthens the contrast of the screen.
“CONTRAST” “�”:
Weakens the contrast of the screen.
“BRIGHTNESS” “+”:
Brightens the screen.
“BRIGHTNESS” “�”:
Darkens the screen.
After adjusting the screen, touch the
“OK” switch.
Page:
< prev 1-8 9-16 17-24