2005 RENAULT MEGANE dipped
[x] Cancel search: dippedPage 67 of 250
Downloaded from www.Manualslib.com manuals search engine
NU761_2_G1-FRA.qxd 10/11/05 15:54 Page 1.57
1.57
INSTRUMENT PANEL (continued)
The presence and operation of the indicator lights described below depen\
d on the vehicle equipment and country.
9 Warning light
This lights up when the engine is
started and goes out after a few
seconds.
It can light up with other
warning lights or messages on
the instrument panel.
If it comes on when the vehicle
is being driven, it is advisable to
visit your RENAULT Dealer as
soon as possible.
10 Coolant temperature indicator
During normal operation, the
needle should be located before
zone a.
Under harsh operating conditions
the needle may approach this
zone.
This is not serious unless the
ûwarning light comes on,
accompanied by a message on
the instrument panel and a beep.
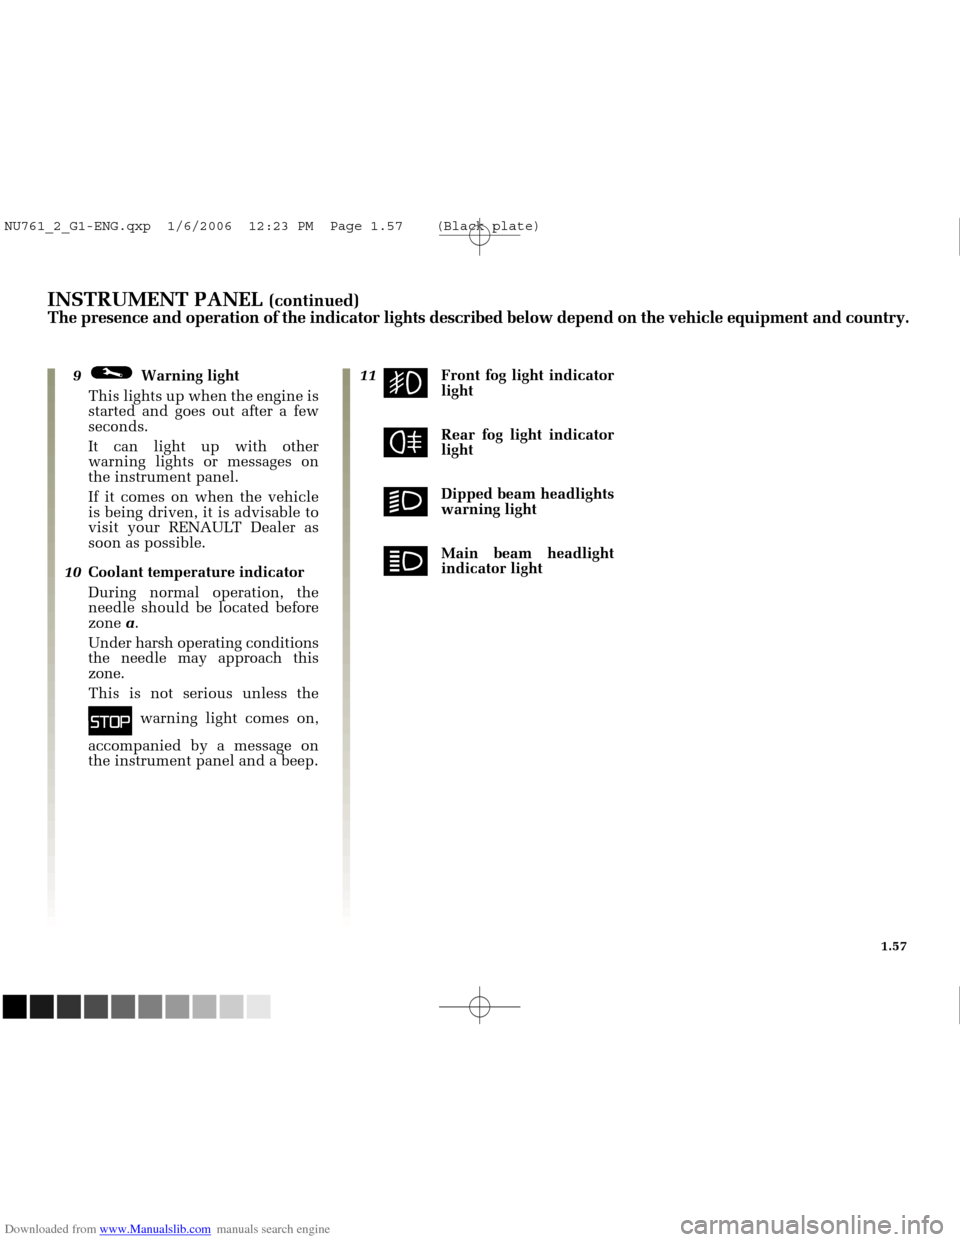
11gFront fog light indicator
light
fRear fog light indicator
light
kDipped beam headlights
warning light
áMain beam headlight
indicator light
NU761_2_G1-ENG.qxp 1/6/2006 12:23 PM Page 1.57 (Black plate)
Page 75 of 250
Downloaded from www.Manualslib.com manuals search engine
NU761_2_G1-FRA.qxd 10/11/05 15:54 Page 1.65
1.65
INSTRUMENT PANEL (continued)
The presence and operation of the indicator lights described below depend\
on the vehicle equipment and country.
8êEngine immobiliser
indicator light
Refer to the information
on the engine immobiliser in
Section 1.
9 Warning light
This lights up when the engine is
started and goes out after a few
seconds. It can light up with
other warning lights or messages
on the instrument panel.
If it comes on when the vehicle
is being driven, it is advisable to
visit your RENAULT Dealer as
soon as possible.
10 Coolant temperature indicator
In normal use, the needle should
be outside area a. Under severe
conditions, the needle may enter
this area. This is not serious
unless the
ûwarning light
comes on, accompanied by a
message on the instrument panel
and a beep.
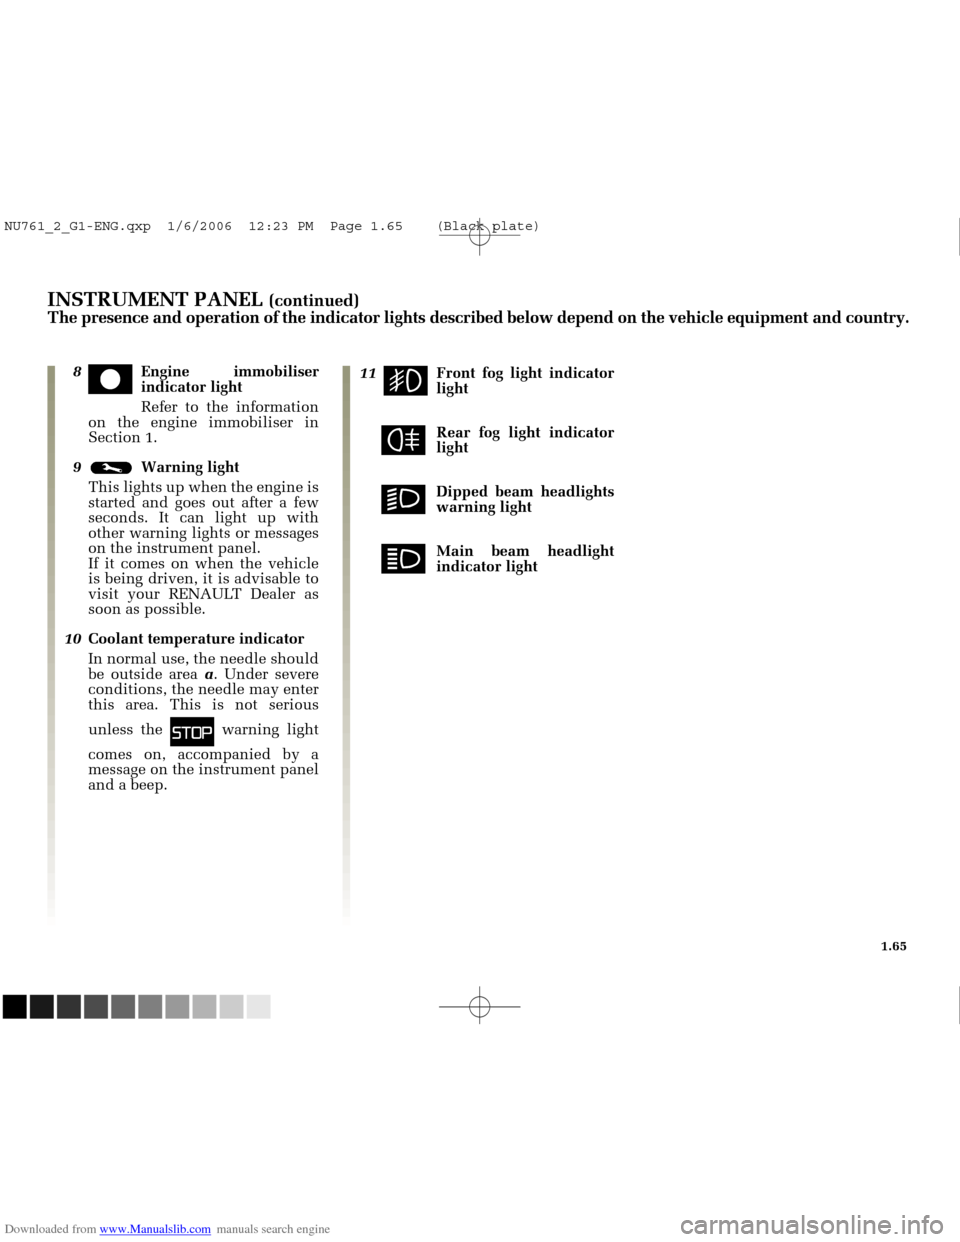
11gFront fog light indicator
light
fRear fog light indicator
light
kDipped beam headlights
warning light
áMain beam headlight
indicator light
NU761_2_G1-ENG.qxp 1/6/2006 12:23 PM Page 1.65 (Black plate)
Page 92 of 250
Downloaded from www.Manualslib.com manuals search engine
1
4
1
3
2
NU761_2_G1-FRA.qxd 10/11/05 15:55 Page 1.82
1.82
EXTERIOR LIGHTING AND SIGNALS
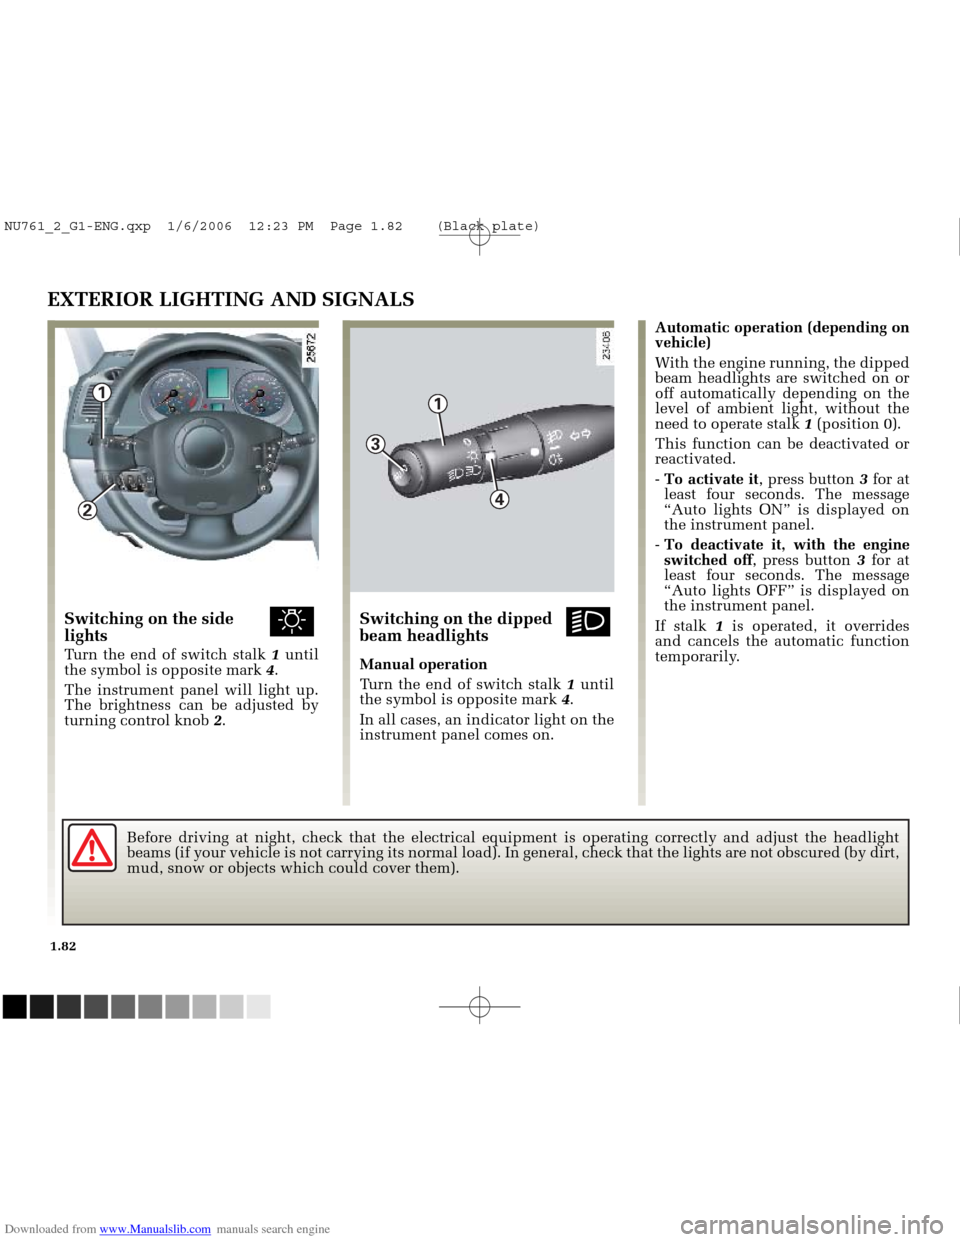
Switching on the side ulights
Turn the end of switch stalk 1until
the symbol is opposite mark 4.
The instrument panel will light up.
The brightness can be adjusted by
turning control knob 2.
Switching on the dipped kbeam headlights
Manual operation
Turn the end of switch stalk 1until
the symbol is opposite mark 4.
In all cases, an indicator light on the
instrument panel comes on. Automatic operation (depending on
vehicle)
With the engine running, the dipped
beam headlights are switched on or
off automatically depending on the
level of ambient light, without the
need to operate stalk
1(position 0).
This function can be deactivated or
reactivated.
- To activate it , press button 3for at
least four seconds. The message
“Auto lights ON” is displayed on
the instrument panel.
- To deactivate it, with the engine
switched off , press button 3for at
least four seconds. The message
“Auto lights OFF” is displayed on
the instrument panel.
If stalk 1is operated, it overrides
and cancels the automatic function
temporarily.
Before driving at night, check that the electrical equipment is operatin\
g correctly and adjust the headlight
beams (if your vehicle is not carrying its normal load). In general, c\
heck that the lights are not obscured (by dirt,
mud, snow or objects which could cover them).
NU761_2_G1-ENG.qxp 1/6/2006 12:23 PM Page 1.82 (Black plate)
Page 93 of 250
Downloaded from www.Manualslib.com manuals search engine
1
NU761_2_G1-FRA.qxd 10/11/05 15:55 Page 1.83
1.83
EXTERIOR LIGHTING AND SIGNALS (continued)Switching off the lights
Manual operation
There are two possibilities:
- return stalk 1to its original
position;
- the lights go out when the engine is stopped, when the driver’s door is
opened or when the vehicle is
locked. In this case, the next time
the engine is started the lights will
be switched back on according to
the position of the stalk 1.
Automatic operation (depending on
vehicle)
The lights go out when the engine is
stopped, when the driver’s door is
opened or when the vehicle is
locked.
Lights on warning buzzer
If the lights are on after the engine is
switched off, a warning beep sounds
when the driver’s door is opened to
warn you that the lights are still on.
See me home lighting function
This function (useful, for example,
to light the way when opening a
gate, a garage door, etc.), enables you
to temporarily switch on the dipped
beam headlights.
With the engine and the lights
switched off
, and the end of the
switch stalk 1 in position 0, pull the
switch stalk 1towards you: the
dipped beam headlights are
switched on for approximately
thirty seconds.
This action may be carried out no
more than four times for a maximum
lighting period of two minutes.
To switch off the lights before they
go out automatically, turn the end of
stalk 1, then return it to position 0.
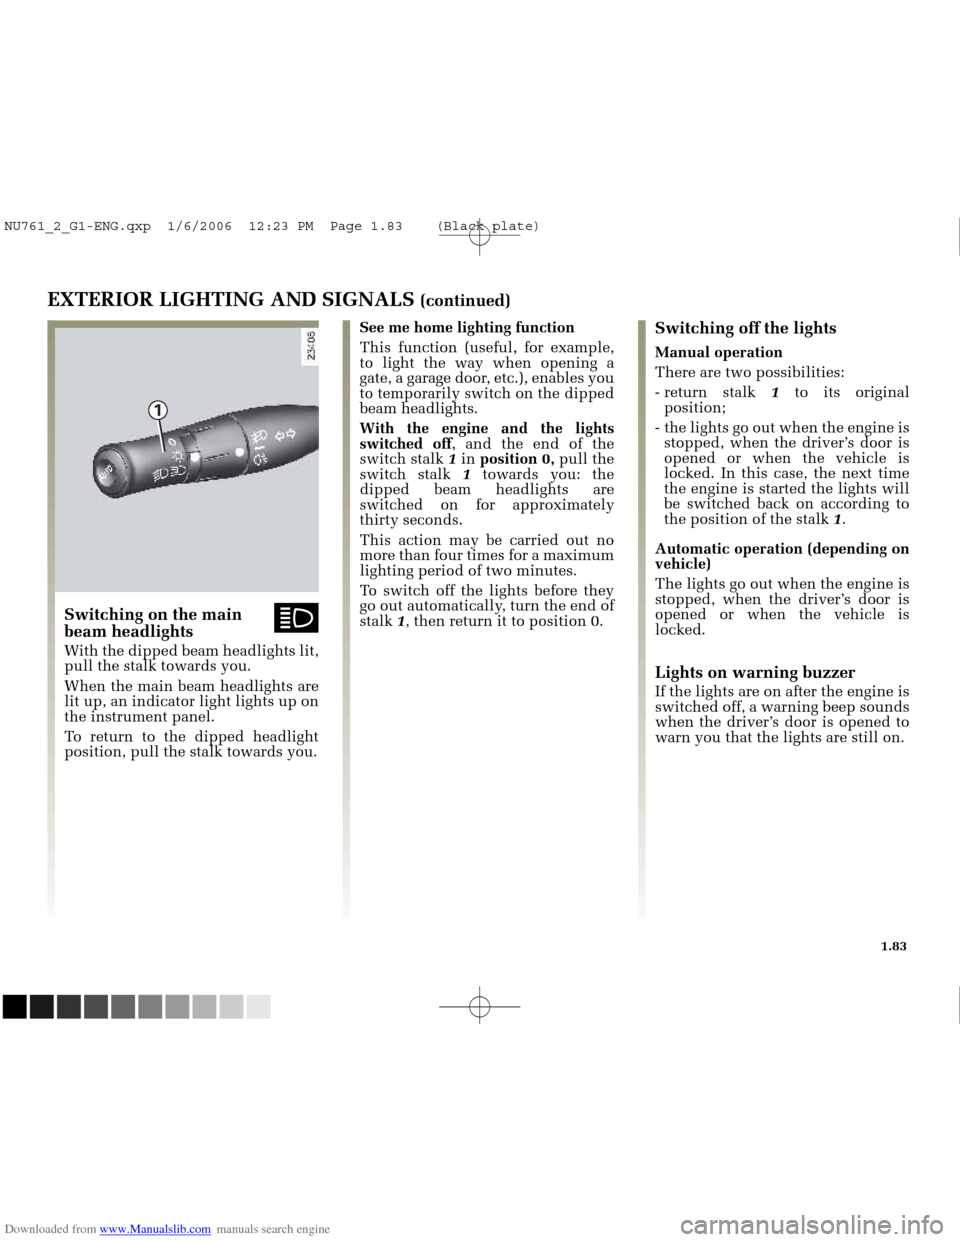
Switching on the main ábeam headlights
With the dipped beam headlights lit,
pull the stalk towards you.
When the main beam headlights are
lit up, an indicator light lights up on
the instrument panel.
To return to the dipped headlight
position, pull the stalk towards you.
NU761_2_G1-ENG.qxp 1/6/2006 12:23 PM Page 1.83 (Black plate)
Page 198 of 250
Downloaded from www.Manualslib.com manuals search engine
A
B
2
7
4
1
5
6
3
NU761_2_G5-FRA.qxd 4/11/05 11:09 Page 5.10
5.10
HALOGEN HEADLIGHTS: changing bulbs
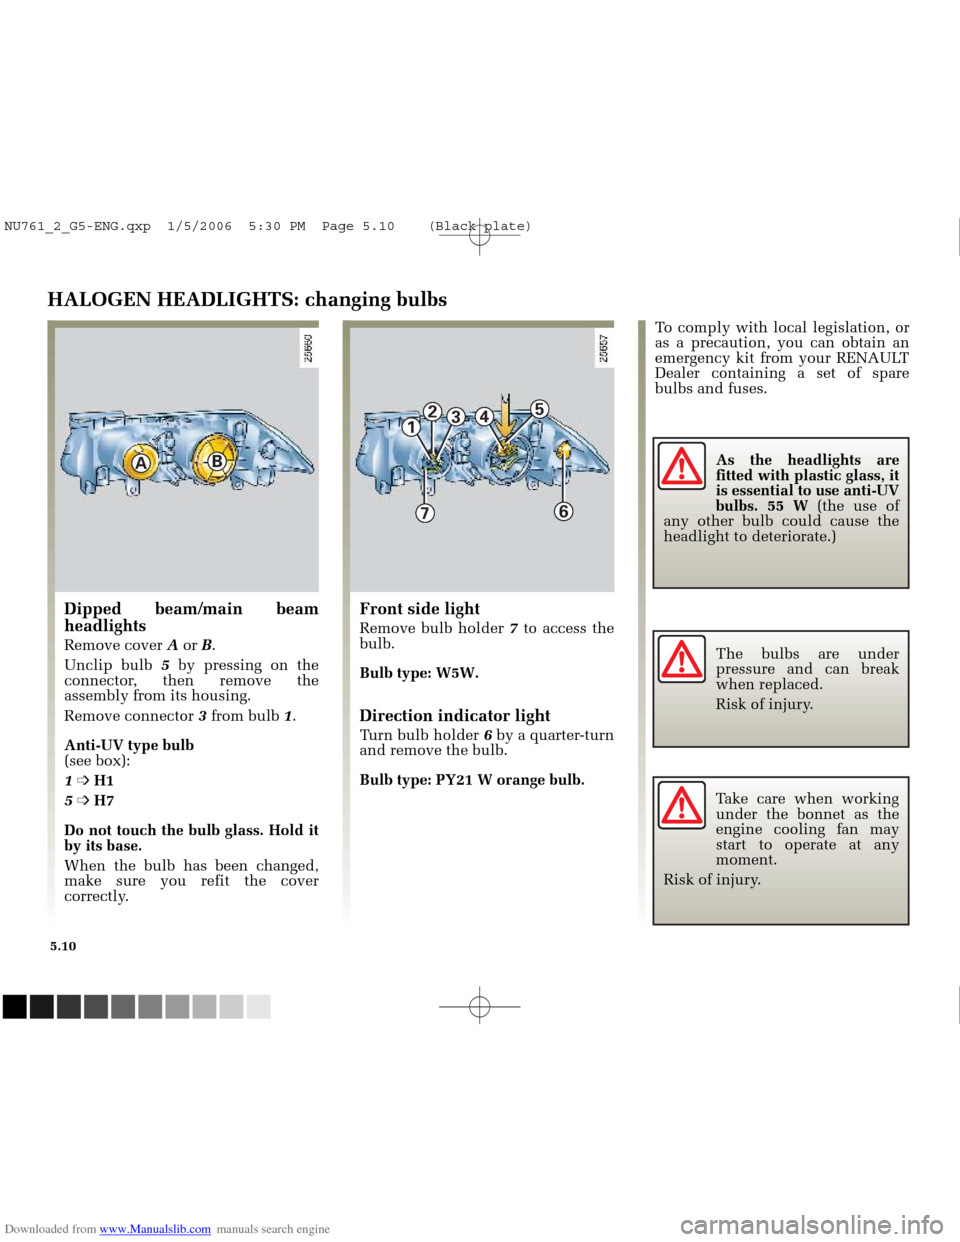
Front side light
Remove bulb holder 7to access the
bulb.
Bulb type: W5W.
Direction indicator light
Turn bulb holder 6by a quarter-turn
and remove the bulb.
Bulb type: PY21 W orange bulb.
Dipped beam/main beam
headlights
Remove cover Aor B.
Unclip bulb 5by pressing on the
connector, then remove the
assembly from its housing.
Remove connector 3 from bulb 1.
Anti-UV type bulb
(see box):
1 ➩ H1
5 ➩ H7
Do not touch the bulb glass. Hold it
by its base.
When the bulb has been changed,
make sure you refit the cover
correctly. To comply with local legislation, or
as a precaution, you can obtain an
emergency kit from your RENAULT
Dealer containing a set of spare
bulbs and fuses.
As the headlights are
fitted with plastic glass, it
is essential to use anti-UV
bulbs. 55 W (the use of
any other bulb could cause the
headlight to deteriorate.)
The bulbs are under
pressure and can break
when replaced.
Risk of injury.
Take care when working under the bonnet as the
engine cooling fan may
start to operate at any
moment.
Risk of injury.
NU761_2_G5-ENG.qxp 1/5/2006 5:30 PM Page 5.10 (Black plate)
Page 199 of 250
Downloaded from www.Manualslib.com manuals search engine
NU761_2_G5-FRA.qxd 4/11/05 11:09 Page 5.11
5.11
HEADLIGHTS WITH XENON BULBS: replacing bulbs
Cleaning the headlights
As the headlight lenses are made of
plastic “glass”, use a soft cloth or
cotton wool to clean them.
If this does not clean them properly,
use a soft cloth or cotton wool
slightly moistened with soapy water
and then wipe clean with a soft
damp cloth.
Finally, carefully dry off with a soft
dry cloth.
Cleaning products containing
alcohol must not be used under any
circumstances.
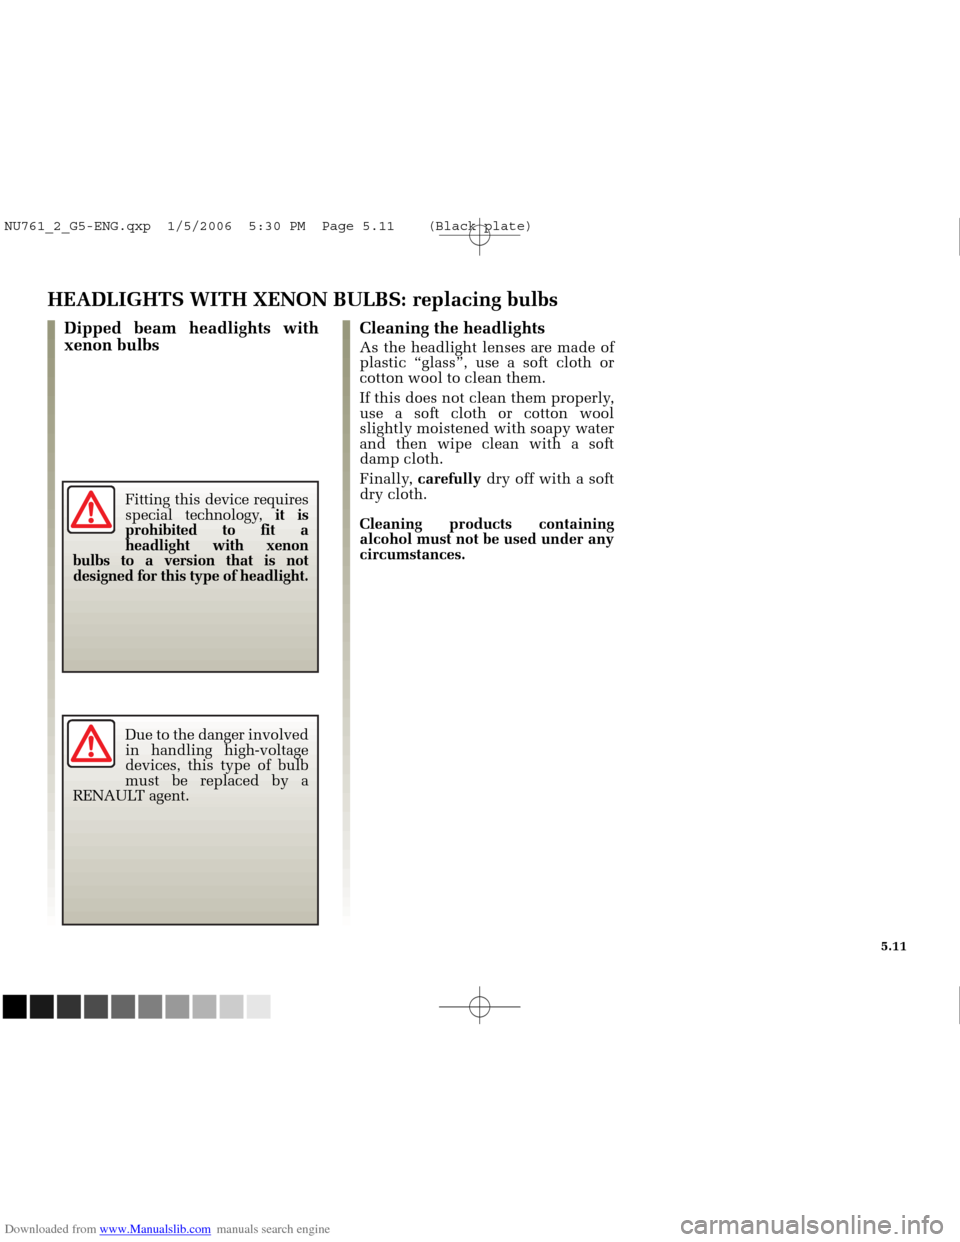
Dipped beam headlights with
xenon bulbs
Fitting this device requires
special technology, it is
prohibited to fit a
headlight with xenon
bulbs to a version that is not
designed for this type of headlight.
Due to the danger involved
in handling high-voltage
devices, this type of bulb
must be replaced by a
RENAULT agent.
NU761_2_G5-ENG.qxp 1/5/2006 5:30 PM Page 5.11 (Black plate)
Page 247 of 250
Downloaded from www.Manualslib.com manuals search engine
NU761_2_G6-FRA.qxd 4/11/05 11:11 Page 6.21
ALPHABETICAL INDEX
FFront seat belt pretensioners ..................................... 1.25 - 1.29
Front seats (adjustment) .......................................... 1.19 ➟ 1.20
Fuel (economy) ........................................................ 2.11 ➟ 2.13
Fuel (filling) ............................................................... 1.89 - 1.90
Fuel (grade) ................................................................ 1.89 - 1.90
Fuel level ................................................................. 1.48 ➟ 1.77
Fuel tank capacity ..................................................... 1.89 - 1.90
Fuses ........................................................................\
.. 5.18 - 5.19
G Gear lever ........................................................................\
..... 2.09
Glove box ................................................................. 3.25 ➟ 3.28
H Hand brake ........................................................................\
... 2.10
Hazard warning lights ......................................................... 1.81
Head restraints ........................................................... 1.17 - 1.18
Headlight beam adjustment ................................................ 1.85
Headlights .............................................................\
... 5.09 ➟ 5.12
Heated seats ........................................................................\
. 1.20
Heating ................................................................\
..... 3.04 ➟ 3.16
Hubcap tool ........................................................................\
.. 5.03
I Ignition switch ........................................................... 2.03 - 2.05
Indicators ......................................................... 1.81 - 5.10 - 5.13
Indicators:
direction indicators ......................................................... 1.82
instrument panel ..................................................... 1.48 ➟ 1.77
Information display ............................................................. 1.61
Instrument panel ..................................................... 1.48 ➟ 1.77
J Jack ...................................................................\
.................... 5.03
L Levels .................................................................\
...... 4.04 ➟ 4.10
Lifting the vehicle (changing a wheel) ............................... 5.05
Lighting: exterior ...............................................................\
.. 1.82 ➟ 1.84
instrument panel .............................................................. 1.82
interior ....................................................... 3.24 - 5.15 ➟ 5.17
see-me-home ............................................................\
........ 1.83 L
Lights:
adjusting ..............................................................\
............. 1.85
brake lights ............................................................. 5.13 - 5.14
dipped beam headlights ............................ 1.82 - 5.09 ➟ 5.11
direction Indicators ......................... 1.81 - 5.09 ➟ 5.11 - 5.14
fog lights ...................................................... 1.84 - 5.12 - 5.13
hazard warning lights ...................................................... 1.81
main beam headlights ................................. 1.83 - 5.09 - 5.10
registration plate lights .................................................... 5.14
reversing lights ................................................................. 5.13
side lights ................................................... 1.82 - 5.09 ➟ 5.13
Locking the doors .................................................... 1.02 ➟ 1.14
Luggage compartment ............................................. 3.31 ➟ 3.34
M Maintenance:
bodywork ............................................................... 4.12 - 4.13
interior trim ...................................................................... 4.14
mechanical .............................................................\
.. 4.04 ➟ 4.11
Map reading lights ............................................................... 3.24
Methods of restraint in addition to seat belts ........................................................... 1.25 ➟ 1.31
O Operating faults ....................................................... 5.31 ➟ 5.38
P Paintwork (maintenance) .......................................... 4.12 - 4.13
Paintwork (reference) .......................................................... 6.02
Parking proximity sensor .......................................... 2.32 - 2.33
Power assisted steering ....................................................... 2.10
Practical advice ........................................................ 2.11 ➟ 2.13
Puncture ...............................................................\
.... 5.02 ➟ 5.05
R Radio (fitting) ....................................................................... 5.24
Rear bench seat .................................................................... 3.30
Rear parcel shelf .................................................................. 3.32
Rear screen (demisting) ............................................. 3.04 - 3.13
Rear seats (operation) .......................................................... 3.30
RENAULT card: battery ....................................................... 5.23
RENAULT card: use ................................................. 1.02 ➟ 1.08
NU761_2_G6-ENG.qxp 03-Jan-06 20:51 Page 6.21 (Black/Process Black\
plate)