2005 PONTIAC BONNEVILLE fuel
[x] Cancel search: fuelPage 1 of 438
Seats and Restraint Systems........................... 1-1
Front Seats
............................................... 1-2
Safety Belts
.............................................. 1-7
Child Restraints
.......................................1-28
Airbag System
.........................................1-47
Restraint System Check
............................1-56
Features and Controls..................................... 2-1
Keys
........................................................ 2-2
Doors and Locks
....................................... 2-9
Windows
.................................................2-17
Theft-Deterrent Systems
............................2-19
Starting and Operating Your Vehicle
...........2-23
Mirrors
....................................................2-36
OnStar
®System
......................................2-39
HomeLink®Transmitter
.............................2-40
Storage Areas
.........................................2-44
Sunroof
..................................................2-45
Vehicle Personalization
.............................2-46
Instrument Panel............................................. 3-1
Instrument Panel Overview
.......................... 3-4
Climate Controls
......................................3-25
Warning Lights, Gages, and Indicators
........3-33
Systems Monitor
......................................3-58
Driver Information Center (DIC)
..................3-59Secondary Information Center (SIC)
............3-70
Audio System(s)
.......................................3-72
Driving Your Vehicle....................................... 4-1
Your Driving, the Road, and Your Vehicle
..... 4-2
Towing
...................................................4-34
Service and Appearance Care.......................... 5-1
Service
..................................................... 5-3
Fuel
......................................................... 5-5
Checking Things Under the Hood
...............5-10
Bulb Replacement
....................................5-67
Windshield Wiper Blade Replacement
.........5-73
Tires
......................................................5-74
Appearance Care
...................................5-101
Vehicle Identi�cation
...............................5-110
Electrical System
....................................5-111
Capacities and Speci�cations
...................5-121
Normal Maintenance Replacement Parts
....5-122
Maintenance Schedule..................................... 6-1
Maintenance Schedule
................................ 6-2
Customer Assistance and Information.............. 7-1
Customer Assistance and Information
........... 7-2
Reporting Safety Defects
...........................7-10
Index.................................................................1
2005 Pontiac Bonneville Owner ManualM
Page 86 of 438
PASS-Key®III Operation
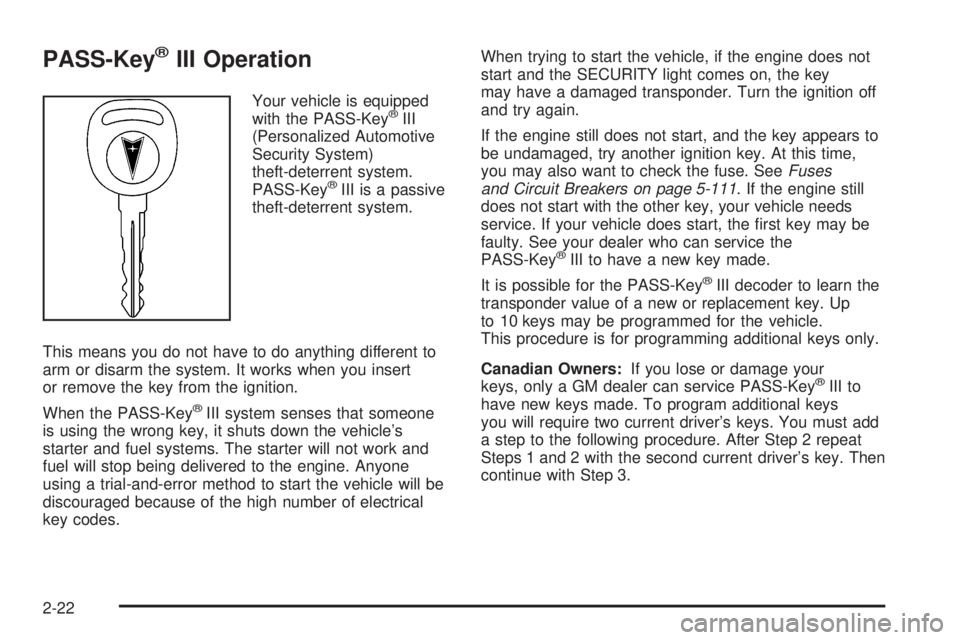
Your vehicle is equipped
with the PASS-Key®III
(Personalized Automotive
Security System)
theft-deterrent system.
PASS-Key
®III is a passive
theft-deterrent system.
This means you do not have to do anything different to
arm or disarm the system. It works when you insert
or remove the key from the ignition.
When the PASS-Key
®III system senses that someone
is using the wrong key, it shuts down the vehicle’s
starter and fuel systems. The starter will not work and
fuel will stop being delivered to the engine. Anyone
using a trial-and-error method to start the vehicle will be
discouraged because of the high number of electrical
key codes.When trying to start the vehicle, if the engine does not
start and the SECURITY light comes on, the key
may have a damaged transponder. Turn the ignition off
and try again.
If the engine still does not start, and the key appears to
be undamaged, try another ignition key. At this time,
you may also want to check the fuse. SeeFuses
and Circuit Breakers on page 5-111. If the engine still
does not start with the other key, your vehicle needs
service. If your vehicle does start, the �rst key may be
faulty. See your dealer who can service the
PASS-Key
®III to have a new key made.
It is possible for the PASS-Key
®III decoder to learn the
transponder value of a new or replacement key. Up
to 10 keys may be programmed for the vehicle.
This procedure is for programming additional keys only.
Canadian Owners:If you lose or damage your
keys, only a GM dealer can service PASS-Key
®III to
have new keys made. To program additional keys
you will require two current driver’s keys. You must add
a step to the following procedure. After Step 2 repeat
Steps 1 and 2 with the second current driver’s key. Then
continue with Step 3.
2-22
Page 90 of 438
Engine Coolant Heater
If your vehicle has this feature, in very cold weather,
0°F (−18°C) or colder, the engine coolant heater can
help. You will get easier starting and better fuel economy
during engine warm-up. Usually, the coolant heater
should be plugged in a minimum of four hours prior to
starting your vehicle. At temperatures above 32°F (0°C),
use of the coolant heater is not required.
To Use the Engine Coolant Heater
1. Turn off the engine.
2. Open the hood and unwrap the electrical cord.
The engine coolant heater cord is located on
the passenger’s side of the vehicle, above the
headlamp assembly.
3. Plug it into a normal, grounded 110-volt AC outlet.
{CAUTION:
Plugging the cord into an ungrounded outlet
could cause an electrical shock. Also, the
wrong kind of extension cord could overheat
and cause a �re. You could be seriously
injured. Plug the cord into a properly grounded
three-prong 110-volt AC outlet. If the cord will
not reach, use a heavy-duty three-prong
extension cord rated for at least 15 amps.
4. Before starting the engine, be sure to unplug and
store the cord as it was before to keep it away
from moving engine parts. If you do not, it could
be damaged.
How long should you keep the coolant heater plugged
in? The answer depends on the outside temperature, the
kind of oil you have, and some other things. Instead
of trying to list everything here, we ask that you contact
your dealer in the area where you will be parking
your vehicle. The dealer can give you the best advice
for that particular area.
2-26
Page 93 of 438
AUTOMATIC OVERDRIVE (D):This position is for
normal driving. If you need more power for passing, and
you are:
Going less than about 35 mph (55 km/h), push your
accelerator pedal about halfway down.
Going about 35 mph (55 km/h) or more, push the
accelerator all the way down.
You will shift down to the next gear and have more
power.
THIRD (3):This position is also used for normal driving.
However, it offers more power and lower fuel economy
than AUTOMATIC OVERDRIVE (D).
Here are some times you might choose THIRD (3)
instead of AUTOMATIC OVERDRIVE (D):
When driving on hilly, winding roads
When towing a trailer, so there is less shifting
between gears
When going down a steep hillSECOND (2):This position gives you more power but
lower fuel economy than THIRD (3). You can use
SECOND (2) on hills. It can help control your speed as
you go down steep mountain roads, but then you
would also want to use your brakes off and on.
Notice:Driving in SECOND (2) for more than
25 miles (40 km) or at speeds over 55 mph (90 km/h)
may damage the transaxle. Also, shifting into
SECOND (2) at speeds above 65 mph (105 km/h) can
cause damage. Drive in THIRD (3) or AUTOMATIC
OVERDRIVE (
X) instead of SECOND (2).
FIRST (1):This position gives you even more power
but lower fuel economy than SECOND (2). You can use
it on very steep hills, or in deep snow or mud. If the
shift lever is put in FIRST (1), the transaxle will not shift
into �rst gear until the vehicle is going slowly enough.
Notice:Spinning the tires or holding the vehicle in
one place on a hill using only the accelerator
pedal may damage the transaxle. If you are stuck,
do not spin the tires. When stopping on a hill,
use the brakes to hold the vehicle in place.
2-29
Page 114 of 438
Engine Coolant Temperature Gage
(V8 Engine)..............................................3-46
Tire Pressure Light.......................................3-47
Malfunction Indicator Lamp.............................3-48
Oil Pressure Gage (V6 Engine).......................3-51
Oil Pressure Gage (V8 Engine).......................3-52
Check Oil Level Light....................................3-53
Security Light...............................................3-53
Highbeam On Light.......................................3-54
Low Washer Fluid Warning Light.....................3-54
Check Gages Warning Light...........................3-54
Door Ajar Light.............................................3-54
Trunk Ajar Light............................................3-55
Service Vehicle Soon Light............................3-55
Fuel Gage (V6 Engine)..................................3-56
Fuel Gage (V8 Engine)..................................3-57
Systems Monitor............................................3-58
Driver Information Center (DIC).......................3-59
DIC Controls and Displays.............................3-60
DIC Warnings and Messages.........................3-62
Driver Identi�er DIC Display...........................3-64
DIC Vehicle Personalization............................3-64Secondary Information Center (SIC).................3-70
Electronic Compass......................................3-70
Audio System(s).............................................3-72
Setting the Time...........................................3-72
Radio with CD..............................................3-73
Radio with Cassette and CD..........................3-83
Trunk-Mounted CD Changer...........................3-95
Theft-Deterrent Feature..................................3-99
Audio Steering Wheel Controls.......................3-99
Radio Reception.........................................3-100
Care of Your Cassette Tape Player...............3-101
Care of Your CDs.......................................3-102
Care of Your CD Player...............................3-102
Diversity Antenna System.............................3-102
XM™ Satellite Radio Antenna System............3-103
Chime Level Adjustment...............................3-103
Section 3 Instrument Panel
3-2
Page 133 of 438
Inadvertent Power Battery Saver
This feature is designed to protect your vehicle’s battery
against drainage from the interior lamps, trunk lamp
or glove box lamp. When the ignition is turned off, the
power to these features will automatically turn off
after 10 minutes. Power will be restored for an additional
10 minutes if any door is opened, the trunk is opened
or the courtesy lamps are turned on.
Head-Up Display (HUD)
{CAUTION:
If the HUD image is too bright, or too high in
your �eld of view, it may take you more time to
see things you need to see when it is dark
outside. Be sure to keep the HUD image dim
and placed low in your �eld of view.
If you have the optional Head-Up Display (HUD), you
can see some of the driver information also available on
your instrument panel cluster. The information maybe displayed in English or metric units and appears as
an image focused out toward the front of your vehicle.
The HUD shows the following:
Speedometer Reading
Turn Signal Indicators
High-beam Indicator Symbol
CHECK GAGES Message (for low oil pressure,
high coolant temperature, low oil level, high/low
battery, brake, ABS and air bag)
Low Fuel Warning Symbol
Radio Frequency and Playback Mode (with the
exception of the XM™ radio)
3-21
Page 145 of 438
Warning Lights, Gages, and
Indicators
This part describes the warning lights and gages that may
be on your vehicle. The pictures will help you locate them.
Warning lights and gages can signal that something is
wrong before it becomes serious enough to cause
an expensive repair or replacement. Paying attention to
your warning lights and gages could also save you
or others from injury.
Warning lights come on when there may be or is a
problem with one of your vehicle’s functions. As you will
see in the details on the next few pages, some
warning lights come on brie�y when you start the
engine just to let you know they are working. If you are
familiar with this section, you should not be alarmed
when this happens.
Gages can indicate when there may be or is a problem
with one of your vehicle’s functions. Often gages
and warning lights work together to let you know when
there is a problem with your vehicle.When one of the warning lights comes on and stays on
when you are driving, or when one of the gages shows
there may be a problem, check the section that tells you
what to do about it. Please follow this manual’s advice.
Waiting to do repairs can be costly — and even
dangerous. So please get to know your warning lights
and gages. They are a big help.
Your vehicle may also have a DIC that works along with
the warning lights and gages. SeeDriver Information
Center (DIC) on page 3-59.
The volume of your vehicle’s warning chimes can be
adjusted. For information seeChime Level Adjustment
on page 3-103.
Instrument Panel Cluster
The instrument panel clusters are designed to let you
know at a glance how your vehicle is running. You
will know how fast you are going, how much fuel you
are using, and many other things you will need to drive
safely and economically.
3-33
Page 160 of 438
Malfunction Indicator Lamp
Service Engine Soon Light in the
United States or With V6 Engine in
Canada or Check Engine Light With
V8 Engine in Canada
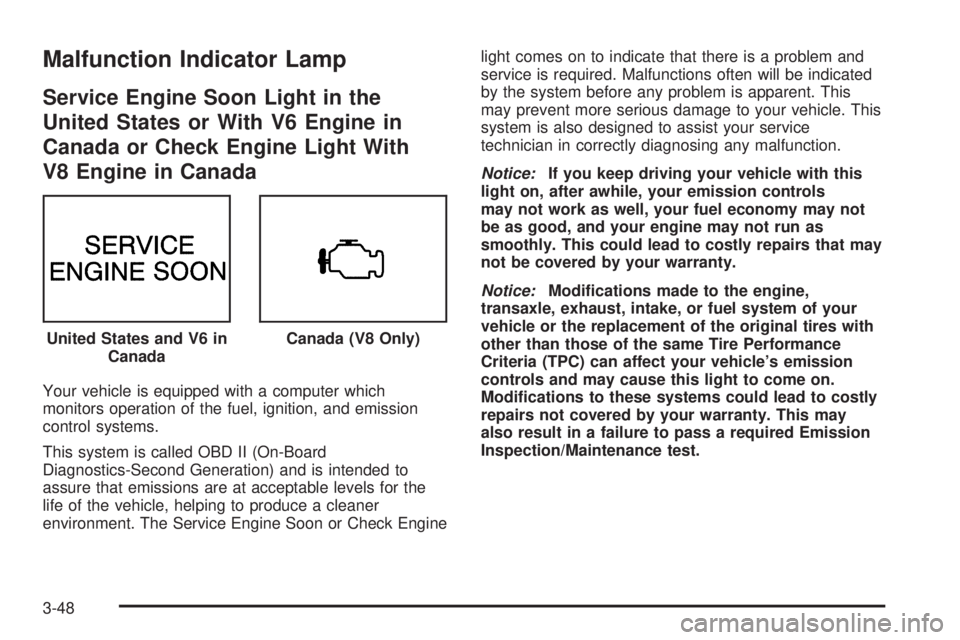
Your vehicle is equipped with a computer which
monitors operation of the fuel, ignition, and emission
control systems.
This system is called OBD II (On-Board
Diagnostics-Second Generation) and is intended to
assure that emissions are at acceptable levels for the
life of the vehicle, helping to produce a cleaner
environment. The Service Engine Soon or Check Enginelight comes on to indicate that there is a problem and
service is required. Malfunctions often will be indicated
by the system before any problem is apparent. This
may prevent more serious damage to your vehicle. This
system is also designed to assist your service
technician in correctly diagnosing any malfunction.
Notice:If you keep driving your vehicle with this
light on, after awhile, your emission controls
may not work as well, your fuel economy may not
be as good, and your engine may not run as
smoothly. This could lead to costly repairs that may
not be covered by your warranty.
Notice:Modi�cations made to the engine,
transaxle, exhaust, intake, or fuel system of your
vehicle or the replacement of the original tires with
other than those of the same Tire Performance
Criteria (TPC) can affect your vehicle’s emission
controls and may cause this light to come on.
Modi�cations to these systems could lead to costly
repairs not covered by your warranty. This may
also result in a failure to pass a required Emission
Inspection/Maintenance test. United States and V6 in
Canada
Canada (V8 Only)
3-48