2005 PONTIAC BONNEVILLE light
[x] Cancel search: lightPage 87 of 438
To program the new key, do the following:
1. Verify that the new key has PK3 stamped on it.
2. Insert the current driver’s key in the ignition
and start the engine. If the engine will not start, see
your dealer for service.
3. After the engine has started, turn the key to OFF,
and remove the key.
4. Insert the key to be programmed and turn it to ON
within 10 seconds of removing the previous key.
5. The SECURITY light will turn off once the key has
been programmed. It may not be apparent that the
SECURITY light went on due to how quickly the
key is programmed.
6. Repeat Steps 1 through 4 if additional keys are to
be programmed.
If you are ever driving and the SECURITY light comes
on and stays on, you will be able to restart your
engine if you turn it off. Your PASS-Key
®III system,
however, is not working properly and must be serviced
by your dealer. Your vehicle is not protected by the
PASS-Key
®III system at this time.
If you lose or damage a PASS-Key
®III key, see your
dealer to have a new key made.
Starting and Operating Your
Vehicle
New Vehicle Break-In
Notice:Your vehicle does not need an elaborate
break-in. But it will perform better in the long run if
you follow these guidelines:
Do not drive at any one speed — fast or
slow — for the �rst 500 miles (805 km). Do not
make full-throttle starts.
Avoid making hard stops for the �rst 200 miles
(322 km) or so. During this time your new brake
linings are not yet broken in. Hard stops with new
linings can mean premature wear and earlier
replacement. Follow this breaking-in guideline
every time you get new brake linings.
Do not tow a trailer during break-in. SeeTowing a
Trailer (V8 Engine) on page 4-36orTowing a
Trailer (V6 Engine) on page 4-36for more
information.
2-23
Page 88 of 438
Ignition Positions
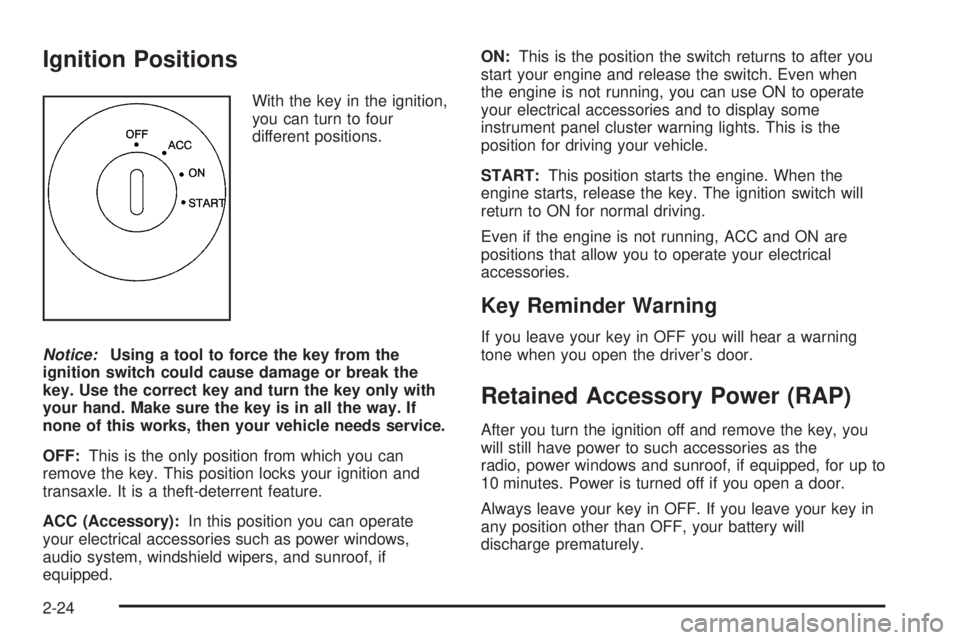
With the key in the ignition,
you can turn to four
different positions.
Notice:Using a tool to force the key from the
ignition switch could cause damage or break the
key. Use the correct key and turn the key only with
your hand. Make sure the key is in all the way. If
none of this works, then your vehicle needs service.
OFF:This is the only position from which you can
remove the key. This position locks your ignition and
transaxle. It is a theft-deterrent feature.
ACC (Accessory):In this position you can operate
your electrical accessories such as power windows,
audio system, windshield wipers, and sunroof, if
equipped.ON:This is the position the switch returns to after you
start your engine and release the switch. Even when
the engine is not running, you can use ON to operate
your electrical accessories and to display some
instrument panel cluster warning lights. This is the
position for driving your vehicle.
START:This position starts the engine. When the
engine starts, release the key. The ignition switch will
return to ON for normal driving.
Even if the engine is not running, ACC and ON are
positions that allow you to operate your electrical
accessories.
Key Reminder Warning
If you leave your key in OFF you will hear a warning
tone when you open the driver’s door.
Retained Accessory Power (RAP)
After you turn the ignition off and remove the key, you
will still have power to such accessories as the
radio, power windows and sunroof, if equipped, for up to
10 minutes. Power is turned off if you open a door.
Always leave your key in OFF. If you leave your key in
any position other than OFF, your battery will
discharge prematurely.
2-24
Page 94 of 438
Parking Brake
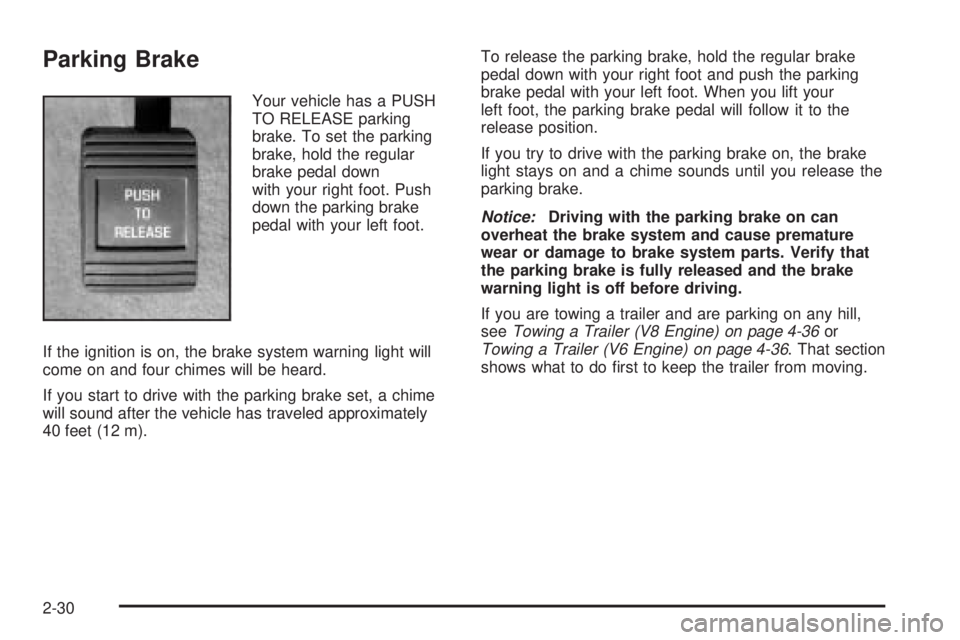
Your vehicle has a PUSH
TO RELEASE parking
brake. To set the parking
brake, hold the regular
brake pedal down
with your right foot. Push
down the parking brake
pedal with your left foot.
If the ignition is on, the brake system warning light will
come on and four chimes will be heard.
If you start to drive with the parking brake set, a chime
will sound after the vehicle has traveled approximately
40 feet (12 m).To release the parking brake, hold the regular brake
pedal down with your right foot and push the parking
brake pedal with your left foot. When you lift your
left foot, the parking brake pedal will follow it to the
release position.
If you try to drive with the parking brake on, the brake
light stays on and a chime sounds until you release the
parking brake.
Notice:Driving with the parking brake on can
overheat the brake system and cause premature
wear or damage to brake system parts. Verify that
the parking brake is fully released and the brake
warning light is off before driving.
If you are towing a trailer and are parking on any hill,
seeTowing a Trailer (V8 Engine) on page 4-36or
Towing a Trailer (V6 Engine) on page 4-36. That section
shows what to do �rst to keep the trailer from moving.
2-30
Page 100 of 438
Mirrors
Manual Rearview Mirror
While sitting in a comfortable driving position, adjust the
mirror so you can see clearly behind your vehicle. Grip
the mirror in the center to move it up or down and side to
side. The control at the bottom of the mirror is the
day/night feature that allows adjustment to the mirror so
that the glare of headlamps from behind is reduced. Push
the tab for daytime use; pull it for night use.
Automatic Dimming Rearview Mirror
The vehicle may have an automatic dimming rearview
mirror. It may also have OnStar®controls. SeeOnStar®
System on page 2-39for more information.
At night, when glare from lights is high, the mirror will
gradually darken. This change may take a few seconds.
The mirror will return to its clear daytime state when
glare is reduced.
Mirror Operation
AUTO:Press this button to turn on the automatic
dimming feature.
OFF:Press this button to turn off the automatic
dimming feature.
O(On/Off):For mirrors equipped with OnStar®
controls, press this button to turn the automatic dimming
feature on or off.
The indicator light will be illuminated when this feature
is on.
2-36
Page 104 of 438
OnStar®Personal Calling
As an OnStar®subscriber, the Personal Calling
capability is available if your hand-held cell phone is
lost, forgotten, or has a low battery. It is a hands-free
wireless phone that is integrated into the vehicle.
Calls can be placed nationwide using simple voice
commands with no additional contracts and no additional
roaming charges. To �nd out more about OnStar
®
Personal Calling, refer to the OnStar®user’s guide in
the vehicle’s glove box or visit www.onstar.com or
www.onstarcanada.com; or speak with an OnStar
®
advisor by pressing the OnStar®button or by calling
1-888-4-ONSTAR (1-888-466-7827).
OnStar®Virtual Advisor
Virtual Advisor is a feature of OnStar®Personal Calling
that uses minutes to access up-to-date weather and
traffic reports for your area, news and sports updates,
stock quotes, entertainment and more. You are also able
to listen and reply to your E-mail through your vehicle’s
audio system. Customize your information pro�le at
www.myonstar.com. See the OnStar
®user’s guide for
more information.
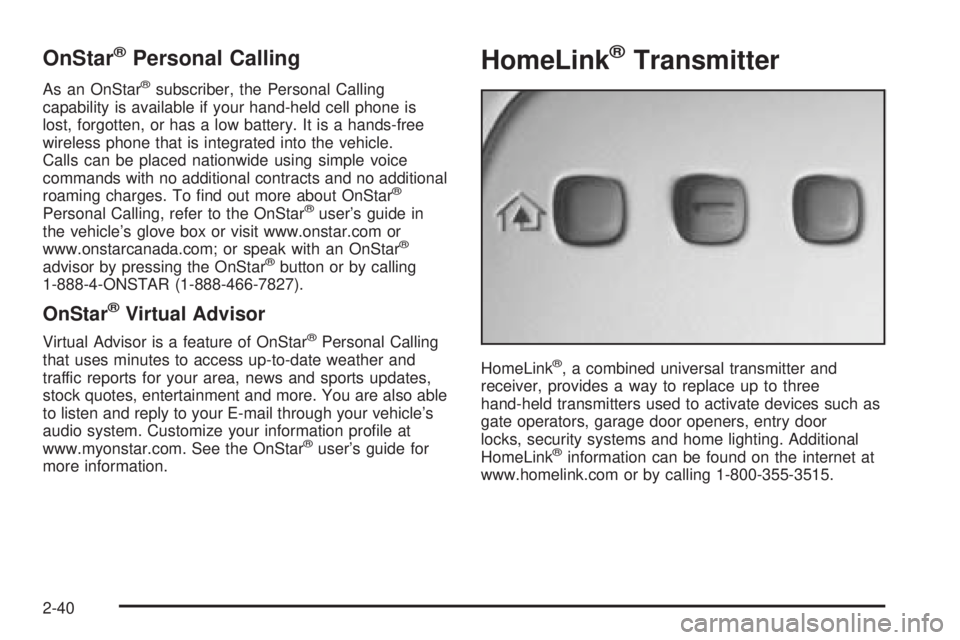
HomeLink®Transmitter
HomeLink®, a combined universal transmitter and
receiver, provides a way to replace up to three
hand-held transmitters used to activate devices such as
gate operators, garage door openers, entry door
locks, security systems and home lighting. Additional
HomeLink
®information can be found on the internet at
www.homelink.com or by calling 1-800-355-3515.
2-40
Page 106 of 438
Programming HomeLink®
Your vehicle’s engine should be turned off while
programming the transmitter. Follow these steps to
program up to three channels:
1. Press and hold down the two outside buttons,
releasing only when the indicator light begins to
�ash, after 20 seconds. Do not hold down the
buttons for longer than 30 seconds and do not
repeat this step to program a second and/or third
transmitter to the remaining two HomeLink
®buttons.
2. Position the end of your hand-held transmitter about
1 to 3 inches (3 to 8 cm) away from the HomeLink
®
buttons while keeping the indicator light in view.
3. Simultaneously press and hold both the desired
button on HomeLink
®and the hand-held transmitter
button. Do not release the buttons until Step 4
has been completed.
Some entry gates and garage door openers may
require you to substitute Step 3 with the procedure
noted in “Gate Operator and Canadian
Programming” later in this section.
4. The indicator light will �ash slowly at �rst and then
rapidly after HomeLink
®successfully receives the
frequency signal from the hand-held transmitter.
Release both buttons.5. Press and hold the newly-trained HomeLink
®button
and observe the indicator light.
If the indicator light stays on constantly, programming
is complete and your device should activate when the
HomeLink
®button is pressed and released.
To program the remaining two HomeLink®buttons,
begin with Step 2 under “Programming HomeLink®.”
Do not repeat Step 1 as this will erase all of the
programmed channels.
If the indicator light blinks rapidly for two seconds
and then turns to a constant light, continue with
Steps 6 through 8 following to complete the
programming of a rolling-code equipped device
(most commonly, a garage door opener).
6. Locate in the garage, the garage door opener
receiver (motor-head unit). Locate the “Learn”
or “Smart” button. This can usually be found where
the hanging antenna wire is attached to the
motor-head unit.
7. Firmly press and release the “Learn” or “Smart”
button. The name and color of the button may
vary by manufacturer.
You will have 30 seconds to start Step 8.
2-42
Page 107 of 438
8. Return to the vehicle. Firmly press and hold the
programmed HomeLink®button for two seconds,
then release. Repeat the press/hold/release
sequence a second time, and depending on the
brand of the garage door opener (or other rolling
code device), repeat this sequence a third time
to complete the programming.
HomeLink
®should now activate your rolling-code
equipped device.
To program the remaining two HomeLink
®buttons,
begin with Step 2 of “Programming HomeLink®.” You do
not want to repeat Step 1, as this will erase all
previous programming.
Gate Operator and Canadian
Programming
Canadian radio-frequency laws require transmitter
signals to “time out” or quit after several seconds of
transmission. This may not be long enough for
HomeLink
®to pick up the signal during programming.
Similarly, some U.S. gate operators are manufactured to
“time out” in the same manner.If you live in Canada, or you are having difficulty
programming a gate operator by using the
“Programming HomeLink
®” procedures (regardless of
where you live), replace Step 3 under “Programming
HomeLink
®” with the following:
Continue to press and hold the HomeLink
®button while
you press and release every two seconds (cycle)
your hand-held transmitter until the frequency signal has
been successfully accepted by HomeLink
®. The
indicator light will �ash slowly at �rst and then rapidly.
Proceed with Step 4 under “Programming HomeLink
®”
to complete.
Using HomeLink®
Press and hold the appropriate HomeLink®button for at
least half of a second. The indicator light will come
on while the signal is being transmitted.
2-43
Page 108 of 438
Erasing HomeLink®Buttons
To erase programming from the three buttons do the
following:
1. Press and hold down the two outside buttons until
the indicator light begins to �ash, after 20 seconds.
Do not hold the two outside buttons for longer
than 30 seconds.
2. Release both buttons.
HomeLink
®is now in the train (learning) mode and can
be programmed at any time beginning with Step 2
under “Programming HomeLink
®” shown earlier in this
section.
Individual buttons cannot be erased, but they can be
reprogrammed. See “Reprogramming a Single
HomeLink
®Button” following this section.
Reprogramming a Single HomeLink®
Button
To program a device to HomeLink®using a HomeLink®
button previously trained, follow these steps:
1. Press and hold the desired HomeLink
®button. Do
not release the button.
2. The indicator light will begin to �ash after
20 seconds. While still holding the HomeLink
®
button, proceed with Step 2 under “Programming
HomeLink®” shown earlier in this section.
Resetting Defaults
To reset HomeLink®to default settings do the following:
1. Hold down the two outside buttons for about
20 seconds until the indicator light begins to �ash.
2. Continue to hold both buttons until the HomeLink
®
indicator light turns off.
3. Release both buttons.
For questions or comments, contact HomeLink
®at
1-800-355-3515, or on the internet at
www.homelink.com.
Storage Areas
Glove Box
Use the master key to lock and unlock the glove box.
To open it, lift the latch release on the left side of
the glove box door.
The VALET key, if equipped, will not work in the glove
box door lock.
2-44