2005 NISSAN ALTIMA 3,5 SE air condition
[x] Cancel search: air conditionPage 5 of 304

Safety—Seats, seat belts and supplemental restraint system
Instruments and controls
Pre-driving checks and adjustments
Display screen, heater, air conditioner and audio systems
Starting and driving
In case of emergency
Appearance and care
Maintenance and do-it-yourself
Technical and consumer information
Index
0
1
2
3
4
5
6
7
8
9
10
Page 61 of 304

WARNING
The front passenger air bag is designed to
automatically turn OFF under some con-
ditions. Read this section carefully to
learn how it operates. Proper use of the
seat, seat belt and child restraints is nec-
essary for most effective protection. Fail-
ure to follow all instructions in this
manual concerning the use of seats, seat
belts and child restraints can increase the
risk or severity of injury in an accident.Status light
The front passenger air bag status lightoris located under the climate controls.
The light operates as follows:
cUnoccupied passenger seat or when other
conditions are met as outlined in this sec-
tion: The
orilluminates to indi-
cate that the front passenger air bag is OFF
and will not inflate in a crash.
cOccupied passenger seat and the passen-
ger meets the conditions outlined in this
section: The light
oris OFF to
indicate that the front passenger air bag is
operational.Front passenger air bag
The front passenger air bag is designed to auto-
matically turn OFF when the vehicle is operated
under some conditions as described below in
accordance with U.S. regulations. If the front
passenger air bag is OFF, it will not inflate in a
crash. The driver air bag and other air bags in your
vehicle are not part of this system.
The purpose of the regulation is to help reduce
the risk of injury or death from an inflating air bag
to certain front passenger seat occupants, such
as children, by requiring the air bag to be auto-
matically turned OFF. Certain sensors are used
to meet the requirements.
One sensor used is the occupant classification
sensor (weight sensor) . It is in the bottom of the
front passenger seat cushion and is designed to
detect an occupant and objects on the seat by
weight. It works together with seat belt sensors
described later. For example, if a child is in the
front passenger seat, the advanced air bag sys-
tem is designed to turn the passenger air bag
OFF in accordance with the regulations. Also, if a
child restraint of the type specified in the regula-
tions is on the seat, its weight and the child’s
weight can be detected and cause the air bag to
turn OFF. Weight sensor operation can vary de-
pending on the front passenger seat belt sen-
sors.
LRS0316
Page 67 of 304

in the instrument panel, moni-
tors the circuits of the supplemental front air bag,
supplemental side air bag and curtain side-
impact air bag (if so equipped) and pre-tensioner
seat belt systems. The circuits monitored by the
supplemental air bag warning light are the diag-
nosis sensor unit, crash zone sensor, satellite
sensors, front air bag modules, side air bag mod-
ules, curtain side-impact air bag modules, pre-
tensioner seat belts and all related wiring.When the ignition key is in the ON or START
position, the supplemental air bag warning light
illuminates for about 7 seconds and then turns
off. This means the system is operational.
If any of the following conditions occur, the
supplemental front air bag, supplemental side air
bag and curtain side-impact air bag (if so
equipped) and pre-tensioner seat belt systems
need servicing:
cThe supplemental air bag warning light re-
mains on after approximately 7 seconds.
cThe supplemental air bag warning light
flashes intermittently.
cThe supplemental air bag warning light does
not come on at all.
Under these conditions, the supplemental front
air bag, supplemental side air bags and curtain
side-impact air bag (if so equipped) or pre-
tensioner seat belt systems may not operate
properly. It must be checked and repaired. Take
your vehicle to the nearest NISSAN dealer.
Page 75 of 304

For additional information, refer to “Trip com-
puter” later in this section.For vehicles equipped with trip computer and
navigation system, pushing the change button
changes the display as follows:
Trip
For vehicles with navigation system, refer to
“How to use the ’trip’ button” in the “Display
screen, heater, air conditioner and audio sys-
tems” section later in this manual.Resetting the trip odometer:
Pushing the change button for more than 1 sec-
ond resets the trip odometer to zero.
TRIP COMPUTER (if so equipped)
The display of the trip computer is situated in the
speedometer display. When the ignition is turned
to ON, the display scrolls all the modes of the trip
computer and then shows the mode chosen be-
fore the ignition switch is turned OFF.
Page 83 of 304

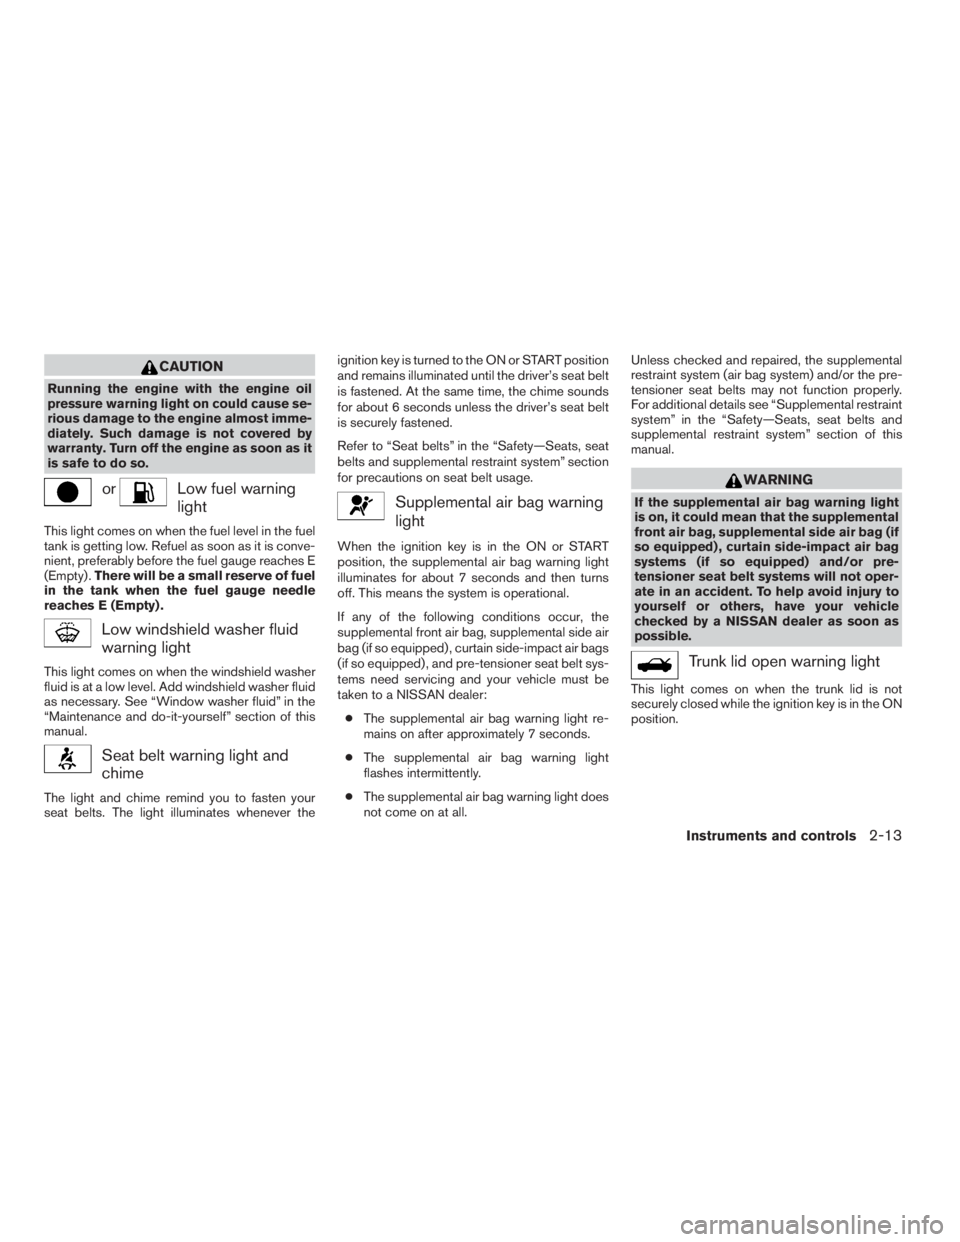
Low fuel warning
light
This light comes on when the fuel level in the fuel
tank is getting low. Refuel as soon as it is conve-
nient, preferably before the fuel gauge reaches E
(Empty) .There will be a small reserve of fuel
in the tank when the fuel gauge needle
reaches E (Empty) .
Seat belt warning light and
chime
The light and chime remind you to fasten your
seat belts. The light illuminates whenever theignition key is turned to the ON or START position
and remains illuminated until the driver’s seat belt
is fastened. At the same time, the chime sounds
for about 6 seconds unless the driver’s seat belt
is securely fastened.
Refer to “Seat belts” in the “Safety—Seats, seat
belts and supplemental restraint system” section
for precautions on seat belt usage.
Supplemental air bag warning
light
When the ignition key is in the ON or START
position, the supplemental air bag warning light
illuminates for about 7 seconds and then turns
off. This means the system is operational.
If any of the following conditions occur, the
supplemental front air bag, supplemental side air
bag (if so equipped) , curtain side-impact air bags
(if so equipped) , and pre-tensioner seat belt sys-
tems need servicing and your vehicle must be
taken to a NISSAN dealer:
cThe supplemental air bag warning light re-
mains on after approximately 7 seconds.
cThe supplemental air bag warning light
flashes intermittently.
cThe supplemental air bag warning light does
not come on at all.Unless checked and repaired, the supplemental
restraint system (air bag system) and/or the pre-
tensioner seat belts may not function properly.
For additional details see “Supplemental restraint
system” in the “Safety—Seats, seat belts and
supplemental restraint system” section of this
manual.
Page 87 of 304

button on the keyfob.
All doors lock. The hazard lights flash
twice and the horn beeps once to indicate
all doors are locked.
cWhen the
button is pushed with
all doors locked, the hazard lights flash
twice and the horn beeps once as a re-
minder that the doors are already locked.
For vehicles with navigation system, see
9Vehicle electronic systems9in the9Display
screen, heater, air conditioner and audio
systems9section later in this manual. For
vehicles without navigation system, see9Si-
lencing the horn beep feature9in the9Pre-
driving checks and adjustments9section
later in this manual.
4. Confirm that the security indicator light
comes on. The security light stays on for
about 30 seconds. The vehicle security sys-
tem is now pre-armed. After about 30 sec-
onds the vehicle security system automati-
cally shifts into the armed phase. The
security light begins to flash once every 3
seconds. If, during the 30-second pre-arm
time period, the door is unlocked by the key
or the keyfob, or the ignition key is turned to
ACC or ON, the system will not arm.cIf the key is turned slowly when locking
the door, the system may not arm. Fur-
thermore, if the key is turned beyond
the vertical position toward the unlock
position to remove the key, the system
may be disarmed when the key is re-
moved. If the indicator light fails to
glow for 30 seconds, unlock the door
once and lock it again.
cEven when the driver and/or passen-
gers are in the vehicle, the system will
arm with all doors and trunk lid closed
and locked with the ignition key in the
OFF position.
Vehicle security system activation
The vehicle security system will give the following
alarm:
cThe headlights blink and the horn sounds
intermittently.
cThe alarm automatically turns off after ap-
proximately 50 seconds. However, the alarm
reactivates if the vehicle is tampered with
again. The alarm can be shut off by unlocking
a door or trunk lid with the key, or by pressing
the
button on the keyfob.The alarm is activated by:
copening the door or trunk lid without using
the key or keyfob (even if the door is un-
locked by releasing the door inside lock
switch) .
How to stop an activated alarm
The alarm stops only by unlocking a door or the
trunk lid with the key, or by pressing the
button on the keyfob.
NISSAN VEHICLE IMMOBILIZER
SYSTEM (NVIS)
The NISSAN Vehicle Immobilizer System (NVIS)
will not allow the engine to start without the use of
a registered NVIS key.
If the engine fails to start using a registered NVIS
key (for example, when interference is caused by
another NVIS key, an automated toll road device
or automatic payment device on the key ring) ,
restart the engine using the following proce-
dures:
1. Leave the ignition switch in the ON position
for approximately 5 seconds.
2. Turn the ignition switch to the OFF or LOCK
position, and wait approximately 10 sec-
onds.
3. Repeat steps 1 and 2.
Instruments and controls2-17
ZREVIEW COPYÐ2005 Altima(l30)
Owners ManualÐUSA_English(nna)
01/04/05Ðarosenma
X
Page 133 of 304

button..................................4-10
Ventilators.......................................4-11
Heater and air conditioner (manual).................4-11
Controls......................................4-13
Heater operation..............................4-14
Air conditioner operation (if so equipped)........4-15
Air flow charts.................................4-16
Heater and air conditioner (automatic)
(if so equipped)..................................4-20
Automatic operation...........................4-20
Manual operation..............................4-21Operating tips.................................4-22
Servicing air conditioner...........................4-22
Audio system....................................4-23
Radio........................................4-23
FM radio reception............................4-23
AM radio reception............................4-23
Satellite radio reception (if so equipped).........4-23
Audio operation precautions....................4-24
FM-AM radio with compact disc (CD) player
(if so equipped)...............................4-26
FM-AM SAT radio with compact disc (CD)
changer (if so equipped).......................4-30
FM-AM-SAT radio with compact disc (CD)
changer (if so equipped).......................4-36
CD care and cleaning..........................4-41
Steering wheel switch for audio control
(if so equipped)...............................4-41
Antenna......................................4-42
Car phone or CB radio............................4-43
ZREVIEW COPYÐ2005 Altima(l30)
Owners ManualÐUSA_English(nna)
01/04/05Ðarosenma
X
Page 135 of 304

brightness control button (P. 4-10)
2. PREV (previous) button (P. 4-3)
3. Joystick and ENTER push button (P. 4-3)
4. SETTING button (P. 4-6)
5. TRIP drive computer button (P. 4-4)
6. DEST button*
7. ROUTE button*
8. MAP button*
9. GUIDE VOICE button*
10.
zoom out button*
11.
zoom in button*
*For Navigation system control buttons, refer to
the separate Navigation System Owner’s
Manual.
HOW TO USE JOYSTICK AND
“ENTER” BUTTON
Choose an item on the display using the joystick
and push the“ENTER”button for operation.
HOW TO USE “PREV” BUTTON
This button has two functions.
cGo back to the previous display (cancel) .
If you touch“PREV”button during setup, the
setup will be canceled and/or the display will
return to the previous screen.
cFinish setup.
If you touch this button after the setup is com-
pleted, the setup will start over, and the display
will return to the climate control or audio mode
and Navigation screen.
SETTING UP THE START-UP
SCREEN
When you turn the ignition key to ACC or ON, the
SYSTEM START-UP warning is displayed on the
screen. Read the warning and select the “I
AGREE” (English) or “ENTER” (Français) key
then push the“ENTER”button.
If you do not push the“ENTER”button, the
Navigation system will not proceed to the next
step display.If you do not touch the button or screen key for
more than 1 minute on the TRIP, SETTING or
START-UP screen, the screen will change to
TRIP screen automatically.
To proceed to the next step, refer to the separate
Navigation System Owner’s Manual.
Display screen, heater, air conditioner and audio systems4-3
ZREVIEW COPYÐ2005 Altima(l30)
Owners ManualÐUSA_English(nna)
01/04/05Ðarosenma
X