Page 134 of 464

134 Controls in detailControl systemSetting the time (hours)
This function can be seen in vehicles with
audio system, or in vehicles with
COMAND* and navigation module*, if the
time and date synchronization with head
unit* feature was set to
Off
(�page 133).
�
Move the selection marker with
buttonæorç to the
Time/Date
submenu.
�
Press buttonjork repeatedly
until you see
Clock, hours
in the mul-
tifunction display.
The selection marker is on the hours.
�
Press buttonæorç to set the
correct hours displayed in the multi-
function display.
�
Press reset buttonJto confirm the
set hours.Setting the time (minutes)
This function can be seen in vehicles with
audio system, or in vehicles with
COMAND* and navigation module*, if the
time and date synchronization with head
unit* feature was set to
Off
(�page 133).
iVehicles with COMAND*:
For information on setting the time in
COMAND, refer to the separate
COMAND operating instructions.
iVehicles with COMAND*:
For information on setting the time in
COMAND, refer to the separate
COMAND operating instructions.
Page 135 of 464
135 Controls in detail
Control system
�
Move the selection marker with
buttonæorç to the
Time/Date
submenu.
�
Press buttonjork repeatedly
until you see
Clock, minutes
in the
multifunction display.
The selection marker is on the minutes.
�
Press buttonæorç to set the
correct minutes displayed in the multi-
function display.
�
Press reset buttonJto confirm the
set minutes.Setting the date (month)
This function can be seen in vehicles with
audio system, or in vehicles with
COMAND* and navigation module*, if the
time and date synchronization with head
unit* feature was set to
Off
(�page 133).
�
Move the selection marker with
buttonæorç to the
Time/Date
submenu.
�
Press buttonjork repeatedly
until you see
Set date month
in the
multifunction display.
The selection marker is on the month.
�
Press buttonæorç to set the
month.
iVehicles with COMAND*:
For information on setting the time in
COMAND, refer to the separate
COMAND operating instructions.
Page 138 of 464

138 Controls in detailControl system�
Press buttonæorç to select
manual operation (
manual
) or daytime
running lamp mode (
constant
) activat-
ed.
With daytime running lamp mode activated
and the exterior lamp switch in
positionMorU, the low beam
headlamps are switched on when the en-
gine is running.
In low ambient light conditions the follow-
ing lamps will switch on additionally:
�
Parking lamps
�
Tail lamps
�
License plate lamps
�
Side marker lamps
For more information on the daytime run-
ning lamp mode, see “Lighting”
(
�page 106).Setting locator lighting
With the locator lighting feature activated
and the exterior lamp switch in
positionU, the following lamps will
switch on when the vehicle is unlocked
with the SmartKey during darkness:
�
Parking lamps
�
Tail lamps
�
License plate lamps
�
Side marker lamps
�
Front fog lamps
The locator lighting switches off when the
driver’s door is opened.
If you do not open a door after unlocking
with the SmartKey, the lamps will switch
off automatically after approximately
40 seconds.
iFor safety reasons, resetting the Lighting
submenu to factory settings
while driving (
�page 129) will not de-
activate the daytime running lamp
mode.
The following message appears in the
multifunction display:
Lighting Cannot be completely
reset to factory settings while
driving
.
Page 143 of 464
143 Controls in detail
Control system
The following settings are available for the
easy-entry/exit feature:Setting key-dependency
Use this function to set whether the mem-
ory* settings for the seats, the steering
wheel and the mirrors should be stored
separately for each SmartKey
(
�page 103).
�
Move the selection marker with
buttonæorç to the
Conve-
nience
submenu.
�
Press buttonjork repeatedly
until you see
Key-dependent
in the
multifunction display.
The selection marker is on the current
setting.
�
Press buttonæorç to set
key-dependency to
On or
Off
.
Off
The easy-entry/exit feature
is deactivated.
Steering
col.
Only the steering column is
moved.
Steer.col.
+ seat
The steering column and the
seat are moved.
iFor safety reasons, the
key-dependency function cannot be
reset to factory settings while driving.
The following message appears in the
multifunction display:Convenience Cannot be completely
reset to factory settings while
driving
.
Page 144 of 464

144 Controls in detailControl systemSetting parking position* for exterior
rear view mirror
Use this function to select whether the
passenger-side exterior rear view mirror
should be turned downward during parking
maneuvers when reverse gearR is en-
gaged.
For additional information, see “Storing
exterior rear view mirror parking position
(parking aid)” (
�page 105).
�
Move the selection marker with
buttonæorç to the
Conve-
nience
submenu.
�
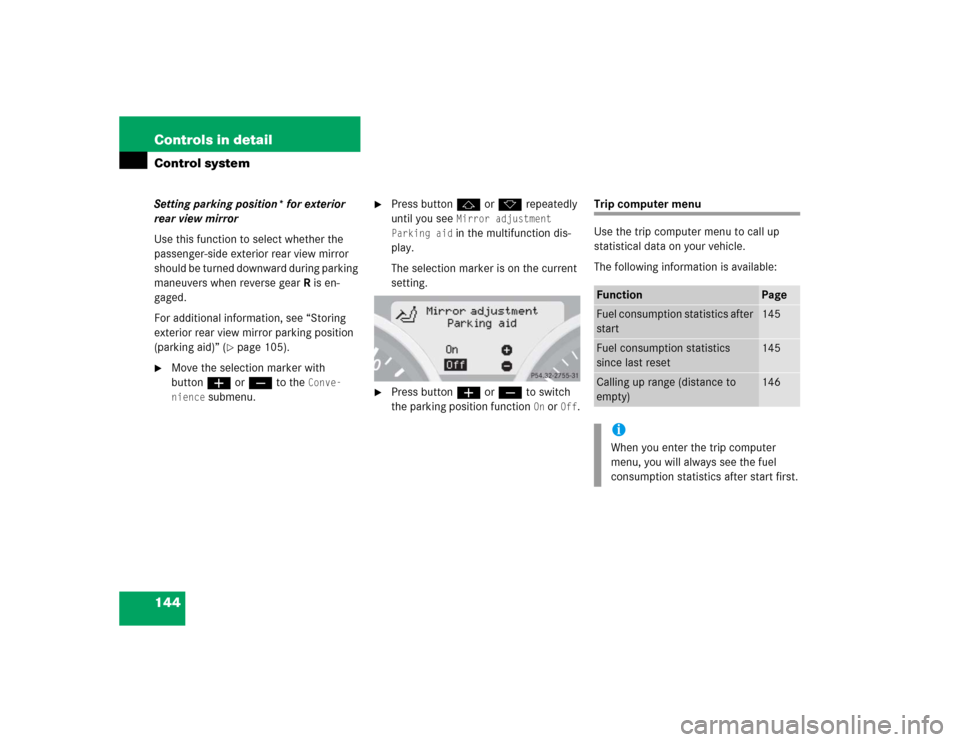
Press buttonjork repeatedly
until you see
Mirror adjustment
Parking aid in the multifunction dis-
play.
The selection marker is on the current
setting.
�
Press buttonæorç to switch
the parking position function
On or
Off
.
Trip computer menu
Use the trip computer menu to call up
statistical data on your vehicle.
The following information is available:Function
Page
Fuel consumption statistics after
start
145
Fuel consumption statistics
since last reset
145
Calling up range (distance to
empty)
146
iWhen you enter the trip computer
menu, you will always see the fuel
consumption statistics after start first.
Page 145 of 464

145 Controls in detail
Control system
Fuel consumption statistics after start�
Press buttonèorÿ repeatedly
until you see the first function of the
trip computer menu.
�
Press buttonjork repeatedly
until you see
After start
in the multi-
function display.
1Statistics called up: since start
2Time elapsed since start
3Average fuel consumption since start
4Average speed since start
5Distance driven since startFuel consumption since last reset
�
Press buttonèorÿ repeatedly
until you see the first function of the
trip computer menu.
�
Press buttonjork repeatedly
until you see
After reset
in the multi-
function display.
1Statistics called up: since last reset
2Time elapsed since last reset
3Average fuel consumption since last re-
set
4Average speed since last reset
5Distance driven since last reset
iAll statistics stored since the last en-
gine start will be reset approximately
four hours after the SmartKey in the
starter switch is turned to position0 or
removed from the starter switch.
Resetting will not occur if you turn the
SmartKey back to position1or2
within this time period.
Page 146 of 464

146 Controls in detailControl systemResetting fuel consumption statistics
manually�
Press and hold reset buttonJuntil
the values of the statistics are reset
to
0.
Resetting fuel consumption statistics
automatically
The values of the statistics will be automat-
ically reset to
0 when one of the following
values exceeds:
�
distance: 100 000 miles (100 000 km)
�
elapsed time: 10 000 hoursCalling up range (distance to empty)
�
Press buttonèorÿ repeatedly
until you see the first function of the
trip computer menu.
�
Press buttonjork repeatedly
until you see
Range:
in the multifunc-
tion display.
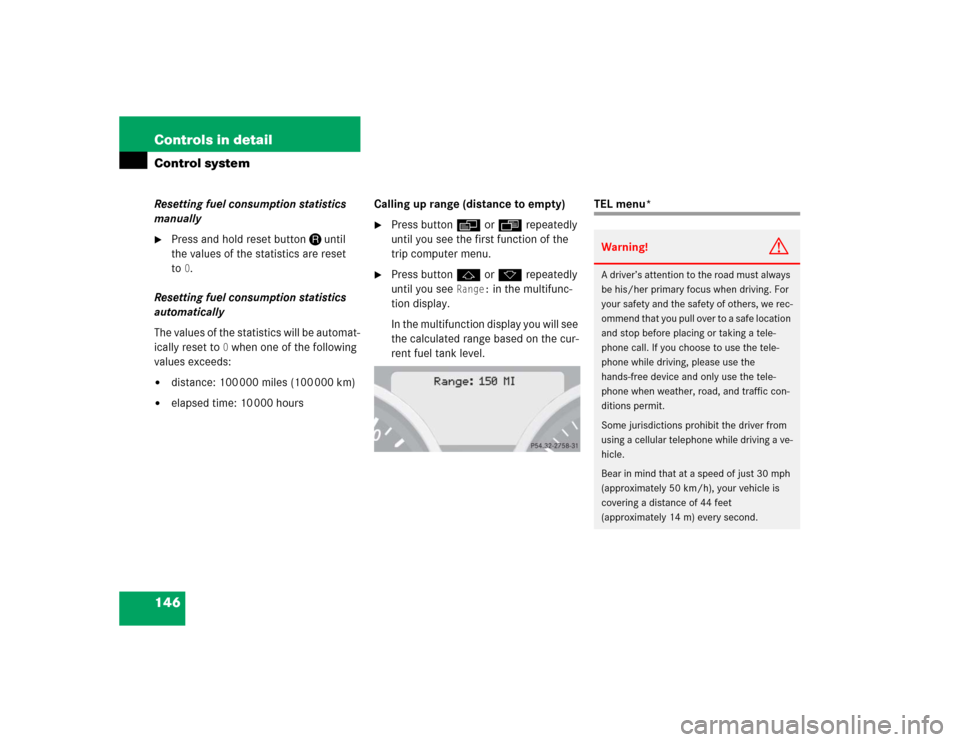
In the multifunction display you will see
the calculated range based on the cur-
rent fuel tank level.
TEL menu*Warning!
G
A driver’s attention to the road must always
be his/her primary focus when driving. For
your safety and the safety of others, we rec-
ommend that you pull over to a safe location
and stop before placing or taking a tele-
phone call. If you choose to use the tele-
phone while driving, please use the
hands-free device and only use the tele-
phone when weather, road, and traffic con-
ditions permit.
Some jurisdictions prohibit the driver from
using a cellular telephone while driving a ve-
hicle.
Bear in mind that at a speed of just 30 mph
(approximately 50 km/h), your vehicle is
covering a distance of 44 feet
(approximately 14 m) every second.
Page 195 of 464

195 Controls in detail
Audio system
Switching off�
Remove the SmartKey from the starter
switch.
or
�
Press
D
button.
Adjusting the volume
�
Turn rotary control of
E
button.
The volume will increase or decrease
depending on the direction turned.Adjusting sound functions
The bass and treble functions are called up
by pressing the O button.
Settings for bass and treble are stored
separately for the AM and FM wavebands,
weather band, CD mode and telephone
mode.
Bass
�
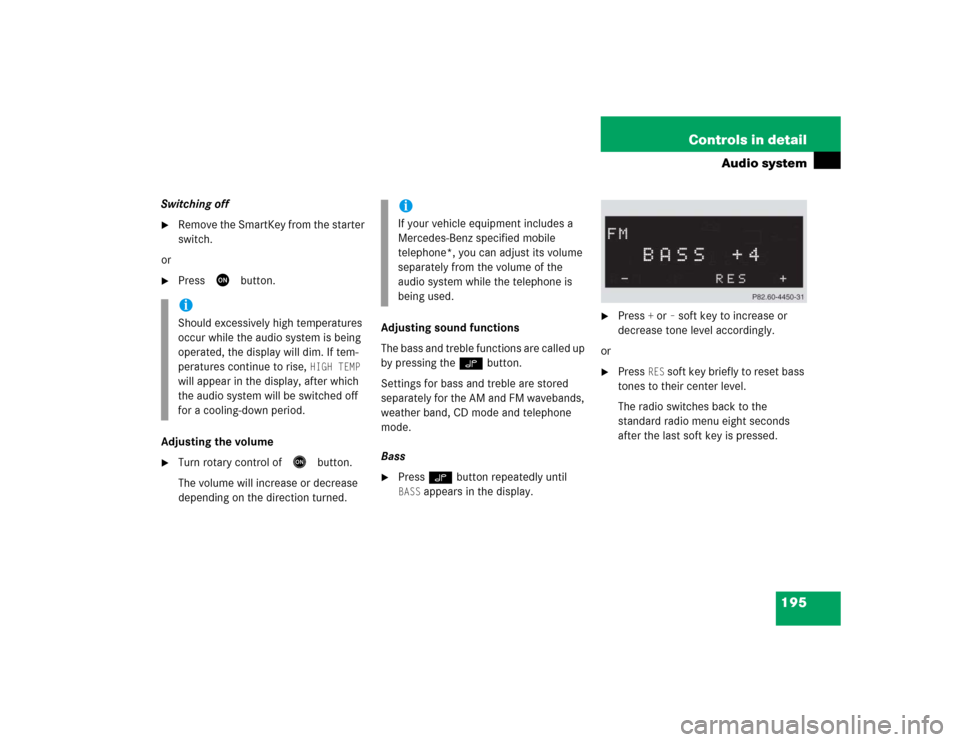
Press O button repeatedly until BASS
appears in the display.
�
Press
+ or
– soft key to increase or
decrease tone level accordingly.
or
�
Press
RES
soft key briefly to reset bass
tones to their center level.
The radio switches back to the
standard radio menu eight seconds
after the last soft key is pressed.
iShould excessively high temperatures
occur while the audio system is being
operated, the display will dim. If tem-
peratures continue to rise,
HIGH TEMP
will appear in the display, after which
the audio system will be switched off
for a cooling-down period.
iIf your vehicle equipment includes a
Mercedes-Benz specified mobile
telephone*, you can adjust its volume
separately from the volume of the
audio system while the telephone is
being used.