Page 148 of 474
146 Controls in detailControl systemResetting the functions of a submenu
For each submenu you can reset all the
functions to the factory settings.�
Move to a function in the submenu.
�
Press the reset button in the instru-
ment cluster for approximately three
seconds.
In the right display you will see the re-
quest to press the reset button again to
confirm.
�
Press the reset button again.
All functions of the submenu will reset
to factory settings.
Page 152 of 474
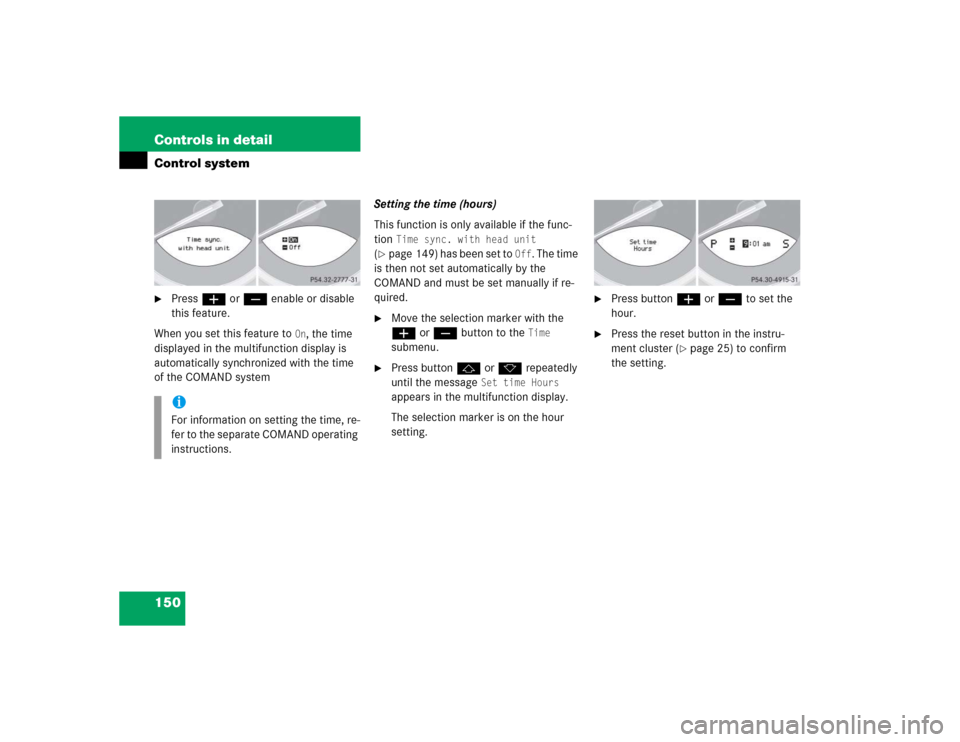
150 Controls in detailControl system�
Press æ or ç enable or disable
this feature.
When you set this feature to
On, the time
displayed in the multifunction display is
automatically synchronized with the time
of the COMAND systemSetting the time (hours)
This function is only available if the func-
tion
Time sync. with head unit
(
�page 149) has been set to
Off
. The time
is then not set automatically by the
COMAND and must be set manually if re-
quired.
�
Move the selection marker with the
æ or ç button to the
Time
submenu.
�
Press button j or k repeatedly
until the message
Set time Hours
appears in the multifunction display.
The selection marker is on the hour
setting.
�
Press button æ or ç to set the
hour.
�
Press the reset button in the instru-
ment cluster (
�page 25) to confirm
the setting.
iFor information on setting the time, re-
fer to the separate COMAND operating
instructions.
Page 153 of 474

This function is only available if the func-
tion
Time sync. with head unit
(
�page 149) has been set to
Off
. The time
is then no")
151 Controls in detail
Control system
Setting the time (minutes)
This function is only available if the func-
tion
Time sync. with head unit
(
�page 149) has been set to
Off
. The time
is then not set automatically by the
COMAND and must be set manually if re-
quired.
�
Move the selection marker with the
æ or ç button to the
Time
submenu.
�
Press button j or k repeatedly
until the message
Set time Minutes
appears in the multifunction display.
The selection marker is on the minute
setting.
�
Press button æ or ç to set the
hour.
�
Press the reset button in the instru-
ment cluster (
�page 25) to confirm
the setting.
Selecting time display mode
�
Move the selection marker with the
æ or ç button to the
Inst.
cluster
submenu.
�
Press button j or k repeatedly
until the message
Clock
appears in the
multifunction display.
The selection marker is on the current
setting.
�
Press æ or ç to set the
12-hour
or
24-hour
time display mode.
iFor information on setting the time, re-
fer to the separate COMAND operating
instructions.
Page 155 of 474

153 Controls in detail
Control system
In low ambient light conditions the follow-
ing lamps will switch on additionally:�
Parking lamps
�
Tail lamps
�
License plate lamps
�
Side marker lampsSetting locator lighting
With the locator lighting feature activated
and the exterior lamp switch in position
U, the following lamps will switch on
when the vehicle is unlocked with the
SmartKey during darkness:
�
Parking lamps
�
Tail lamps
�
License plate lamps
�
Front fog lamps
The locator lighting switches off when the
driver’s door is opened.
If you do not open a door after unlocking
the vehicle with the SmartKey, the lamps
will switch off automatically after approxi-
mately 40 seconds.
�
Move the selection marker with button
æ or ç to the
Lighting
sub-
menu
�
Press button j or k repeatedly
until you see
Locator lighting
in the
multifunction display.
The selection marker is on the current
setting.
�
Press button æ or ç to switch
the locator lighting feature to
On.
�
Turn the exterior lamp switch to posi-
tion U when exeting the vehicle.
The locator lighting feature is
activated.
iFor safety reasons, resetting the Lighting
submenu to factory settings
while driving (
�page 146) will not de-
activate the daytime running lamp
mode.
The message following message ap-
pears in the multifunction display:
Cannot be fully reset to factory
settings when driving
.
Page 161 of 474
159 Controls in detail
Control system
The selection marker is on the current
setting.
�
Press æ or ç to switch function On or
Off
.
Trip computer menu
Use the trip computer menu to call up sta-
tistical data on your vehicle. The following
information is available:Fuel consumption statistics after start
�
Press button ÿ or è repeatedly
until you see the first function of the
Trip computer menu.
�
Press button j or k repeatedly
until you see this message in the left
display:
From start.
1Distance driven since start
2Average speed since start
3Time elapsed since start
4Average fuel consumption since start
Function
Page
Fuel consumption statistics after
start
159
Fuel consumption statistics
since last reset
160
Calling up range
(distance to empty)
161
iThe last function called up will reap-
pear the next time you enter the trip
computer menu.
Page 162 of 474

160 Controls in detailControl system
Fuel consumption since last reset�
Press button ÿ or è repeatedly
until you see the first function of the
Trip computer menu.
�
Press button j or k repeatedly
until you see this message in the left
display:
From reset.
1Distance driven since last reset
2Average speed since last reset
3Time elapsed since last reset
4Average fuel consumption since last re-
setResetting fuel consumption statistics
�
Press button ÿ or è repeatedly
until you see the first function of the
Trip computer menu.
�
Press button j or k repeatedly
until you see the reading that you want
to reset in the left display.
�
Press and hold the reset button in the
instrument cluster (
�page 25) until
the value is reset to 0.
iAll statistics stored since the last en-
gine start will be reset approximately
four hours after the SmartKey in the
starter switch is turned to position0 or
removed from the starter switch.
Resetting will not occur if you turn the
SmartKey back to position1 or2 with-
in this time period.
Page 207 of 474

205 Controls in detail
Driving systems
�Driving systems
The driving systems of your vehicle are de-
scribed on the following pages:�
Cruise control and Distronic*, with
which the vehicle can maintain a preset
speed
�
ABC with vehicle level control systems,
with which you can change vehicle sus-
pension characteristics
�
Parktronic*, which assists the driver
during parking maneuvers
For information on the BAS, ABS, and ESP,
see “Driving safety systems” (
�page 79).
Cruise control
The cruise control automatically maintains
the speed you set for your vehicle.
Use of cruise control is recommended for
driving at a constant speed for extended
periods of time. You can set or resume
cruise control at any speed above
25 mph (40 km/h).
The cruise control function is operated by
means of the cruise control lever.
The cruise control lever is the uppermost
lever found on the left-hand side of the
steering column (
�page 22).
Warning!
G
The cruise control is a convenience system
designed to assist the driver during vehicle
operation. The driver is and must remain at
all times responsible for the vehicle speed
and for safe brake operation.
Only use the cruise control if the road,
traffic, and weather conditions make it ad-
visable to travel at a steady speed.�
The use of cruise control can be danger-
ous on winding roads or in heavy traffic
because conditions do not allow safe
driving at a steady speed.
�
The use of cruise control can be danger-
ous on slippery roads. Rapid changes in
tire traction can result in wheel spin and
loss of control.
�
Deactivate the cruise control when driv-
ing in fog.
The “Resume” function should only be oper-
ated if the driver is fully aware of the previ-
ously set speed and wishes to resume this
particular preset speed.
Page 210 of 474
 increments
Faster�
Briefly tip the cruise control lever in
direction of arrow1 (
�page 206).
Slower
�
Briefly tip the c")
208 Controls in detailDriving systemsFine adjustment in 1 mph
(Canada: 1 km/h) increments
Faster�
Briefly tip the cruise control lever in
direction of arrow1 (
�page 206).
Slower
�
Briefly tip the cruise control lever in
direction of arrow2 (
�page 206).Setting to last stored speed
(“Resume” function)
�
Briefly pull the cruise control lever in di-
rection of arrow4 (
�page 206).
The cruise control will resume the last
set speed.
�
Remove your foot from the accelerator
pedal.
The selected speed appears in the mul-
tifunction display.
Distronic*
When activated, the Distronic adaptive
cruise control system increases the driving
convenience afforded by the cruise control
during travel on expressways and other
major roads.�
If the Distronic distance sensor detects
a slower moving vehicle directly ahead,
your vehicle speed will be reduced so
that you follow that vehicle at a preset
distance.
�
If there is no vehicle directly ahead of
you, Distronic will function in the same
way as cruise control (
�page 205).
Warning!
G
The speed stored in memory should only be
set again if prevailing road conditions per-
mit. Possible acceleration or deceleration
differences arising from returning to the pre-
set speed could cause an accident and/or
serious injury to you and others.
Warning!
G
Distronic adaptive cruise control is no sub-
stitute for active driving involvement. It does
not react to stationary objects, nor recog-
nize or predict the curvature and lane layout
or the movement of vehicles ahead. Distron-
ic can only apply a maximum of 20% of the
vehicle’s braking power.