Page 112 of 474
110 Controls in detailLocking and unlockingIllumination of the emergency release but-
ton:�
The button flashes for 30 minutes after
opening the trunk.
�
The button flashes for 60 minutes after
closing the trunk.
Automatic central locking
The doors and the trunk lid lock automati-
cally when the vehicle is set into motion.
You can open a locked door from the in-
side. Open door only when conditions are
safe to do so.
You can deactivate the automatic locking
using the control system (
�page 156).
iThe emergency release button unlocks
the trunk while the vehicle is standing
still or in motion.iThe emergency release button does
not open the trunk lid if the vehicle bat-
tery is discharged or disconnected.
iIf the emergency release button is
pressed and the vehicle was centrally
locked, the exterior lamps will flash and
the alarm will sound as the trunk lid
opens.
To cancel the alarm, do one of the fol-
lowing:
With the SmartKey�
Insert the SmartKey in the starter
switch.
�
Press buttonŒ or‹ on the
SmartKey.
With KEYLESS-GO*
�
Grasp the outside door handle.
�
Press the KEYLESS-GO* start/stop
button.
iThe doors unlock automatically after an
accident if the force of the impact ex-
ceeds a preset threshold.
The vehicle locks automatically when
the ignition is switched on and the
wheels are turning at vehicle speeds of
approximately 9 mph (15 km/h) or
more. You could therefore lock yourself
out when the vehicle �
is pushed
�
is on a test stand
��
Page 131 of 474
129 Controls in detail
Lighting
Switching on the hazard warning
flasher�
Press hazard warning flasher
switch1.
All turn signals are flashing.
Switching off the hazard warning
flasher
�
Press hazard warning flasher switch1
again.
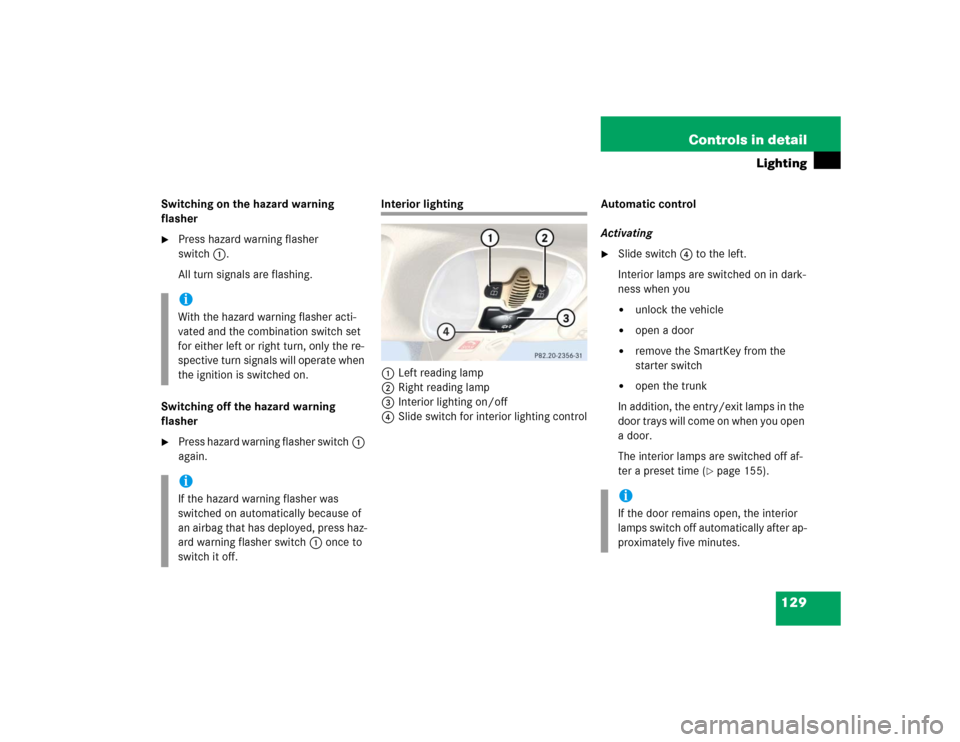
Interior lighting
1Left reading lamp
2Right reading lamp
3Interior lighting on/off
4Slide switch for interior lighting controlAutomatic control
Activating
�
Slide switch4 to the left.
Interior lamps are switched on in dark-
ness when you �
unlock the vehicle
�
open a door
�
remove the SmartKey from the
starter switch
�
open the trunk
In addition, the entry/exit lamps in the
door trays will come on when you open
a door.
The interior lamps are switched off af-
ter a preset time (
�page 155).
iWith the hazard warning flasher acti-
vated and the combination switch set
for either left or right turn, only the re-
spective turn signals will operate when
the ignition is switched on.iIf the hazard warning flasher was
switched on automatically because of
an airbag that has deployed, press haz-
ard warning flasher switch 1 once to
switch it off.
iIf the door remains open, the interior
lamps switch off automatically after ap-
proximately five minutes.
Page 133 of 474
131 Controls in detail
Instrument cluster
�Instrument cluster
For a full view illustration of the instrument
cluster, see “Instrument cluster”
(�page 24).
The instrument cluster is activated when
you
�
open a door
�
switch on the ignition
�
press the reset button (
�page 24)
�
switch on the exterior lamps
Opening a door will activate the instrument
cluster only for about 30 seconds.
You can change the instrument cluster set-
tings in the Instrument cluster submenu of
the control system (
�page 148).
Instrument cluster illumination
Use the reset button to adjust the illumina-
tion brightness for the instrument cluster
and the switches on the center console.
To brighten illumination�
Turn the reset button in the instrument
cluster (
�page 24) clockwise.
The instrument cluster illumination will
brighten.
To dim illumination
�
Turn the reset button in the instrument
cluster (
�page 24) counterclockwise.
The instrument cluster illumination will
dim.
Coolant temperature gauge
iThe instrument cluster illumination is
dimmed or brightened to suit ambient
light conditions.
Warning
G
�
Driving when your engine is badly over-
heated can cause some fluids which
may have leaked into the engine com-
partment to catch fire. You could be se-
riously burned.
�
Steam from an overheated engine can
cause serious burns an can occur just by
opening the hood. Stay away from the
engine if you see or hear steam coming
from it.
Turn off the engine, get out of the vehicle
and do not stand near the vehicle until the
engine has cooled down.
Page 134 of 474
132 Controls in detailInstrument clusterDuring severe operating conditions, e.g.
stop-and-go traffic, the coolant tempera-
ture may rise close to 248°F (120°C).
The engine should not be operated with
the coolant temperature above 248°F
(120°C). Doing so may cause serious en-
gine damage which is not covered by the
Mercedes-Benz Limited Warranty.
Trip odometer�
Make sure you are viewing the trip
odometer display (
�page 134).
�
If it is not displayed, press the j or
k button on the multifunction
steering wheel repeatedly until the trip
odometer appears.
�
Press and hold reset button4
(�page 24) until the trip odometer is
reset.
Tachometer
The red marking on the tachometer de-
notes excessive engine speed.
To help protect the engine, the fuel supply
is interrupted if the engine is operated
within the red marking.
!Excessive coolant temperature triggers
the coolant temperature warning lamp
(�page 352) and a warning in the
multifunction display (
�page 328).
!Avoid driving at excessive engine
speeds, as it may result in serious en-
gine damage that is not covered by the
Mercedes-Benz Limited Warranty.
Page 140 of 474
138 Controls in detailControl systemMenus, submenus and functions
Menu 1
Menu 2
Menu 3
Menu 4
Menu 5
Menu 6
Menu 7
Menu 8
Standard dis-
play
AUDIO
NAV
Distronic*
Vehicle status
message memory
Settings
Trip computer
Telephone
(�page 139)
(�page 139)
(�page 142)
(�page 142)
(�page 143)
(�page 144)
(�page 159)
(�page 161)
Commands/submenusDigital speedom-
eter
Selecting
radio station
Activating
route
guidance
Calling up
settings
Calling up vehicle
malfunction, warn-
ing and system sta-
tus messages
stored in memory
Resetting to
factory set-
tings
Fuel consump-
tion statistics
after start
Loading
phone book
Calling up main-
tenance service
indicator
Selecting
satellite radio
station*
(USA only)
Instrument
cluster sub-
menu
Fuel consump-
tion statistics
since the last
reset
Searching for
name in
phone book
Time
submenu
Checking tire in-
flation pressure*
Operating CD
player
Lighting sub-
menu
Calling up
range
Checking engine
oil level
Vehicle sub-
menuConvenience
submenu
Page 144 of 474
142 Controls in detailControl systemNAV menu
The
NAV
menu contains the functions need-
ed to operate your navigation system.
�
Press button è or ÿ repeatedly
until you see the message
NAV
in the
left multifunction display.
The message shown in the multifunction
display depends on the status of the navi-
gation system:
�
When the navigation system is off, the
message
NAV off
appears in the multi-
function display.
�
When the navigation system is on, the
message
HEADING
appears in the left
multifunction display and the destina-
tion in the right multifunction display.
Please refer to the COMAND manual for in-
structions on how to activate the route
guidance system.
Distronic* menu
Use the Distronic menu to display the cur-
rent settings for your Distronic system.
What information is shown in the left mul-
tifunction display depends on whether the
Distronic system is active or inactive.
Please refer to the “Driving systems” sec-
tion of this manual (
�page 208) for in-
structions on how to activate Distronic.
�
Press button è or ÿ repeatedly
until you see one of the following two
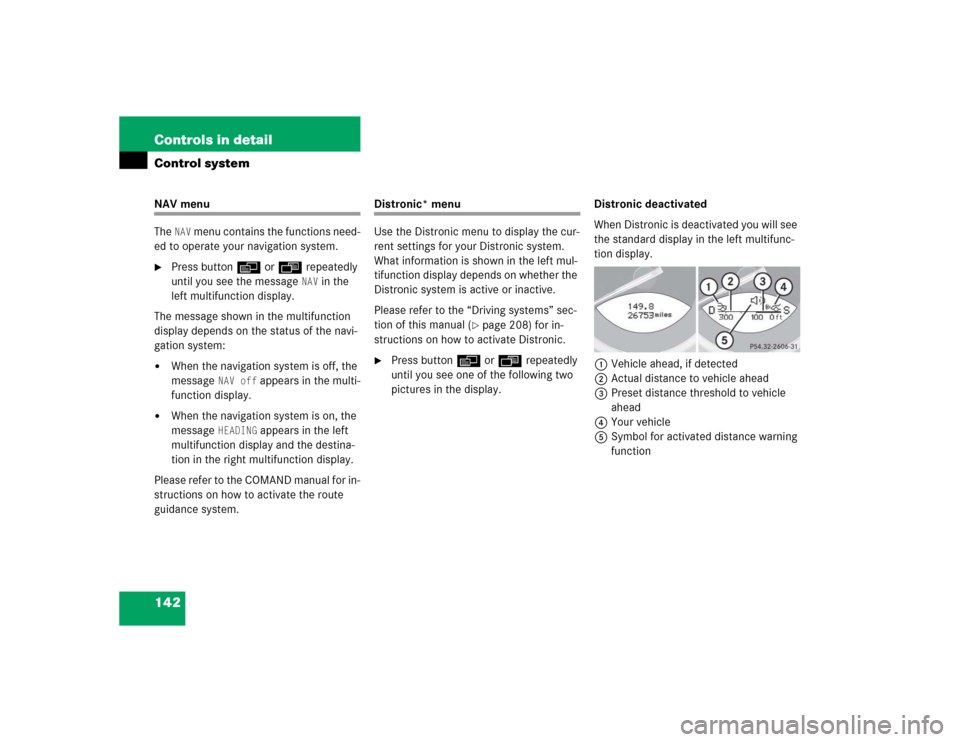
pictures in the display.Distronic deactivated
When Distronic is deactivated you will see
the standard display in the left multifunc-
tion display.
1Vehicle ahead, if detected
2Actual distance to vehicle ahead
3Preset distance threshold to vehicle
ahead
4Your vehicle
5Symbol for activated distance warning
function
Page 146 of 474
144 Controls in detailControl system�
Press button k or j.
The stored messages will now be dis-
played in the order in which they have
occurred. For malfunction and warning
messages, see “Vehicle status messag-
es in the multifunction display”
(�page 335).
Should the vehicle’s system record any
conditions while driving, the number of
messages will reappear in the multifunc-
tion display
�
when the SmartKey in the starter
switch is turned to position0 or re-
moved from the starter switch
or
�
when you turn off the engine by press-
ing the KEYLESS-GO* start/stop but-
ton on the gear selector lever once and open the driver’s door (this puts the
starter switch in position 0, same as
with the SmartKey removed from the
starter switch)
Settings menu
In the
Settings
menu there are two func-
tions:
�
The function
Reset
, with which you can
reset all the settings to those set at the
factory.
�
A collection of submenus with which
you can make individual settings for
your vehicle.
�
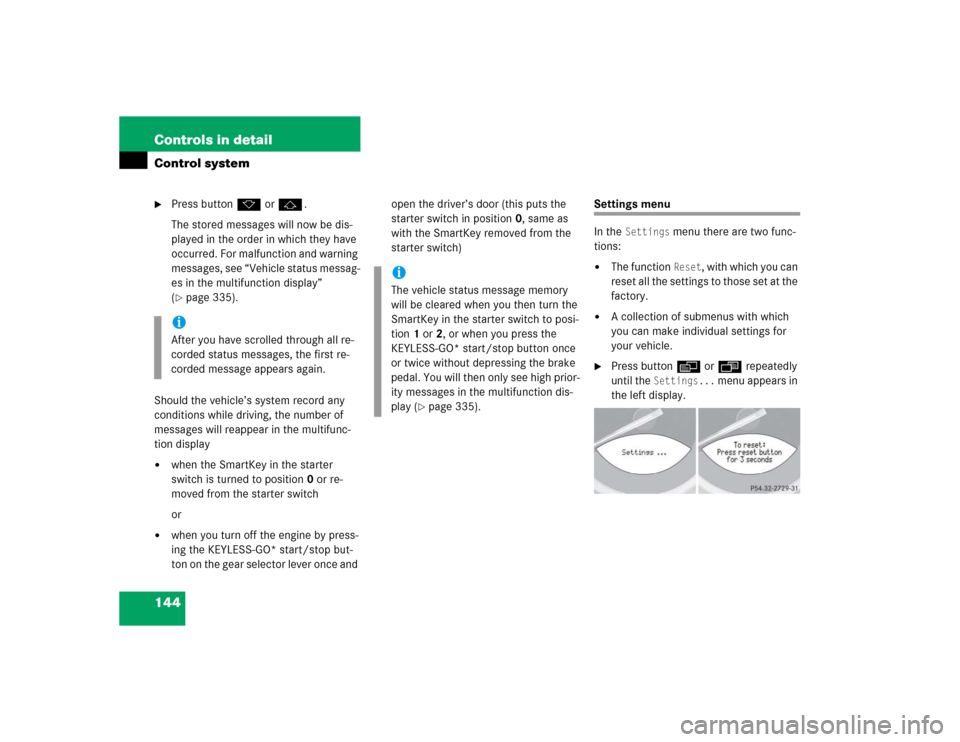
Press button è or ÿ repeatedly
until the
Settings...
menu appears in
the left display.
iAfter you have scrolled through all re-
corded status messages, the first re-
corded message appears again.
iThe vehicle status message memory
will be cleared when you then turn the
SmartKey in the starter switch to posi-
tion 1 or 2, or when you press the
KEYLESS-GO* start/stop button once
or twice without depressing the brake
pedal. You will then only see high prior-
ity messages in the multifunction dis-
play (
�page 335).
Page 147 of 474
145 Controls in detail
Control system
The following settings and submenus are
available:Resetting all settings
You can reset all the functions of all sub-
menus to the factory settings.
�
Press the reset button in the instru-
ment cluster for approximately three
seconds.
In the right display you will see the re-
quest to press the reset button again to
confirm.
�
Press the reset button again.
The functions of all the submenus will
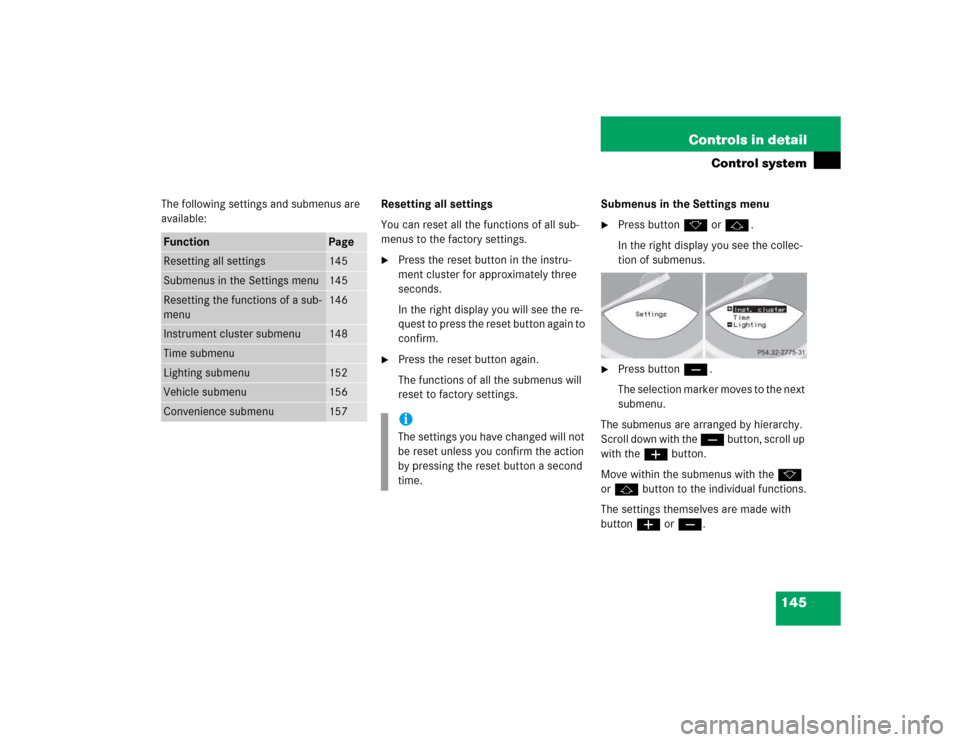
reset to factory settings.Submenus in the Settings menu
�
Press button k or j.
In the right display you see the collec-
tion of submenus.
�
Press button ç.
The selection marker moves to the next
submenu.
The submenus are arranged by hierarchy.
Scroll down with the ç button, scroll up
with the æ button.
Move within the submenus with the k
or j button to the individual functions.
The settings themselves are made with
button æ or ç.
Function
Page
Resetting all settings
145
Submenus in the Settings menu
145
Resetting the functions of a sub-
menu
146
Instrument cluster submenu
148
Time submenuLighting submenu
152
Vehicle submenu
156
Convenience submenu
157
iThe settings you have changed will not
be reset unless you confirm the action
by pressing the reset button a second
time.