Page 176 of 474

175
Controls in detail
Climate control
Deactivating the climate control system
Deactivating�
Set air volume control
1 (
�page 173)
to position 0.
Reactivating
�
Set air volume control 1 (
�page 173)
to any speed.
Setting the temperature
Use temperature controls 2 and 3
(�page 173) to separately adjust the air
temperature on each side of the passenger
compartment. You should raise or lower
the temperature setting in small incre-
ments, preferably starting at 72°F (22°C). Increasing
�
Turn temperature control
2 or 3
slightly to the right.
The climate control system will corre-
spondingly adjust the interior air tem-
perature.
Decreasing
�
Turn temperature control 2 or 3
slightly counterclockwise.
The climate control system will corre-
spondingly adjust the interior air tem-
perature.
iWhen the air conditioning is switched
off, the outside air supply and circula-
tion are also switched off. Only choose
this setting for a short time. Otherwise
the windows could fog up.
iWhen operating the climate control
system in automatic mode, you will
only rarely need to adjust the tempera-
ture, air volume and air distribution.
Page 186 of 474
185
Controls in detail
Automatic climate control*
Deactivating the automatic climate control system
Deactivating
It is possible to deactivate the automatic
climate control system.�
Press button
´ (
�page 183).
The indicator lamp on the button ´
comes on.
The automatic climate control system
is deactivated. Reactivating
�
Press button
´ (
�page 183).
The indicator lamp on the button ´
goes out.
The automatic climate control system
is reactivated.
Setting the temperature
Use temperature controls 3 and d for
the left side or 6 and b for the right side
(�page 183) to separately adjust the air
temperature on each side of the passenger
compartment. You should raise or lower
the temperature setting in small incre-
ments, preferably starting at 72°F (22°C).
iWhen the air conditioning is switched
off, the outside air supply and circula-
tion are also switched off. Only choose
this setting for a short time. Otherwise
the windows could fog up.
iWhen operating the automatic climate
control system in automatic mode, you
will only rarely need to adjust the
temperature, air volume and air
distribution.
Page 206 of 474

205
Controls in detail
Audio system
Manual tuning�
Select desired waveband.
�
Press
S or T button for
approximately three seconds.
�
Press button repeatedly until desired
frequency has been reached.
Step-by-step station tuning takes place
in ascending or descending order. Each
time the button is pressed, the radio
tunes further by 0.2 MHz. During man-
ual tuning, the radio is muted. Automatic seek tuning
�
Select desired waveband.
�
Press
S or T button briefly.
The radio will tune to the next highest
or next lowest receivable frequency. Scan search
�
Starting scan search�
Select desired waveband.
�
Press
SC soft key.
SC will appear in the display. The
radio briefly tunes in all receivable
stations on the waveband selected.
iYou can only enter frequencies within
the respective waveband.
If a button is not pressed within
four seconds, the radio will return to
the last station tuned.
iIf no station is received after two
consecutive scans of the complete
frequency range, then the scan stops
at the frequency from which it began.
Page 209 of 474
208 Controls in detailAudio systemScan search�
Starting scan search�
Press
SC soft key.
SC will appear in the display. The ra-
dio briefly tunes in all receivable
weather band stations.
�
Ending scan search�
Press
SC soft key or S or T .
The weather band station last
played will be selected and
SC dis-
appears from the display. Introduction to satellite radio*
(USA only)
SIRIUS satellite radio provides 100 chan-
nels of digital-quality radio, among others
music, sports, news, and entertainment,
free of commercials. SIRIUS satellite radio
uses a fleet of high-power satellites to
broadcast 24 hours per day, coast to
coast, in the contiguous U.S.
This diverse, satellite-delivered
programming is available for a monthly
subscription fee.
For more information and service
availability, call the SIRIUS Service Center
(�page 213), or contact
www.siriusradio.com
iAdditional satellite radio equipment
and a subscription to a satellite radio
service provider are required for the
satellite radio operation described
here.
Contact an authorized Mercedes-Benz
Center for details and availability for
your vehicle.
Note that categories and channels
shown in illustrations are dependent on
programming content delivered by the
service provider. Programming content
is subject to change. Therefore, chan-
nels and categories shown in illustra-
tions and descriptions contained in this
manual may differ from the channels
and categories delivered by the service
provider.
Page 219 of 474
218 Controls in detailAudio system
The number of the track being played
appears next to
TRACK
in the display.
You can only enter available track num-
bers.
Skipping tracks forward/backward
�
Skipping tracks forward�
Press S button briefly.
The next track will be played.
�
Skipping tracks backward�
Press T button briefly.
If the track has been playing for
more than ten seconds, the unit
skips back to the beginning of the
track currently playing. If less than
ten seconds have been played, the
unit skips back to the beginning of
the previous track.
Pressing the T or S button repeat-
edly will result in multiple tracks being
skipped. Fast forward/reverse
�
Fast forward�
Press and hold
S button until
desired point has been reached.
�
Reverse�
Press and hold T button until
desired point has been reached. Scan
�
Starting scan�
Press
SC soft key.
SC will appear in the display.
Each track on the current CD will be
played for approximately eight sec-
onds in ascending order.
�
Ending scan�
Press
SC soft key or T or S .
Random play
The random function (RDM) plays the
tracks of the current CD in random order.
iThe track number and the relative time
of the track is shown in the display dur-
ing the search.
iWhen you start the RDM function, the
RPT function is automatically switched
off.
��
Page 223 of 474
222 Controls in detailAudio systemAdjusting the volume�
Turn rotary control of N button dur-
ing a telephone call.
The volume will increase or decrease
depending on the direction turned.
Adjusting sound
�
Adjust sound during a telephone call.
Sound adjustment (
�page 199). Placing a call
Entering a telephone number and
starting the dialing process
�
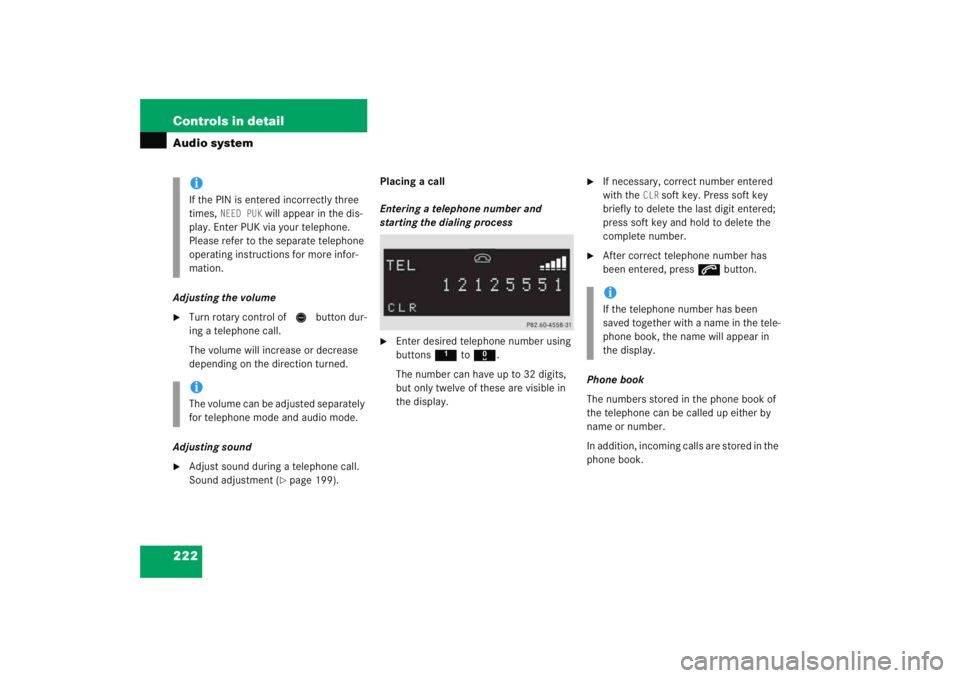
Enter desired telephone number using
buttons
1 to R .
The number can have up to 32 digits,
but only twelve of these are visible in
the display.
�
If necessary, correct number entered
with the
CLR
soft key. Press soft key
briefly to delete the last digit entered;
press soft key and hold to delete the
complete number.
�
After correct telephone number has
been entered, press s button.
Phone book
The numbers stored in the phone book of
the telephone can be called up either by
name or number.
In addition, incoming calls are stored in the
phone book.
iIf the PIN is entered incorrectly three
times,
NEED PUK
will appear in the dis-
play. Enter PUK via your telephone.
Please refer to the separate telephone
operating instructions for more infor-
mation.
iThe volume can be adjusted separately
for telephone mode and audio mode.
iIf the telephone number has been
saved together with a name in the tele-
phone book, the name will appear in
the display.
Page 230 of 474
229
Controls in detail
Audio system
Adjusting sound�
Adjust sound during a telephone call.
Sound adjustment (
�page 199).
Placing a call
Entering a telephone number and
starting the dialing process
�
Enter desired telephone number using
buttons 1 to R .
The number can have up to 32 digits,
but only twelve of these are visible in
the display.
�
If necessary, correct number entered
with the
CLR
soft key. Press soft key
briefly to delete the last digit entered;
press soft key and hold to delete the
complete number.
�
After correct telephone number has
been entered, press s button.
Phone book
The numbers stored in the phone book of
the mobile telephone can be called up ei-
ther by name or number.
In addition, incoming calls are stored in the
phone book.
�
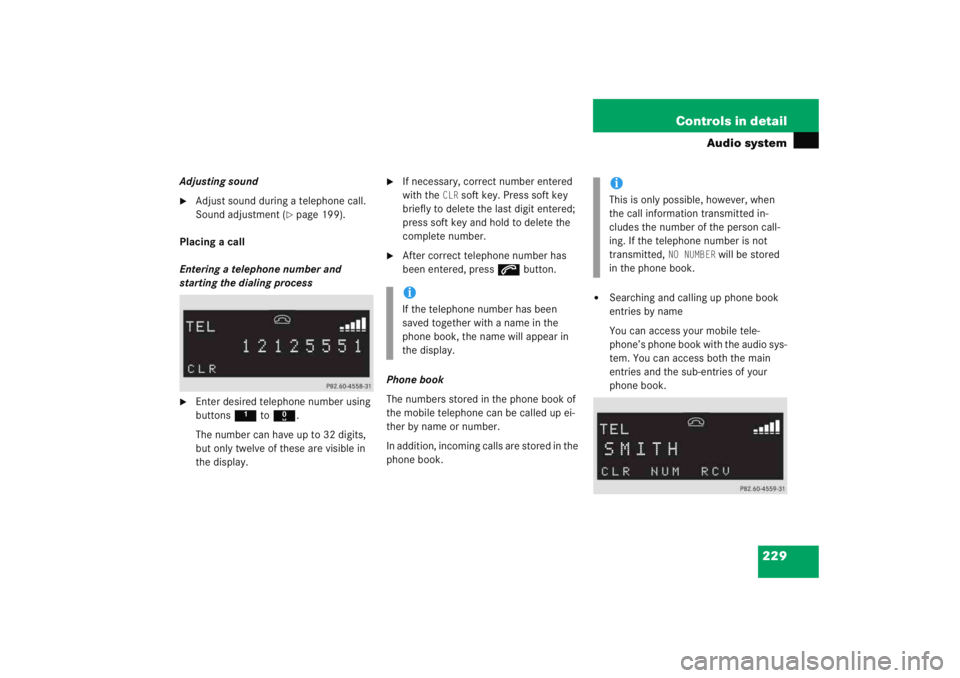
Searching and calling up phone book
entries by name
You can access your mobile tele-
phone’s phone book with the audio sys-
tem. You can access both the main
entries and the sub-entries of your
phone book.
iIf the telephone number has been
saved together with a name in the
phone book, the name will appear in
the display.
iThis is only possible, however, when
the call information transmitted in-
cludes the number of the person call-
ing. If the telephone number is not
transmitted,
NO NUMBER
will be stored
in the phone book.
Page 273 of 474
272 Controls in detailUseful featuresStep 5:�
When the indicator lamp1 flashes
rapidly, release both buttons.
Step 6:
�
Press and hold the just-trained inte-
grated signal transmitter button and
observe the indicator lamp 1.
If the indicator lamp 1 stays on con-
stantly, programming is complete and
your device should activate when the
integrated signal transmitter button is
pressed and released. Step 7:
�
To program the remaining two buttons,
repeat the steps above starting with
step 3.
Rolling code programming
To train a garage door opener (or other roll-
ing code devices) with the rolling code fea-
ture, follow these instructions after
completing the “Programming” portion
(steps 1 through 6) of this text. (A second
person may make the following training
procedures quicker and easier.)
Step 8:
�
Locate “training” button on the garage
door opener motor head unit.
Exact location and color of the button
may vary by garage door opener brand.
Depending on manufacturer, the “train-
ing” button may also be referred to as
“learn”or “smart” button. If there is
difficulty locating the transmitting
button, refer to the garage door opener
operator’s manual.
iThe indicator lamp
1 flashes the first
time the signal transmitter button is
programmed. If this button has already
been programmed, the indicator lamp
will only start flashing after
20 seconds.
iIf the indicator lamp 1 blinks rapidly
for about two seconds and then turns
to a constant light, continue with pro-
gramming steps 8 through 12 as your
garage door opener may be equipped
with the “rolling code” feature.
��