2005 KIA Sportage weight
[x] Cancel search: weightPage 120 of 354
3 109
1
2
3
4
5
6
7
8
9
Knowing your vehicle
CAUTION
Do not place objects on the
tonneau cover. Such objects
may be thrown about inside
the vehicle and possibly injure
vehicle occupants during an
accident or when braking.
Since the tonneau cover may
be damaged or malformed, do
not put the luggage on it when
it is used.
For better fuel economy, do
not carry unnecessary weight.
Never allow anyone to ride in
the luggage compartment. It is
designed for luggage only.
Try to maintain the balance of
the vehicle and locate the
weight as far forward as pos-
sible.
KM CAN (ENG) 3 (~112).qxd 9/13/2004 4:51 PM Page 109
Page 122 of 354
3 111
1
2
3
4
5
6
7
8
9
Knowing your vehicle
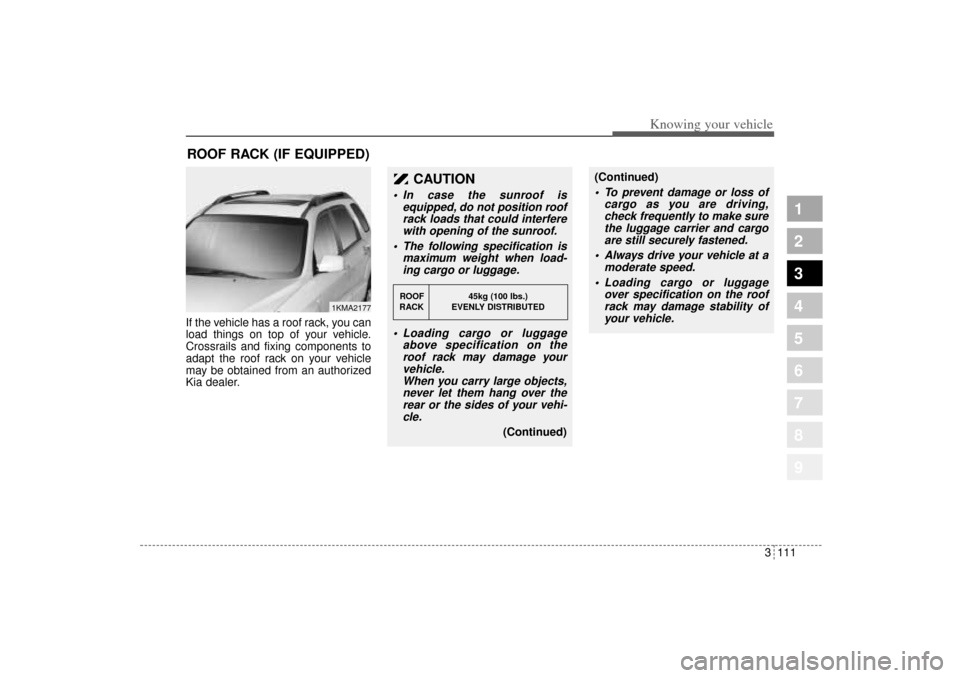
If the vehicle has a roof rack, you can
load things on top of your vehicle.
Crossrails and fixing components to
adapt the roof rack on your vehicle
may be obtained from an authorized
Kia dealer.ROOF RACK (IF EQUIPPED)
1KMA2177
CAUTION
In case the sunroof is
equipped, do not position roof
rack loads that could interfere
with opening of the sunroof.
The following specification is
maximum weight when load-
ing cargo or luggage.
Loading cargo or luggage
above specification on the
roof rack may damage your
vehicle.
When you carry large objects,
never let them hang over the
rear or the sides of your vehi-
cle.
(Continued)
ROOF 45kg (100 lbs.)
RACK EVENLY DISTRIBUTED
(Continued) To prevent damage or loss of
cargo as you are driving,
check frequently to make sure
the luggage carrier and cargo
are still securely fastened.
Always drive your vehicle at a
moderate speed.
Loading cargo or luggage
over specification on the roof
rack may damage stability of
your vehicle.
KM CAN (ENG) 3 (~112).qxd 9/13/2004 4:51 PM Page 111
Page 134 of 354
411
Driving your vehicle
1
2
3
4
5
6
7
8
9
Moving up a steep grade from
a standing startTo move up a steep grade from a
standing start, depress the brake
pedal, shift the shift lever to D
(Drive). Select the appropriate gear
depending on load weight and steep-
ness of the grade, and release the
parking brake. Depress the accelera-
tor gradually while releasing the
service brakes.
Shift lock systemFor your safety, the Automatic
Transaxle has a shift lock system
which prevents shifting the transaxle
out of P (Park) unless the brake
pedal is depressed.
To shift the transaxle out of P (Park):
1. Depress and hold the brake pedal.
2. Depress the lock release button
and move the shift lever.
If the brake pedal is repeatedly
depressed and released with the
shift lever in the P (Park) position, a
chattering noise near the shift lever
may be heard. This is a normal con-
dition.
Ignition key interlock systemThe ignition key cannot be removed
unless the shift lever is in the P
(Park) position. If the ignition switch
is in any other position, the key can-
not be removed.
KM CAN (ENG) 4.qxd 9/13/2004 4:48 PM Page 11
Page 218 of 354
1
2
3
4
5
6
7
8
91
2
3
4
5
6
7
8
9
Fuel requirements / 5-2
Emission control system / 5-3
Before driving / 5-5
Suggestions for economical operation / 5-6
Special driving conditions / 5-7
Using four-wheel drive / 5-14
Weight of the vehicle
- With and without a trailer / 5-32
Trailer towing / 5-34
Overloading / 5-41
Vehicle load limit / 5-42
Label information / 5-52
Driving tips
KM CAN (ENG) 5.qxd 9/13/2004 4:48 PM Page 1
Page 223 of 354
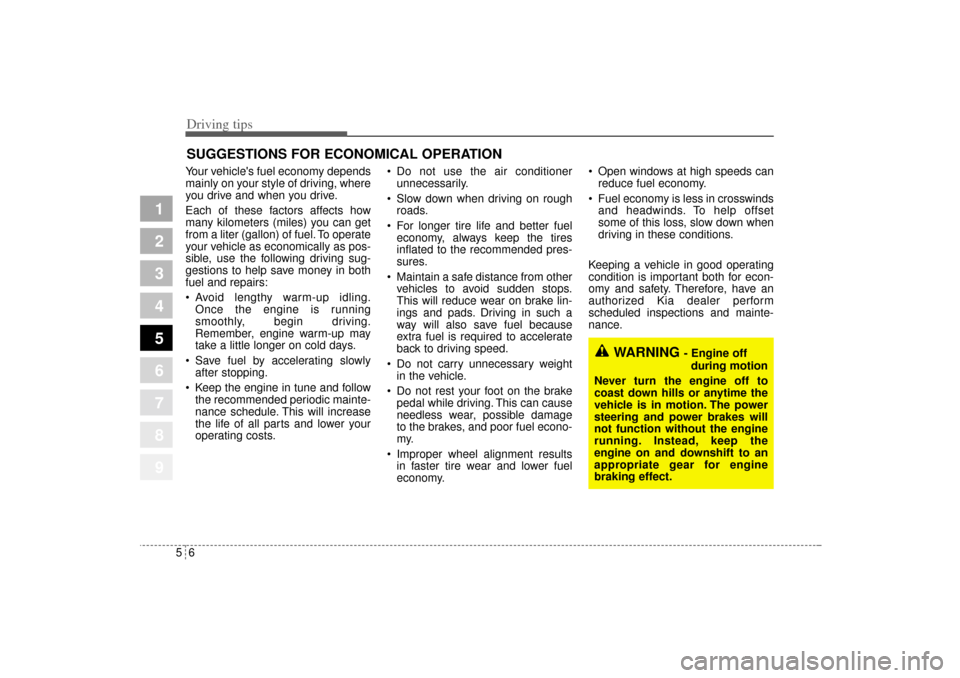
Driving tips6 5SUGGESTIONS FOR ECONOMICAL OPERATIONYour vehicle's fuel economy depends
mainly on your style of driving, where
you drive and when you drive.
Each of these factors affects how
many kilometers (miles) you can get
from a liter (gallon) of fuel. To operate
your vehicle as economically as pos-
sible, use the following driving sug-
gestions to help save money in both
fuel and repairs:
Avoid lengthy warm-up idling.
Once the engine is running
smoothly, begin driving.
Remember, engine warm-up may
take a little longer on cold days.
Save fuel by accelerating slowly
after stopping.
Keep the engine in tune and follow
the recommended periodic mainte-
nance schedule. This will increase
the life of all parts and lower your
operating costs. Do not use the air conditioner
unnecessarily.
Slow down when driving on rough
roads.
For longer tire life and better fuel
economy, always keep the tires
inflated to the recommended pres-
sures.
Maintain a safe distance from other
vehicles to avoid sudden stops.
This will reduce wear on brake lin-
ings and pads. Driving in such a
way will also save fuel because
extra fuel is required to accelerate
back to driving speed.
Do not carry unnecessary weight
in the vehicle.
Do not rest your foot on the brake
pedal while driving. This can cause
needless wear, possible damage
to the brakes, and poor fuel econo-
my.
Improper wheel alignment results
in faster tire wear and lower fuel
economy. Open windows at high speeds can
reduce fuel economy.
Fuel economy is less in crosswinds
and headwinds. To help offset
some of this loss, slow down when
driving in these conditions.
Keeping a vehicle in good operating
condition is important both for econ-
omy and safety. Therefore, have an
authorized Kia dealer perform
scheduled inspections and mainte-
nance.
1
2
3
4
5
6
7
8
9
WARNING
- Engine off
during motion
Never turn the engine off to
coast down hills or anytime the
vehicle is in motion. The power
steering and power brakes will
not function without the engine
running. Instead, keep the
engine on and downshift to an
appropriate gear for engine
braking effect.
KM CAN (ENG) 5.qxd 9/13/2004 4:48 PM Page 6
Page 242 of 354
525
Driving tips
1
2
3
4
5
6
7
8
9
Stalling downhillStalling is much more likely to hap-
pen going uphill. But if it happens
going downhill, here’s what to do.
Stop your vehicle by applying the
brakes. Then apply the parking
brake.
Move the shift lever to P (Park) in
automatic transaxle or shift to N
(Neutral) in manual transaxle and,
while still braking, restart the
engine.
Shift back to a low gear, release
the parking brake, and drive
straight down.
If the engine won’t start, get out
and seek help. Exit on the uphill
side of the vehicle and stay clear of
the path the vehicle would take if it
rolled downhill.
Driving across an inclineSooner or later, an off-road trail will
probably go across the incline of a
hill. If this happens, you have to
decide whether or not to try to drive
across the incline. Here are some
things to consider:
A hill that can be driven straight up
or down may be too steep to drive
across. When you go straight up or
down a hill, the length of the wheel
base (the distance from the front
wheels to the rear wheels) reduces
the likelihood the vehicle will tum-
ble end over end. But when you
drive across an incline, the much
narrower track width (the distance
between the left and right wheels)
may not prevent the vehicle from
tilting and rolling over. Also, driving
across an incline puts more weight
on the downhill wheels. This could
cause a downhill slide or a rollover. Surface conditions can be a prob-
lem when you drive across a hill.
Loose gravel, muddy spots, or
even wet grass can cause your
tires to slip sideways. If the vehicle
slips sideways, it can hit something
that will tip it (a rock, a rut, etc.) and
cause it to roll over.
Hidden obstacles can make the
steepness of the incline even
worse. If you drive across a rock
with the uphill wheels, or if the
downhill wheels drop into a rut or
depression, your vehicle can tilt
even more.
For reasons like these, you need to
decide carefully whether or not to try
to drive across an incline. Just
because the trail goes across the
incline doesn’t mean you have to
drive it.
KM CAN (ENG) 5.qxd 9/13/2004 4:48 PM Page 25
Page 247 of 354
Driving tips30 5
1
2
3
4
5
6
7
8
9
WEIGHT OF THE VEHICLE - WITH AND WITHOUT A TRAILERThis section will guide you in the
proper loading of your vehicle and/or
trailer, to keep your loaded vehicle
weight within its design rating capa-
bility, with or without a trailer.
Properly loading your vehicle will
provide maximum return of the vehi-
cle design performance. Before load-
ing your vehicle, familiarize yourself
with the following terms for determin-
ing your vehicle's weight ratings, with
or without a trailer, from the vehicle's
Specifications and Tire Information
Label:Base curb weight This is the weight of the vehicle
including a full tank of fuel and all
standard equipment. It does not
include passengers, cargo, or option-
al equipment.Vehicle curb weightThis is the weight of your new vehicle
when you picked it up from your deal-
er plus any aftermarket equipment.
Cargo weightThis figure includes all weight added
to the Base Curb Weight, including
cargo and optional equipment. When
towing, trailer tongue load or king pin
weight also is part of the Cargo
Weight.GAW (Gross axle weight)This is the total weight placed on
each axle (front and rear) - including
vehicle curb weight and all payload.GAWR (Gross axle weight rating)This is the maximum allowable
weight that can be carried by a single
axle (front or rear). These numbers
are shown on Tire Information Label
and Specifications. The total load on
each axle must never exceed its
GAWR.
GVW (Gross vehicle weight)This is the Base Curb Weight plus
actual Cargo Weight plus passen-
gers.GVWR (Gross vehicle weight
rating)This is the maximum allowable
weight of the fully loaded vehicle
(including all options, equipment,
passengers and cargo). The GVWR
is shown on the Vehicle Certification
Label located on the driver's door pil-
lar and Specifications table.
KM CAN (ENG) 5.qxd 9/13/2004 4:48 PM Page 30
Page 248 of 354

531
Driving tips
1
2
3
4
5
6
7
8
9
GCW (Gross combined weight)This is the weight of the loaded vehi-
cle (GVW) plus the weight of the fully
loaded trailer.GCWR (Gross combined
weight rating)This is the maximum allowable
weight of the vehicle and the loaded
trailer - including all cargo and pas-
sengers - that the vehicle can handle
without risking damage. (Important :
The towing vehicle's braking system
is rated for operation at GVWR, not
GCWR. Separate functional brakes
should be used for safe control of
towed vehicles and for trailers weigh-
ing an 454 kg (1,000 lbs).) The GCW
must never exceed the GCWR.
Maximum trailer weightThis is the highest possible weight of
a fully loaded trailer the vehicle can
tow. It assumes a vehicle with only
mandatory options, no cargo, and a
driver. The weight of other optional
equipment, passengers and cargo in
your vehicle will reduce the maxi-
mum trailer weight your vehicle can
tow.
Calculating the load your vehi-
cle can tow1. Use the appropriate maximum
GCWR chart (in the Weight of the
Trailer section in this chapter) for
your type of drive system and
transmission.
2. Weigh your vehicle.
3. Subtract the weight of your vehicle
from the maximum GCWR in the
chart. This is the maximum trailer
weight your vehicle can tow. It
must be below the maximum trail-
er weight shown in the chart. Note
that the maximum trailer weight
your vehicle can tow depends on
the total weight of any cargo, pas-
sengers and available equipment
in the vehicle.
KM CAN (ENG) 5.qxd 9/13/2004 4:48 PM Page 31