Page 108 of 354
397
1
2
3
4
5
6
7
8
9
Knowing your vehicle
Cigarette lighterTo use the cigarette lighter, pull the
assembly cover out.
To operate the cigarette lighter, press
it in and release it. When it is heated,
it automatically pops out ready for
use.
If the engine is not running, the igni-
tion switch must be in the ACC posi-
tion for the lighter to operate.
✽ ✽
NOTICE• Do not hold the lighter in after it is
already heated because it will
overheat.
• Only a genuine Kia lighter should
be used in the cigarette lighter
socket. The use of plug-in acces-
sories (shavers, hand-held vacu-
ums, and coffee pots, for example)
may damage the socket or cause
electrical failure.
• If the lighter does not pop out
within 30 seconds, remove it to
prevent overheating.
Ashtrays Front To use the ashtray, pull the assembly
cover out.
To remove the ashtray to empty or
clean it, lift it upward and pull it out.
INTERIOR FEATURES
1KMA2159
1KMA2160
KM CAN (ENG) 3 (~112).qxd 9/13/2004 4:51 PM Page 97
Page 110 of 354
399
1
2
3
4
5
6
7
8
9
Knowing your vehicle
FrontCups or small beverage cans may be
placed in the cup holders.
RearTo use the cup holders in rear seat,
pull the rear cup holder cover (
➀)
out. Push the cover to close after
use.
✽ ✽
NOTICE• Do not place heavy cups or cans in
cup holders. Cup holders could be
damaged.
• Be careful not to step on the rear
cup holder.
SunvisorUse the sunvisor to shield direct light
through the front or side windows.
To use a sunvisor, pull it downward.
To use a sunvisor for a side window,
pull it downward, unsnap it from the
bracket (
➀) and swing it to the side.
Adjust the sunvisor forward or back-
ward.
To use the vanity mirror, pull down
the visor and pull up the mirror cover
(
➁).
1KMA2171
1KMB2158
1KMB2170
➀
➁
➀
KM CAN (ENG) 3 (~112).qxd 9/13/2004 4:51 PM Page 99
Page 116 of 354

3 105
1
2
3
4
5
6
7
8
9
Knowing your vehicle
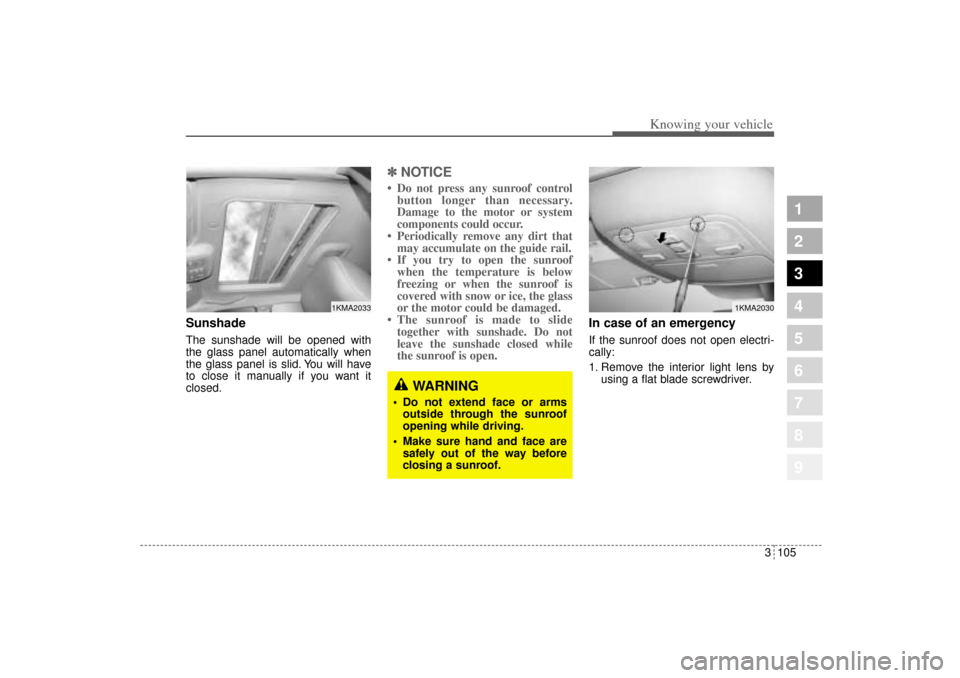
Sunshade The sunshade will be opened with
the glass panel automatically when
the glass panel is slid. You will have
to close it manually if you want it
closed.
✽ ✽
NOTICE• Do not press any sunroof control
button longer than necessary.
Damage to the motor or system
components could occur.
• Periodically remove any dirt that
may accumulate on the guide rail.
• If you try to open the sunroof
when the temperature is below
freezing or when the sunroof is
covered with snow or ice, the glass
or the motor could be damaged.
• The sunroof is made to slide
together with sunshade. Do not
leave the sunshade closed while
the sunroof is open.
In case of an emergency If the sunroof does not open electri-
cally:
1. Remove the interior light lens by
using a flat blade screwdriver.
1KMA2030
1KMA2033
WARNING
Do not extend face or arms
outside through the sunroof
opening while driving.
Make sure hand and face are
safely out of the way before
closing a sunroof.
KM CAN (ENG) 3 (~112).qxd 9/13/2004 4:51 PM Page 105
Page 124 of 354
1
2
3
4
5
6
7
8
9
Ignition switch / 4-2
Starting the engine / 4-4
Manual transaxle / 4-5
Automatic transaxle / 4-6
Four wheel drive (4WD) / 4-12
Brake system / 4-18
Steering wheel / 4-25
Cruise control / 4-28
Traction control system / 4-33
Electronic stability program / 4-36
Instrument cluster / 4-39
Gauges / 4-40
Warnings and indicators / 4-46
Tires pressure monitoring system (TPMS) / 4-54
Compass / 4-56
Lighting / 4-59
Wipers and washers / 4-63
Defroster / 4-66
Driving your vehicle
KM CAN (ENG) 4.qxd 9/13/2004 4:48 PM Page 1
Page 125 of 354

Driving your vehicle2 4
1
2
3
4
5
6
7
8
9
Illuminated ignition switch
(if equipped)Whenever a door is opened, the igni-
tion switch will be illuminated for your
convenience, provided the ignition
switch is not in the ON position. The
light will go off approximately 10 sec-
onds after closing the door or when
the ignition switch is turned on.
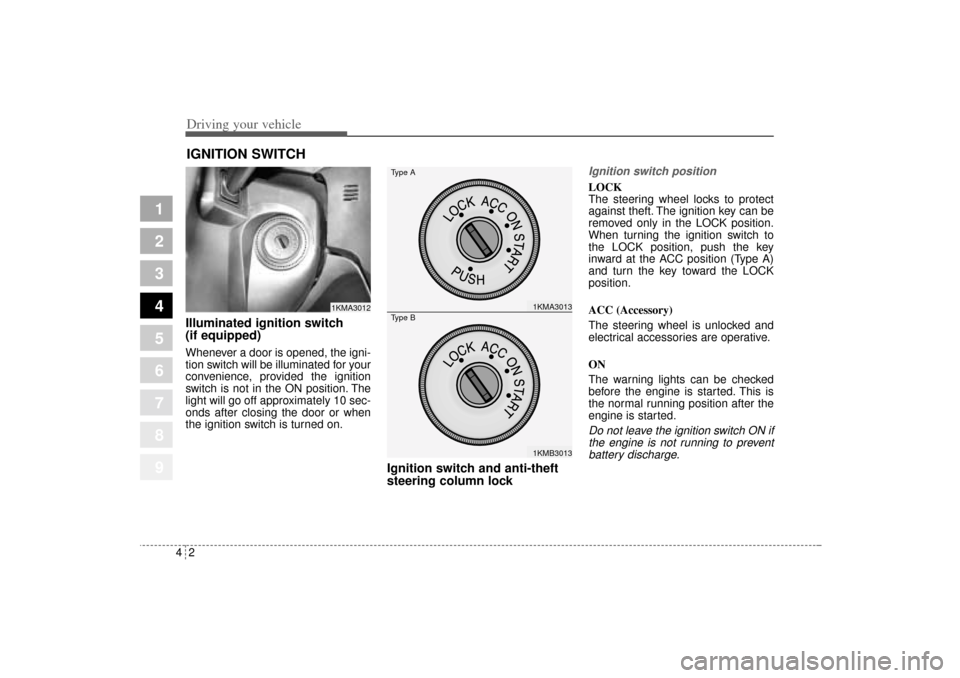
Ignition switch and anti-theft
steering column lock
Ignition switch positionLOCK
The steering wheel locks to protect
against theft. The ignition key can be
removed only in the LOCK position.
When turning the ignition switch to
the LOCK position, push the key
inward at the ACC position (Type A)
and turn the key toward the LOCK
position.
ACC (Accessory)
The steering wheel is unlocked and
electrical accessories are operative.
ON
The warning lights can be checked
before the engine is started. This is
the normal running position after the
engine is started.Do not leave the ignition switch ON if
the engine is not running to prevent
battery discharge.
IGNITION SWITCH
1KMA3012
1KMA30131KMB3013
Type AType B
KM CAN (ENG) 4.qxd 9/13/2004 4:48 PM Page 2
Page 128 of 354

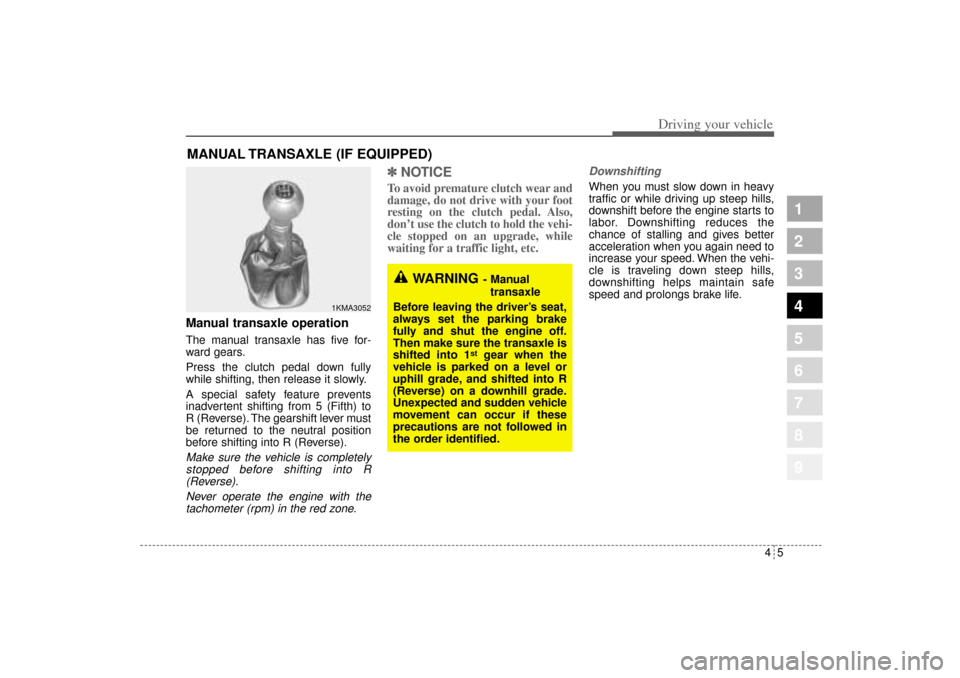
Manual transaxle operationThe manual transaxle has five for-
ward gears.
Press the clutch pedal down fully
while shifting, then release it slowly.
A special safety feature prevents
inadvertent shifting from 5 (Fifth) to
R (Reverse). The gearshift lever must
be returned to the neutral position
before shifting into R (Reverse).Make sure the vehicle is completely
stopped before shifting into R
(Reverse).
Never operate the engine with the
tachometer (rpm) in the red zone.
✽ ✽
NOTICETo avoid premature clutch wear and
damage, do not drive with your foot
resting on the clutch pedal. Also,
don’t use the clutch to hold the vehi-
cle stopped on an upgrade, while
waiting for a traffic light, etc.
DownshiftingWhen you must slow down in heavy
traffic or while driving up steep hills,
downshift before the engine starts to
labor. Downshifting reduces the
chance of stalling and gives better
acceleration when you again need to
increase your speed. When the vehi-
cle is traveling down steep hills,
downshifting helps maintain safe
speed and prolongs brake life.
MANUAL TRANSAXLE (IF EQUIPPED)
1KMA3052
WARNING
- Manual
transaxle
Before leaving the driver’s seat,
always set the parking brake
fully and shut the engine off.
Then make sure the transaxle is
shifted into 1
st
gear when the
vehicle is parked on a level or
uphill grade, and shifted into R
(Reverse) on a downhill grade.
Unexpected and sudden vehicle
movement can occur if these
precautions are not followed in
the order identified.
45
Driving your vehicle
1
2
3
4
5
6
7
8
9
KM CAN (ENG) 4.qxd 9/13/2004 4:48 PM Page 5
Page 132 of 354
49
Driving your vehicle
1
2
3
4
5
6
7
8
9
R (reverse)Use this position to drive the vehicle
backward.✽ ✽
NOTICEAlways come to a complete stop
before shifting into or out of R
(Reverse); you may damage the
transaxle if you shift into R while
the vehicle is in motion, except as
explained in “Rocking the Vehicle”,
in this manual.
N (neutral)The wheels and transaxle are not
locked. The vehicle will roll freely
even on the slightest incline unless
the parking brake or service brakes
are applied.
D (drive)This is the normal forward driving
position. The transaxle will automati-
cally shift through a 4-gear
sequence, providing the best fuel
economy and power.
For extra power when passing anoth-
er vehicle or climbing grades,
depress the accelerator fully, at
which time the transaxle will auto-
matically downshift to the next lower
gear.
KM CAN (ENG) 4.qxd 9/13/2004 4:48 PM Page 9
Page 136 of 354

413
Driving your vehicle
Four Wheel Drive (4WD) transfer mode selection
1
2
3
4
5
6
7
8
9
Transfer mode Selection button Indicator light Description
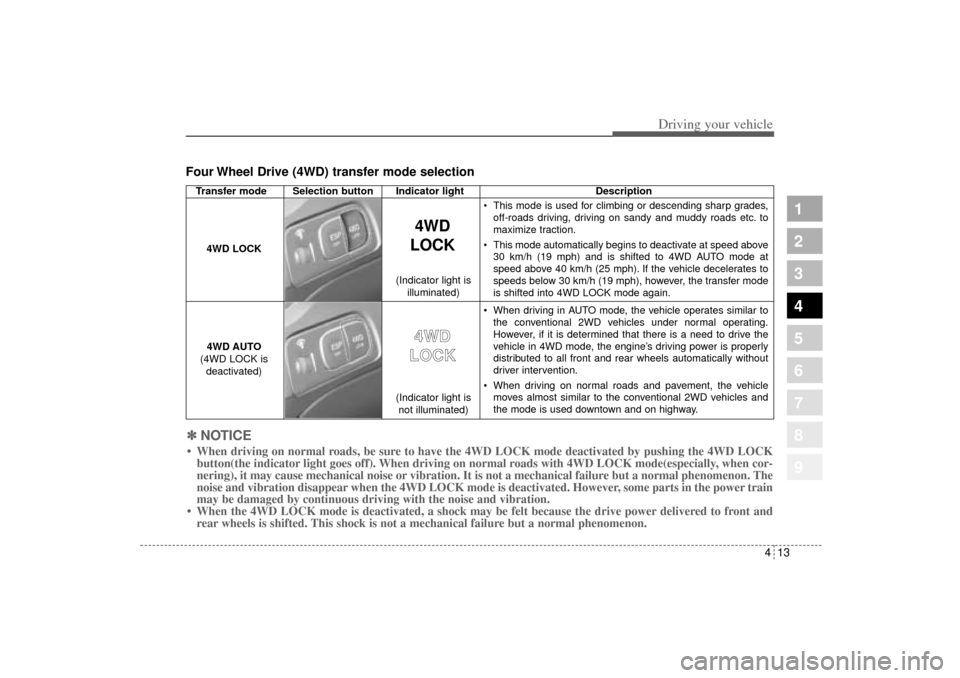
This mode is used for climbing or descending sharp grades,
off-roads driving, driving on sandy and muddy roads etc. to
maximize traction.
This mode automatically begins to deactivate at speed above
30 km/h (19 mph) and is shifted to 4WD AUTO mode at
speed above 40 km/h (25 mph). If the vehicle decelerates to
speeds below 30 km/h (19 mph), however, the transfer mode
is shifted into 4WD LOCK mode again.
When driving in AUTO mode, the vehicle operates similar to
the conventional 2WD vehicles under normal operating.
However, if it is determined that there is a need to drive the
vehicle in 4WD mode, the engine’s driving power is properly
distributed to all front and rear wheels automatically without
driver intervention.
When driving on normal roads and pavement, the vehicle
moves almost similar to the conventional 2WD vehicles and
the mode is used downtown and on highway.
4WD
LOCK
4WD LOCK
4WD AUTO
(4WD LOCK is
deactivated)
4 4W
WD
D
L LO
OC
CK
K
(Indicator light is
not illuminated) (Indicator light is
illuminated)
✽ ✽
NOTICE• When driving on normal roads, be sure to have the 4WD LOCK mode deactivated by pushing the 4WD LOCK
button(the indicator light goes off). When driving on normal roads with 4WD LOCK mode(especially, when cor-
nering), it may cause mechanical noise or vibration. It is not a mechanical failure but a normal phenomenon. The
noise and vibration disappear when the 4WD LOCK mode is deactivated. However, some parts in the power train
may be damaged by continuous driving with the noise and vibration.
• When the 4WD LOCK mode is deactivated, a shock may be felt because the drive power delivered to front and
rear wheels is shifted. This shock is not a mechanical failure but a normal phenomenon.
KM CAN (ENG) 4.qxd 9/13/2004 4:48 PM Page 13