Page 304 of 424

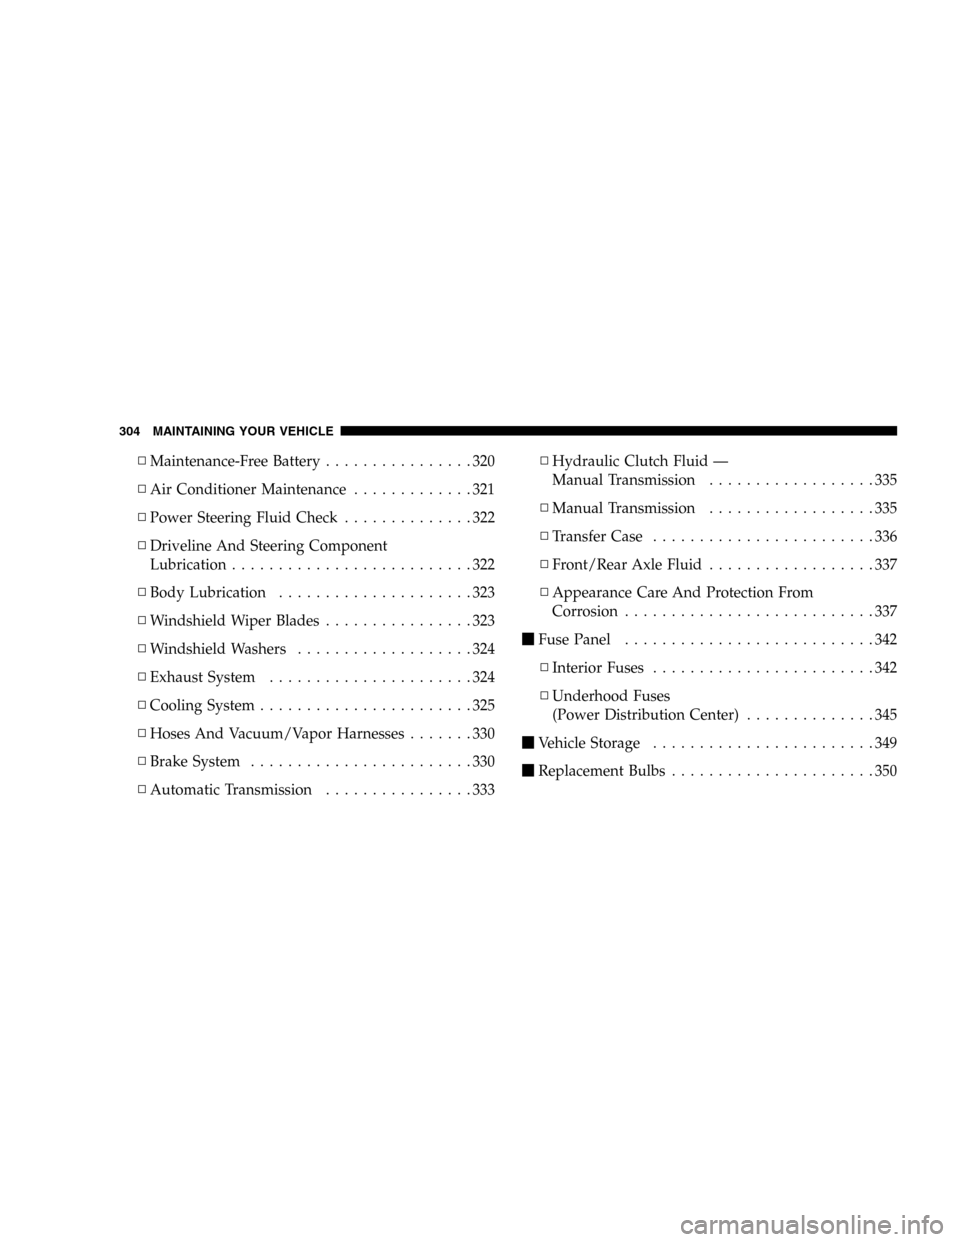
▫Maintenance-Free Battery................320
▫Air Conditioner Maintenance.............321
▫Power Steering Fluid Check..............322
▫Driveline And Steering Component
Lubrication..........................322
▫Body Lubrication.....................323
▫Windshield Wiper Blades................323
▫Windshield Washers...................324
▫Exhaust System......................324
▫Cooling System.......................325
▫Hoses And Vacuum/Vapor Harnesses.......330
▫Brake System........................330
▫Automatic Transmission................333▫Hydraulic Clutch Fluid —
Manual Transmission..................335
▫Manual Transmission..................335
▫Transfer Case........................336
▫Front/Rear Axle Fluid..................337
▫Appearance Care And Protection From
Corrosion...........................337
�Fuse Panel...........................342
▫Interior Fuses........................342
▫Underhood Fuses
(Power Distribution Center)..............345
�Vehicle Storage........................349
�Replacement Bulbs......................350
304 MAINTAINING YOUR VEHICLE
Page 305 of 424
�Bulb Replacement......................351
▫Head Light..........................351
▫Front Turn Signal.....................352
▫Front Fog Light (Front Fascia Mounted).....353
▫Light Bar...........................354
▫Rear Tail, Stop, Turn Signal, And Back-Up
Lights.............................355▫Center High Mounted Stop Light (CHMSL) . . . 355
�Fluid Capacities........................356
�Recommended Fluids, Lubricants And
Genuine Parts.........................357
▫Engine.............................357
▫Chassis............................358
MAINTAINING YOUR VEHICLE 305
7
Page 310 of 424

that the gas cap is properly tightened. Press the odometer
reset button to turn the message off. If the problem
persists, the message will appear the next time the
vehicle is started. This might indicate a damaged cap. If
the problem is detected twice in a row, the system will
turn on the Malfunction Indicator Light (MIL). Resolving
the problem will turn the MIL light off.
EMISSIONS INSPECTION AND MAINTENANCE
PROGRAMS
In some localities, it may be a legal requirement to pass
an inspection of your vehicle’s emissions control system.
Failure to pass could prevent vehicle registration.
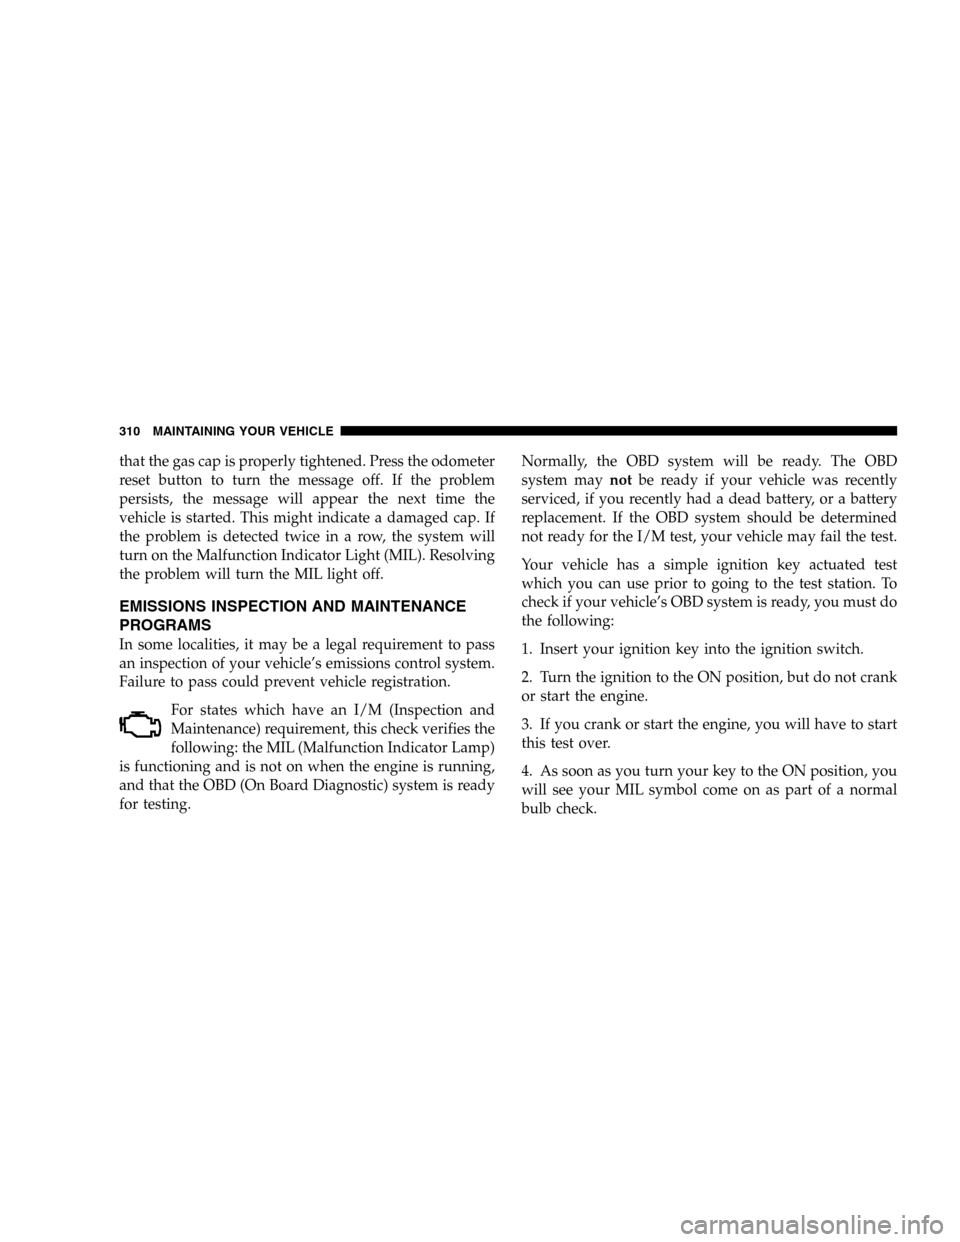
For states which have an I/M (Inspection and
Maintenance) requirement, this check verifies the
following: the MIL (Malfunction Indicator Lamp)
is functioning and is not on when the engine is running,
and that the OBD (On Board Diagnostic) system is ready
for testing.Normally, the OBD system will be ready. The OBD
system maynotbe ready if your vehicle was recently
serviced, if you recently had a dead battery, or a battery
replacement. If the OBD system should be determined
not ready for the I/M test, your vehicle may fail the test.
Your vehicle has a simple ignition key actuated test
which you can use prior to going to the test station. To
check if your vehicle’s OBD system is ready, you must do
the following:
1. Insert your ignition key into the ignition switch.
2. Turn the ignition to the ON position, but do not crank
or start the engine.
3. If you crank or start the engine, you will have to start
this test over.
4. As soon as you turn your key to the ON position, you
will see your MIL symbol come on as part of a normal
bulb check.
310 MAINTAINING YOUR VEHICLE
Page 350 of 424

air conditioning system at idle for about five minutes
in the fresh air and high blower setting. This will
insure adequate system lubrication to minimize the
possibility of compressor damage when the system is
started again.
REPLACEMENT BULBS
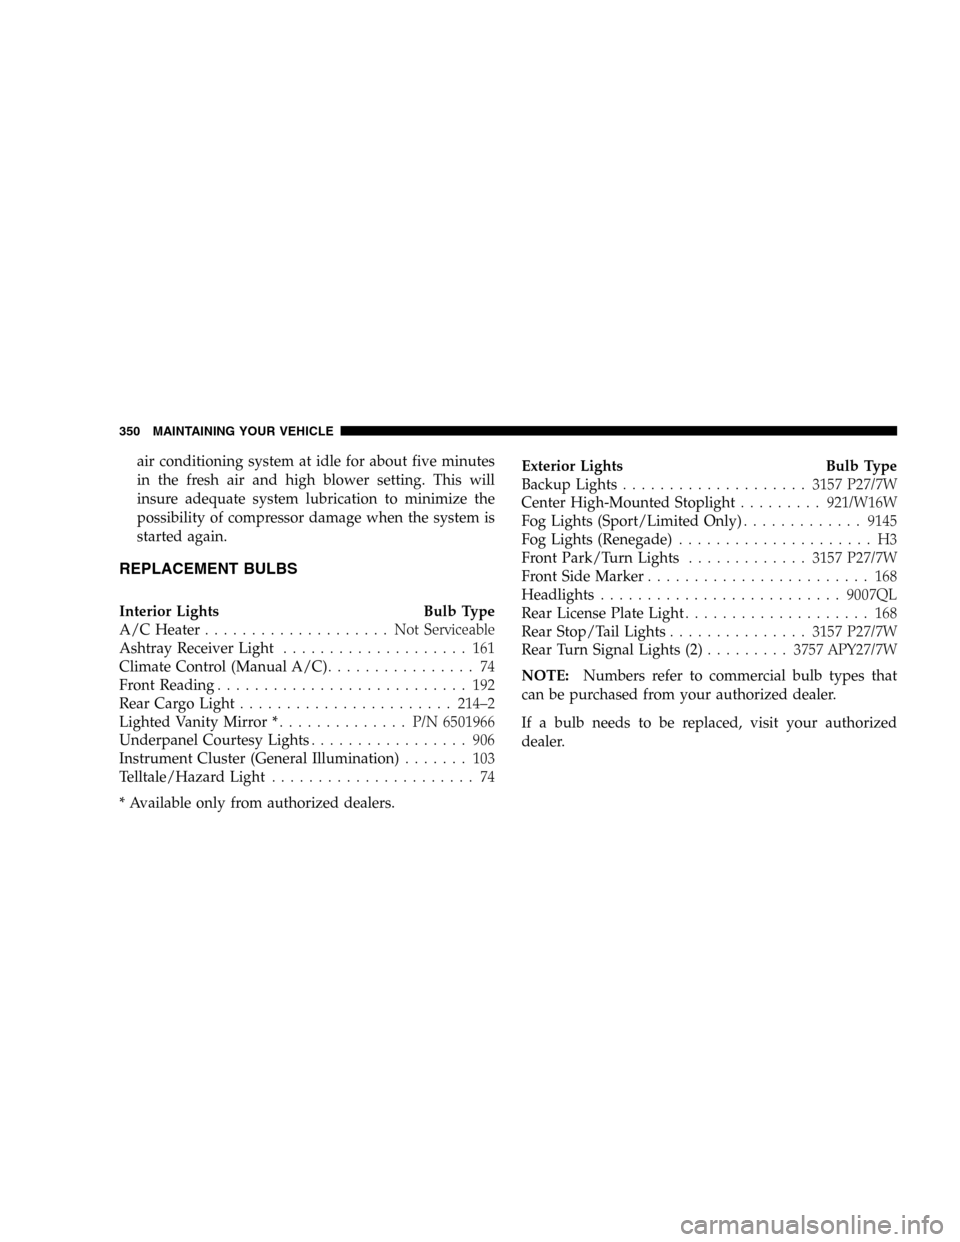
Interior Lights Bulb Type
A/C Heater.................... NotServiceable
Ashtray Receiver Light.................... 161
Climate Control (Manual A/C)................ 74
Front Reading........................... 192
Rear Cargo Light.......................214–2
Lighted Vanity Mirror *.............. P/N6501966
Underpanel Courtesy Lights................. 906
Instrument Cluster (General Illumination)....... 103
Telltale/Hazard Light...................... 74
* Available only from authorized dealers.Exterior Lights Bulb Type
Backup Lights....................3157 P27/7W
Center High-Mounted Stoplight.........921/W16W
Fog Lights (Sport/Limited Only).............9145
Fog Lights (Renegade)..................... H3
Front Park/Turn Lights.............3157 P27/7W
Front Side Marker........................ 168
Headlights..........................9007QL
Rear License Plate Light.................... 168
Rear Stop/Tail Lights...............3157 P27/7W
Rear Turn Signal Lights (2).........3757 APY27/7W
NOTE:Numbers refer to commercial bulb types that
can be purchased from your authorized dealer.
If a bulb needs to be replaced, visit your authorized
dealer.
350 MAINTAINING YOUR VEHICLE
Page 351 of 424
BULB REPLACEMENT
Head Light
1. Open the hood.
2. Reach behind the headlamp unit in the engine com-
partment to access the headlamp bulb lock ring.
3. Firmly grasp the lock ring on the back of the headlamp
unit housing.
4. Rotate the lock ring on the back of the headlamp
housing counter-clockwise to unlock it.
CAUTION!
Do not touch the new bulb with your fingers. Oil
contamination will severely shorten bulb life. If the
bulb comes in contact with any oily surface, clean
the bulb with rubbing alcohol.
5. Disconnect the electrical connector and replace the
bulb.
MAINTAINING YOUR VEHICLE 351
7
Page 352 of 424
Front Turn Signal
1. Remove the screw from the turn signal/park lamp
unit.2. Pull the inboard side of the lamp away enough to
disengage the tab that secures the outboard side of the
lamp from the slot in the front bumper fascia.
3. Rotate the bulb socket counter-clockwise to unlock it.
CAUTION!
Do not touch the new bulb with your fingers. Oil
contamination will severely shorten bulb life. If the
bulb comes in contact with any oily surface, clean
the bulb with rubbing alcohol.
4. Disconnect the electrical connector and replace the
bulb.
352 MAINTAINING YOUR VEHICLE
Page 353 of 424
Front Fog Light (Front Fascia Mounted)
1. Remove the three screws from the backside of the
lamp housing.
2. Pull the bezel and lens away from the lamp housing
far enough to access and disconnect the wiring connector
from the bulb pigtail wire.3. Pinch together the two hooked ends of the bulb
retainer clip and disengage them from the slots in the
mounting flange on the back of the lens reflector.
4. Pivot the retainer clip up off of the bulb flange and out
of the way.
CAUTION!
Do not touch the new bulb with your fingers. Oil
contamination will severely shorten bulb life. If the
bulb comes in contact with any oily surface, clean
the bulb with rubbing alcohol.
5. Pull the bulb straight out of the mounting flange and
replace the bulb.
MAINTAINING YOUR VEHICLE 353
7
Page 354 of 424
Light Bar
1. Remove the screws from the light bar cover.
2. Remove the light bar cover.3. Disconnect wiring harness from bulb socket.
4. Rotate the socket on the back of the lamp housing
counter-clockwise to unlock it.
CAUTION!
Do not touch the new bulb with your fingers. Oil
contamination will severely shorten bulb life. If the
bulb comes in contact with any oily surface, clean
the bulb with rubbing alcohol.
5. Replace the bulb.
354 MAINTAINING YOUR VEHICLE