Page 149 of 424
The rear power outlet is a direct feed from the battery so
it receives power whether the ignition is in the ON or
OFF position.
All accessories connected to this outlet should be re-
moved or turned off when the vehicle is not in use.CAUTION!
Electrical Outlet Use With Engine Off
•Many accessories that can be plugged in draw
power from the vehicle’s battery, even when not
in use (i.e., cellular phones, etc.). Eventually, if
plugged in long enough, the vehicle’s battery will
discharge sufficiently to degrade battery life
and/or prevent engine starting.
•Accessories that draw higher power (i.e., coolers,
vacuum cleaners, lights, etc.) will degrade the
battery even more quickly. Only use these inter-
mittently and with greater caution.
•After the use of high power draw accessories, or
long periods of the vehicle not being started (with
accessories still plugged in), the vehicle must be
driven a sufficient length of time to allow the
alternator to recharge the vehicle’s battery.
UNDERSTANDING THE FEATURES OF YOUR VEHICLE 149
3
Page 158 of 424
Rear Window Defroster
On the top of the climate control panel is a push
button for rear window defrosting. An amber
indicator in the push button will light when the defroster
is turned on. Push again to turn off the defroster prior to
an automatic time-out.The defroster will automatically turn off after about ten
minutes. For about five more minutes of operation, push
the button again. To prevent excessive battery drain, use
the defroster only when the engine is operating. The push
button also activates the heated exterior mirrors, if so
equipped.
CAUTION!
Use care when washing the inside of the rear win-
dow to prevent damage to heating elements. Use a
soft cloth and a mild washing solution, wiping
parallel to the heating elements. Also, keep all
objects a safe distance from the window to prevent
damaging the heating elements.
Rear Defroster Switch
158 UNDERSTANDING THE FEATURES OF YOUR VEHICLE
Page 170 of 424
converter damage. The vehicle should be serviced as
soon as possible if this occurs. (See page 309 for more
information.)
9. Anti-Lock Warning Light (ABS) — If Equipped
This light monitors the Anti-Lock Brake System
(ABS) described elsewhere in this manual. This
light will come on when the ignition switch is turned to
the ON position and may stay on for as long as three
seconds.
If the light comes back on immediately or comes on
during driving, it indicates that the Anti-Lock portion of
the brake system is not functioning and that service is
required, however, the conventional brake system will
continue to operate normally provided that the BRAKE
warning light is not on. Also, a chime will sound if the
light comes back on.If the ABS light is on, the brake system should be serviced
as soon as possible to restore the benefit of Anti-Lock
Brakes.
The operation of the ABS light can be checked by turning
the ignition switch from the OFF position to the ON
position. The light should illuminate for approximately
two seconds. The light should then turn off unless the
parking brake is applied or a brake fault is detected. If the
light does not illuminate, have the light inspected by an
authorized dealer.
10. Charging System Warning Light
This light shows the status of the electrical charg-
ing system. The light should come on for three
seconds when the ignition is first turned ON. If the light
comes back on immediately or comes on while driving, it
means that there is a problem with the charging system
or the battery is low. Also, a chime will sound if the light
comes back on. See your authorized dealer immediately.
170 UNDERSTANDING YOUR INSTRUMENT PANEL
Page 223 of 424
If the engine shows no sign of starting after two 15
second periods of cranking with the accelerator pedal
held to the floor, the “Normal Starting” procedure should
be repeated.
After Starting
The idle speed is automatically controlled and will de-
crease as the engine warms up.
Normal Starting — Diesel Engines
1. Turn the ignition key to the ON/RUN position.
2. Watch the “Glow Plug Indicator Light.” It will stay on
for a maximum of 2 seconds, depending on engine
temperature. When the “Glow Plug Indicator Light” goes
out, the engine is ready to start.
3.Do notpress the accelerator. Turn the ignition key to
START and hold it in this position until the engine starts.
Starting and Operating Cautions — Diesel Engines
•
Under normal conditions,do notoperate the starter
for longer than 20 seconds at one time. At tempera-
tures below 5°F (�15°C), you may operate the starter
for up to 25 seconds at one time. Longer periods of
operation may result in starter or battery damage. If
the engine does not start at once, repeat Steps 1
through 4.
•Cold engine speeds higher than necessary for driving
or higher than specified for idling may damage engine
components.
•Before turning off your Diesel engine, always allow
the engine to return to normal idle speed and then run
for several seconds. This assures proper lubrication of
the turbocharger. This is particularly necessary after
periods of high speed driving.
STARTING AND OPERATING 223
5
Page 292 of 424
HAZARD WARNING FLASHERS
Your vehicle’s hazard warning flasher is an emergency
warning system. When you activate it, all front and rear
directional signals will flash intermittently. Use it when
your vehicle is disabled on or near the road. It warns
other drivers to steer clear of you and your vehicle. This
is an emergency warning system, not to be used when the
vehicle is in motion.
To activate the warning flashers, press the button on the
instrument panel (between center air outlets). To turn the
warning flashers off, press the button again.
NOTE:With extended use, the flashers may run down
your battery.
Hazard Warning Switch
292 WHAT TO DO IN EMERGENCIES
Page 299 of 424

JUMP STARTING PROCEDURE
NOTE:Check the charge indicator on the battery. If the
indicator is light or yellow, replace the battery.
1. Wear eye protection and remove any metal jewelry
such as watch bands or bracelets that might make an
unintended electrical contact.
2. When boost is provided by a battery in another
vehicle, park that vehicle within booster cable reach but
without letting the vehicles touch. Set the parking brake,
place the automatic transmission in P (Park), or manual
transmission in N (Neutral), and turn the ignition to OFF
for both vehicles.
3. Turn off the heater, radio and all unnecessary electrical
loads.4. Connect one end of a jumper cable to the positive
terminal of the discharged battery. Connect the other end
of the same cable to the positive terminal of the booster
battery.
5. Connect the other cable, first to the negative terminal
of the booster battery and then connect the other end to
a non-paint metal surface on the engine of the vehicle
with the discharged battery. Make sure you have a good
contact on the engine.
6. Start the engine in the vehicle which has the booster
battery, let the engine idle a few minutes, then start the
engine in the vehicle with the discharged battery.
7. When removing the jumper cables, reverse the above
sequence exactly. Be careful of the moving belts and fan.
WHAT TO DO IN EMERGENCIES 299
6
Page 300 of 424
NOTE:To start the vehicle following connection of a
booster battery, the Security Alarm System must first be
disabled by cycling a front door key cylinder or by using
the keyless entry transmitter.
WARNING!
Jump starting can be dangerous. To avoid personal
injury or damage to electrical components in vehicle,
observe the following warnings:
•Battery fluid is a corrosive acid solution and can burn
or even blind you. Don’t allow battery fluid to contact
your eyes, skin, or clothing. Don’t lean over a battery
when attaching clamps. If acid splashes in eyes or on
skin, flush the area immediately with large amounts of
water.
•Do not use a booster battery or any other booster
source that has a greater than 12–volt system, i.e., do
not use a 24–volt power source.
•Never attempt to jump start a discharged battery that
is frozen, because it could rupture or explode during
jump starting.
•Be sure your vehicle is not touching the jump start
vehicle.
•Observe all Battery Warnings in Section 7 of this
manual, while jump starting your vehicle.
300 WHAT TO DO IN EMERGENCIES
Page 304 of 424
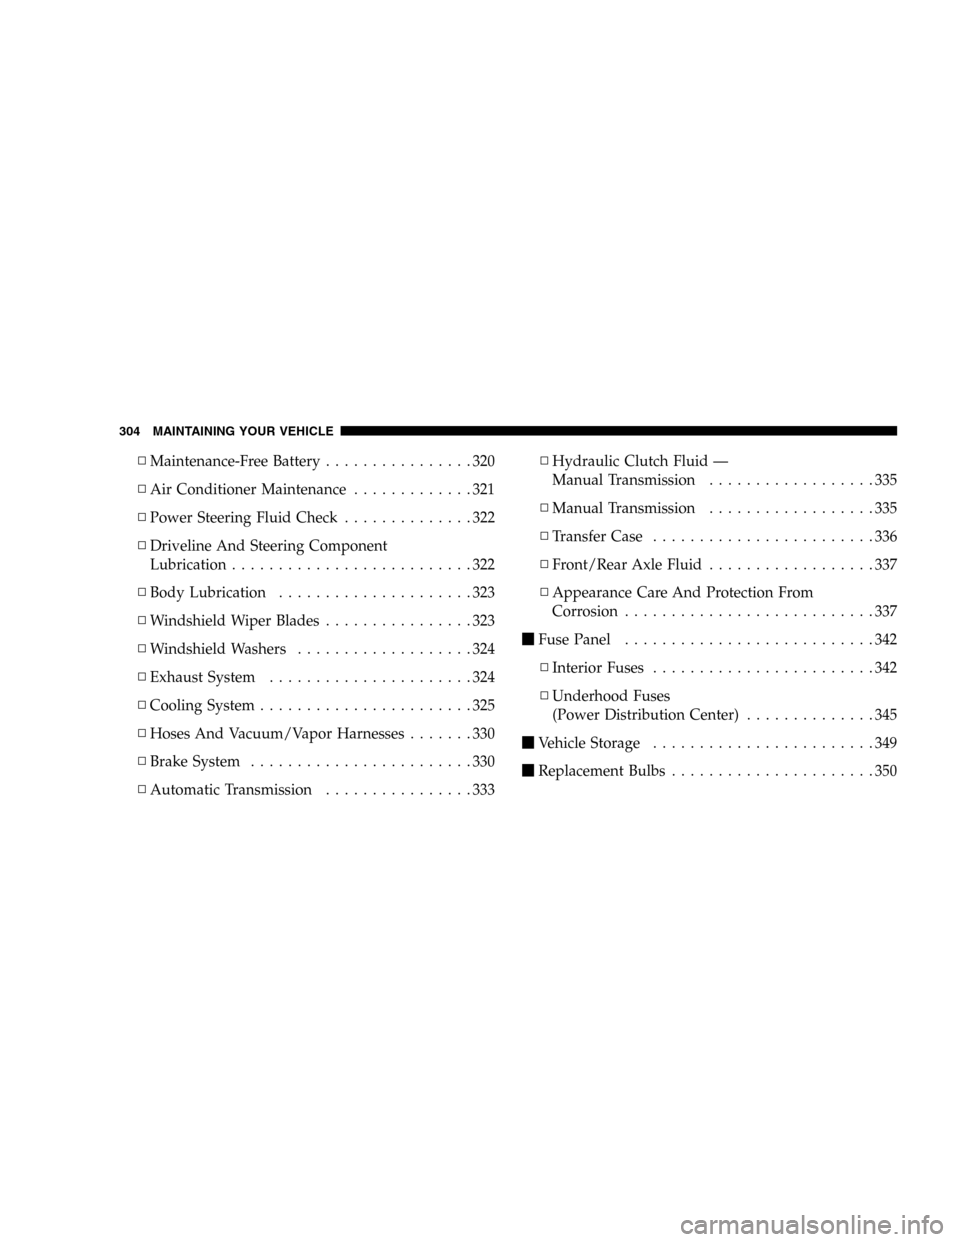
▫Maintenance-Free Battery................320
▫Air Conditioner Maintenance.............321
▫Power Steering Fluid Check..............322
▫Driveline And Steering Component
Lubrication..........................322
▫Body Lubrication.....................323
▫Windshield Wiper Blades................323
▫Windshield Washers...................324
▫Exhaust System......................324
▫Cooling System.......................325
▫Hoses And Vacuum/Vapor Harnesses.......330
▫Brake System........................330
▫Automatic Transmission................333▫Hydraulic Clutch Fluid —
Manual Transmission..................335
▫Manual Transmission..................335
▫Transfer Case........................336
▫Front/Rear Axle Fluid..................337
▫Appearance Care And Protection From
Corrosion...........................337
�Fuse Panel...........................342
▫Interior Fuses........................342
▫Underhood Fuses
(Power Distribution Center)..............345
�Vehicle Storage........................349
�Replacement Bulbs......................350
304 MAINTAINING YOUR VEHICLE