Page 3332 of 3419

WHEEL AND TIRE ASSEMBLY
WT-7
C
D
F
G
H
I
J
K
L
MA
B
WT
Revision: October 20052005 QX56
c. If calculated balance weight value exceeds 50 g (1.76 oz), install
two balance weight sheets in line with each other as shown.
CAUTION:
Do not install one balance weight sheet on top of another.
3. Start wheel balancer again.
4. Install drive-in balance weight on inner side of road wheel in the
wheel balancer indication position (angle).
CAUTION:
Do not install more than two balance weights.
5. Start wheel balancer. Make sure that inner and outer residual
imbalance values are 5 g (0.18 oz) each or below.
�If either residual imbalance value exceeds 5 g (0.18 oz), repeat installation procedures.
Wheel balance (Maximum allowable imbalance):
RotationEES001Q1
NOTE:
Follow the maintenance schedule for tire rotation service intervals. Refer to MA-5, "
GENERAL MAINTE-
NANCE" .
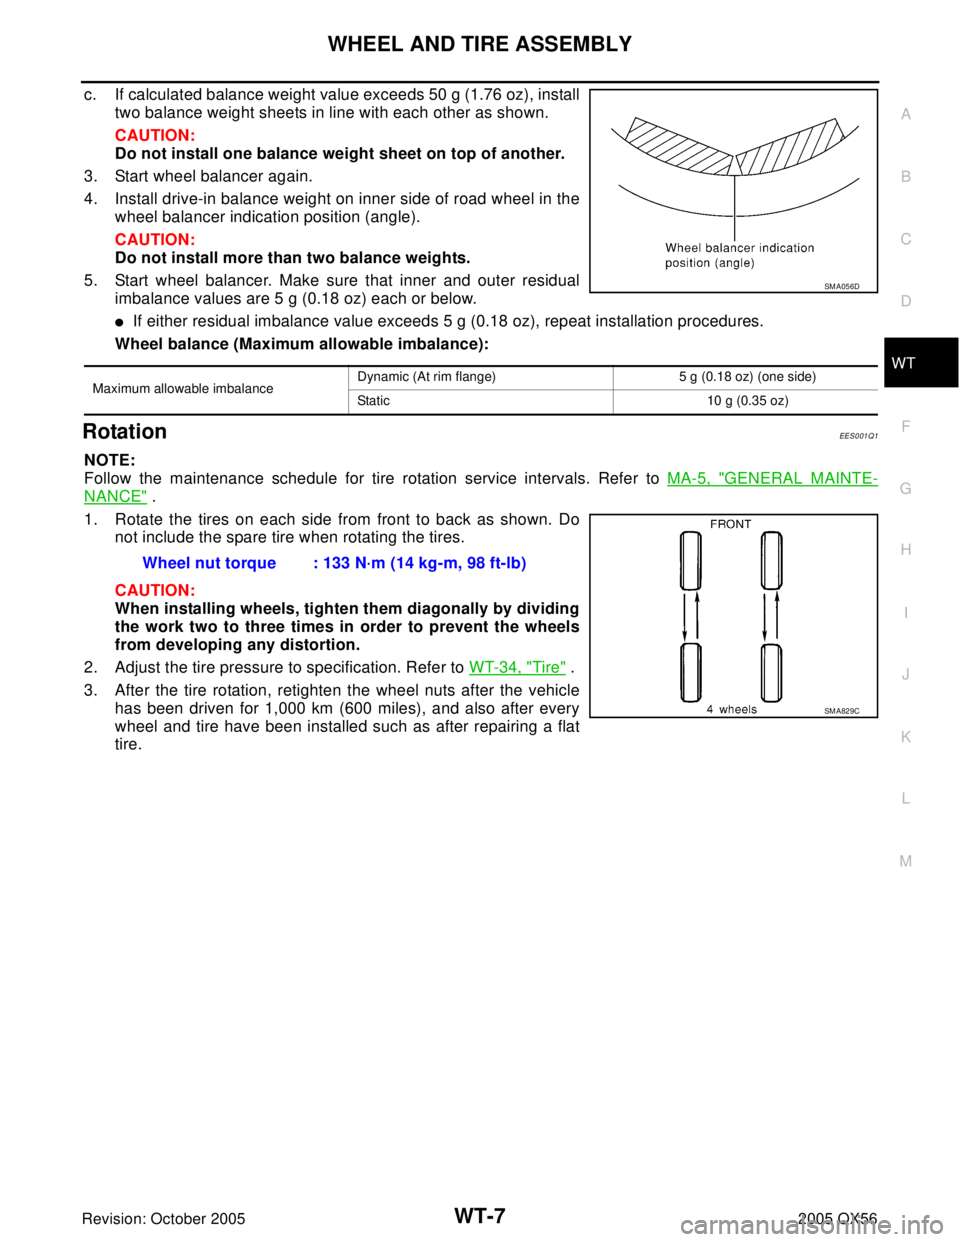
1. Rotate the tires on each side from front to back as shown. Do
not include the spare tire when rotating the tires.
CAUTION:
When installing wheels, tighten them diagonally by dividing
the work two to three times in order to prevent the wheels
from developing any distortion.
2. Adjust the tire pressure to specification. Refer to WT-34, "
Tire" .
3. After the tire rotation, retighten the wheel nuts after the vehicle
has been driven for 1,000 km (600 miles), and also after every
wheel and tire have been installed such as after repairing a flat
tire.
Maximum allowable imbalanceDynamic (At rim flange) 5 g (0.18 oz) (one side)
Static 10 g (0.35 oz)
SM A05 6D
Wheel nut torque : 133 N·m (14 kg-m, 98 ft-lb)
SM A82 9C
Page 3340 of 3419

TROUBLE DIAGNOSES
WT-15
C
D
F
G
H
I
J
K
L
MA
B
WT
Revision: October 20052005 QX56
ID REGISTRATION WITHOUT TRANSMITTER ACTIVATION TOOL
This procedure must be done after replacement of a low tire pressure warning sensor or BCM. New
replacement transmitters are provided "asleep" and must be "woken up" using Transmitter Activation
Tool J-45295 before ID registration can be performed.
1. With the ignition switch OFF, connect CONSULT-II and CONSULT-II CONVERTER to the data link con-
nector, then turn the ignition switch ON.
2. Select "START (NISSAN BASED VHCL)".
3. Touch “BCM” on "SELECT SYSTEM" screen.
NOTE:
If "BCM" is not indicated, go to LAN-5, "
CAN COMMUNICATION" .
4. Select “AIR PRESSURE MONITOR” on “SELECT WORK ITEM" screen.
5. Select “WORK SUPPORT” on “SELECT DIAG MODE" screen, and select "ID REGIST".
6. Adjust the tire pressure to the values shown in the table below for ID registration, and drive the vehicle at
15 km/h (9.4 MPH) or more for a few minutes.
7. After completing all ID registrations, press “END” to complete the procedure.
8. Inflate all tires to proper pressure. Refer to WT-34, "
Tire"
Tire position
Tire pressure kPa (kg/cm2 , psi)
Front – Left 250 (2.5, 36)
Front – Right 230 (2.3, 33)
Rear – Right 210 (2.1, 30)
Rear – Left 190 (1.9, 27)
Activation tire position CONSULT-II
Front LH
“YET”
↓
“DONE” Front RH
Rear RH
Rear LH
Page 3350 of 3419

TROUBLE DIAGNOSIS FOR SELF-DIAGNOSTIC ITEMS
WT-25
C
D
F
G
H
I
J
K
L
MA
B
WT
Revision: October 20052005 QX56
2. REPLACE TRANSMITTER
1. Check low tire pressure warning lamp again for flashing, replace malfunctioning transmitter.
2. Carry out ID registration of all transmitters.
Can ID registration of all transmitters be completed?
YES >> GO TO 3.
NO >> GO TO Inspection 1. Refer to WT-24, "
Inspection 1: Transmitter or Control Unit (BCM)" .
3. VEHICLE DRIVING
Drive at a speed of 40 km/h (25 MPH) or more for 3 minutes, and then drive the vehicle at any speed for 10
minutes. Then check all tire pressures with CONSULT-II “DATA MONITOR ITEM” within 5 minutes.
Does
“DATA MONITOR ITEM” display tire pressure as normal without any warning lamp?
YES >> Inspection End.
NO >> Replace malfunctioning transmitter, and perform Step 3 again. Refer to WT-32, "
Tran sm it ter
(Pressure Sensor)" .
Inspection 3: Transmitter - 2EES001IF
MALFUNCTION CODE NO. 35, 36, 37 OR 38
1. CHECK ALL TIRE PRESSURES
Check all tire pressures. Refer to WT-34, "
Tire"
Are there any tires with pressure of 64 psi or more?
YES >> Adjust tire pressure to specified value.
NO >> GO TO 2.
2. VEHICLE DRIVING
1. Carry out ID registration of all transmitters.
2. Drive at a speed of 40 km/h (25 MPH) or more for several minutes without stopping.
Check all tire pressures with CONSULT-II “DATA MONITOR ITEM” within 15 minutes after vehicle speed
becomes 17 km/h (11 MPH).
>> Replace transmitter with new one if “DATA MONITOR ITEM” displays 64 psi or more. Refer to
WT-32, "
Transmitter (Pressure Sensor)" . Then GO TO 3.
3. ID REGISTRATION AND VEHICLE DRIVING
1. Carry out ID registration of all transmitters.
2. Drive at a speed of 40 km/h (25 MPH) or more for 3 minutes, and then drive the vehicle at any speed for
10 minutes. Then check all tire pressures with CONSULT-II “DATA MONITOR ITEM” within 5 minutes.
Does
“DATA MONITOR ITEM” display tire pressure as normal without any warning lamp?
YES >> Inspection End.
NO >> GO TO the inspection applicable to DTC.