Page 2650 of 3419

ENGINE MAINTENANCE
MA-17
C
D
E
F
G
H
I
J
K
MA
B
MA
Revision: October 20052005 QX56
5. Install the air cleaner case (upper).
6. Install the air duct and resonator assembly (inlet).
Changing Engine OilELS001GZ
WA RN ING:
�Be careful not to burn yourself, as the engine and engine oil are hot.
�Prolonged and repeated contact with used engine oil may cause skin cancer; try to avoid direct
skin contact with used oil. If skin contact is made, wash thoroughly with soap or hand cleaner as
soon as possible.
1. Warm up the engine, and check for any oil leaks.
2. Stop the engine and wait for at least 10 minutes.
3. Remove the oil drain plug and oil filler cap to drain the old oil.
4. Install a new washer on the oil drain plug, then install the oil drain plug in the oil pan.
CAUTION:
Clean the drain plug and install with a new washer.
5. Refill the engine with new specified engine oil.
CAUTION:
The refill capacity depends on the oil temperature and drain time. Use the “Refill oil capacity” val-
ues as a reference and check the oil level using the dipstick when filling the engine with oil.
6. Warm up the engine and check the area around the drain plug and oil filter for any oil leaks.
7. Stop the engine and wait for more than 10 minutes.
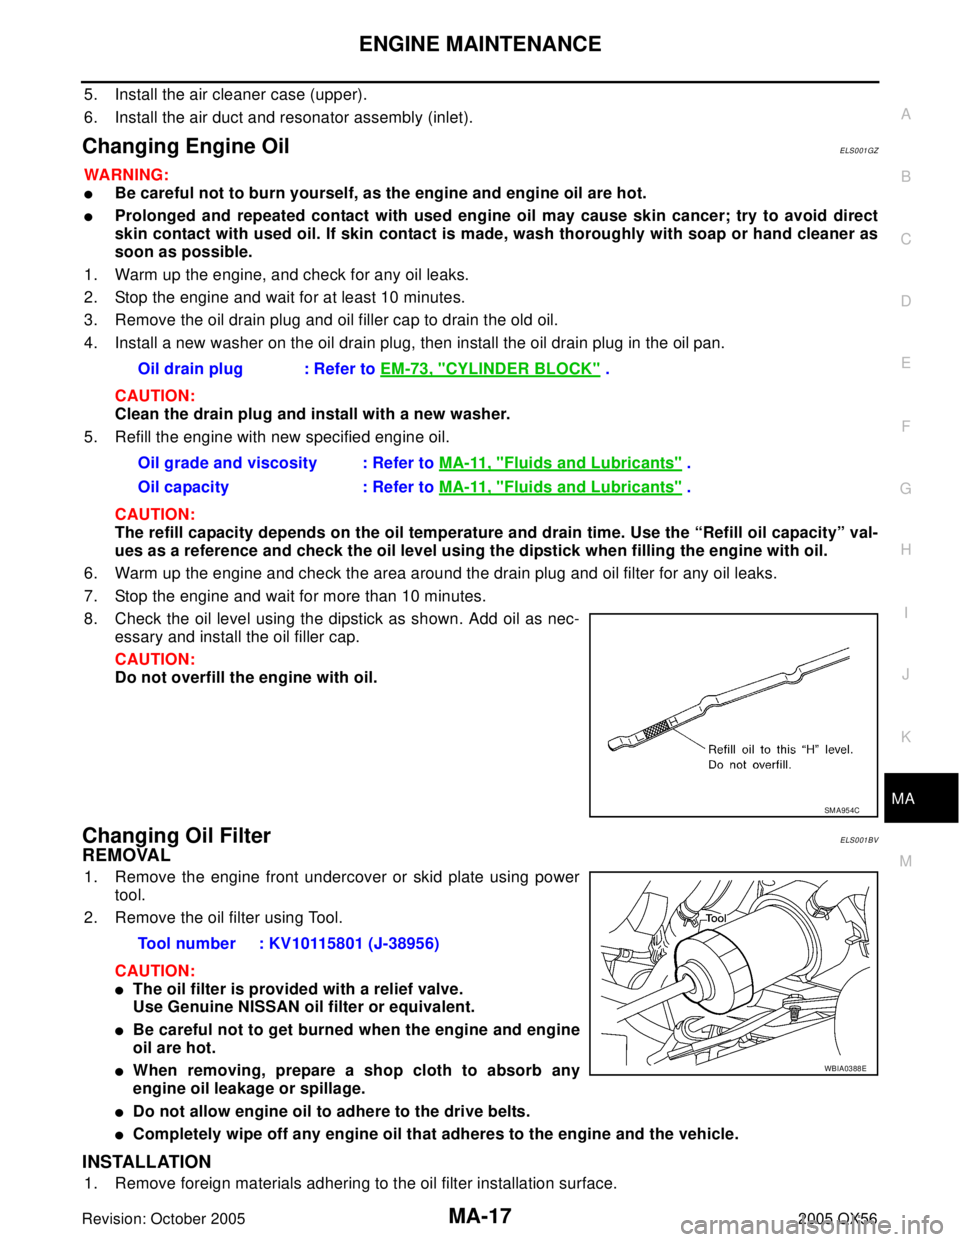
8. Check the oil level using the dipstick as shown. Add oil as nec-
essary and install the oil filler cap.
CAUTION:
Do not overfill the engine with oil.
Changing Oil FilterELS001BV
REMOVAL
1. Remove the engine front undercover or skid plate using power
tool.
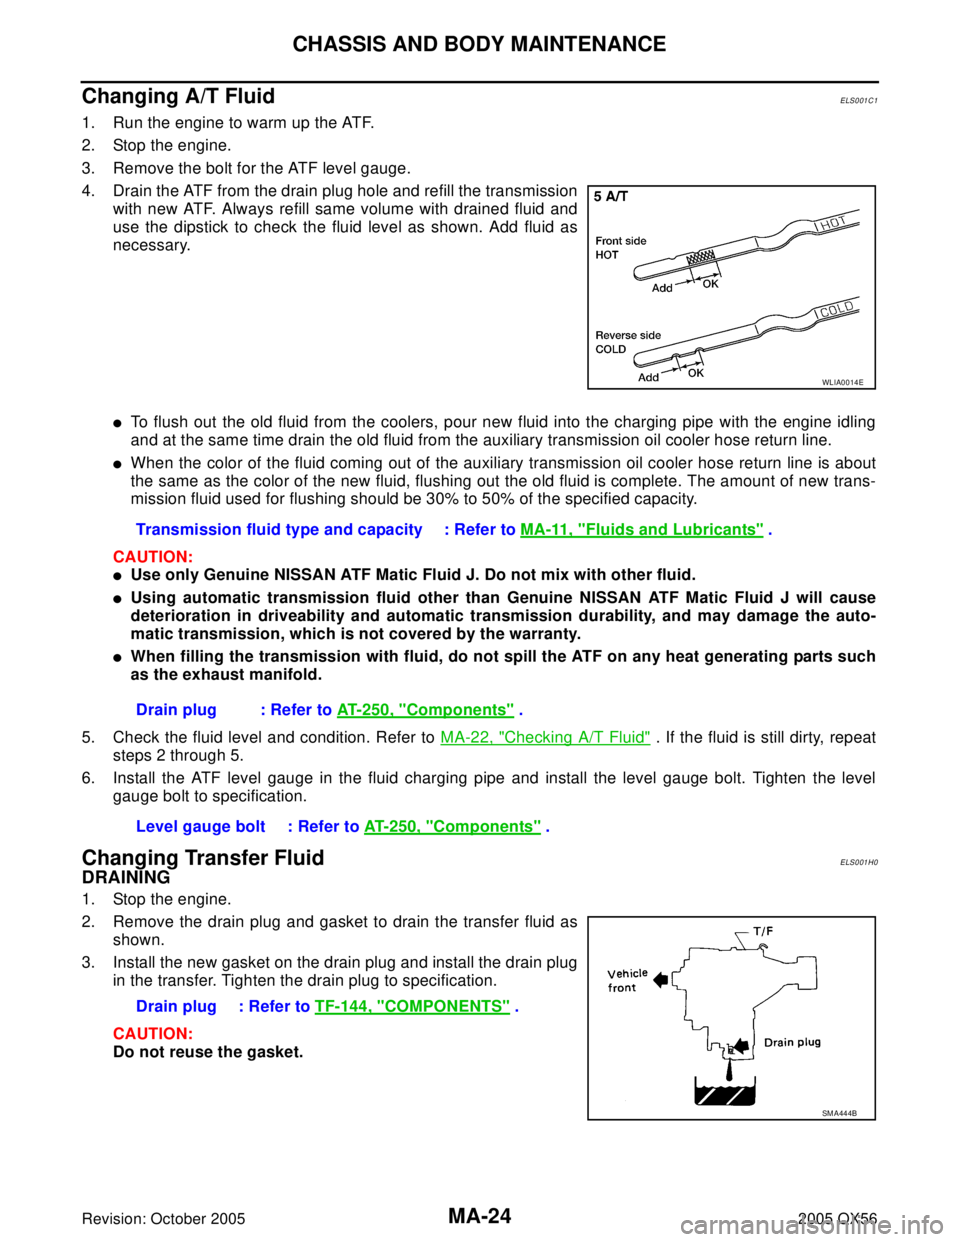
2. Remove the oil filter using Tool.
CAUTION:
�The oil filter is provided with a relief valve.
Use Genuine NISSAN oil filter or equivalent.
�Be careful not to get burned when the engine and engine
oil are hot.
�When removing, prepare a shop cloth to absorb any
engine oil leakage or spillage.
�Do not allow engine oil to adhere to the drive belts.
�Completely wipe off any engine oil that adheres to the engine and the vehicle.
INSTALLATION
1. Remove foreign materials adhering to the oil filter installation surface.Oil drain plug : Refer to EM-73, "
CYLINDER BLOCK" .
Oil grade and viscosity : Refer to MA-11, "
Fluids and Lubricants" .
Oil capacity : Refer to MA-11, "
Fluids and Lubricants" .
SM A95 4C
Tool number : KV10115801 (J-38956)
WBIA0388E
Page 2657 of 3419

MA-24
CHASSIS AND BODY MAINTENANCE
Revision: October 20052005 QX56
Changing A/T FluidELS001C1
1. Run the engine to warm up the ATF.
2. Stop the engine.
3. Remove the bolt for the ATF level gauge.
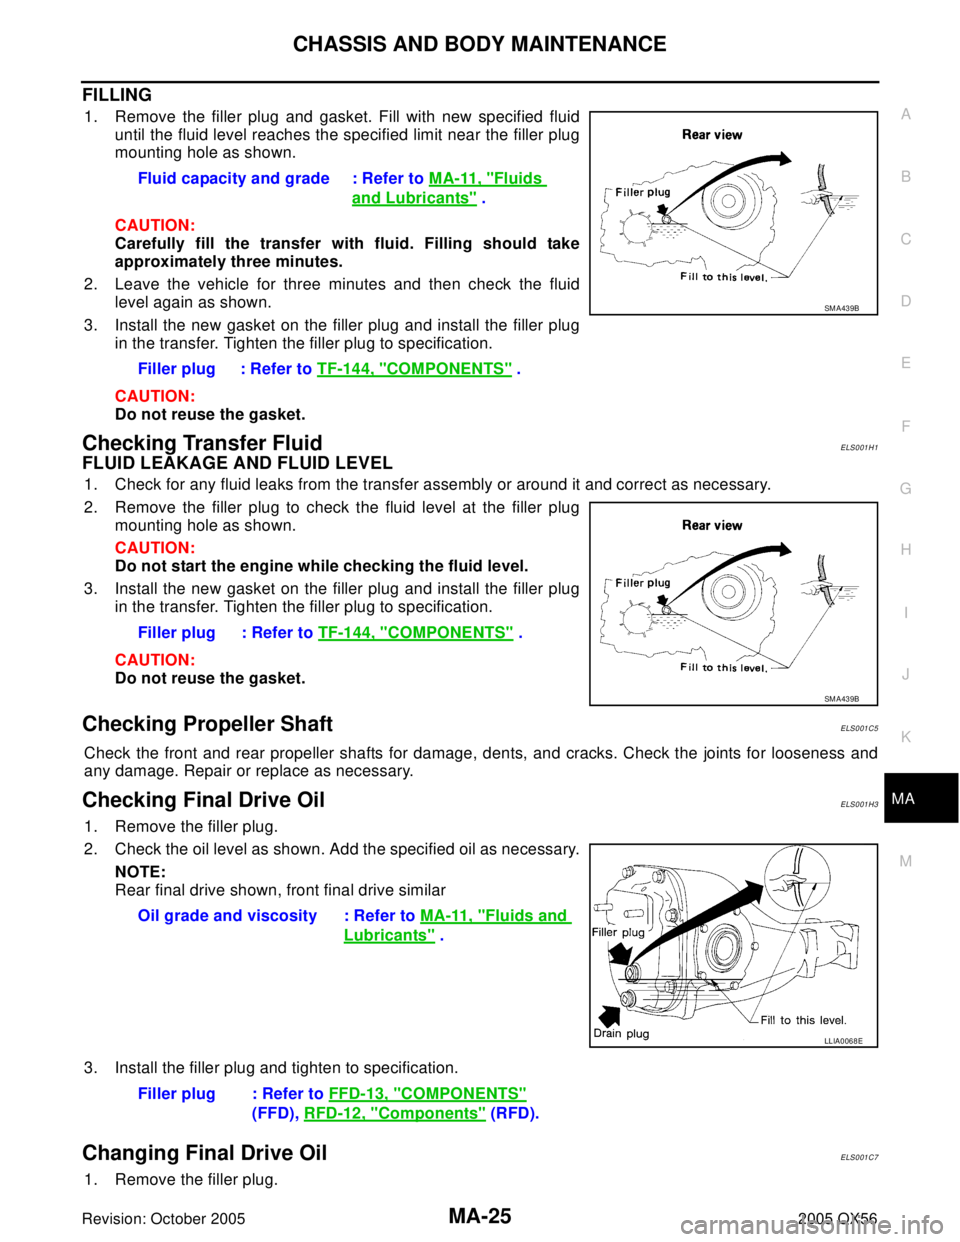
4. Drain the ATF from the drain plug hole and refill the transmission
with new ATF. Always refill same volume with drained fluid and
use the dipstick to check the fluid level as shown. Add fluid as
necessary.
�To flush out the old fluid from the coolers, pour new fluid into the charging pipe with the engine idling
and at the same time drain the old fluid from the auxiliary transmission oil cooler hose return line.
�When the color of the fluid coming out of the auxiliary transmission oil cooler hose return line is about
the same as the color of the new fluid, flushing out the old fluid is complete. The amount of new trans-
mission fluid used for flushing should be 30% to 50% of the specified capacity.
CAUTION:
�Use only Genuine NISSAN ATF Matic Fluid J. Do not mix with other fluid.
�Using automatic transmission fluid other than Genuine NISSAN ATF Matic Fluid J will cause
deterioration in driveability and automatic transmission durability, and may damage the auto-
matic transmission, which is not covered by the warranty.
�When filling the transmission with fluid, do not spill the ATF on any heat generating parts such
as the exhaust manifold.
5. Check the fluid level and condition. Refer to MA-22, "
Checking A/T Fluid" . If the fluid is still dirty, repeat
steps 2 through 5.
6. Install the ATF level gauge in the fluid charging pipe and install the level gauge bolt. Tighten the level
gauge bolt to specification.
Changing Transfer FluidELS001H0
DRAINING
1. Stop the engine.
2. Remove the drain plug and gasket to drain the transfer fluid as
shown.
3. Install the new gasket on the drain plug and install the drain plug
in the transfer. Tighten the drain plug to specification.
CAUTION:
Do not reuse the gasket.
WLIA0014E
Transmission fluid type and capacity : Refer to MA-11, "Fluids and Lubricants" .
Drain plug : Refer to AT-250, "
Components" .
Level gauge bolt : Refer to AT-250, "
Components" .
Drain plug : Refer to TF-144, "
COMPONENTS" .
SM A44 4B
Page 2658 of 3419

CHASSIS AND BODY MAINTENANCE
MA-25
C
D
E
F
G
H
I
J
K
MA
B
MA
Revision: October 20052005 QX56
FILLING
1. Remove the filler plug and gasket. Fill with new specified fluid
until the fluid level reaches the specified limit near the filler plug
mounting hole as shown.
CAUTION:
Carefully fill the transfer with fluid. Filling should take
approximately three minutes.
2. Leave the vehicle for three minutes and then check the fluid
level again as shown.
3. Install the new gasket on the filler plug and install the filler plug
in the transfer. Tighten the filler plug to specification.
CAUTION:
Do not reuse the gasket.
Checking Transfer FluidELS001H1
FLUID LEAKAGE AND FLUID LEVEL
1. Check for any fluid leaks from the transfer assembly or around it and correct as necessary.
2. Remove the filler plug to check the fluid level at the filler plug
mounting hole as shown.
CAUTION:
Do not start the engine while checking the fluid level.
3. Install the new gasket on the filler plug and install the filler plug
in the transfer. Tighten the filler plug to specification.
CAUTION:
Do not reuse the gasket.
Checking Propeller ShaftELS001C5
Check the front and rear propeller shafts for damage, dents, and cracks. Check the joints for looseness and
any damage. Repair or replace as necessary.
Checking Final Drive OilELS001H3
1. Remove the filler plug.
2. Check the oil level as shown. Add the specified oil as necessary.
NOTE:
Rear final drive shown, front final drive similar
3. Install the filler plug and tighten to specification.
Changing Final Drive OilELS001C7
1. Remove the filler plug.Fluid capacity and grade : Refer to MA-11, "
Fluids
and Lubricants" .
Filler plug : Refer to TF-144, "
COMPONENTS" .
SM A43 9B
Filler plug : Refer to TF-144, "COMPONENTS" .
SM A43 9B
Oil grade and viscosity : Refer to MA-11, "Fluids and
Lubricants" .
LLIA0068E
Filler plug : Refer to FFD-13, "COMPONENTS"
(FFD), RFD-12, "
Components" (RFD).