Page 187 of 273
3
WHAT TO DO IN AN EMERGENCY
11
D060I01E-AAT8. Lower Vehicle and Tighten Nuts
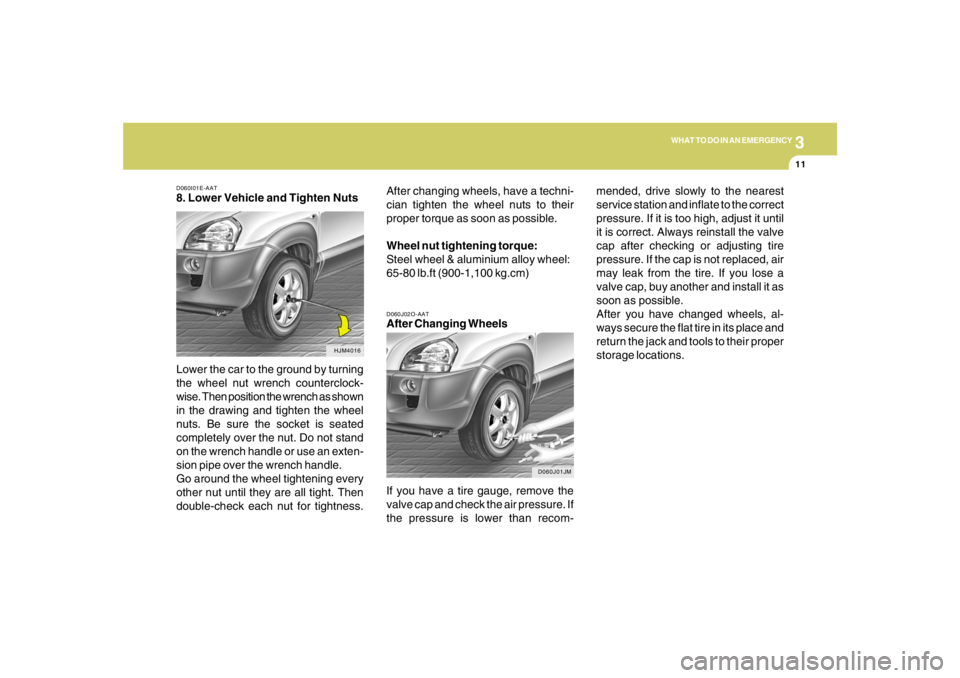
Lower the car to the ground by turning
the wheel nut wrench counterclock-
wise. Then position the wrench as shown
in the drawing and tighten the wheel
nuts. Be sure the socket is seated
completely over the nut. Do not stand
on the wrench handle or use an exten-
sion pipe over the wrench handle.
Go around the wheel tightening every
other nut until they are all tight. Then
double-check each nut for tightness.
HJM4016D060J02O-AAT
After Changing Wheels
If you have a tire gauge, remove the
valve cap and check the air pressure. If
the pressure is lower than recom-
D060J01JM
After changing wheels, have a techni-
cian tighten the wheel nuts to their
proper torque as soon as possible.
Wheel nut tightening torque:
Steel wheel & aluminium alloy wheel:
65-80 lb.ft (900-1,100 kg.cm)mended, drive slowly to the nearest
service station and inflate to the correct
pressure. If it is too high, adjust it until
it is correct. Always reinstall the valve
cap after checking or adjusting tire
pressure. If the cap is not replaced, air
may leak from the tire. If you lose a
valve cap, buy another and install it as
soon as possible.
After you have changed wheels, al-
ways secure the flat tire in its place and
return the jack and tools to their proper
storage locations.
Page 225 of 273
6
DO-IT-YOURSELF MAINTENANCE
19
G150A01JM
3. Remove the air conditioner filter cover by
pressing both side's clips.
HJM2135
!
B145A01JM
4. Remove the air conditioner filter by lifting it.
5. Installation is the reverse order of disassem-
bly.
CAUTION:
Be sure to install the air conditioner filter in
the direction of the arrow sign. Otherwise,
noise or filter damage may result.
CHECKING THE FREE-PLAYG150A01A-AATSTEERING WHEELTo check the steering wheel free-play, stop the
car with the wheels pointed straight ahead and
gently move the steering wheel back and forth.
Use very light finger pressure and be sensitive
to changes in resistance that mark the limits of
the free-play. If the free-play is greater than
specified, have it inspected by your Hyundai
dealer and adjusted or repaired if necessary.1.18 in.
(30 mm)
Page 257 of 273
8
CONSUMER INFORMATION & REPORTING SAFETY DEFECTS
10
!
WARNING:
o Driving on worn-out tires is dan-
gerous! Worn-out tires can cause
loss of braking effectiveness,
steering control and traction. When
replacing tires, never mix radial
and bias ply tires on the same car.
If you replace radial tires with bias-
ply tires, they must be installed in
sets of four.
o Wheels that do not meet Hyundai's
dimensional specifications may
fit poorly and result in damage to
the vehicle, including broken
wheel studs.
HJM5031 I090A02JM-AAT
WHEN TO REPLACE TIRES
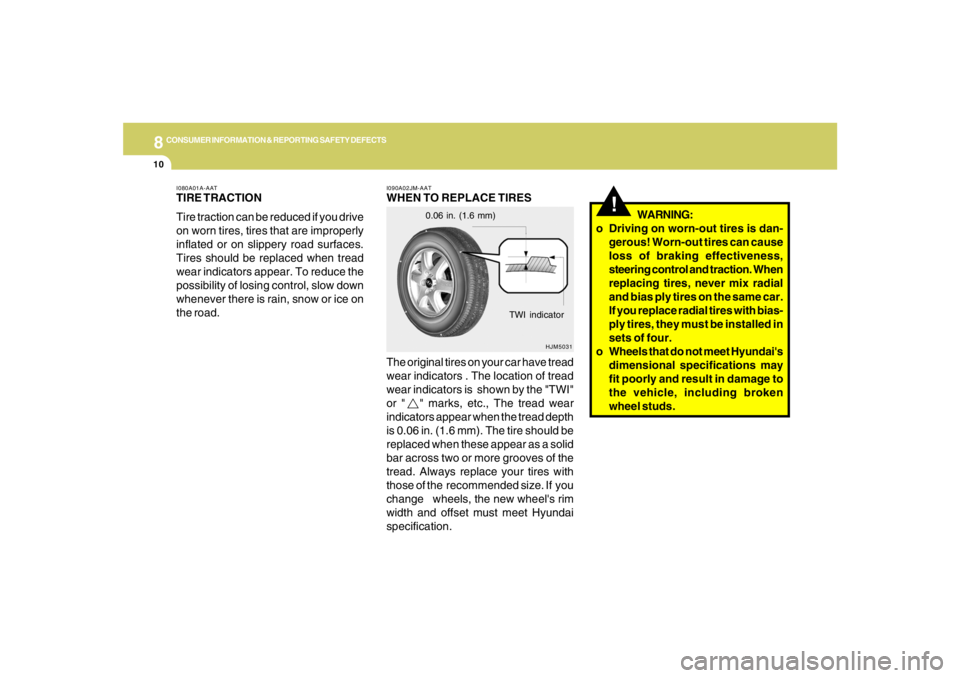
The original tires on your car have tread
wear indicators . The location of tread
wear indicators is shown by the "TWI"
or " " marks, etc., The tread wear
indicators appear when the tread depth
is 0.06 in. (1.6 mm). The tire should be
replaced when these appear as a solid
bar across two or more grooves of the
tread. Always replace your tires with
those of the recommended size. If you
change wheels, the new wheel's rim
width and offset must meet Hyundai
specification.
TWI indicator 0.06 in. (1.6 mm)
I080A01A-AATTIRE TRACTION
Tire traction can be reduced if you drive
on worn tires, tires that are improperly
inflated or on slippery road surfaces.
Tires should be replaced when tread
wear indicators appear. To reduce the
possibility of losing control, slow down
whenever there is rain, snow or ice on
the road.
