Page 269 of 414

Unplug the garage door opener
motor f rom the house current.
Holdtheendof thegaragedoor
opener remote control 2 to 5
inches f rom HomeLink. Make
sure you are not blocking your
view of the red indicator in
HomeLink.Press and hold the remote control
button and one of the HomeLink
buttons at the same time.
Plug in the garage door opener
motor, then test the HomeLink
button by pushing it. If the button
does not work, repeat the
procedure to train it again. If it still
does not work, you may have a
variable or rolling code garage
door opener. See if you do by
pressing and holding the
HomeLink button you just trained.
If the red indicator blinks for 2
seconds then stays on, you have a
rolling code garage door opener.
Go to ‘‘Training with a Rolling
Code System’’ (see page ).
Repeat these steps to train the
other two HomeLink buttons to
operate any other remotely
controlled devices around your
home (lighting, automatic gate,
security system, etc.).
When the red indicator f lashes
rapidly, release both buttons.
HomeLink should have learned
the code f rom the remote control. The red indicator in HomeLink
should begin f lashing. It will f lash
slowly at first, then rapidly.
2. 3.
1. 4.
5.7. 6.
269
HomeL ink Universal T ransceiver
268
The remote control you are training
f rom may stop transmitting af ter 2
seconds. This is not enough f or
HomeLink to learn the code. Release
and press the button on the remote
control every 2 seconds until HomeLink
has learned the code.
Page 271 of 414

Youshoulderaseallthreecodes
bef ore selling the vehicle.If you have problems with training
the HomeLink Universal Transceiver,
or would like inf ormation on home
products that can be operated by
HomeLink, call (800) 355-3515. On
the Internet, go to
www.homelink.com.
HomeLink
is a registered
trademark of Johnson Controls, Inc.
Toerasethecodesstoredinallthree
buttons, press and hold the two
outside buttons until the red
indicator begins to f lash, then
release the buttons.
Totrainanalreadyprogrammed
HomeLink button with a new device,
you do not have to erase all the
memory. Train the selected button
over the existing memory code
f ollowing the steps under ‘‘Training
HomeLink’’.
As required by the FCC:
This device complies with Part 15 of theFCC rules. Operation is subject to thef ollowing two conditions: (1) This devicemay not cause harmf ul interf erence, and(2) this device must accept anyinterf erence received, includinginterf erence that may cause undesiredoperation.
Changes or modif ications not expresslyapproved by the party responsible f orcompliance could void the user’sauthority to operate the equipment.
This device complies with IndustryCanada Standard RSS-210.Operation is subject to the f ollowing twoconditions: (1) this device may not causeinterf erence, and (2) this device mustaccept any interf erence that may causeundesired operation of the device.
HomeL ink Universal T ransceiver
Erasing Codes
Retraining a Button Customer Assistance
270
Page 276 of 414
�Ý�Û
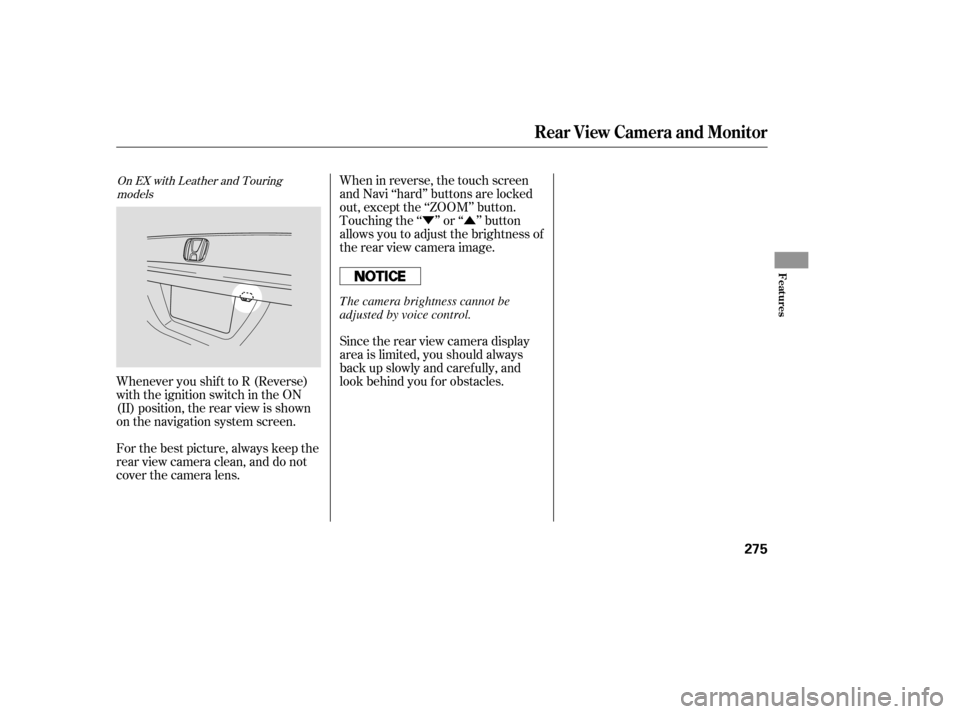
When in reverse, the touch screen
and Navi ‘‘hard’’ buttons are locked
out, except the ‘‘ZOOM’’ button.
Touching the ‘‘ ’’ or ‘‘ ’’ button
allows you to adjust the brightness of
the rear view camera image.
Whenever you shif t to R (Reverse)
with the ignition switch in the ON
(II) position, the rear view is shown
on the navigation system screen.
For the best picture, always keep the
rear view camera clean, and do not
cover the camera lens. Since the rear view camera display
area is limited, you should always
back up slowly and caref ully, and
look behind you f or obstacles.
On EX with Leather and Touring
models
Rear View Camera and Monitor
Features
275
The camera brightness cannot be
adjusted by voice control.
Page 378 of 414

If the replacement fuse of the
same rating blows in a short time,
there is probably a serious
electrical problem with your
vehicle. Leave the blown fuse in
that circuit, and have your vehicle
checked by a qualif ied mechanic.
If the driver’s power window f use is
removed, the AUTO feature of the
driver’s window will be disabled. You
should reset the AUTO f eature (see
page ).
If the radio f use is removed, the
audio system will disable itself . The
nexttimeyouturnontheradioyou
will see ‘‘ ’’ in the f requency
display. Use the preset buttons to
enter the f ive-digit code (see page ).
If you cannot drive the vehicle
without f ixing the problem, and you
do not have a spare fuse, take a fuse
of the same rating or a lower rating
f rom one of the other circuits. Make
sureyoucandowithoutthatcircuit
temporarily (such as the accessory
power socket or radio).
If you replace the blown f use with a
spare f use that has a lower rating, it
might blow out again. This does not
indicate anything wrong. Replace the
f use with one of the correct rating as
soon as you can.
Look f or a burned wire inside the
f use. If it is burned, replace the
f use with one of the spare f uses of
thesameratingorlower.
5. 6.
162
229
CONT INUED
On EX, and Touring models
Fuses
T aking Care of t he Unexpect ed
377
BLOWN
Replacing a f use with one that has a
higher rating greatly increases the
chances of damaging the electrical
system. If you do not have a
replacement f use with the proper
rating f or the circuit, install one with
a lower rating.
Page 411 of 414

�Î
.....................................
Tachometer .71
..........................................
Tailgate .138
...............................
Opening the .138
...................
Open Monitor Light . 67
..
Taillights, Changing Bulbs . 341,342
...............................................
Seats .148
......................
Adjustments .149, 151
..........
Drivers Lumbar Support . 152
.............
Folding the Third Seat . 158
........................
Head Restraints .152
Installing the Stowable Second ...............
Row Plus-One Seat . 156
.....
Manual Height Adjustment . 150
....................
Passenger Seating .148
.......
Reclining the Second Seat . 150
..........
Reclining the Third Seat . 150
....
Removing the Second Seats . 155
.....................
Third Seat Access .153
............................
Security System .263
Sensors Front Passenger’s Weight .....................................
Sensors .29
....
Driver’s Seat Position Sensor . 29
...............................
Serial Number .384
...........................
Service Intervals .315
...........................
Service Manual .401
...........
Service Station Procedure . 279
..........................
Setting the Clock .227
...
Shif t Lever Position Indicators . 294
........................
Shif t Lock Release .297
..............................
Side Airbags .11, 30 ..........................
Of f Indicator .33, 64
Side Marker Lights, Bulb ..............................
Replacement .339
.............................
Signaling Turns .122
.................................
Sliding Doors .142
.....................................
Snow Tires .350
................................
Sound System .199
Spare Tire ......................................
Inf lating .359
............................
Specif ications .387
....................................
Spark Plugs .387
....................
Specif ications Charts . 386
................................
Speed Control .264
...................................
Speedometer .71
..........
SRS, Additional Inf ormation . 25
...
Additional Safety Precautions . 35
.............................
Airbag Service .34
..
How the SRS Indicator Works . 32
How Your Airbags ............................
Work .27, 30,32
........................
SRS Components .25
.............................
SRS Indicator .32 ,64
..
START (Ignition Key Position) . 130
.......................
Starting the Engine .293
In Cold Weather at High ..................................
Altitude .293 ................
With a Dead Battery . 367
..............
State Emissions Testing . 395
........
Steam Coming f rom Engine . 369
Steering Wheel ................................
Adjustment .127
...........
Anti-thef t Column Lock . 130
.................................
Buttons .75, 228
...................
Stereo Sound System . 199
....................
Storing Your Vehicle .353
Stowable Second Row Plus-One .............................................
Seat .156
........................
Sunglasses Holder .174
........................................
Sun Visor .175
Supplemental Restraint System ......................................
Servicing .34
.........................
SRS Indicator .32 ,64
...................
System Components . 25
..................................
Synthetic Oil .329
Index
T
VIII