Page 141 of 248

²Move the gearshift lever and securely latch it in P (Park)
Always set the parking brake fully and make sure the gearshift is
latched in P (Park). Turn the ignition to the LOCK position and
remove the key whenever you leave your vehicle.
R (Reverse)
With the gearshift lever in R (Reverse), the vehicle will move backward.
Always come to a complete stop before shifting into and out of R
(Reverse).
N (Neutral)
With the gearshift lever in N (Neutral), the vehicle can be started and is
free to roll. Hold the brake pedal down while in this position.
(Overdrive)
The normal driving position for the best fuel economy. The transaxle
operates in gears one through four.
D (Drive)
²This position allows for all forward gears except overdrive.
²Provides more engine braking than
(Overdrive).
²Use when driving conditions cause excessive shifting from O/D to
other gears. Examples: city traffic, hilly terrain, heavy loads, trailer
towing and when engine braking is required.
1 (First)
²Provides maximum engine braking.
²Allows upshifts by moving gearshift lever.
²Will not downshift into 1 (First) at high speeds; allows for 1 (First)
when vehicle reaches slower speeds.
When parking, do not use the gearshift in place of the parking
brake. Always set the parking brake fully and make sure that the
gearshift is securely latched in Park (P). Turn off the ignition
whenever you leave your vehicle. Never leave your vehicle unattended
while it is running. If you do not take these precautions, your vehicle
may move unexpectedly and injure someone.
If your vehicle gets stuck in mud or snow
If your vehicle gets stuck in mud or snow, it may be rocked out by
shifting between forward and reverse gears, stopping between shifts in a
steady pattern. Press lightly on the accelerator in each gear.
Driving
141
Page 150 of 248

GETTING ROADSIDE ASSISTANCE
To fully assist you should you have a vehicle concern, Ford Motor
Company offers a complimentary roadside assistance program. This
program is separate from the New Vehicle Limited Warranty. The service
is available:
²24±hours, seven days a week
²for the New Vehicle Limited Warranty period of three years or 36,000
miles (60,000 km), whichever occurs first on Ford and Mercury
vehicles, and four years or 50,000 miles (80,000 km) on Lincoln
vehicles.
Roadside assistance will cover:
²changing a flat tire
²jump-starts
²lock-out assistance
²limited fuel delivery
²towing of your disabled vehicle to the nearest Ford Motor Company
dealership, or your selling dealer if within 35 miles (56.3 km) of the
nearest Ford Motor Company dealership (one tow per disablement).
Even non-warranty related tows, like accidents or getting stuck in the
mud or snow, are covered (some exclusions apply, such as impound
towing or repossession).
Canadian customers refer to your Owner Information Guide for
information on:
²coverage period
²exact fuel amounts
²towing of your disabled vehicle
²emergency travel expense reimbursement
²travel planning benefits
USING ROADSIDE ASSISTANCE
Complete the roadside assistance identification card and place it in your
wallet for quick reference. In the United States, this card is found in the
Owner Guide portfolio in the glove compartment in Ford vehicles and is
mailed to you if you own a Mercury or Lincoln. In Canada, the card is
found in theOwner Information Guidein the glove compartment.
U.S. Ford or Mercury vehicle customers who require roadside assistance,
call 1±800±241±3673; Lincoln vehicle customers call 1±800±521±4140.
Roadside Emergencies
Roadside Emergencies
150
Page 155 of 248
Fuse/relay
locationFuse amp
ratingPassenger compartment fuse
panel description
16 10A Not used (spare)
17 15A Stop lamp, Speed control
deactivation switch
18 15A Parklamps, PWM (backlighting),
Autolamps
19 10A Heated mirrors, Rear defrost
switch indicator
20 10A Restraints (air bag module/OCS
module)
21 15A Transmission range sensor
(transmission position switch)
22 15A Front washer pump,
Electrochromatic mirror,
Compass, Cluster (RUN/ACC),
Integrated Control Panel (ICP)
logic, Rear wiper (wagon only),
Rear washer (wagon only)
23 30A Front wiper motor
24 Ð Not used
25 20A Power point
26 20A Power locks, Liftgate
(wagon)/Trunk (sedan) release
27 10A Anti-lock Brake System (ABS),
Speed control, Traction control,
Brake-shift interlock, A/C function
switch (manual A/C only),
Temperature blend door (manual
A/C only), Defrost coil
28 15A Turn signals, Back-up lamps
29 20A Cigar lighter
Roadside Emergencies
155
Page 158 of 248

Fuse/relay
locationFuse amp rating Power distribution box
description
1 60A** Fuse junction panel
2 30A** Powertrain Control Module (PCM)
3 60A** Fuse junction panel
4 10A CB Low speed cooling fan
5 40A** Cooling fan
6 Ð Not used
7 40A** Starter relay, Ignition switch
8 Ð Not used
9 20A** Cooling fan (passenger side)
10 20A** Cooling fan (driver side)
11 50A** Rear defrost (sedan only)
12 Ð Not used
13 40A** Anti-lock Brake System (ABS)
module pump feed
14 Ð Not used
15 20A* ABS module valve solenoid
16 20A* Fuel pump relay
17 20A* CD
18 10A* (Vulcan engine only)
A/C clutch relay, PCM keep alive power
Ð (Duratec engine only) Not used power
19 Ð Not used
20 Ð Not used
21 Ð Not used
22 5A* (Vulcan engine only) Heated PCV valve
10A*
(Duratec engine only)A/C clutch relay, PCM keep alive power
23 Ð Starter motor relay
24 Ð Fan relay
25 Ð Wiper speed relay
26 10A* Alternator
27 5A* Rear control unit, Antenna
28 15A* HEGO sensor, Transmission shift
solenoid, Canister vent, A/C clutch
relay
Roadside Emergencies
158
Page 161 of 248

²Winter weather driving capability
²Wet weather driving capability
²All-Wheel Driving Capability (if applicable)
²Load Leveling Adjustment (if applicable)
When driving with the dissimilar spare tire/wheel additional caution
should be given to:
²Towing a trailer
²Driving vehicles equipped with a camper body
²Driving vehicles with a load on the cargo rack
Drive cautiously when using a dissimilar spare tire/wheel and seek
service as soon as possible.
Tire change procedure
1. Park on a level surface, activate hazard flashers and set parking brake.
When one of the front wheels is off the ground, the transaxle
alone will not prevent the vehicle from moving or slipping off the
jack, even if the vehicle is in P (Park).
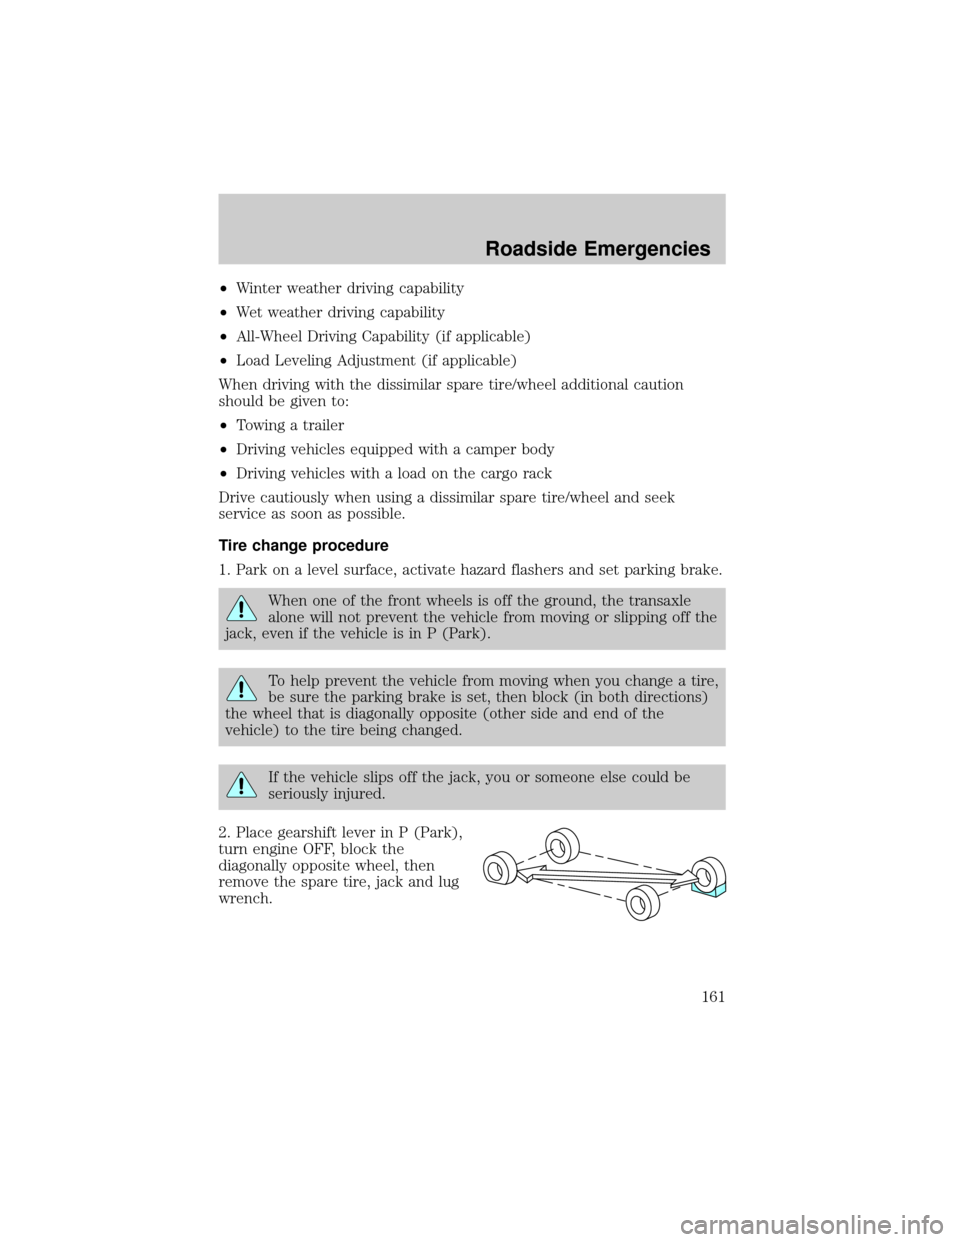
To help prevent the vehicle from moving when you change a tire,
be sure the parking brake is set, then block (in both directions)
the wheel that is diagonally opposite (other side and end of the
vehicle) to the tire being changed.
If the vehicle slips off the jack, you or someone else could be
seriously injured.
2. Place gearshift lever in P (Park),
turn engine OFF, block the
diagonally opposite wheel, then
remove the spare tire, jack and lug
wrench.
Roadside Emergencies
161
Page 163 of 248
5. Loosen each wheel lug nut
one-half turn counterclockwise but
do not remove them until the wheel
is raised off the ground.
6. Put the jack in the jack notch
next to the door of the tire you are
changing. Turn the jack handle
clockwise until the wheel is
completely off the ground.
7. Remove the lug nuts with the lug
nut wrench.
8. Replace the flat tire with the spare tire, making sure the valve stem is
facing outward. Reinstall lug nuts until the wheel is snug against the hub.
Do not fully tighten the lug nuts until the wheel has been lowered.
9. Lower the wheel by turning the jack handle counterclockwise.
10. Remove the jack and fully
tighten the lug nuts in the order
shown. Refer toWheel lug nut
torque specificationslater in this
chapter for the proper lug nut
torque specification.
1
4 3
2 5
Roadside Emergencies
163
Page 164 of 248

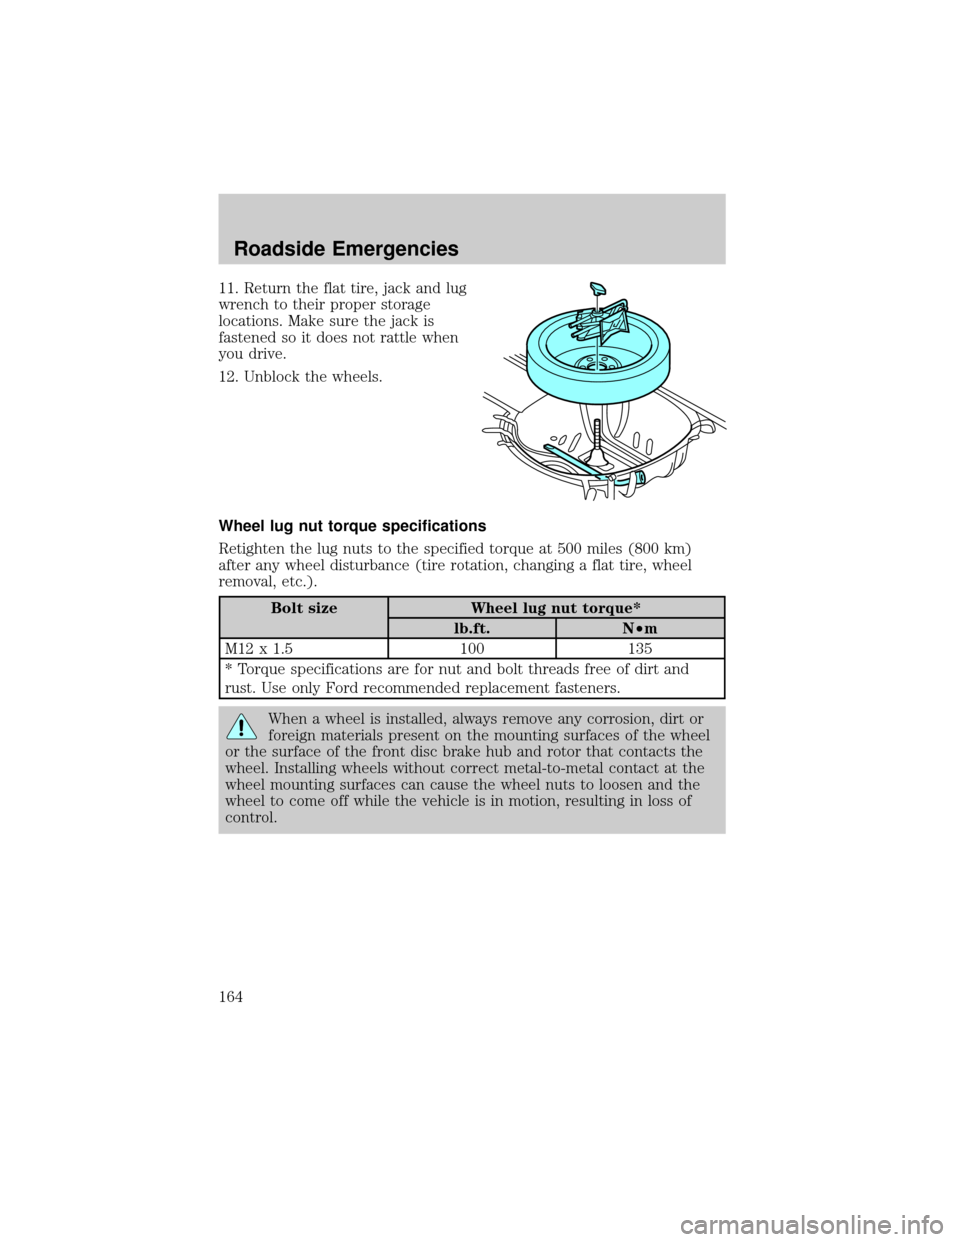
11. Return the flat tire, jack and lug
wrench to their proper storage
locations. Make sure the jack is
fastened so it does not rattle when
you drive.
12. Unblock the wheels.
Wheel lug nut torque specifications
Retighten the lug nuts to the specified torque at 500 miles (800 km)
after any wheel disturbance (tire rotation, changing a flat tire, wheel
removal, etc.).
Bolt size Wheel lug nut torque*
lb.ft. N²m
M12 x 1.5 100 135
* Torque specifications are for nut and bolt threads free of dirt and
rust. Use only Ford recommended replacement fasteners.
When a wheel is installed, always remove any corrosion, dirt or
foreign materials present on the mounting surfaces of the wheel
or the surface of the front disc brake hub and rotor that contacts the
wheel. Installing wheels without correct metal-to-metal contact at the
wheel mounting surfaces can cause the wheel nuts to loosen and the
wheel to come off while the vehicle is in motion, resulting in loss of
control.
Roadside Emergencies
164
Page 182 of 248

²Remove particles such as bird droppings, tree sap, insect deposits, tar
spots, road salt and industrial fallout before repairing paint chips.
²Always read the instructions before using the products.
ALUMINUM WHEELS AND WHEEL COVERS
Aluminum wheels and wheel covers are coated with a clearcoat paint
finish. In order to maintain their shine:
²Clean weekly with Motorcraft Wheel and Tire Cleaner (ZC-37±A),
which is available from your dealer. Heavy dirt and brake dust
accumulation may require agitation with a sponge. Rinse thoroughly
with a strong stream of water.
²Never apply any cleaning chemical to hot or warm wheel rims or
covers.
²Some automatic car washes may cause damage to the finish on your
wheel rims or covers. Chemical-strength cleaners, or cleaning
chemicals, in combination with brush agitation to remove brake dust
and dirt, could wear away the clearcoat finish over time.
²Do not use hydrofluoric acid-based or high caustic-based wheel
cleaners, steel wool, fuels or strong household detergent.
²To remove tar and grease, use Motorcraft Bug and Tar Remover
(ZC-42), available from your dealer.
ENGINE
Engines are more efficient when they are clean because grease and dirt
buildup keep the engine warmer than normal. When washing:
²Take care when using a power washer to clean the engine. The
high-pressure fluid could penetrate the sealed parts and cause
damage.
²Do not spray a hot engine with cold water to avoid cracking the
engine block or other engine components.
²Spray Motorcraft Engine Shampoo and Degreaser (ZC-20) on all parts
that require cleaning and pressure rinse clean.
²Cover the highlighted areas to prevent water damage when cleaning
the engine.
Cleaning
182