Page 41 of 304

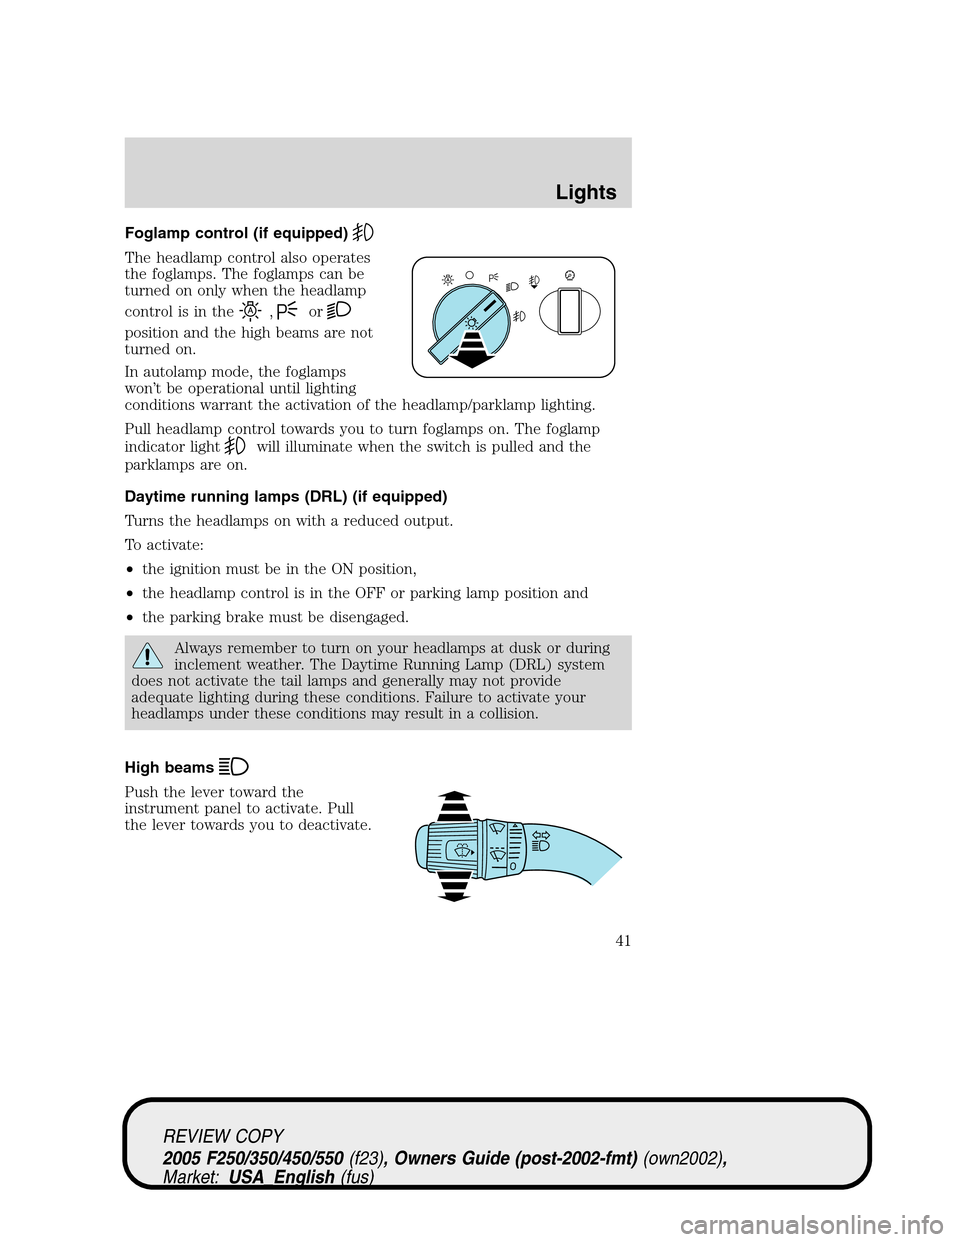
Foglamp control (if equipped)
The headlamp control also operates
the foglamps. The foglamps can be
turned on only when the headlamp
control is in the
,or
position and the high beams are not
turned on.
In autolamp mode, the foglamps
won’t be operational until lighting
conditions warrant the activation of the headlamp/parklamp lighting.
Pull headlamp control towards you to turn foglamps on. The foglamp
indicator light
will illuminate when the switch is pulled and the
parklamps are on.
Daytime running lamps (DRL) (if equipped)
Turns the headlamps on with a reduced output.
To activate:
•the ignition must be in the ON position,
•the headlamp control is in the OFF or parking lamp position and
•the parking brake must be disengaged.
Always remember to turn on your headlamps at dusk or during
inclement weather. The Daytime Running Lamp (DRL) system
does not activate the tail lamps and generally may not provide
adequate lighting during these conditions. Failure to activate your
headlamps under these conditions may result in a collision.
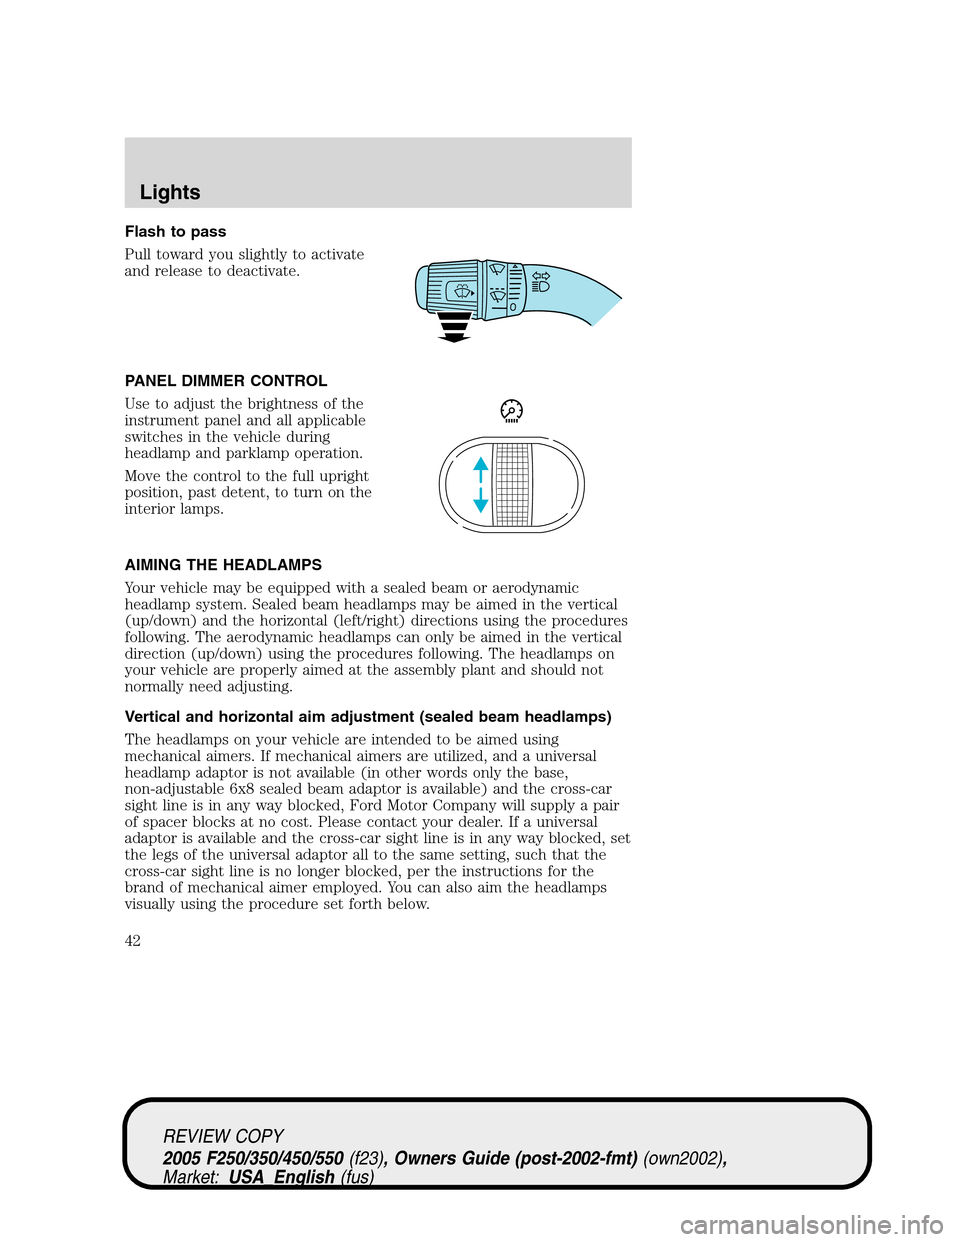
High beams
Push the lever toward the
instrument panel to activate. Pull
the lever towards you to deactivate.
REVIEW COPY
2005 F250/350/450/550(f23), Owners Guide (post-2002-fmt)(own2002),
Market:USA_English(fus)
Lights
41
Page 42 of 304

Flash to pass
Pull toward you slightly to activate
and release to deactivate.
PANEL DIMMER CONTROL
Use to adjust the brightness of the
instrument panel and all applicable
switches in the vehicle during
headlamp and parklamp operation.
Move the control to the full upright
position, past detent, to turn on the
interior lamps.
AIMING THE HEADLAMPS
Your vehicle may be equipped with a sealed beam or aerodynamic
headlamp system. Sealed beam headlamps may be aimed in the vertical
(up/down) and the horizontal (left/right) directions using the procedures
following. The aerodynamic headlamps can only be aimed in the vertical
direction (up/down) using the procedures following. The headlamps on
your vehicle are properly aimed at the assembly plant and should not
normally need adjusting.
Vertical and horizontal aim adjustment (sealed beam headlamps)
The headlamps on your vehicle are intended to be aimed using
mechanical aimers. If mechanical aimers are utilized, and a universal
headlamp adaptor is not available (in other words only the base,
non-adjustable 6x8 sealed beam adaptor is available) and the cross-car
sight line is in any way blocked, Ford Motor Company will supply a pair
of spacer blocks at no cost. Please contact your dealer. If a universal
adaptor is available and the cross-car sight line is in any way blocked, set
the legs of the universal adaptor all to the same setting, such that the
cross-car sight line is no longer blocked, per the instructions for the
brand of mechanical aimer employed. You can also aim the headlamps
visually using the procedure set forth below.
REVIEW COPY
2005 F250/350/450/550(f23), Owners Guide (post-2002-fmt)(own2002),
Market:USA_English(fus)
Lights
42
Page 45 of 304

2. Measure the height from the
center of your headlamp (indicated
by a 3.0 mm circle on the lens) to
the ground and mark an 8 foot
(2.4 meter) horizontal reference line
on the vertical wall or screen at this
height (a piece of masking tape
works well).
3. Turn on the low beam headlamps
to illuminate the wall or screen and
open the hood. Cover one of the
headlamps so no light hits the wall.
4. On the wall or screen you will
observe a light pattern with a
distinct horizontal edge towards the
right. If this edge is not at the
horizontal reference line, the beam will need to be adjusted so the edge
is at the same height as the horizontal reference line.
5. Locate the vertical adjuster on
each headlamp, then use a E5 Torx
socket to turn the adjuster either
counterclockwise (to adjust down)
or clockwise (to adjust up) aligning
the upper edge of the light pattern
up to the horizontal line.
6. Repeat step 3–5 for the other
headlamp.
7. Close the hood and turn off the
lamps.
REVIEW COPY
2005 F250/350/450/550(f23), Owners Guide (post-2002-fmt)(own2002),
Market:USA_English(fus)
Lights
45
Page 55 of 304

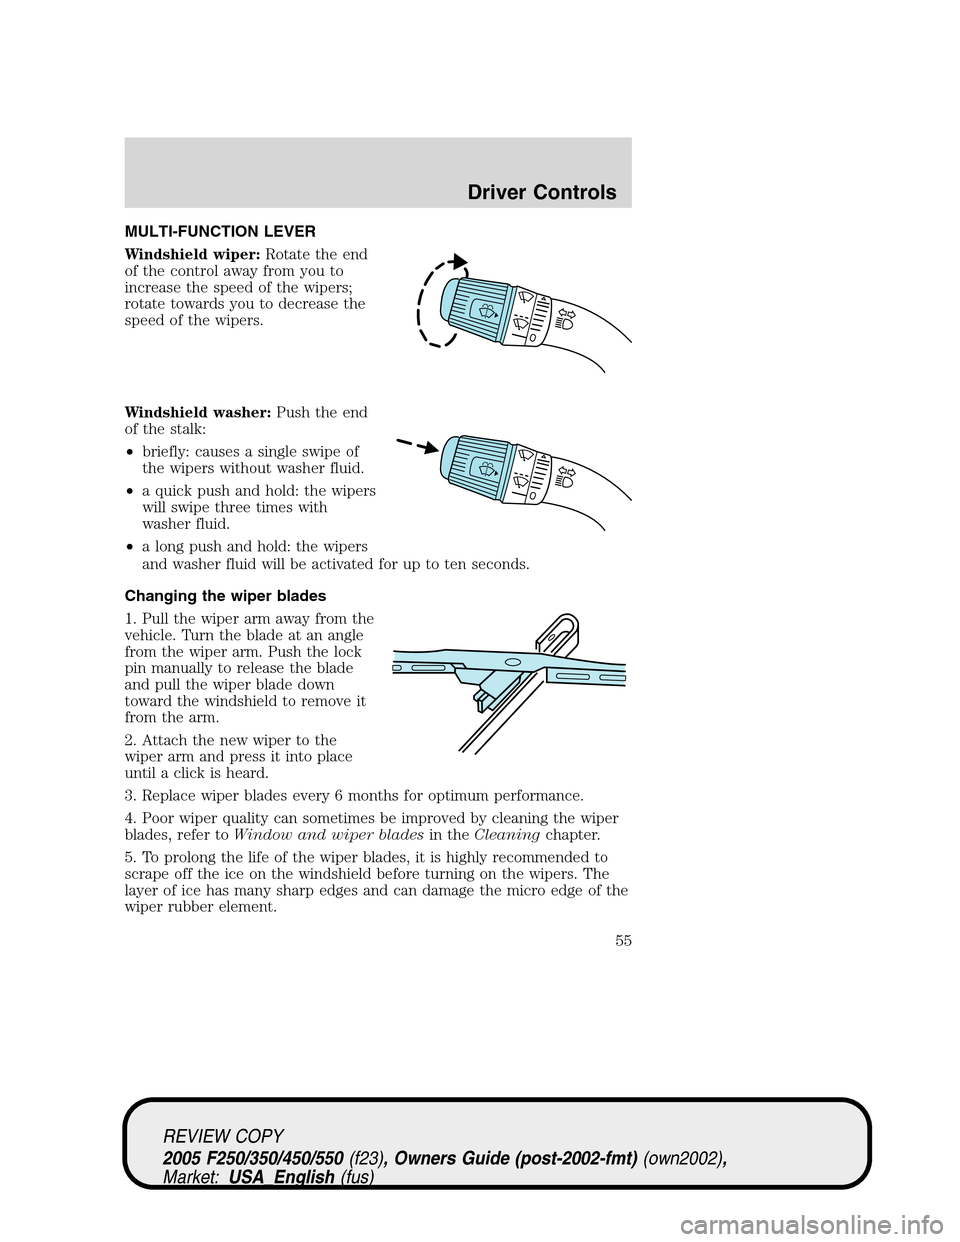
MULTI-FUNCTION LEVER
Windshield wiper:Rotate the end
of the control away from you to
increase the speed of the wipers;
rotate towards you to decrease the
speed of the wipers.
Windshield washer:Push the end
of the stalk:
•briefly: causes a single swipe of
the wipers without washer fluid.
•a quick push and hold: the wipers
will swipe three times with
washer fluid.
•a long push and hold: the wipers
and washer fluid will be activated for up to ten seconds.
Changing the wiper blades
1. Pull the wiper arm away from the
vehicle. Turn the blade at an angle
from the wiper arm. Push the lock
pin manually to release the blade
and pull the wiper blade down
toward the windshield to remove it
from the arm.
2. Attach the new wiper to the
wiper arm and press it into place
until a click is heard.
3. Replace wiper blades every 6 months for optimum performance.
4. Poor wiper quality can sometimes be improved by cleaning the wiper
blades, refer toWindow and wiper bladesin theCleaningchapter.
5. To prolong the life of the wiper blades, it is highly recommended to
scrape off the ice on the windshield before turning on the wipers. The
layer of ice has many sharp edges and can damage the micro edge of the
wiper rubber element.
REVIEW COPY
2005 F250/350/450/550(f23), Owners Guide (post-2002-fmt)(own2002),
Market:USA_English(fus)
Driver Controls
Driver Controls
55
Page 56 of 304

TILT STEERING WHEEL (IF EQUIPPED)
To adjust the steering wheel:
1. Pull and hold the steering wheel
release control toward you.
2. Move the steering wheel up or
down until you find the desired
location.
3. Release the steering wheel
release control. This will lock the
steering wheel in position.
Never adjust the steering wheel when the vehicle is moving.
TRANSMISSION CONTROL
Tow/Haul feature
(5–speed automatic transmission) (if equipped)
To activate, press the transmission
control switch (TCS) located on the
gearshift. The TOW/HAUL indicator
light will illuminate in the
instrument cluster. The transmission
will operate in all gears. Press the
transmission control switch again to deactivate Tow/Haul mode. When
you shut off and re-start your vehicle, the transmission will automatically
return to normal mode with Tow/Haul feature deactivated, refer to the
Drivingchapter for more information.
ILLUMINATED VISOR MIRROR (IF EQUIPPED)
Lift the mirror cover to turn on the
visor mirror lamps.
REVIEW COPY
2005 F250/350/450/550(f23), Owners Guide (post-2002-fmt)(own2002),
Market:USA_English(fus)
Driver Controls
56
Page 58 of 304

To vent the moon roof:Press and hold thecontrol.The moon
roof must be in the closed position in order to move it into the
vent position.To close, press and hold the AUTO control until the glass
panel stops moving.
The moon roof has a built-in sliding shade that can be manually opened
or closed when the glass panel is shut. To close the shade, pull it toward
the front of the vehicle.
When closing the moon roof, you should verify that it is free of
obstructions and ensure that children and/or pets are not in the
proximity of the moon roof opening.
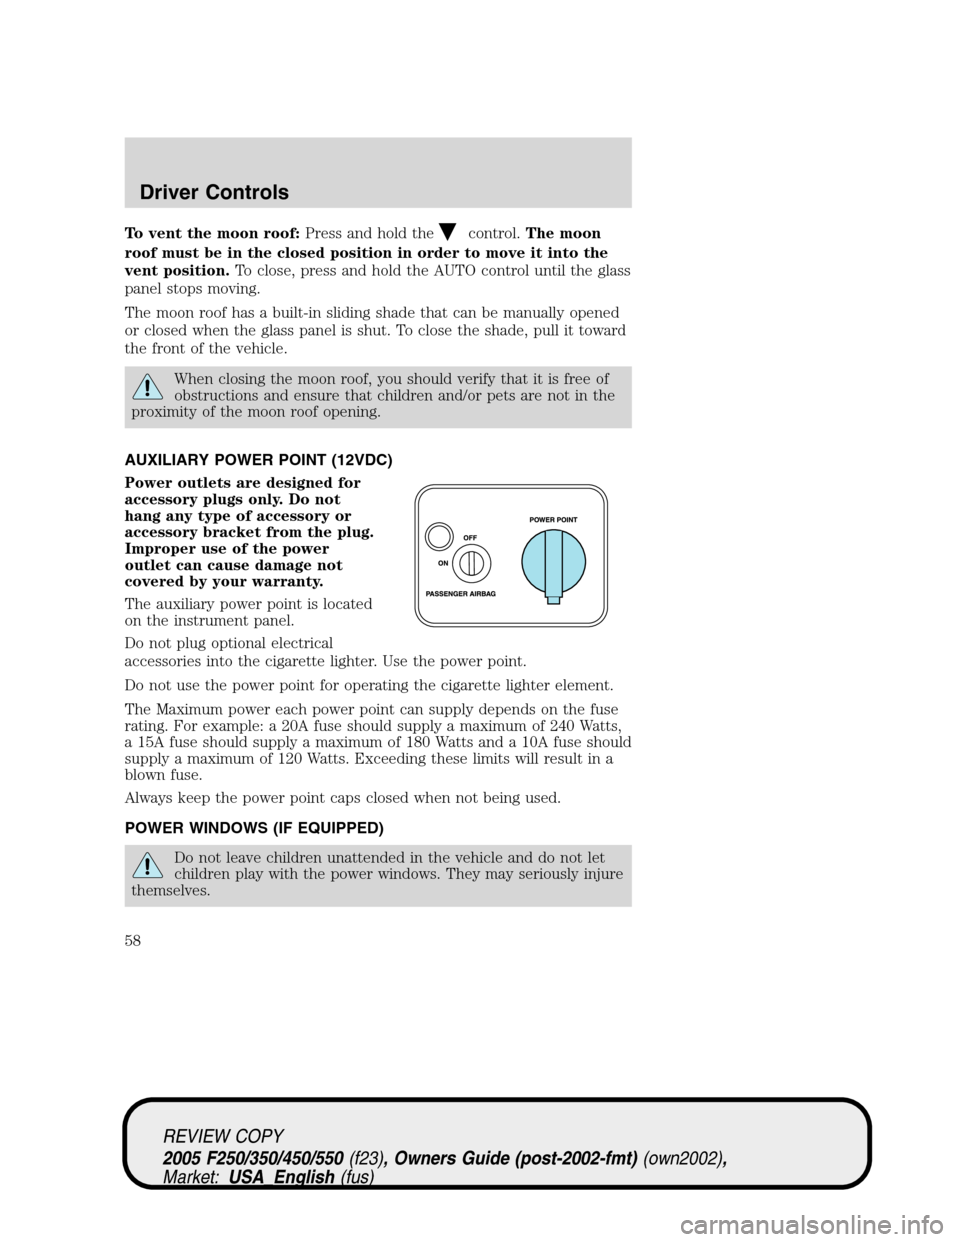
AUXILIARY POWER POINT (12VDC)
Power outlets are designed for
accessory plugs only. Do not
hang any type of accessory or
accessory bracket from the plug.
Improper use of the power
outlet can cause damage not
covered by your warranty.
The auxiliary power point is located
on the instrument panel.
Do not plug optional electrical
accessories into the cigarette lighter. Use the power point.
Do not use the power point for operating the cigarette lighter element.
The Maximum power each power point can supply depends on the fuse
rating. For example: a 20A fuse should supply a maximum of 240 Watts,
a 15A fuse should supply a maximum of 180 Watts and a 10A fuse should
supply a maximum of 120 Watts. Exceeding these limits will result in a
blown fuse.
Always keep the power point caps closed when not being used.
POWER WINDOWS (IF EQUIPPED)
Do not leave children unattended in the vehicle and do not let
children play with the power windows. They may seriously injure
themselves.
REVIEW COPY
2005 F250/350/450/550(f23), Owners Guide (post-2002-fmt)(own2002),
Market:USA_English(fus)
Driver Controls
58
Page 62 of 304
Clearance lamps (if equipped)
Illuminates when the headlamps or
parking lamps are switched on.
This provides additional visibility of
your vehicle to other drivers on the
road.
Fold-away mirrors
The mirrors can be manually folded forward or backwards for narrow
spaces like driving through an automatic car wash or backing out of a
garage with the trailer tow mirror.
The telescoping feature (if equipped) allows the mirror to extend
approximately 3.15 inches (80 mm). This feature is especially useful to
the driver when towing a trailer.
REVIEW COPY
2005 F250/350/450/550(f23), Owners Guide (post-2002-fmt)(own2002),
Market:USA_English(fus)
Driver Controls
62
Page 63 of 304

POWER ADJUSTABLE FOOT PEDALS (IF EQUIPPED)
The accelerator and brake pedal
should only be adjusted when the
vehicle is stopped and the gearshift
lever is in the P (Park) position.
Press and hold the rocker control to
adjust accelerator and brake pedal
toward you or away from you.
The adjustment allows for approximately 2.75 inches (70 mm) of
maximum travel.
Never adjust the accelerator and brake pedal with feet on the
pedals while the vehicle is moving.
SPEED CONTROL (IF EQUIPPED)
With speed control set, you can maintain a speed of 30 mph (48 km/h)
or more without keeping your foot on the accelerator pedal. Speed
control does not work at speeds below 30 mph (48 km/h).
Do not use the speed control in heavy traffic or on roads that
are winding, slippery or unpaved.
Setting speed control
The controls for using your speed
control are located on the steering
wheel for your convenience.
1. Press the ON control and release
it.
2. Accelerate to the desired speed.
ON
OFF
REVIEW COPY
2005 F250/350/450/550(f23), Owners Guide (post-2002-fmt)(own2002),
Market:USA_English(fus)
Driver Controls
63