2005 FORD EXPEDITION maintenance schedule
[x] Cancel search: maintenance schedulePage 165 of 368
Memory seats/rearview mirrors/adjustable pedals (if equipped)
This system allows automatic
positioning of the driver seat,
outside rearview mirrors, and
adjustable pedals to two
programmable positions.
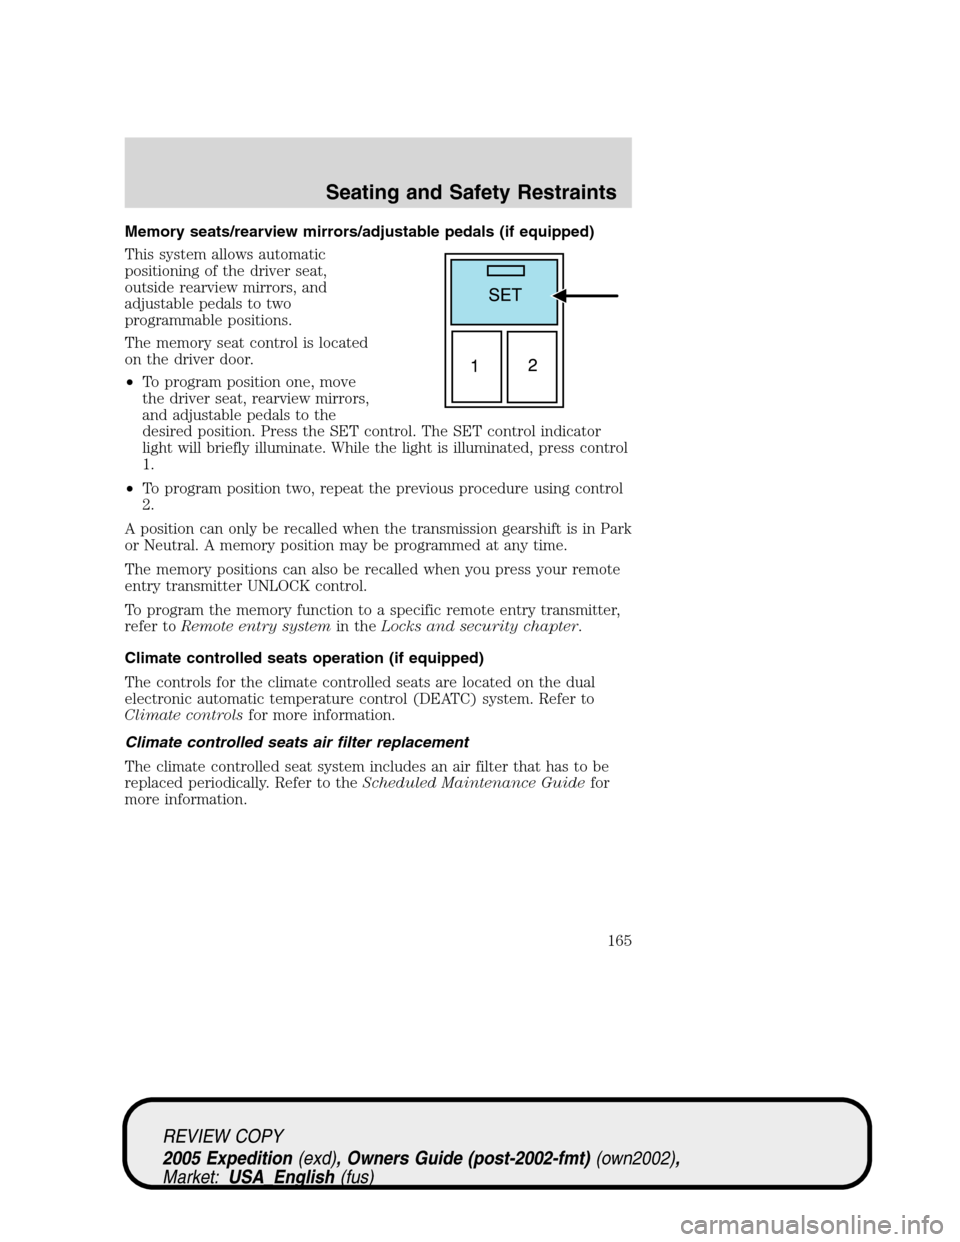
The memory seat control is located
on the driver door.
•To program position one, move
the driver seat, rearview mirrors,
and adjustable pedals to the
desired position. Press the SET control. The SET control indicator
light will briefly illuminate. While the light is illuminated, press control
1.
•To program position two, repeat the previous procedure using control
2.
A position can only be recalled when the transmission gearshift is in Park
or Neutral. A memory position may be programmed at any time.
The memory positions can also be recalled when you press your remote
entry transmitter UNLOCK control.
To program the memory function to a specific remote entry transmitter,
refer toRemote entry systemin theLocks and security chapter.
Climate controlled seats operation (if equipped)
The controls for the climate controlled seats are located on the dual
electronic automatic temperature control (DEATC) system. Refer to
Climate controlsfor more information.
Climate controlled seats air filter replacement
The climate controlled seat system includes an air filter that has to be
replaced periodically. Refer to theScheduled Maintenance Guidefor
more information.
REVIEW COPY
2005 Expedition(exd), Owners Guide (post-2002-fmt)(own2002),
Market:USA_English(fus)
Seating and Safety Restraints
165
Page 235 of 368
The tires should also be balanced periodically. An unbalanced tire and
wheel assembly may result in irregular tire wear.
Tire rotation
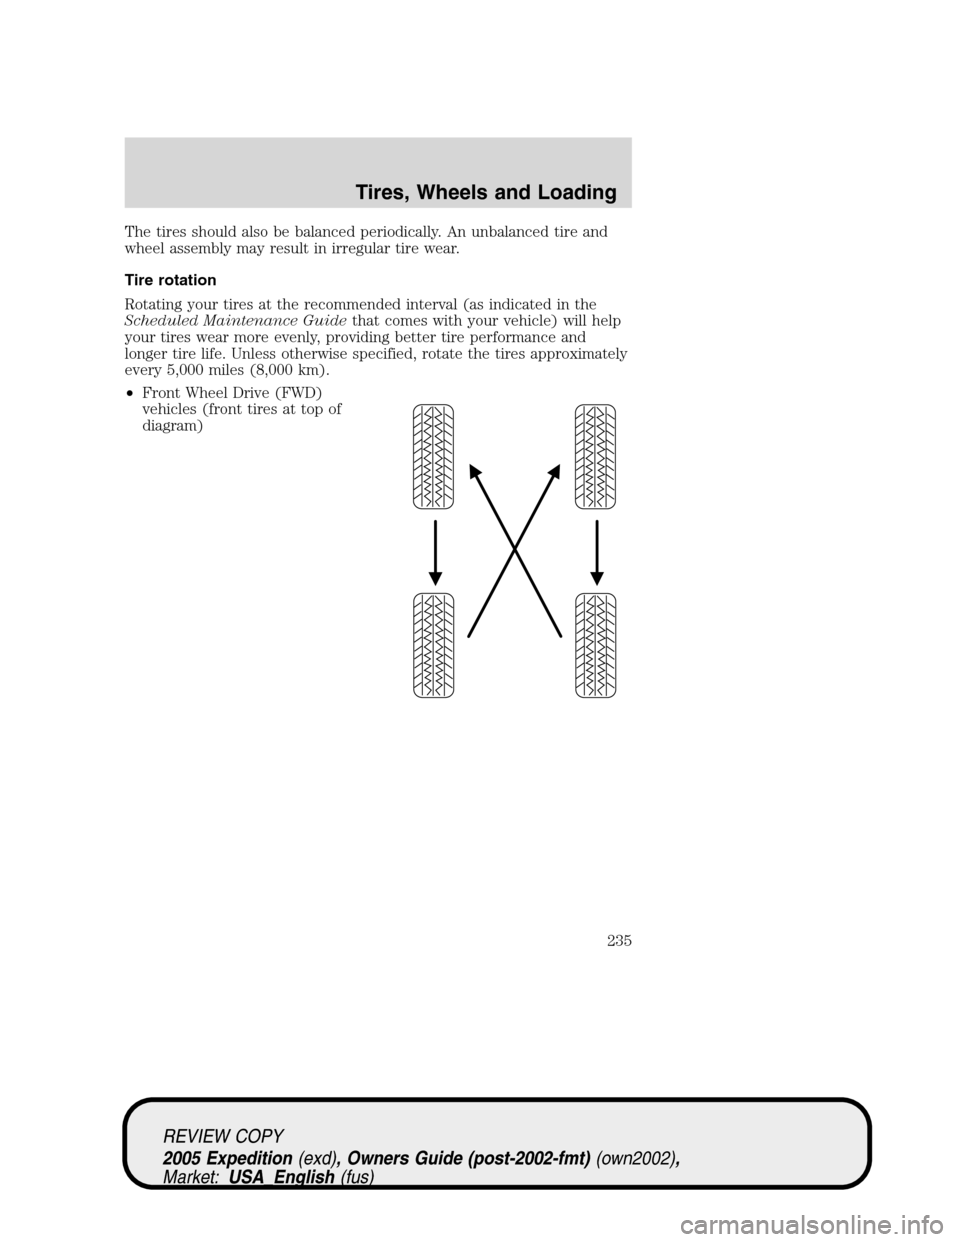
Rotating your tires at the recommended interval (as indicated in the
Scheduled Maintenance Guidethat comes with your vehicle) will help
your tires wear more evenly, providing better tire performance and
longer tire life. Unless otherwise specified, rotate the tires approximately
every 5,000 miles (8,000 km).
•Front Wheel Drive (FWD)
vehicles (front tires at top of
diagram)
REVIEW COPY
2005 Expedition(exd), Owners Guide (post-2002-fmt)(own2002),
Market:USA_English(fus)
Tires, Wheels and Loading
235
Page 248 of 368
Loaded vehicles, with a higher center of gravity, may handle
differently than unloaded vehicles. Extra precautions, such as
slower speeds and increased stopping distance, should be taken when
driving a heavily loaded vehicle.
Your vehicle has the capability to haul more cargo and people than most
passenger cars. Depending upon the type and placement of the load,
hauling cargo and people may raise the center of gravity of the vehicle.
TRAILER TOWING
Trailer towing puts additional loads on your vehicle’s engine,
transmission, axle, brakes, tires, and suspension. For your safety and to
maximize vehicle performance, be sure to use the proper equipment
while towing.
Follow these guidelines to ensure safe towing procedure:
•Stay within your vehicle’s load limits. If exceeded, cargo should be
removed from the trailer and/or the vehicle until all weights are within
specified limits.
•Thoroughly prepare your vehicle for towing. Refer toPreparing to
towin this chapter.
•Use extra caution when driving while trailer towing. Refer toDriving
while you towin this chapter.
•Service your vehicle more frequently if you tow a trailer. Refer to the
severe duty schedule in the scheduled maintenance guide.
•Do not tow a trailer until your vehicle has been driven at least 800 km
(500 miles).
•Refer to the instructions included with towing accessories for the
proper installation and adjustment specifications.
Trailer towing (standard equipment):
Your vehicle is equipped with a integrated trailer hitch and a Class I
(4-pin) trailer electrical connector. The 4-pin connector supplies power
to tail lamps, stop lamps, and turn lamps. See the trailer towing chart for
the trailer towing weight recommendation.
Trailer towing (optionally equipped trailer tow package):
The optional trailer tow package includes heavy duty trailer tow wiring.
Both a Class I (4-pin) and IV (7-pin) trailer electrical connector are
provided. Under the instrument panel a electrical connector is provided
REVIEW COPY
2005 Expedition(exd), Owners Guide (post-2002-fmt)(own2002),
Market:USA_English(fus)
Tires, Wheels and Loading
248
Page 253 of 368
Understanding the positions of the 4–speed automatic
transmissionsection in this chapter.
•Anticipate stops and brake gradually.
•Do not exceed the GCWR rating or transmission damage may occur.
Servicing after towing
If you tow a trailer for long distances, your vehicle will require more
frequent service intervals. Refer to yourScheduled Maintenance Guide
for more information.
Trailer towing tips
•Practice turning, stopping and backing up before starting on a trip to
get the feel of the vehicle trailer combination. When turning, make
wider turns so the trailer wheels will clear curbs and other obstacles.
•Allow more distance for stopping with a trailer attached.
•If you are driving down a long or steep hill, shift to a lower gear. Do
not apply the brakes continuously, as they may overheat and become
less effective.
•The trailer tongue weight should be 10–15% of the loaded trailer
weight.
•After you have traveled 50 miles (80 km), thoroughly check your
hitch, electrical connections and trailer wheel lug nuts.
•To aid in engine/transmission cooling and A/C efficiency during hot
weather while stopped in traffic, place the gearshift lever in P (Park).
•Vehicles with trailers should not be parked on a grade. If you must
park on a grade, place wheel chocks under the trailer’s wheels.
Launching or retrieving a boat
Disconnect the wiring to the trailer before backing the trailer
into the water. Reconnect the wiring to the trailer after the
trailer is removed from the water.
When backing down a ramp during boat launching or retrieval:
•do not allow the static water level to rise above the bottom edge of
the rear bumper.
•do not allow waves to break higher than 6 inches (15 cm) above the
bottom edge of the rear bumper.
Exceeding these limits may allow water to enter vehicle components:
•causing internal damage to the components.
REVIEW COPY
2005 Expedition(exd), Owners Guide (post-2002-fmt)(own2002),
Market:USA_English(fus)
Tires, Wheels and Loading
253
Page 259 of 368

Important ventilating information
If the engine is idling while the vehicle is stopped for a long period of
time, open the windows at least one inch (2.5 cm) or adjust the heating
or air conditioning to bring in fresh air.
BRAKES
Your service brakes are self-adjusting. Refer to the scheduled
maintenance guide for scheduled maintenance.
Occasional brake noise is normal and often does not indicate a
performance concern with the vehicle’s brake system. In normal
operation, automotive brake systems may emit occasional or intermittent
squeal or groan noises when the brakes are applied. Such noises are
usually heard during the first few brake applications in the morning;
however, they may be heard at any time while braking and can be
aggravated by environmental conditions such as cold, heat, moisture,
road dust, salt or mud. If a “metal-to-metal,” “continuous grinding” or
“continuous squeal” sound is present while braking, the brake linings
may be worn-out and should be inspected by a qualified service
technician.
Refer toBrake system warning
lightin theInstrument Cluster
chapter for information on the brake
system warning light.
If you are driving down a long or steep hill, shift to a lower gear.
Do not apply your brakes continuously, as they may overheat
and become less effective.
Anti-lock brake system (ABS)
On ABS-equipped vehicles, a noise from the hydraulic pump motor and
pulsation in the pedal may be observed during ABS braking events. Pedal
pulsation coupled with noise while braking under panic conditions or on
loose gravel, bumps, wet or snowy roads is normal and indicates proper
functioning of the vehicle’s anti-lock brake system. The ABS performs a
self-check after you start the engine and begin to drive away. A brief
mechanical noise may be heard during this test. This is normal. If a
malfunction is found, the ABS warning light will come on. If the vehicle
has continuous vibration or shudder in the steering wheel while braking,
the vehicle should be inspected by a qualified service technician.
P!
BRAKE
REVIEW COPY
2005 Expedition(exd), Owners Guide (post-2002-fmt)(own2002),
Market:USA_English(fus)
Driving
259
Page 321 of 368
SERVICE RECOMMENDATIONS
To help you service your vehicle:
•We highlight do-it-yourself items in the engine compartment for easy
location.
•We provide a scheduled maintenance guide which makes tracking
routine service easy.
If your vehicle requires professional service, your dealership can provide
the necessary parts and service. Check yourWarranty Guide/Owner
Information Guideto find out which parts and services are covered.
Use only recommended fuels, lubricants, fluids and service parts
conforming to specifications. Motorcraft parts are designed and built to
provide the best performance in your vehicle.
PRECAUTIONS WHEN SERVICING YOUR VEHICLE
•Do not work on a hot engine.
•Make sure that nothing gets caught in moving parts.
•Do not work on a vehicle with the engine running in an enclosed
space, unless you are sure you have enough ventilation.
•Keep all open flames and other lit material away from the battery and
all fuel related parts.
Working with the engine off
1. Set the parking brake and shift to P (Park).
2. Turn off the engine and remove the key.
3. Block the wheels.
Working with the engine on
1. Set the parking brake and shift to P (Park).
2. Block the wheels.
Note:Do not start your engine with the air cleaner removed and do not
remove it while the engine is running.
REVIEW COPY
2005 Expedition(exd), Owners Guide (post-2002-fmt)(own2002),
Market:USA_English(fus)
Maintenance and Specifications
Maintenance and Specifications
321
Page 324 of 368
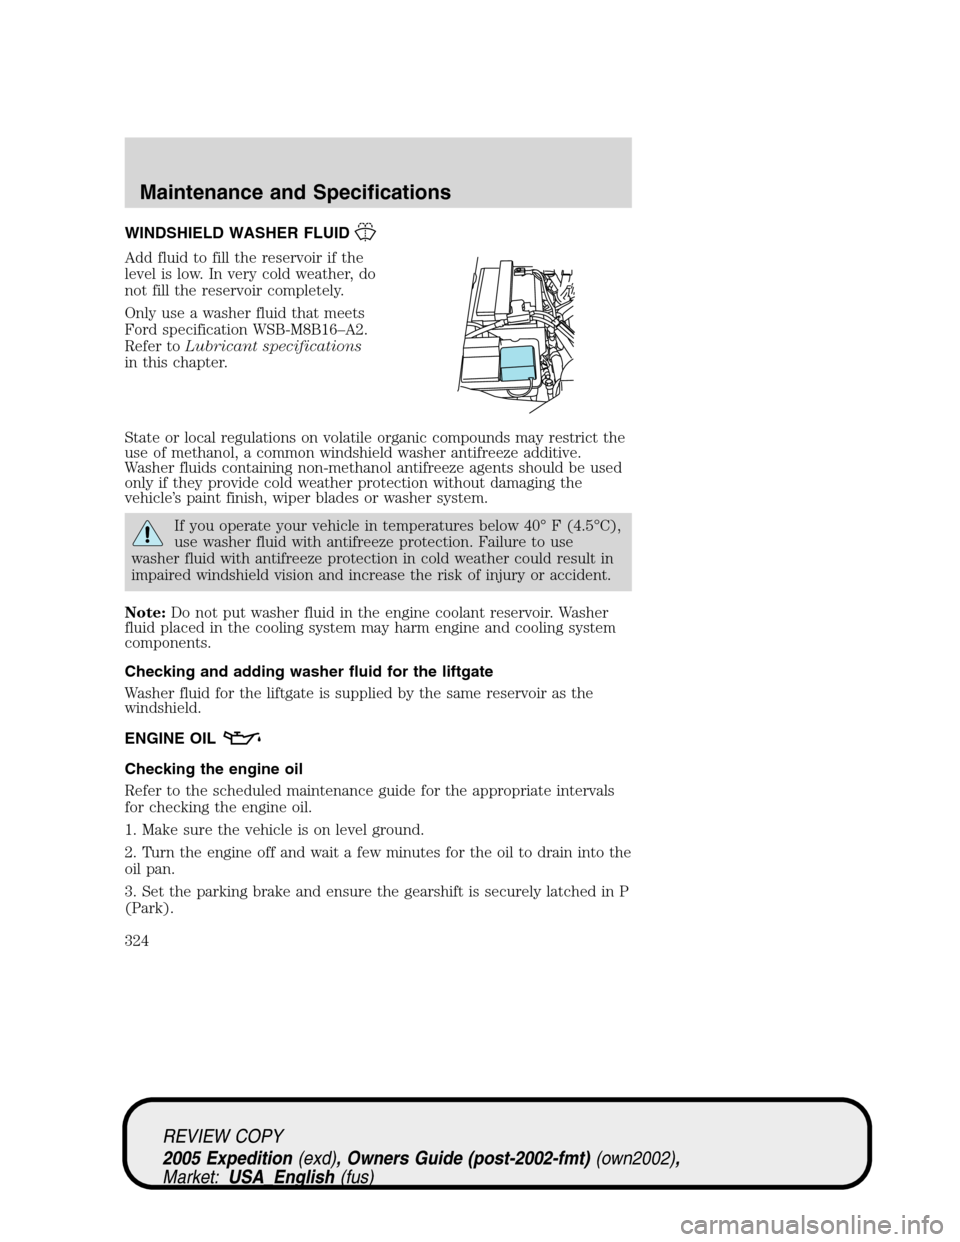
WINDSHIELD WASHER FLUID
Add fluid to fill the reservoir if the
level is low. In very cold weather, do
not fill the reservoir completely.
Only use a washer fluid that meets
Ford specification WSB-M8B16–A2.
Refer toLubricant specifications
in this chapter.
State or local regulations on volatile organic compounds may restrict the
use of methanol, a common windshield washer antifreeze additive.
Washer fluids containing non-methanol antifreeze agents should be used
only if they provide cold weather protection without damaging the
vehicle’s paint finish, wiper blades or washer system.
If you operate your vehicle in temperatures below 40° F (4.5°C),
use washer fluid with antifreeze protection. Failure to use
washer fluid with antifreeze protection in cold weather could result in
impaired windshield vision and increase the risk of injury or accident.
Note:Do not put washer fluid in the engine coolant reservoir. Washer
fluid placed in the cooling system may harm engine and cooling system
components.
Checking and adding washer fluid for the liftgate
Washer fluid for the liftgate is supplied by the same reservoir as the
windshield.
ENGINE OIL
Checking the engine oil
Refer to the scheduled maintenance guide for the appropriate intervals
for checking the engine oil.
1. Make sure the vehicle is on level ground.
2. Turn the engine off and wait a few minutes for the oil to drain into the
oil pan.
3. Set the parking brake and ensure the gearshift is securely latched in P
(Park).
REVIEW COPY
2005 Expedition(exd), Owners Guide (post-2002-fmt)(own2002),
Market:USA_English(fus)
Maintenance and Specifications
324
Page 326 of 368
2. If the engine oil level is not within the normal range, add only certified
engine oil of the recommended viscosity. Remove the engine oil filler cap
and use a funnel to pour the engine oil into the opening.
3. Recheck the engine oil level. Make sure the oil level is not above the
MAX mark on the engine oil level indicator (dipstick).
4. Install the indicator and ensure it is fully seated.
5. Fully install the engine oil filler cap by turning the filler cap clockwise
1/4 of a turn until the cap is fully seated.
To avoid possible oil loss, DO NOT operate the vehicle with the
engine oil level indicator and/or the engine oil filler cap removed.
Engine oil and filter recommendations
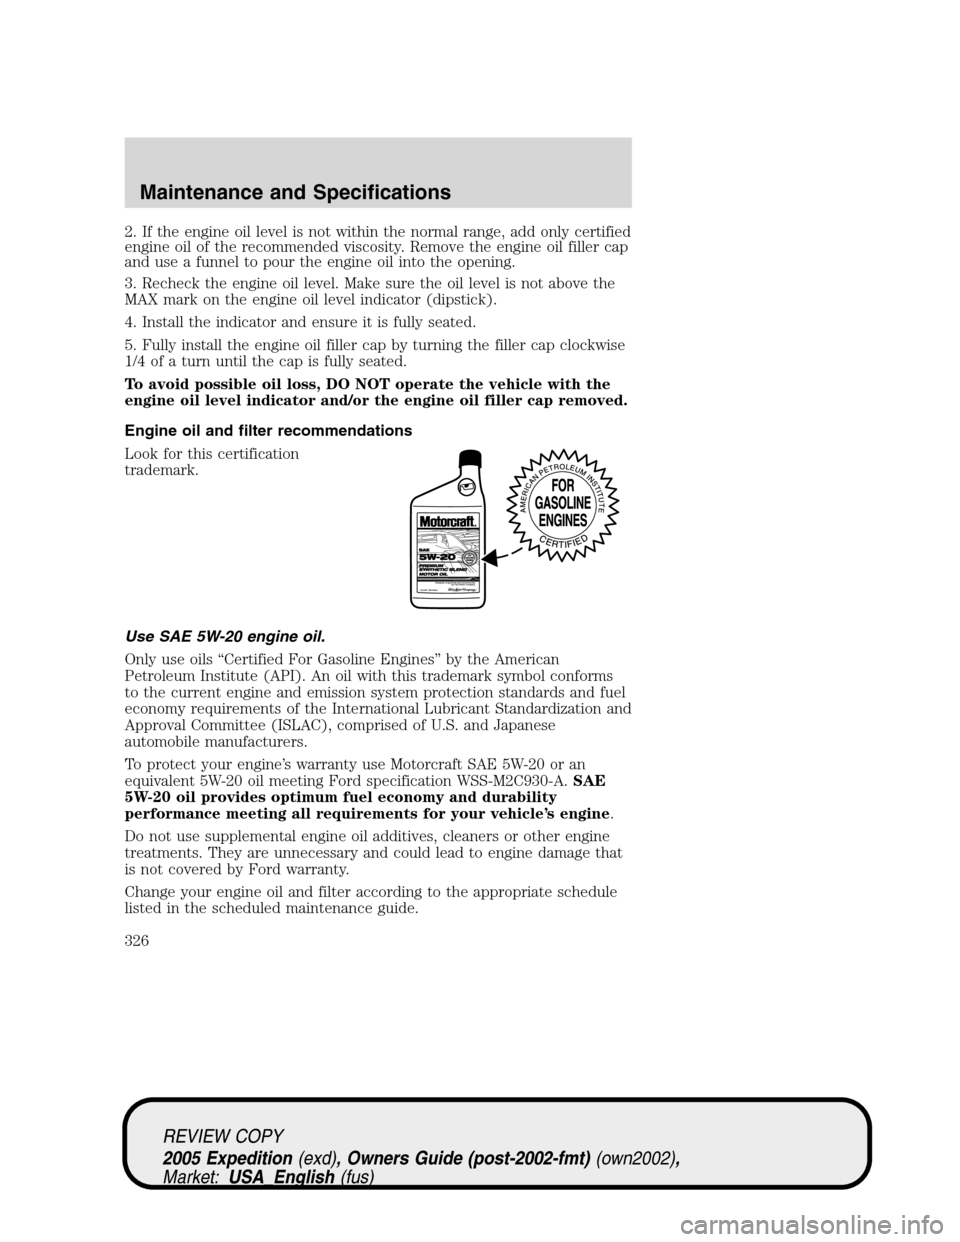
Look for this certification
trademark.
Use SAE 5W-20 engine oil.
Only use oils “Certified For Gasoline Engines” by the American
Petroleum Institute (API). An oil with this trademark symbol conforms
to the current engine and emission system protection standards and fuel
economy requirements of the International Lubricant Standardization and
Approval Committee (ISLAC), comprised of U.S. and Japanese
automobile manufacturers.
To protect your engine’s warranty use Motorcraft SAE 5W-20 or an
equivalent 5W-20 oil meeting Ford specification WSS-M2C930-A.SAE
5W-20 oil provides optimum fuel economy and durability
performance meeting all requirements for your vehicle’s engine.
Do not use supplemental engine oil additives, cleaners or other engine
treatments. They are unnecessary and could lead to engine damage that
is not covered by Ford warranty.
Change your engine oil and filter according to the appropriate schedule
listed in the scheduled maintenance guide.
REVIEW COPY
2005 Expedition(exd), Owners Guide (post-2002-fmt)(own2002),
Market:USA_English(fus)
Maintenance and Specifications
326