Page 49 of 264
5. Turn the headlamps on and make sure they work properly. If the
headlamp was correctly aligned before you changed the bulb, you should
not need to align it again.
Replacing front parking lamp/turn signal bulbs
The park/turn lamp bulbs can be replaced without removing the
headlamp assembly.
1. Make sure headlamp switch is in the OFF position, then open the
hood.
2. Remove the radiator cover by turning the three knobs to the unlock
position.
3. Loosen the parking lamp retainer, on the outside of the lamp, unscrew
and pull the lamp assembly forward.
4. Disconnect the electrical
connector from the bulb by pulling
rearward.
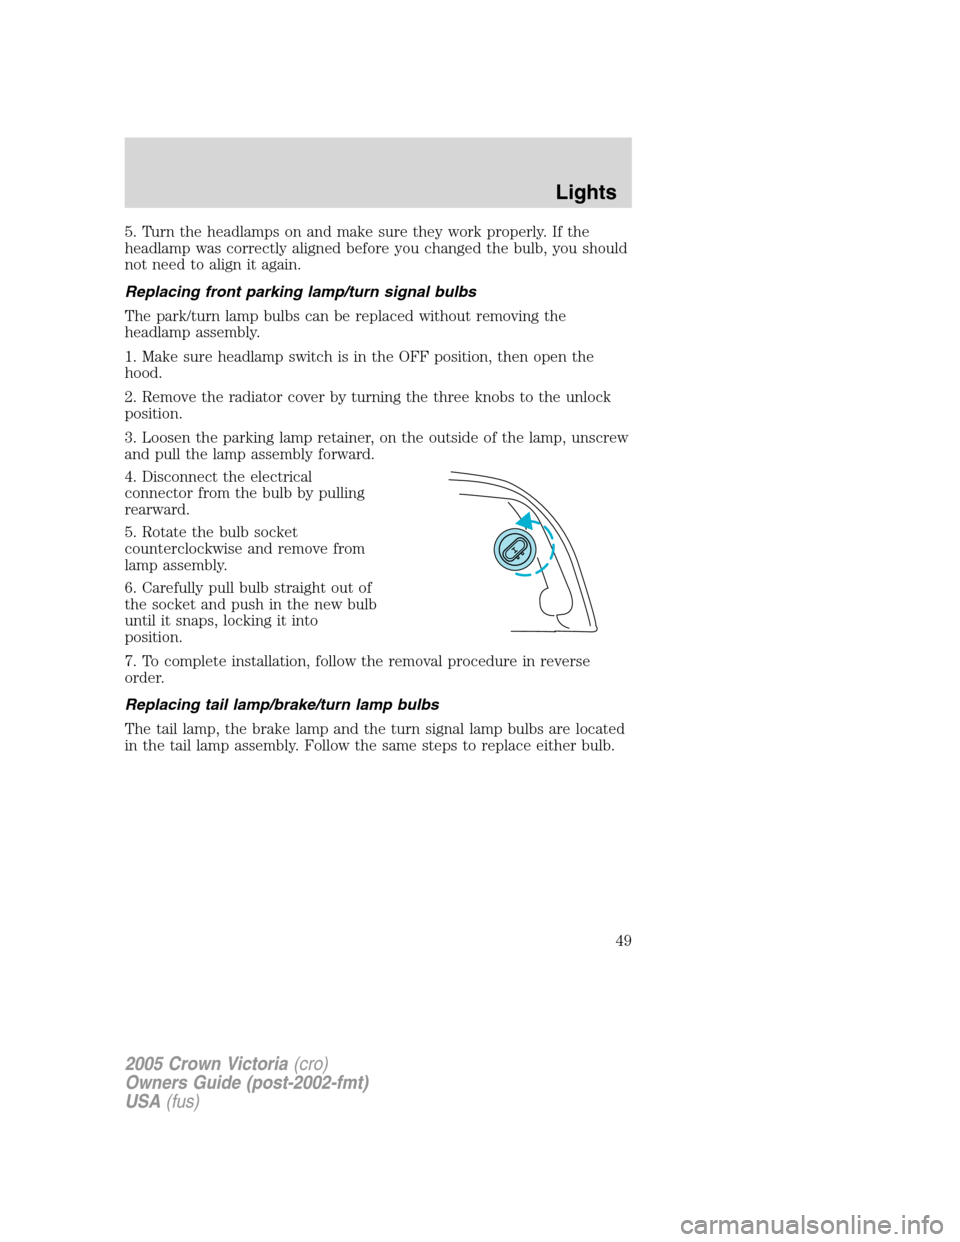
5. Rotate the bulb socket
counterclockwise and remove from
lamp assembly.
6. Carefully pull bulb straight out of
the socket and push in the new bulb
until it snaps, locking it into
position.
7. To complete installation, follow the removal procedure in reverse
order.
Replacing tail lamp/brake/turn lamp bulbs
The tail lamp, the brake lamp and the turn signal lamp bulbs are located
in the tail lamp assembly. Follow the same steps to replace either bulb.
2005 Crown Victoria(cro)
Owners Guide (post-2002-fmt)
USA(fus)
Lights
49
Page 50 of 264
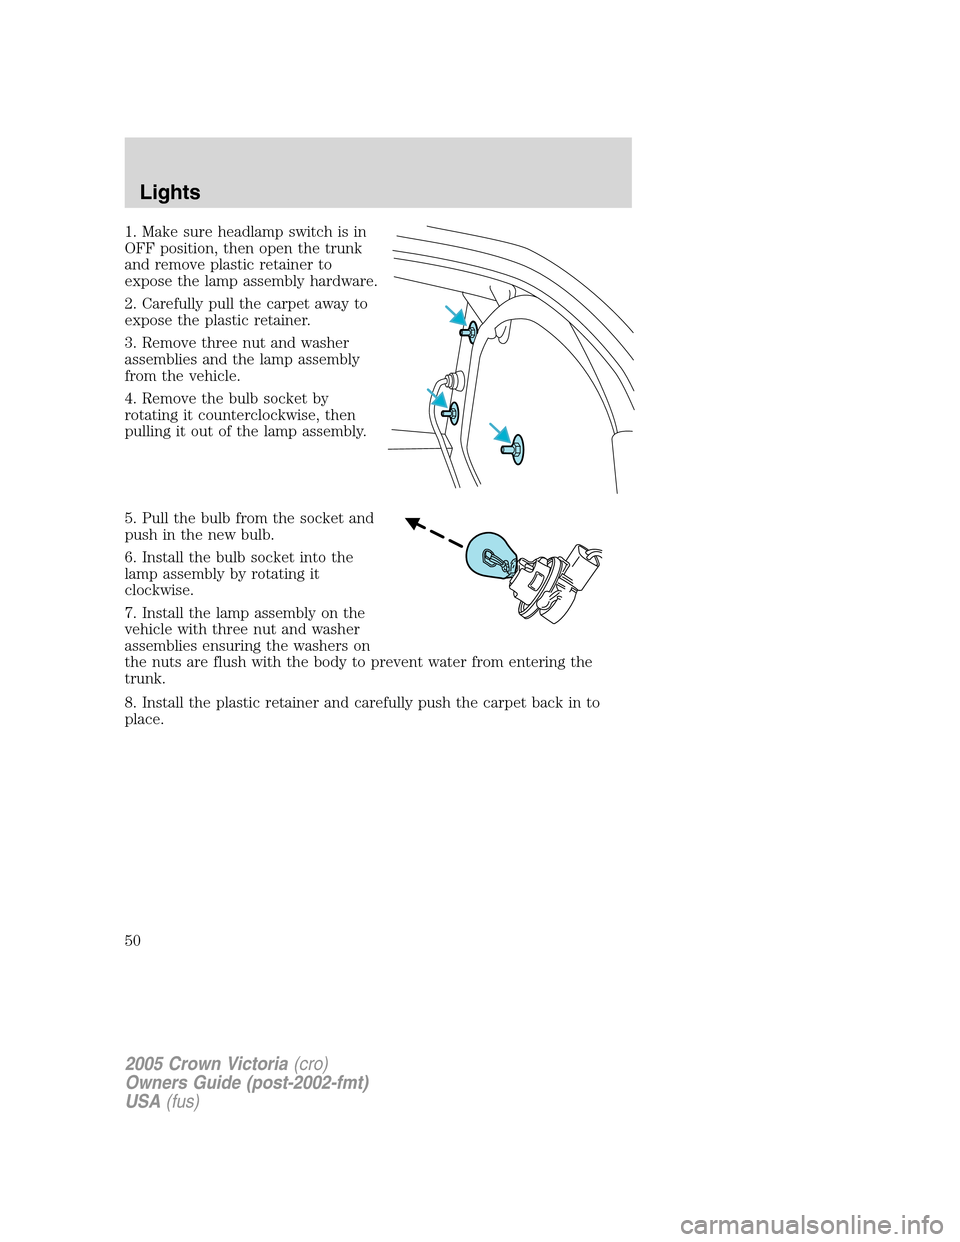
1. Make sure headlamp switch is in
OFF position, then open the trunk
and remove plastic retainer to
expose the lamp assembly hardware.
2. Carefully pull the carpet away to
expose the plastic retainer.
3. Remove three nut and washer
assemblies and the lamp assembly
from the vehicle.
4. Remove the bulb socket by
rotating it counterclockwise, then
pulling it out of the lamp assembly.
5. Pull the bulb from the socket and
push in the new bulb.
6. Install the bulb socket into the
lamp assembly by rotating it
clockwise.
7. Install the lamp assembly on the
vehicle with three nut and washer
assemblies ensuring the washers on
the nuts are flush with the body to prevent water from entering the
trunk.
8. Install the plastic retainer and carefully push the carpet back in to
place.
2005 Crown Victoria(cro)
Owners Guide (post-2002-fmt)
USA(fus)
Lights
50
Page 51 of 264
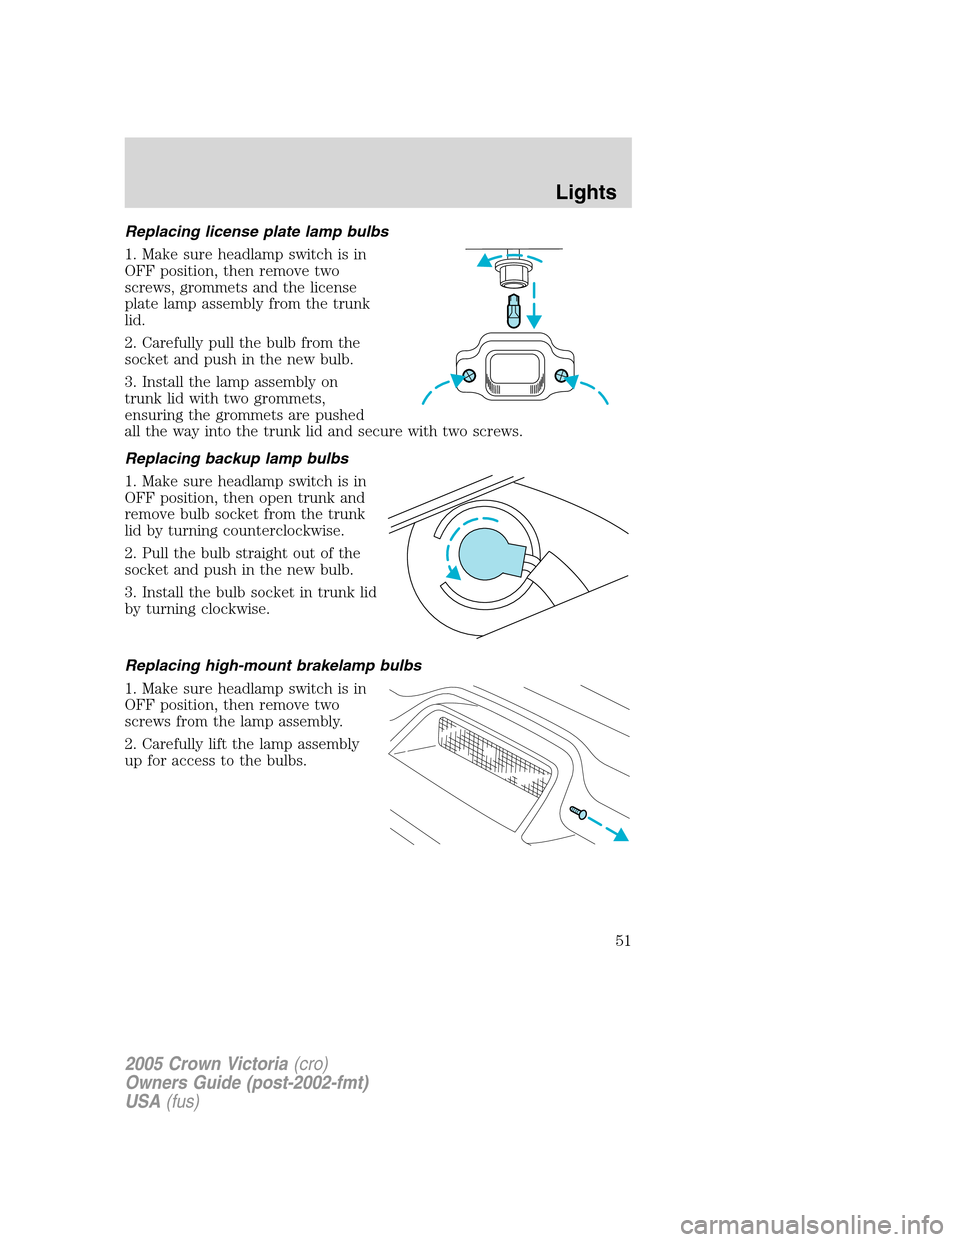
Replacing license plate lamp bulbs
1. Make sure headlamp switch is in
OFF position, then remove two
screws, grommets and the license
plate lamp assembly from the trunk
lid.
2. Carefully pull the bulb from the
socket and push in the new bulb.
3. Install the lamp assembly on
trunk lid with two grommets,
ensuring the grommets are pushed
all the way into the trunk lid and secure with two screws.
Replacing backup lamp bulbs
1. Make sure headlamp switch is in
OFF position, then open trunk and
remove bulb socket from the trunk
lid by turning counterclockwise.
2. Pull the bulb straight out of the
socket and push in the new bulb.
3. Install the bulb socket in trunk lid
by turning clockwise.
Replacing high-mount brakelamp bulbs
1. Make sure headlamp switch is in
OFF position, then remove two
screws from the lamp assembly.
2. Carefully lift the lamp assembly
up for access to the bulbs.
2005 Crown Victoria(cro)
Owners Guide (post-2002-fmt)
USA(fus)
Lights
51
Page 52 of 264
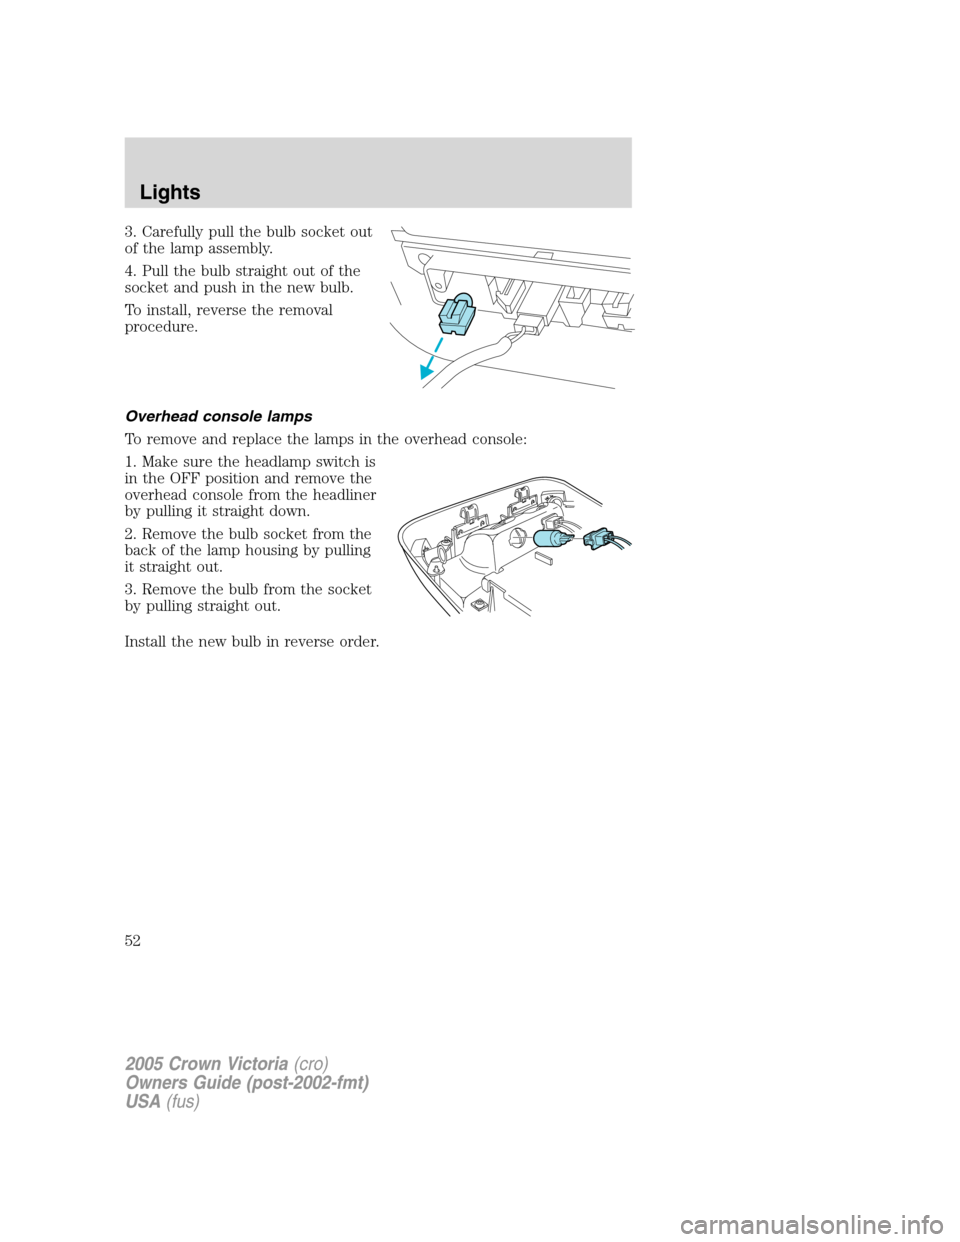
3. Carefully pull the bulb socket out
of the lamp assembly.
4. Pull the bulb straight out of the
socket and push in the new bulb.
To install, reverse the removal
procedure.
Overhead console lamps
To remove and replace the lamps in the overhead console:
1. Make sure the headlamp switch is
in the OFF position and remove the
overhead console from the headliner
by pulling it straight down.
2. Remove the bulb socket from the
back of the lamp housing by pulling
it straight out.
3. Remove the bulb from the socket
by pulling straight out.
Install the new bulb in reverse order.
2005 Crown Victoria(cro)
Owners Guide (post-2002-fmt)
USA(fus)
Lights
52
Page 53 of 264
MULTI-FUNCTION LEVER
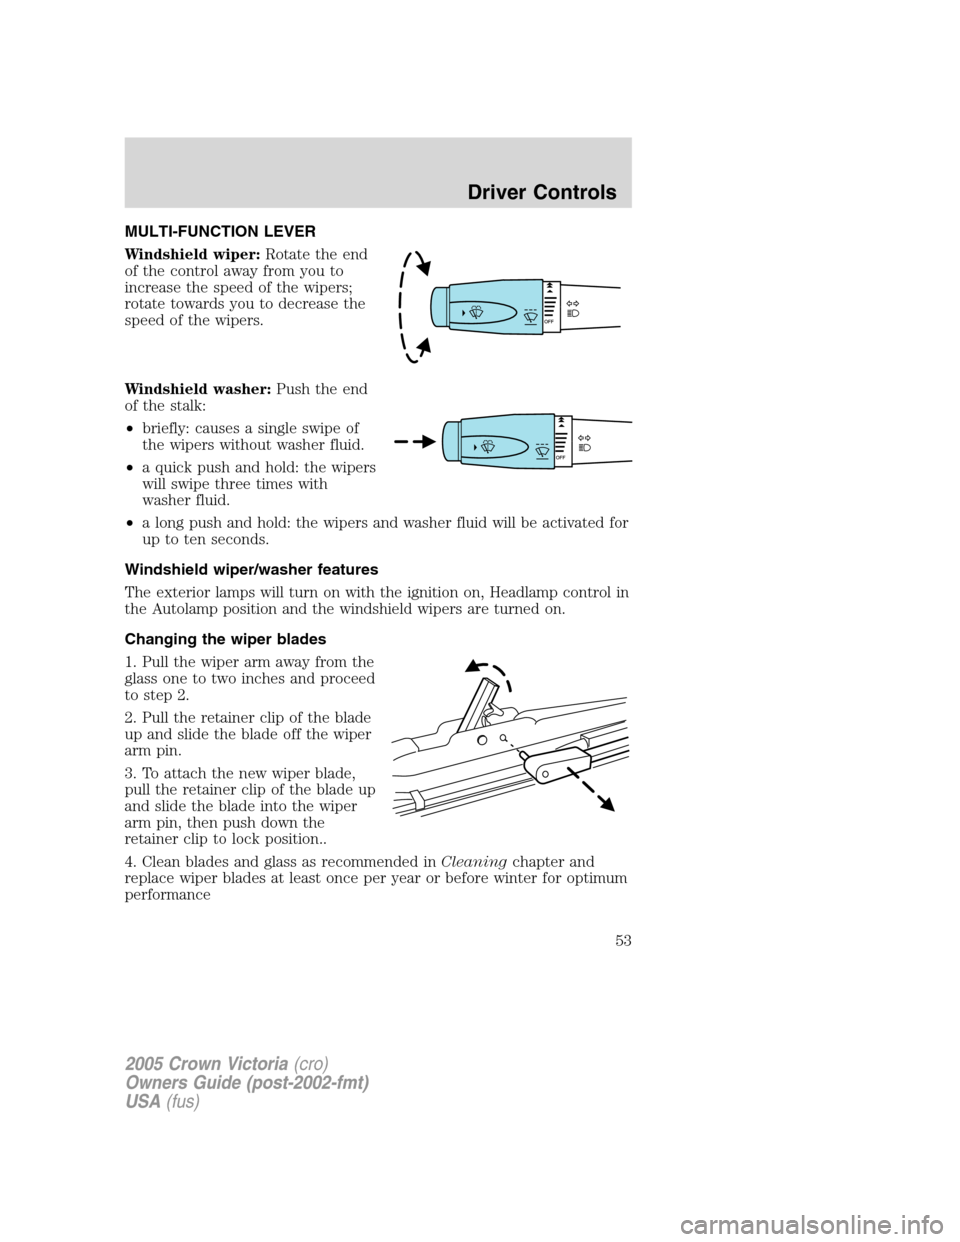
Windshield wiper:Rotate the end
of the control away from you to
increase the speed of the wipers;
rotate towards you to decrease the
speed of the wipers.
Windshield washer:Push the end
of the stalk:
•briefly: causes a single swipe of
the wipers without washer fluid.
•a quick push and hold: the wipers
will swipe three times with
washer fluid.
•a long push and hold: the wipers and washer fluid will be activated for
up to ten seconds.
Windshield wiper/washer features
The exterior lamps will turn on with the ignition on, Headlamp control in
the Autolamp position and the windshield wipers are turned on.
Changing the wiper blades
1. Pull the wiper arm away from the
glass one to two inches and proceed
to step 2.
2. Pull the retainer clip of the blade
up and slide the blade off the wiper
arm pin.
3. To attach the new wiper blade,
pull the retainer clip of the blade up
and slide the blade into the wiper
arm pin, then push down the
retainer clip to lock position..
4. Clean blades and glass as recommended inCleaningchapter and
replace wiper blades at least once per year or before winter for optimum
performance
2005 Crown Victoria(cro)
Owners Guide (post-2002-fmt)
USA(fus)
Driver Controls
53
Page 168 of 264
If you smell exhaust fumes inside your vehicle, have your dealer
inspect your vehicle immediately. Do not drive if you smell
exhaust fumes.
Important safety precautions
A computer system controls the engine’s idle revolutions per minute
(RPM). When the engine starts, the idle RPM runs higher than normal in
order to warm the engine. If the engine idle speed does not slow down
automatically, have the vehicle checked. Do not allow the vehicle to idle
for more than 10 minutes at the higher engine RPM.
Before starting the vehicle:
1. Make sure all vehicle occupants have buckled their safety belts. For
more information on safety belts and their proper usage, refer to the
Seating and Safety Restraintschapter.
2. Make sure the headlamps and vehicle accessories are off.
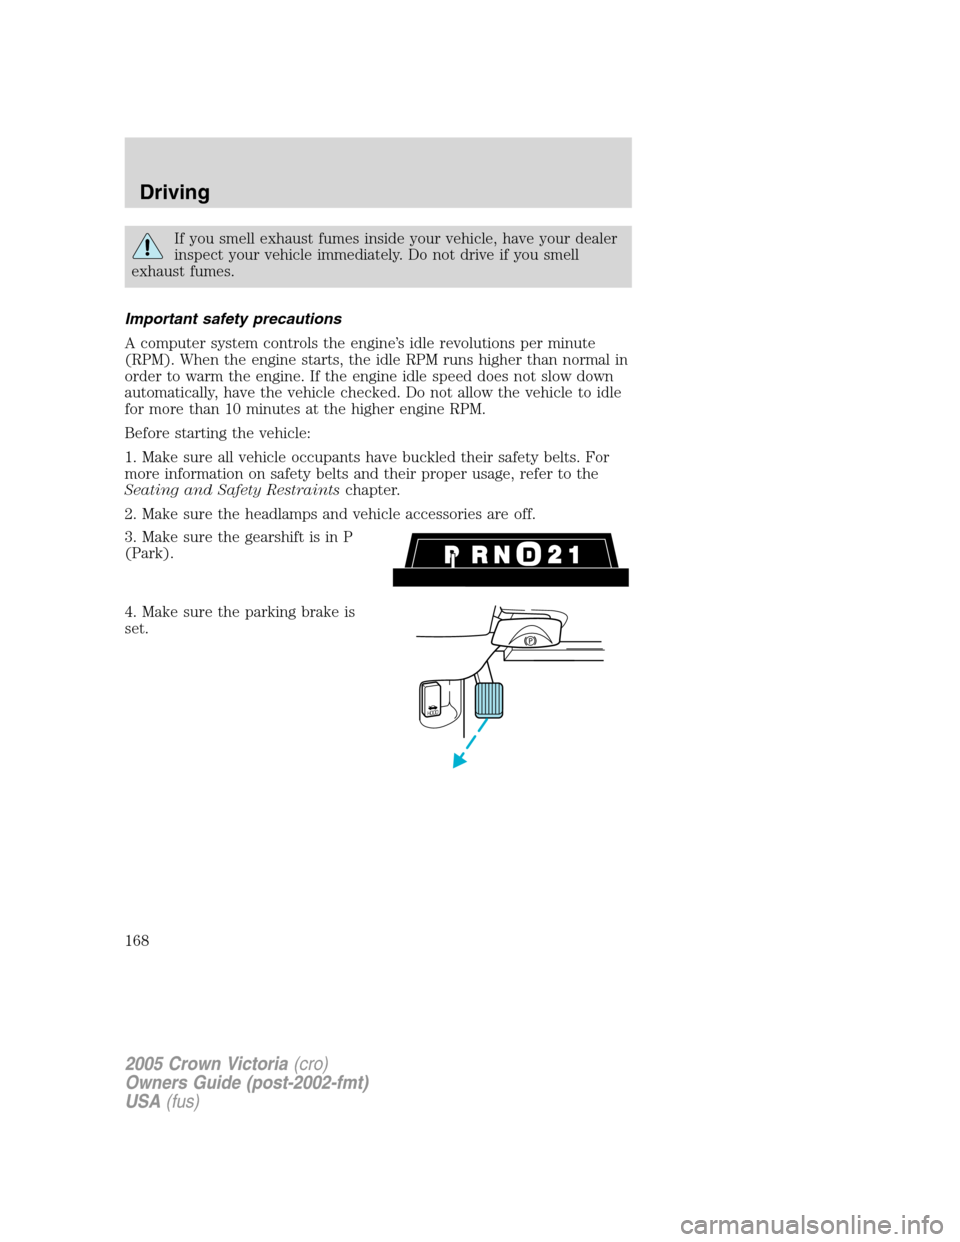
3. Make sure the gearshift is in P
(Park).
4. Make sure the parking brake is
set.
HOOD
2005 Crown Victoria(cro)
Owners Guide (post-2002-fmt)
USA(fus)
Driving
168
Page 189 of 264
Fuse/Relay
LocationFuse Amp
RatingPassenger Compartment Fuse
Panel Description
6 10A Ignition (ON) - Cluster
7 10A LCM (Park lamps, Switch
illumination)
8 10A Ignition (ON) - Rear Air
Suspension Module (RASM),
Variable Assist POwer Steering
(VAPS)
9 20A LCM (Headlamps, Cornering
lamps)
10 5A Ignition (ON/START) - Driver’s
Door Module (DDM), Police PDB
(Police vehicles only)
11 10A Ignition (START) - ON/ACC
(window) relay coil (non-Police
vehicles only)
Ignition (START) - ON/ACC
(window and decklid) relay coil
and Police ON/ACC relay coil
(Police vehicles only)
12 10A Ignition (ON/START) - Starter
relay coil, DTRS
13 10A Ignition (START) - Wiper module
14 10A Ignition (ON) - BTSI (Floor-shift
transmission)
15 7.5A Ignition (START) - LCM, Door
lock switch illumination, Heated
seat switch illumination,
Moonroof, Overhead console,
Electrochromatic mirror
16 15A Ignition (ON) - Turn signals
17 10A Ignition (START) - Audio
18 10A Ignition (ON) - A/C mode switch
(manual A/C only), Blend door,
DDM, Heated seat modules,
Daytime Running Lamps (DRL)
module
2005 Crown Victoria(cro)
Owners Guide (post-2002-fmt)
USA(fus)
Roadside Emergencies
189
Page 253 of 264
GENUINE FORD ACCESSORIES FOR YOUR VEHICLE
A wide selection of Genuine Ford Accessories are available for your
vehicle through your local authorized Ford or Ford of Canada dealer.
These quality accessories have been specifically engineered to fulfill your
automotive needs; they are custom designed to complement the style
and aerodynamic appearance of your vehicle. In addition, each accessory
is made from high quality materials and meets or exceeds Ford’s rigorous
engineering and safety specifications. Ford Motor Company will repair or
replace any properly dealer-installed Genuine Ford Accessory found to
be defective in factory-supplied materials or workmanship during the
warranty period, as well as any component damaged by the defective
accessory. The accessory will be warranted for whichever provides you
the greatest benefit:
•12 months or 12,000 miles (20,000 km) (whichever occurs first), or
•the remainder of your new vehicle limited warranty.
This means that Genuine Ford Accessories purchased along with your
new vehicle and installed by the dealer are covered for the full length of
your New Vehicle’s Limited Warranty — 3 years or 36,000 miles
(60,000 km) (whichever occurs first). Contact your dealer for details and
a copy of the warranty.
Not all accessories are available for all models.
The following is a list of several Genuine Ford Accessory products. Not
all accessories are available for all models. For a complete listing of the
accessories that are available for your vehicle, please contact your dealer
or visit our online store at: www.fordaccessoriesstore.com.
Exterior style
Bug shields
Deflectors
Front end covers
Headlamps, fog lights and Daytime Running Lamps (DRLs)
Splash guards
Interior style
Electrochromatic compass/temperature interior mirrors
Floor mats
Lifestyle
Bike racks
Cargo organization and management
2005 Crown Victoria(cro)
Owners Guide (post-2002-fmt)
USA(fus)
Accessories
253