2005 CHRYSLER SEBRING SEDAN window
[x] Cancel search: windowPage 134 of 291

Slight changes in engine speed or power may be noticed
when the air conditioning compressor is on. This is a
normal occurrence as the compressor will cycle on and
off to maintain comfort and increase fuel economy.
NOTE:If your air conditioning performance seems
lower than expected, check the front of the air condition-
ing condenser for an accumulation of dirt or insects. The
air conditioning condenser is located in front of the
radiator. Clean with a gentle water spray from behind the
radiator and through the condenser. Fabric front fascia
protectors may reduce air flow to the condenser, reducing
air conditioning performance.
Temperature Control
Use this control to regulate the tem-
perature of the air inside the passenger
compartment. The blue area of the
scale indicates cooler temperatures
while the red area indicates warmer
temperatures.
Mode Control
The mode control allows you to
choose from several patterns of air
distribution.
•Recirculation—Air Conditioning
Recirculated interior air is cooled and sent
through the instrument panel vents. Upon
initial start up of the vehicle in very hot or
humid weather, open windows and put in
outside air modes to flush hot/humid air out. Then
turn on the Recirculation mode to cool the vehicle
interior rapidly. The Recirculation mode can also be
used to temporarily block out any outside odors,
smoke, or dust.
NOTE:
Continuous use of the Recirculation mode may
make the inside air stuffy and under mild, humid condi-
tions cause windows to fog. Use of this mode for longer
than 15 minutes is not recommended.
134 UNDERSTANDING YOUR INSTRUMENT PANEL
Page 135 of 291
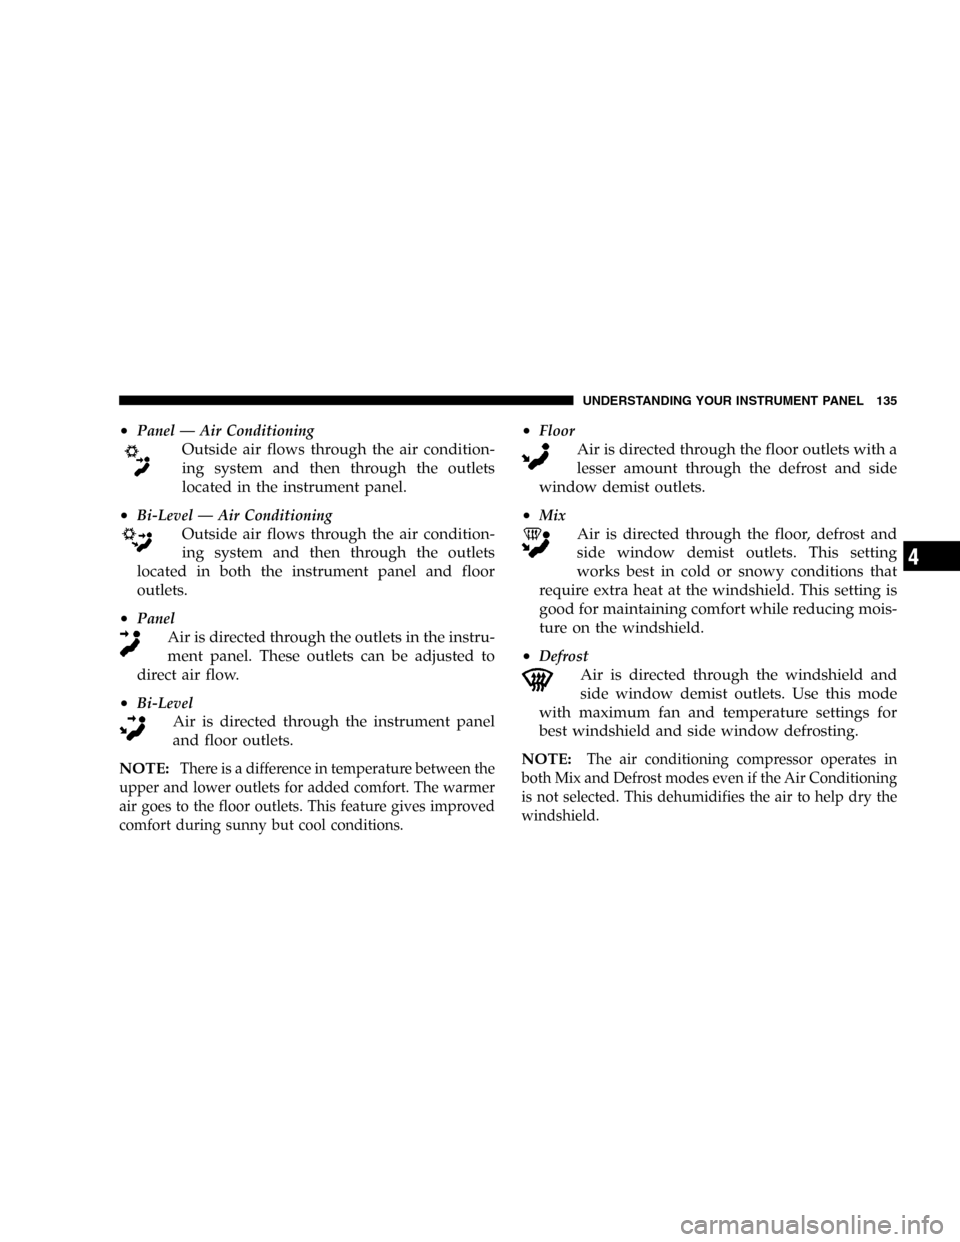
•Panel—Air Conditioning
Outside air flows through the air condition-
ing system and then through the outlets
located in the instrument panel.
•
Bi-Level—Air Conditioning
Outside air flows through the air condition-
ing system and then through the outlets
located in both the instrument panel and floor
outlets.
•
Panel
Air is directed through the outlets in the instru-
ment panel. These outlets can be adjusted to
direct air flow.
•
Bi-Level
Air is directed through the instrument panel
and floor outlets.
NOTE:
There is a difference in temperature between the
upper and lower outlets for added comfort. The warmer
air goes to the floor outlets. This feature gives improved
comfort during sunny but cool conditions.
•Floor
Air is directed through the floor outlets with a
lesser amount through the defrost and side
window demist outlets.
•
Mix
Air is directed through the floor, defrost and
side window demist outlets. This setting
works best in cold or snowy conditions that
require extra heat at the windshield. This setting is
good for maintaining comfort while reducing mois-
ture on the windshield.
•
Defrost
Air is directed through the windshield and
side window demist outlets. Use this mode
with maximum fan and temperature settings for
best windshield and side window defrosting.
NOTE:
The air conditioning compressor operates in
both Mix and Defrost modes even if the Air Conditioning
is not selected. This dehumidifies the air to help dry the
windshield.
UNDERSTANDING YOUR INSTRUMENT PANEL 135
4
Page 136 of 291
Rear Seat Outlets
These outlets are located under the front seats and direct
warm air to the rear seat passengers. Air is directed
through these outlets when you select either the Floor,
Bi-Level, or Mix modes.
Rear Window Defroster
The Rear Window Defroster button is located to
the right of the Mode Control. Press this button
once to turn on the Rear Window Defrost and a second
time to turn them off. A light above the button shows that
the defroster is on.
NOTE:The defroster turns off automatically after 15
minutes of operation. Each later activation will allow 10
minutes of operation.
Side Window Demisters
A side window demister outlet is at each end of the
instrument panel. These non-adjustable outlets direct air
toward the side windows when the system is in either the
FLOOR, MIX, or DEFROST modes. A small amount of air
is directed to the side window demisters in BI-LEVEL
mode as well. The air is directed at the area of the
windows through which you view the outside mirrors.
Windshield and Side Window Fogging
Interior fogging on the windshield can be quickly
removed by using the defrost position on the mode
control.
Your side windows may fog on the inside in mild
rainy or humid weather. To clear the windows,
select the Panel-Air Conditioning mode on the
Mode Control. Point the panel outlets toward the side
windows.
136 UNDERSTANDING YOUR INSTRUMENT PANEL
Page 137 of 291

NOTE:Do not use the recirculation mode as it will not
clear windows under these conditions.
Summer Operation
Air conditioned vehicles must be protected with a high-
quality antifreeze coolant to provide proper corrosion
protection and to raise the boiling point of the coolant for
protection against overheating. A 50 % concentration is
recommended.
Winter Operation
The blower air will heat faster in cold weather if you use
only the low blower speeds for the first 10 minutes of
operation. During engine warm up in cold weather, use
the Defrost mode to direct any cold air away from vehicle
occupants. Use of the Recirculate-Air Conditioning Mode
during winter months is not recommended due to the
possibility of window fogging.
NOTE:See Operating Tips chart (for Manual A/C
Control) at the end of this section for suggested control
settings in different weather conditions.
UNDERSTANDING YOUR INSTRUMENT PANEL 137
4
Page 147 of 291

WARNING!
Remember to disconnect the cord before driving.
Damage to the 110-115 volt AC electrical cord could
cause electrocution.
Use the heater when temperatures below 0°F (-18°C) are
expected to last for several days.
AUTOMATIC TRANSAXLE
Brake/Transmission Interlock
This interlock system prevents you from moving the gear
selector out of the Park position unless the brake pedal is
pressed. The system is active when the ignition switch is
in the RUN position.
WARNING!
Unintended movement of a vehicle could injure
those in and near the vehicle. As with all vehicles,
you should never exit a vehicle while the engine is
running. Before exiting a vehicle you should shift
the transmission into Park, remove the key from the
ignition, and apply the park brake. Once the key is
removed from the ignition the transmission shift
lever is locked in the Park position, securing the
vehicle against unwanted movement. Furthermore,
you should never leave children unattended inside a
vehicle. The following indicators should be used to
ensure that you have engaged the transmission shift
lever into the“Park”position:
•When shifting into Park, depress the button on
the shift lever and firmly move the lever all the
way forward until it stops.
•Look at the shift indicator window on the console
to ensure it is in the“P”position.
•When engaged in Park you will not be able to
move the shifter rearward without depressing the
shift lever button.
STARTING AND OPERATING 147
5
Page 152 of 291
To release the parking brake, apply the brake pedal and
pull up on the parking brake lever. Push the release
button and lower the lever fully.
When parking on a hill, it is important to set the parking
brake before placing the gear selector in Park, otherwise
the load on the transaxle locking mechanism may make it
difficult to move the selector out of Park. As an added
precaution, turn the front wheels toward the curb on a
downhill grade and away from the curb on a uphill
grade.
You should always apply the parking brake before leav-
ing the vehicle.WARNING!
•Leaving children in a vehicle unattended is dan-
gerous for a number of reasons. A child or others
could be injured. Children should be warned not
to touch the parking brake or the gear selector.
Don’t leave the keys in the ignition. A child could
operate power windows, other controls, or move
the vehicle.
•Be sure the parking brake is fully disengaged
before driving; failure to do so can lead to brake
failure and an accident.
152 STARTING AND OPERATING
Page 177 of 291
•The use of fuel additives which are now being sold as
octane enhancers are not recommended. Most of these
products contain high concentrations of methanol.
Fuel system damage or vehicle performance problems
resulting from the use of such fuels or additives are not
the responsibility of the manufacturer.
NOTE:Intentional tampering with emissions control
systems can result in civil penalties being assessed
against you.
Carbon Monoxide Warnings
WARNING!
Carbon monoxide (CO) in exhaust gases is deadly.
Follow the precautions below to prevent carbon
monoxide poisoning:
•Do not inhale exhaust gases. They contain carbon
monoxide, a colorless and odorless gas which can kill.
Never run the engine in a closed area, such as a
garage, and never sit in a parked vehicle with the
engine running for an extended period. If the vehicle is
stopped in an open area with the engine running for
more than a short period, adjust the ventilation system
to force fresh, outside air into the vehicle.
•Guard against carbon monoxide with proper mainte-
nance. Have the exhaust system inspected every time
the vehicle is raised. Have any abnormal conditions
repaired promptly. Until repaired, drive with all side
windows fully open.
•Keep the trunk closed when driving your vehicle to
prevent carbon monoxide and other poisonous ex-
haust gases from entering the vehicle.
STARTING AND OPERATING 177
5
Page 233 of 291
Never use an abrasive type cleaner. Use caution when
cleaning inside rear windows equipped with electric
defrosters. Do not use scrapers or other sharp instru-
ments which may scratch the elements.
Instrument Panel Cover
The instrument panel cover has a low glare surface which
minimizes reflections in the windshield. Do not use
protectants or other products which may cause undesir-
able reflections. Use soap and warm water to restore the
low glare surface.
Cleaning Wood Trim
Your vehicle’s wood trim requires no specific mainte-
nance. Your wood trim can be cleaned as needed using
regularly available automotive interior cleaning and pro-
tecting products. Using a mild soap and water solution is
also acceptable. Excess cleaning materials should be
wiped dry with a soft terry cloth. Any harsh detergents,
abrasives, abrasive cleaners, cleansers, or chemicals
should be avoided, as these will damage the wood trim.
Cleaning Plastic Instrument Cluster Lenses
The lenses in front of the instruments in this vehicle are
molded in clear plastic. When cleaning the lenses, care
must be taken to avoid scratching the plastic.
•Clean with a wet soft rag. A mild soap solution may be
used, but do not use high alcohol content or abrasive
cleaners. If soap is used, wipe clean with a clean damp
rag.
•Dry with a soft tissue.
Seat Belt Maintenance
Do not bleach, dye or clean the belts with chemical
solvents or abrasive cleaners. This will weaken the fabric.
Sun damage will also weaken the fabric.
If the belts need cleaning, use a mild soap solution or
lukewarm water. Do not remove the belts from the
vehicle to wash them.
Replace the belts if they appear frayed or worn or if the
buckles do not work properly.
MAINTAINING YOUR VEHICLE 233
7