2005 CHRYSLER 300 LX fuel cap
[x] Cancel search: fuel capPage 146 of 374

reset. The light will remain on or flashing until the tire
pressure is properly set or the problem with the sensor
is corrected.
This light will turn on momentarily as a bulb check when
the engine is started.
When the tire pressure monitoring system warning light
is lit, one or more of your tires is significantly underin-
flated. You should stop and check your tires as soon as
possible, and inflate them to the proper pressure as
indicated on the tire and loading information placard.
Driving on a significantly underinflated tire causes the
tire to overheat and can lead to tire failure. Underinfla-
tion also reduces fuel efficiency and tire tread life, and
may affect the vehicle's handling and stopping ability.
Each tire, including the spare, should be checked
monthly when cold and set to the recommended inflation
pressure as specified in the tire and loading information
placard.
22. Voltage Light
This light monitors the electrical system volt-
age. The light should turn on momentarily as
the engine is started. If the light stays on or turns onwhile driving, it indicates a problem with the charging
system. Immediate service should be obtained.
23. Malfunction Indicator Light
This light is part of an onboard diagnostic
system called OBD that monitors engine and
automatic transmission control systems. The
light will illuminate when the key is in the ON
position before engine start. If the bulb does not come
on when turning the key from OFF to ON, have the
condition checked promptly.
Certain conditions such as a loose or missing gas cap,
poor fuel quality, etc. may illuminate the light after
engine start. The vehicle should be serviced if the light
stays on through several of your typical driving cycles. In
most situations the vehicle will drive normally and will
not require towing.
The Malfunction Indicator Light flashes to alert you to
serious conditions that could lead to immediate loss of
power or severe catalytic converter damage. The vehicle
should be serviced as soon as possible if this occurs.
146 UNDERSTANDING YOUR INSTRUMENT PANEL
ProCarManuals.com
Page 206 of 374

NTread Wear Indicators..................241
NReplacement Tires.....................241
NAlignment And Balance.................242
mSelf±Sealing TiresÐIf Equipped............243
mTire Pressure Monitor System Ð If Equipped. . 243
NTire Pressure Monitoring Ð Base System.....243
NTire Pressure Monitoring Ð
Premium System......................245
NGeneral Information...................247
mTire Chains...........................248
mSnow Tires...........................249
mTire Rotation Recommendations...........249
mFuel Requirements.....................250
NReformulated Gasoline.................251
NGasoline/Oxygenate Blends..............251
NMMT In Gasoline.....................252NSulfur In Gasoline.....................252
NMaterials Added To Fuel................253
NFuel System Cautions..................253
NCarbon Monoxide Warnings..............253
mAdding Fuel..........................254
NFuel Filler Cap (Gas Cap)...............254
mVehicle Loading.......................256
NVehicle Certification Label...............256
NGross Vehicle Weight Rating (GVWR).......257
NGross Axle Weight Rating (GAWR).........257
NOverloading.........................257
NLoading............................257
mTrailer Towing........................259
NWarranty Requirements.................259
mRecreational Towing
(Behind Motorhome, Etc.)
................261
206 STARTING AND OPERATING
ProCarManuals.com
Page 254 of 374

²Do not inhale exhaust gases. They contain carbon
monoxide, a colorless and odorless gas which can kill.
Never run the engine in a closed area, such as a
garage, and never sit in a parked vehicle with the
engine running for an extended period. If the vehicle is
stopped in an open area with the engine running for
more than a short period, adjust the ventilation system
to force fresh, outside air into the vehicle.
²Guard against carbon monoxide with proper mainte-
nance. Have the exhaust system inspected every time
the vehicle is raised. Have any abnormal conditions
repaired promptly. Until repaired, drive with all side
windows fully open.
²Keep the trunk closed when driving your vehicle to
prevent carbon monoxide and other poisonous ex-
haust gases from entering the vehicle.
ADDING FUEL
Fuel Filler Cap (Gas Cap)
The gas cap is located behind the fuel filler door on the
left side of the vehicle. Push in on the left side (near the
edge) of the fuel filler door to access the fuel filler cap. If
the gas cap is lost or damaged, be sure the replacement
cap is for use with this vehicle.
254 STARTING AND OPERATING
ProCarManuals.com
Page 255 of 374

CAUTION!
Damage to the fuel system or emission control
system could result from using an improper fuel
tank filler tube cap (gas cap), and may result in a
malfunction indicator light on the instrument clus-
ter. A poorly fitting cap could let impurities into the
fuel system.
CAUTION!
To avoid fuel spillage and overfilling, do not ªtop
offº the fuel tank after filling. When the fuel nozzle
ªclicksº or shuts off, the fuel tank is full.
NOTE:
²
Tighten the gas cap until you hear a ªclickingº sound.
This is an indication that the gas cap is properly
tightened. If the gas cap is not secured properly the
Malfunction Indicator Light in the instrument cluster
will turn on. Make sure that the gas cap is tightened
each time the vehicle is refueled.
²When the fuel nozzle ªclicksº or shuts off, the fuel
tank is full.
STARTING AND OPERATING 255
5
ProCarManuals.com
Page 256 of 374

WARNING!
²Remove the fuel tank filler tube cap (gas cap)
slowly to prevent fuel spray from the filler neck
which may cause injury.
²The volatility of some gasolines may cause a
buildup of pressure in the fuel tank that may
increase while you drive. This pressure can result
in a spray of gasoline and/or vapors when the cap
is removed from a hot vehicle. Removing the cap
slowly allows the pressure to vent and prevents
fuel spray.
²Never have any smoking materials lit in or near
the vehicle when the gas cap is removed or the
tank filled.
²Never add fuel to the vehicle when the engine is
running.
²A fire may result if gasoline is pumped into a
portable container that is inside of a vehicle. You
could be burned. Always place gas containers on
the ground while filling.
VEHICLE LOADING
The load carrying capacity of your vehicle is shown in the
charts that follow. This information should be used for
passenger and luggage loading as indicated.
If the seatbacks are folded for carrying cargo, do not
exceed the specified GVWR and GAWR.
Vehicle Certification Label
Your vehicle has a certification label attached to the rear
of the driver's door.
The label contains the following information:
²Name of manufacturer
²Month and year of manufacture
²Gross Vehicle Weight Rating (GVWR)
²Gross Axle Weight Rating (GAWR) front
²Gross Axle Weight Rating (GAWR) rear
²Vehicle Identification Number (VIN)
²Type of Vehicle
²Month Day and Hour of Manufacture (MDH)
256 STARTING AND OPERATING
ProCarManuals.com
Page 293 of 374

American Petroleum Institute (API) Engine Oil
Identification Symbol
This symbol means that the oil has
been certified by the American
Petroleum Institute (API). The
manufacture only recommends
API Certified engine oils that
meet the requirements of
DaimlerChrysler Material Stan-
dard MS-6395. Use Mopar or an
equivalent oil meeting the specifi-
cation MS-6395.
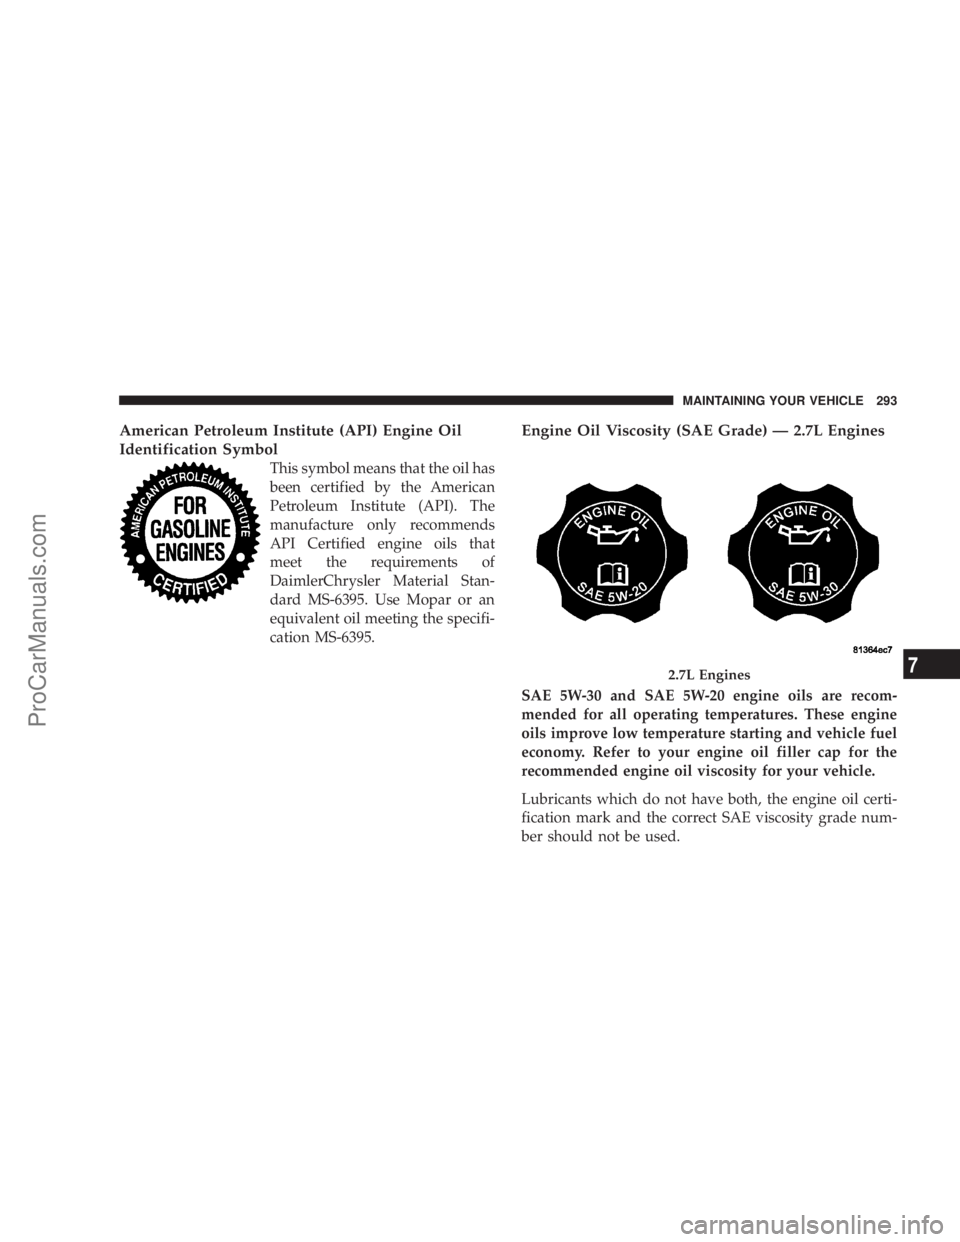
Engine Oil Viscosity (SAE Grade) Ð 2.7L Engines
SAE 5W-30 and SAE 5W-20 engine oils are recom-
mended for all operating temperatures. These engine
oils improve low temperature starting and vehicle fuel
economy. Refer to your engine oil filler cap for the
recommended engine oil viscosity for your vehicle.
Lubricants which do not have both, the engine oil certi-
fication mark and the correct SAE viscosity grade num-
ber should not be used.
2.7L Engines
MAINTAINING YOUR VEHICLE 293
7
ProCarManuals.com
Page 332 of 374

FLUIDS AND CAPACITIES
U.S. Metric
Fuel (approximate)
2.7 Liter Engines (87 Octane) 18 gal-
lons68 liters
3.5 Liter Engines (89 Octane) 18 gal-
lons68 liters
5.7 Liter Engines (89 Octane) 19 gal-
lons71 liters
Engine Oil-With Filter
2.7 Liter Engines (SAE 5W-30,
API Certified)6.0 qts. 5.7 liters
3.5 Liter Engines (SAE 10W-30,
API Certified)6.0 qts. 5.7 liters
5.7 Liter Engines (SAE 5W-20,
API Certified)7.0 qts. 6.6 liters
Cooling System *
2.7 Liter Engines (Mopart
Antifreeze/Coolant 5 Year/
100,000 Mile Formula)9.5 qts 9.0 liters
3.5 Liter Engines (Mopart
Antifreeze/Coolant 5 Year/
100,000 Mile Formula)10.3 qts 9.75
liters
5.7 Liter Engines (Mopart
Antifreeze/Coolant 5 Year/
100,000 Mile Formula)14.0 qts 13.3
liters
* Includes heater and coolant recovery bottle filled to
MAX level.
332 MAINTAINING YOUR VEHICLE
ProCarManuals.com
Page 363 of 374

Ball Joints............................ 301
Battery............................... 297
Jump Starting........................ 273
Keyless Transmitter Replacement.......... 23
Location.........................274,298
Bearings.............................. 311
Belts, Drive........................... 295
Body Mechanism Lubrication.............. 301
B-Pillar Location....................... 232
Brake Assist System..................... 112
Brake, Parking......................... 222
Brake System.......................224,307
Anti-Lock........................... 225
Fluid Check......................309,334
Hoses.............................. 308
Warning Light....................... 142
Brake/Transmission Interlock.............. 221
Break-In Recommendations, New Vehicle...... 57
Bulb Replacement...................... 323
Bulbs, Light........................... 322
Calibration, Compass.................... 151
Capacities, Fluid....................... 332Caps, Filler
Fuel............................... 254
Radiator............................ 305
Car Washes........................... 312
Carbon Monoxide Warning............... 253
Cargo Tie-Downs....................... 131
Cassette Tape and Player Maintenance....... 192
Catalytic Converter..................... 296
CD Player......................159,164,175
Cellular Phone.......................... 68
Chains, Tire........................... 248
Changing A Flat Tire.................... 265
Chart, Tire Sizing....................... 229
Child Restraint...................50,52,54,55
Child Restraint Tether Anchors............. 54
Child Safety Locks....................... 19
Clean Air Gasoline...................... 251
Climate Control........................ 194
Clock................................ 158
Compact Disc Maintenance............... 193
Compact Spare Tire..................... 239
Compass............................. 150
Compass Calibration.................... 151
INDEX 363
10
ProCarManuals.com