2005 CHEVROLET SUBURBAN brake light
[x] Cancel search: brake lightPage 157 of 536

A. Dome Lamp Override Button. SeeDome Lamp
Override on page 3-19.
B. Headlamp Controls. SeeHeadlamps on page 3-14.
C. Air Outlets. SeeOutlet Adjustment on page 3-30.
D. Automatic Transfer Case Buttons. SeeFour-Wheel
Drive on page 2-28.
E. Turn Signal/Multifunction Lever. SeeTurn
Signal/Multifunction Lever on page 3-7.
F. Instrument Panel Cluster. SeeInstrument Panel
Cluster on page 3-37.
G. Gearshift Lever. SeeAutomatic Transmission
Operation on page 2-24.
H. Tow/Haul Selector Button (If Equipped).
SeeTow/Haul Mode on page 2-27.
I. Audio System. SeeAudio System(s) on page 3-78.
J. Dual Climate Control System. SeeDual Climate
Control System on page 3-22.Dual Automatic
Climate Control System on page 3-25.
K. Instrument Panel Fuse Block. SeeInstrument Panel
Fuse Block on page 5-108.L. Hood Release. SeeHood Release on page 5-11.
M. Steering Wheel Control Buttons (If Equipped).
SeeDriver Information Center (DIC) on page 3-56
andAudio Steering Wheel Controls on page 3-135.
N. Center Instrument Panel Utility Block. SeeCenter
Instrument Panel Fuse Block on page 5-110.
O. Tilt Wheel Lever. SeeTilt Wheel on page 3-6.
P. Parking Brake Release. SeeParking Brake on
page 2-35.
Q. Cigarette Lighter. SeeAshtrays and Cigarette
Lighter on page 3-21. Accessory Power Outlets.
SeeAccessory Power Outlets on page 3-20.
R. Storage Area (If Equipped). SeeCenter Console
Storage Area on page 2-57.
S. Ashtray. SeeAshtrays and Cigarette Lighter on
page 3-21.
T. StabiliTrak
®or Traction Assist System (TAS)
Button (If Equipped). SeeStabiliTrak®System
on page 4-11orTraction Assist System (TAS) on
page 4-9.
U. Glovebox. SeeGlove Box on page 2-57.
3-5
Page 166 of 536
Using Cruise Control on Hills
How well your cruise control will work on hills depends
upon your speed, load and the steepness of the
hills. When going up steep hills, you may want to step
on the accelerator pedal to maintain your speed.
When going downhill, you may have to brake or shift to
a lower gear to keep your speed down. Of course,
applying the brake takes you out of cruise control. Many
drivers �nd this to be too much trouble and don’t use
cruise control on steep hills.
Ending Cruise Control
There are four ways to turn off the cruise control:
Step lightly on the brake pedal,
move the cruise control switch to off, or
shift the transmission to NEUTRAL (N).
If your vehicle has the StabiliTrak®feature, cruise
control will turn off if road conditions cause
StabiliTrak
®to activate.
If the accelerator pedal is held for 60 seconds or
longer, cruise control will turn off.
Erasing Speed Memory
When you turn off the cruise control or the ignition, your
cruise control set speed memory is erased.
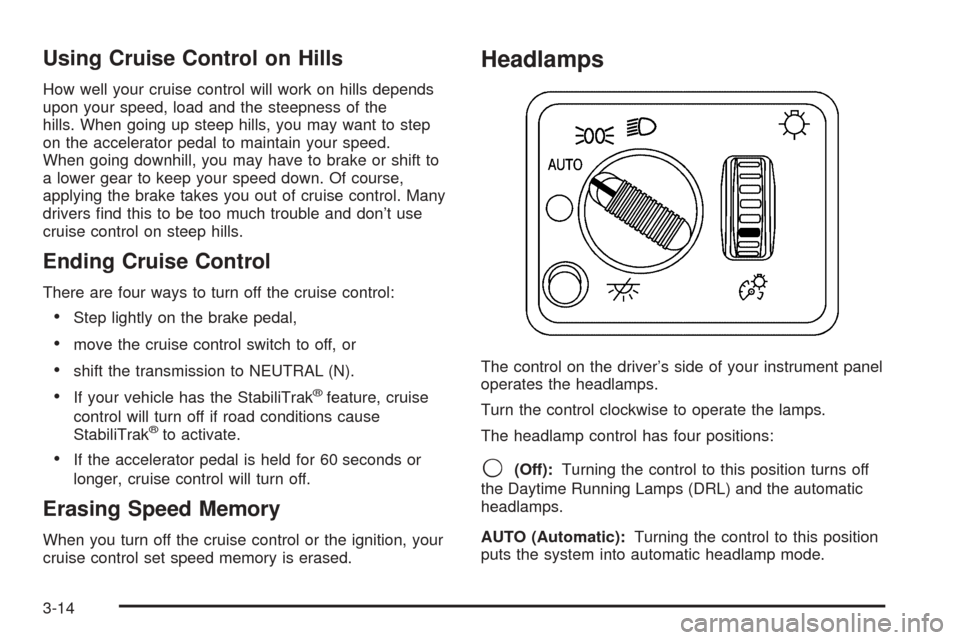
Headlamps
The control on the driver’s side of your instrument panel
operates the headlamps.
Turn the control clockwise to operate the lamps.
The headlamp control has four positions:
9(Off):Turning the control to this position turns off
the Daytime Running Lamps (DRL) and the automatic
headlamps.
AUTO (Automatic):Turning the control to this position
puts the system into automatic headlamp mode.
3-14
Page 168 of 536

Automatic Headlamp System
When it is dark enough outside, your automatic
headlamp system will turn on your headlamps at the
normal brightness along with other lamps such as
the taillamps, sidemarker, parking lamps and the
instrument panel lights. The radio lights will also be dim.
To turn off the automatic headlamp system, turn the
exterior lamps switch to the off position and then
release. Turning off the automatic headlamp system
with the headlamp switch is not available for vehicles
�rst sold in Canada. For vehicles �rst sold in Canada,
you can turn off the automatic headlamp system
when parked at night by applying the parking brake
before starting your vehicle. The headlamps will remain
off once the vehicle is started for as long as you are
parked. If you release the parking brake, the lights will
turn on. If the parking brake is not released before
you begin to drive, the exterior lamps will turn on above
2 mph (3.2 km/h).
Your vehicle is equipped with a light sensor located on
the top of the instrument panel in the defroster grille.
Be sure it is not covered, or the system will be on
whenever the ignition is on.
The system may also turn on your headlamps when
driving through a parking garage, heavy overcast
weather or a tunnel. This is normal.There is a delay in the transition between the daytime
and nighttime operation of the Daytime Running
Lamps (DRL) and the automatic headlamp systems so
that driving under bridges or bright overhead street
lights does not affect the system. The DRL and
automatic headlamp system will only be affected when
the light sensor sees a change in lighting lasting
longer than the delay.
If you start your vehicle in a dark garage, the automatic
headlamp system will come on immediately. Once
you leave the garage, it will take approximately
one minute for the automatic headlamp system to
change to DRL if it is bright enough outside. During that
delay, your instrument panel cluster may not be as
bright as usual. Make sure your instrument panel
brightness control is in the full bright position. See
Instrument Panel Brightness on page 3-18.
To idle your vehicle with the automatic headlamp
system off, turn the control to the off position.
You may be able to turn off your Automatic Headlamp
System. SeeDaytime Running Lamps (DRL) on
page 3-15for more information.
Your headlamps will also stay on after you exit the
vehicle. You can program this feature using the Driver
Information Center (DIC). SeeDIC Vehicle
Customization on page 3-72.
As with any vehicle, you should turn on the regular
headlamp system when you need them.
3-16
Page 195 of 536
Readings in the low warning zone may occur when a
large number of electrical accessories are operating in
the vehicle and the engine is left at an idle for an
extended period. This condition is normal since the
charging system is not able to provide full power
at engine idle. As engine speeds are increased, this
condition should correct itself as higher engine speeds
allow the charging system to create maximum power.
You can only drive for a short time with the reading
in either warning zone. If you must drive, turn off
all unnecessary accessories.
Readings in either warning zone indicate a possible
problem in the electrical system. Have the vehicle
serviced as soon as possible.Brake System Warning Light
With the ignition on, the brake system warning light will
�ash when you set the parking brake. The light will
�ash if the parking brake doesn’t release fully. If you try
to drive with the parking brake engaged, a chime will
sound when the vehicle speed is greater than 3 mph
(5 km/h).
Your vehicle’s hydraulic brake system is divided into two
parts. If one part isn’t working, the other part can still
work and stop you. For good braking, though, you need
both parts working well.
If the warning light comes on and a chime sounds there
could be a brake problem. Have your brake system
inspected right away.
3-43
Page 196 of 536
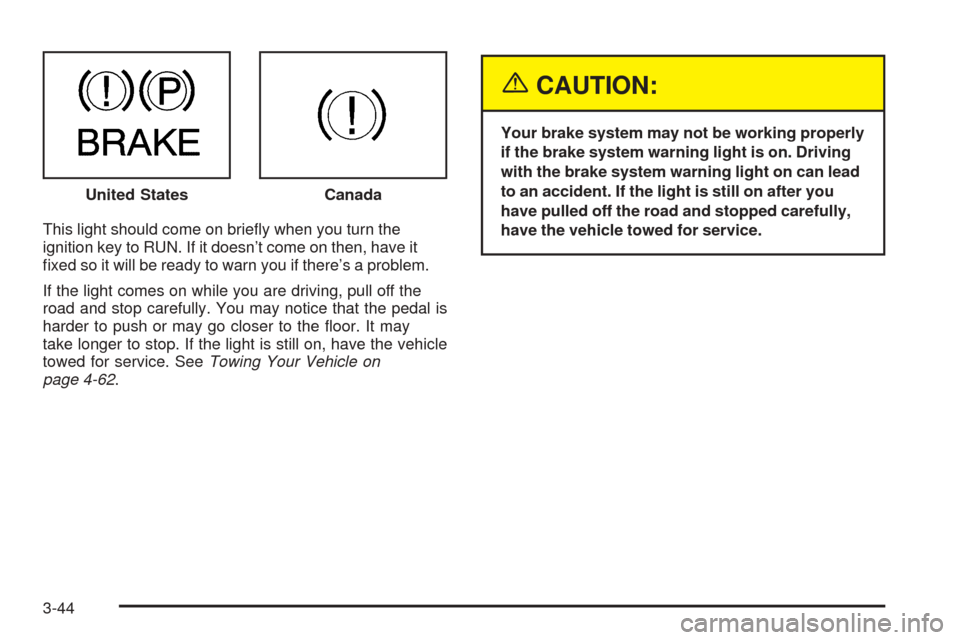
This light should come on brie�y when you turn the
ignition key to RUN. If it doesn’t come on then, have it
�xed so it will be ready to warn you if there’s a problem.
If the light comes on while you are driving, pull off the
road and stop carefully. You may notice that the pedal is
harder to push or may go closer to the �oor. It may
take longer to stop. If the light is still on, have the vehicle
towed for service. SeeTowing Your Vehicle on
page 4-62.
{CAUTION:
Your brake system may not be working properly
if the brake system warning light is on. Driving
with the brake system warning light on can lead
to an accident. If the light is still on after you
have pulled off the road and stopped carefully,
have the vehicle towed for service. United States
Canada
3-44
Page 197 of 536
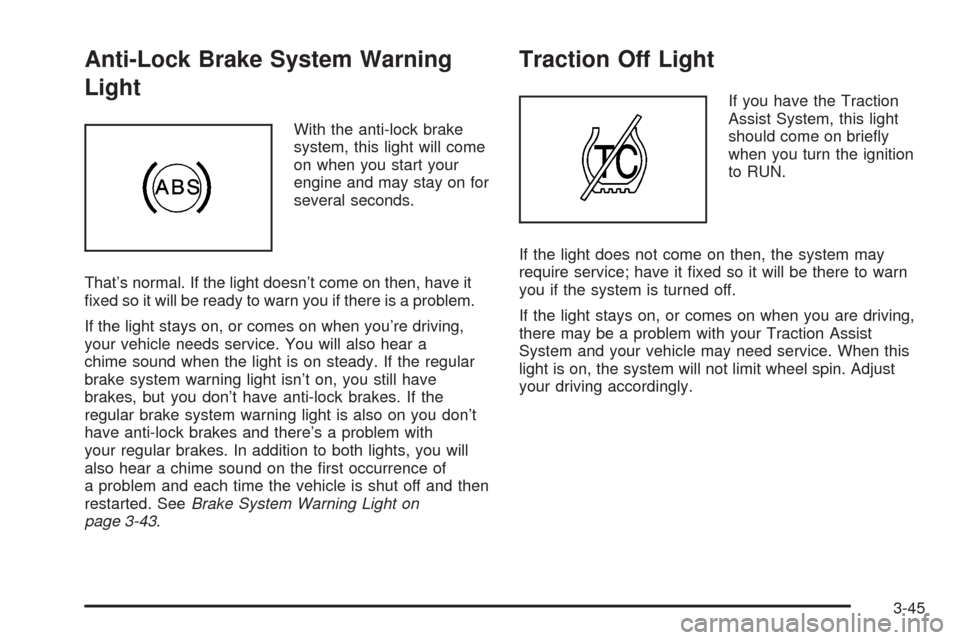
Anti-Lock Brake System Warning
Light
With the anti-lock brake
system, this light will come
on when you start your
engine and may stay on for
several seconds.
That’s normal. If the light doesn’t come on then, have it
�xed so it will be ready to warn you if there is a problem.
If the light stays on, or comes on when you’re driving,
your vehicle needs service. You will also hear a
chime sound when the light is on steady. If the regular
brake system warning light isn’t on, you still have
brakes, but you don’t have anti-lock brakes. If the
regular brake system warning light is also on you don’t
have anti-lock brakes and there’s a problem with
your regular brakes. In addition to both lights, you will
also hear a chime sound on the �rst occurrence of
a problem and each time the vehicle is shut off and then
restarted. SeeBrake System Warning Light on
page 3-43.
Traction Off Light
If you have the Traction
Assist System, this light
should come on brie�y
when you turn the ignition
to RUN.
If the light does not come on then, the system may
require service; have it �xed so it will be there to warn
you if the system is turned off.
If the light stays on, or comes on when you are driving,
there may be a problem with your Traction Assist
System and your vehicle may need service. When this
light is on, the system will not limit wheel spin. Adjust
your driving accordingly.
3-45
Page 219 of 536
SERVICE BRAKE SYSTEM
If there is a problem with the brake system, this
message will be displayed on the DIC. If this message
appears, stop as soon as possible and turn off the
vehicle. Restart the vehicle and check for the message
on the DIC display. If the message is still displayed
or appears again when you begin driving, the brake
system needs service. See your GM dealer. Pressing
any of the four DIC buttons, if equipped, will
acknowledge the message and clear it from the DIC
display. If your vehicle is not equipped with the four DIC
buttons, pressing the trip odometer reset stem will
acknowledge the message and clear it from the DIC
display.
SERVICE CHARGING SYSTEM
On some vehicles, if there is a problem with the battery
charging system, this message will appear on the
DIC. Under certain conditions, the battery warning light
may also turn on in the instrument panel cluster.
SeeBattery Warning Light on page 3-42. The battery
will not be charging at an optimal rate and the vehicle
will lose the ability to enter the fuel economy mode.The vehicle is safe to drive, however you should have
the electrical system checked by your GM dealer.
Pressing any of the four DIC buttons, if equipped, will
acknowledge the message and clear it from the
DIC display. If your vehicle is not equipped with the four
DIC buttons, pressing the trip odometer reset stem
will acknowledge the message and clear it from the DIC
display.
SERVICE RIDE CONTROL
If a problem occurs with the suspension system, this
message will appear on the DIC. If this message
appears, stop and turn off the vehicle. Restart the
vehicle and check for the message on the DIC display.
If this message is still displayed or appears again
when you begin driving, the ride control needs service.
See your GM dealer. Pressing any of the four DIC
buttons, if equipped, will acknowledge the message and
clear it from the DIC display. If your vehicle is not
equipped with the four DIC buttons, pressing the trip
odometer reset stem will acknowledge the message and
clear it from the DIC display.
3-67
Page 221 of 536

STABILITY SYS (System) DISABLED
The STABILITY SYS DISABLED message will turn on
when you press the StabiliTrak®button, or when
the stability control has been automatically disabled. To
limit wheel spin and realize the full bene�ts of the
stability enhancement system, you should normally
leave StabiliTrak
®on. However, you should turn
StabiliTrak®off if your vehicle gets stuck in sand, mud,
ice, or snow and you want to “rock” your vehicle to
attempt to free it, or if you are driving in extreme off-road
conditions and require more wheel spin. SeeIf Your
Vehicle is Stuck in Sand, Mud, Ice or Snow on
page 4-50. To turn the StabiliTrak
®system back on,
press the StabiliTrak®button again.
There are several conditions that can cause this
message to appear.
One condition is overheating, which could occur if
StabiliTrak®activates continuously for an extended
period of time.
The message will also be displayed if the brake
system warning light is on. SeeBrake System
Warning Light on page 3-43.
The message could be displayed if the stability
system takes longer than usual to complete its
diagnostic checks due to driving conditions.
If an engine or vehicle related problem has been
detected and the vehicle needs service, the
message will appear. See your GM dealer.
The message will also appear if the vehicle is
shifted into 4LO.
The message will turn off as soon as the conditions that
caused the message to be displayed are no longer
present.
TIGHTEN FUEL CAP
If the vehicle’s fuel cap is not tightened properly, this
message may appear along with the check engine light
on the instrument panel cluster. SeeMalfunction
Indicator Lamp on page 3-48. Reinstall the fuel cap
fully. SeeFilling the Tank on page 5-8. The diagnostic
system can determine if the fuel cap has been left off or
improperly installed. A loose or missing fuel cap will
allow fuel to evaporate into the atmosphere. A few
driving trips with the cap properly installed should turn
this light and message off.
3-69