Page 142 of 434
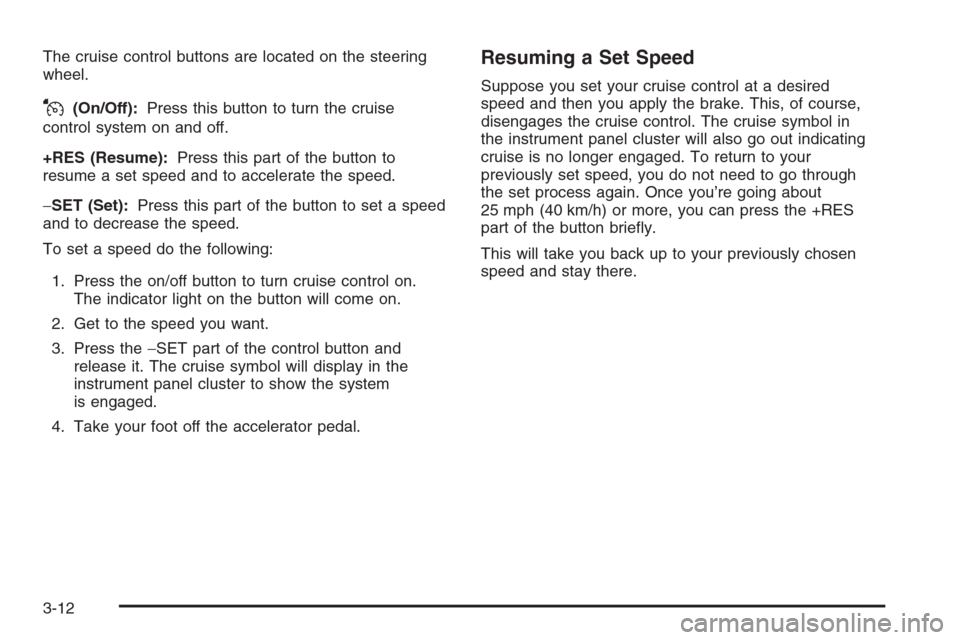
The cruise control buttons are located on the steering
wheel.
J(On/Off):Press this button to turn the cruise
control system on and off.
+RES (Resume):Press this part of the button to
resume a set speed and to accelerate the speed.
−SET (Set):Press this part of the button to set a speed
and to decrease the speed.
To set a speed do the following:
1. Press the on/off button to turn cruise control on.
The indicator light on the button will come on.
2. Get to the speed you want.
3. Press the−SET part of the control button and
release it. The cruise symbol will display in the
instrument panel cluster to show the system
is engaged.
4. Take your foot off the accelerator pedal.
Resuming a Set Speed
Suppose you set your cruise control at a desired
speed and then you apply the brake. This, of course,
disengages the cruise control. The cruise symbol in
the instrument panel cluster will also go out indicating
cruise is no longer engaged. To return to your
previously set speed, you do not need to go through
the set process again. Once you’re going about
25 mph (40 km/h) or more, you can press the +RES
part of the button brie�y.
This will take you back up to your previously chosen
speed and stay there.
3-12
Page 148 of 434
There is a delay in the transition between the daytime
and nighttime operation of the automatic lamp control
system so that driving under bridges or bright overhead
street lights does not affect the system. The automatic
lamp control system will only be affected when the
light sensor sees a change in lighting lasting longer
than this delay.
If you start your vehicle in a dark garage, the automatic
lamp system will come on immediately. Once you
leave the garage, it will take about one minute for
the automatic lamp system to change to DRL if it is light
outside. During that delay, your instrument panel
cluster may not be as bright as usual. Make sure
your instrument panel brightness control is in the full
bright position. SeeInstrument Panel Brightness
on page 3-19.
To idle your vehicle with the system off, turn the
ignition on and rotate the exterior light switch to the
off/on position. For Canadian vehicles, the transaxle
must stay in PARK (P) for this function.
As with any vehicle, you should turn on the regular
headlamps when you need them.Fog Lamps
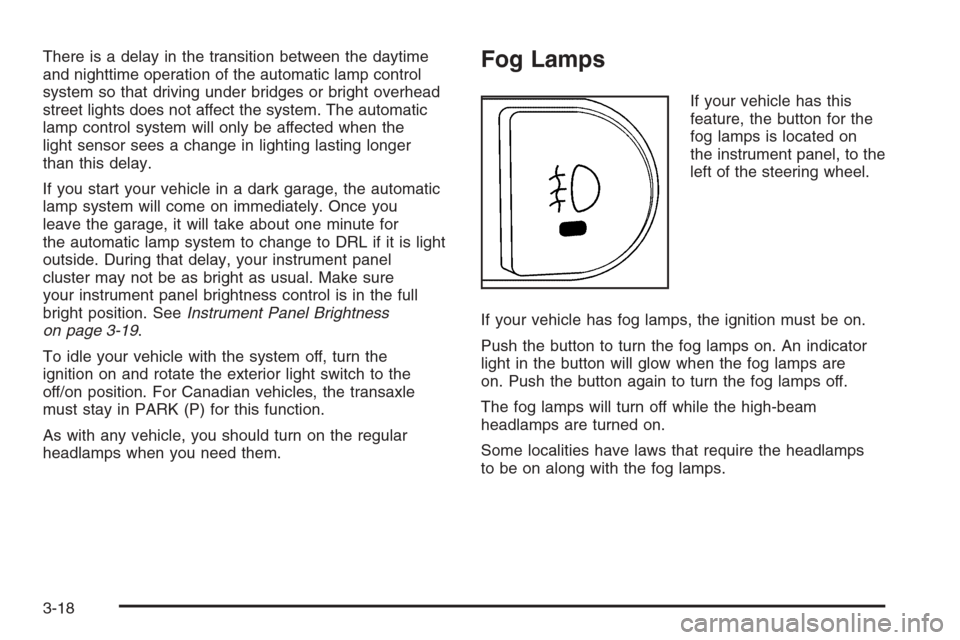
If your vehicle has this
feature, the button for the
fog lamps is located on
the instrument panel, to the
left of the steering wheel.
If your vehicle has fog lamps, the ignition must be on.
Push the button to turn the fog lamps on. An indicator
light in the button will glow when the fog lamps are
on. Push the button again to turn the fog lamps off.
The fog lamps will turn off while the high-beam
headlamps are turned on.
Some localities have laws that require the headlamps
to be on along with the fog lamps.
3-18
Page 149 of 434
Instrument Panel Brightness
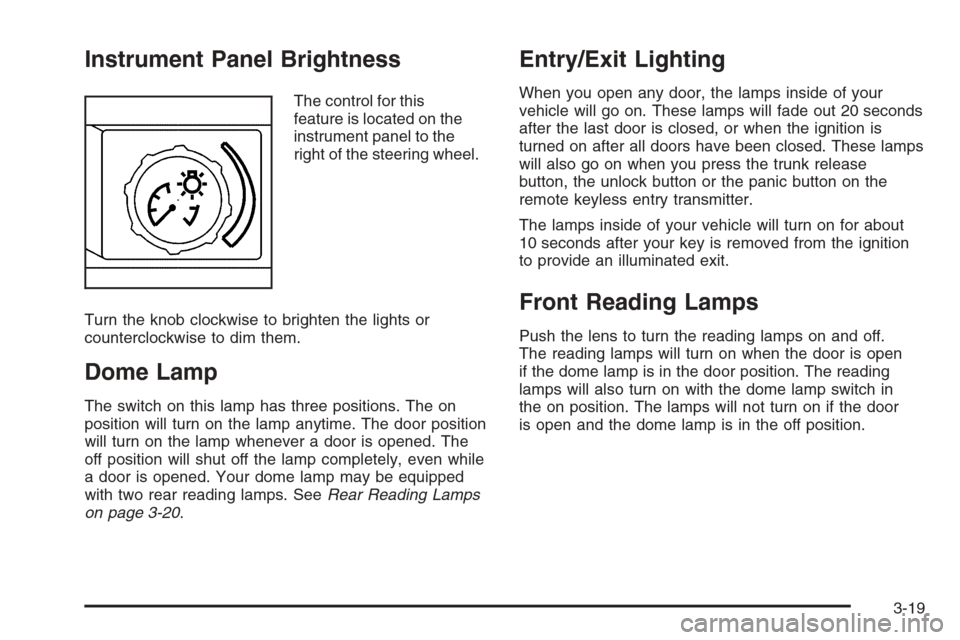
The control for this
feature is located on the
instrument panel to the
right of the steering wheel.
Turn the knob clockwise to brighten the lights or
counterclockwise to dim them.
Dome Lamp
The switch on this lamp has three positions. The on
position will turn on the lamp anytime. The door position
will turn on the lamp whenever a door is opened. The
off position will shut off the lamp completely, even while
a door is opened. Your dome lamp may be equipped
with two rear reading lamps. SeeRear Reading Lamps
on page 3-20.
Entry/Exit Lighting
When you open any door, the lamps inside of your
vehicle will go on. These lamps will fade out 20 seconds
after the last door is closed, or when the ignition is
turned on after all doors have been closed. These lamps
will also go on when you press the trunk release
button, the unlock button or the panic button on the
remote keyless entry transmitter.
The lamps inside of your vehicle will turn on for about
10 seconds after your key is removed from the ignition
to provide an illuminated exit.
Front Reading Lamps
Push the lens to turn the reading lamps on and off.
The reading lamps will turn on when the door is open
if the dome lamp is in the door position. The reading
lamps will also turn on with the dome lamp switch in
the on position. The lamps will not turn on if the door
is open and the dome lamp is in the off position.
3-19
Page 161 of 434
If your vehicle has the remote start feature, the rear
defogger and heated mirrors will automatically be
turned on if it is cold outside. The indicator light will
not be on. When the vehicle transitions out of remote
start mode the rear defogger and heated mirrors will
turn off.
Notice:Do not use a razor blade or sharp object
to clear the inside rear window. Do not adhere
anything to the defogger grid lines in the rear glass.
These actions may damage the rear defogger.
Repairs would not be covered by your warranty.
Outlet Adjustment
Use the thumbwheels on the air outlets, located on the
center and on the sides of the instrument panel, to
change the horizontal direction of the air�ow. Use the
tabs on the outlet vanes to change the vertical direction
of the air�ow. Use the tabs on the outlet vanes to
shut off air�ow to the outlets.
The two upper outlets in the center of the instrument
panel are dedicated to the rear seats. These outlets
are �xed to aim air�ow into the rear seats to help
cool the rear occupants in hot weather. Air�ow can
be shut off at the upper outlets by turning the vertical
thumbwheel. The louvers are �xed, do not attempt
to move them or they may break.
Operation Tips
Clear away any ice, snow or leaves from the air
inlets at the base of the windshield that may
block the �ow of air into your vehicle.
Use of non-GM approved hood de�ectors may
adversely affect performance of the system.
Keep the path under the front seats clear of objects
to help circulate the air inside of your vehicle more
effectively.
When an objectionable odor outside the vehicle
is encountered, use the recirculation mode, with
the temperature knob at a comfortable setting
to prevent the odor from entering the vehicle through
the ventilation system. This can be helpful when
driving through a long tunnel with poor ventilation.
However, extended usage of this mode in cold or
cool weather can cause window fogging.
3-31
Page 173 of 434
Enhanced Traction System
Active Light
If your vehicle has
the Enhanced Traction
System (ETS), this light will
come on when the
system is limiting
wheel spin.Slippery road conditions may exist if the Enhanced
Traction System active light comes on, so adjust your
driving accordingly.
The light will stay on for a few seconds after the
system stops limiting wheel spin.
3-43
Page 253 of 434
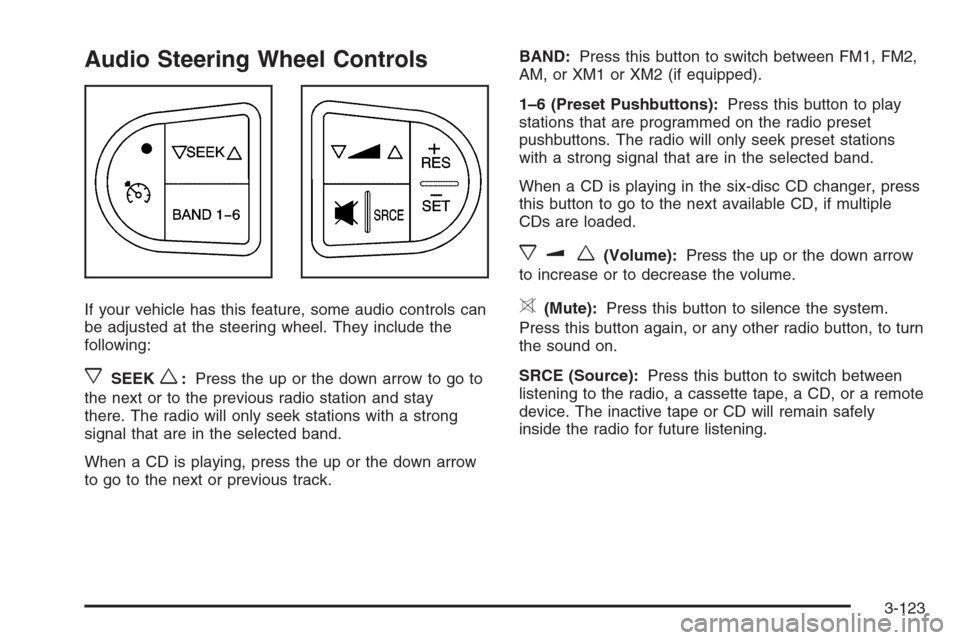
Audio Steering Wheel Controls
If your vehicle has this feature, some audio controls can
be adjusted at the steering wheel. They include the
following:
xSEEKw:Press the up or the down arrow to go to
the next or to the previous radio station and stay
there. The radio will only seek stations with a strong
signal that are in the selected band.
When a CD is playing, press the up or the down arrow
to go to the next or previous track.BAND:Press this button to switch between FM1, FM2,
AM, or XM1 or XM2 (if equipped).
1–6 (Preset Pushbuttons):Press this button to play
stations that are programmed on the radio preset
pushbuttons. The radio will only seek preset stations
with a strong signal that are in the selected band.
When a CD is playing in the six-disc CD changer, press
this button to go to the next available CD, if multiple
CDs are loaded.
xuw(Volume):Press the up or the down arrow
to increase or to decrease the volume.
>(Mute):Press this button to silence the system.
Press this button again, or any other radio button, to turn
the sound on.
SRCE (Source):Press this button to switch between
listening to the radio, a cassette tape, a CD, or a remote
device. The inactive tape or CD will remain safely
inside the radio for future listening.
3-123
Page 263 of 434
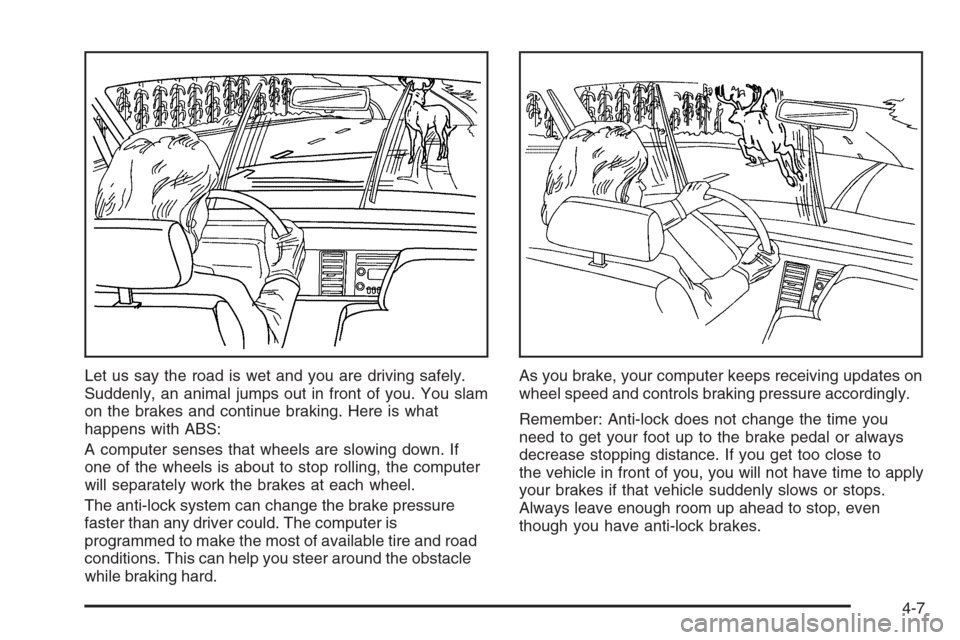
Let us say the road is wet and you are driving safely.
Suddenly, an animal jumps out in front of you. You slam
on the brakes and continue braking. Here is what
happens with ABS:
A computer senses that wheels are slowing down. If
one of the wheels is about to stop rolling, the computer
will separately work the brakes at each wheel.
The anti-lock system can change the brake pressure
faster than any driver could. The computer is
programmed to make the most of available tire and road
conditions. This can help you steer around the obstacle
while braking hard.As you brake, your computer keeps receiving updates on
wheel speed and controls braking pressure accordingly.
Remember: Anti-lock does not change the time you
need to get your foot up to the brake pedal or always
decrease stopping distance. If you get too close to
the vehicle in front of you, you will not have time to apply
your brakes if that vehicle suddenly slows or stops.
Always leave enough room up ahead to stop, even
though you have anti-lock brakes.
4-7
Page 264 of 434
Using Anti-Lock
Do not pump the brakes. Just hold the brake pedal
down �rmly and let anti-lock work for you. You may feel
a slight brake pedal pulsation or notice some noise,
but this is normal.
Braking in Emergencies
At some time, nearly every driver gets into a situation
that requires hard braking.
If you have anti-lock brakes, you can steer and brake at
the same time. However, if you do not have anti-lock
brakes, your �rst reaction — to hit the brake pedal hard
and hold it down — may be the wrong thing to do.
Your wheels can stop rolling. Once they do, the vehicle
cannot respond to your steering. Momentum will
carry it in whatever direction it was headed when the
wheels stopped rolling. That could be off the road, into
the very thing you were trying to avoid, or into traffic.
If you do not have anti-lock brakes, use a “squeeze”
braking technique. This will give you maximum braking
while maintaining steering control. You can do this
by pushing on the brake pedal with steadily increasing
pressure.In an emergency, you will probably want to squeeze the
brakes hard without locking the wheels. If you hear or
feel the wheels sliding, ease off the brake pedal.
This will help you retain steering control. If you do have
anti-lock brakes, it is different. SeeAnti-Lock Brake
System (ABS) on page 4-6.
In many emergencies, steering can help you more than
even the very best braking.
Enhanced Traction System (ETS)
Your vehicle may have an Enhanced Traction
System (ETS) that limits wheel spin. This is especially
useful in slippery road conditions. The system operates
only if it senses that one or both of the front wheels
are spinning or beginning to lose traction. When
this happens, the system reduces engine power and
may also upshift the transaxle to limit wheel spin.
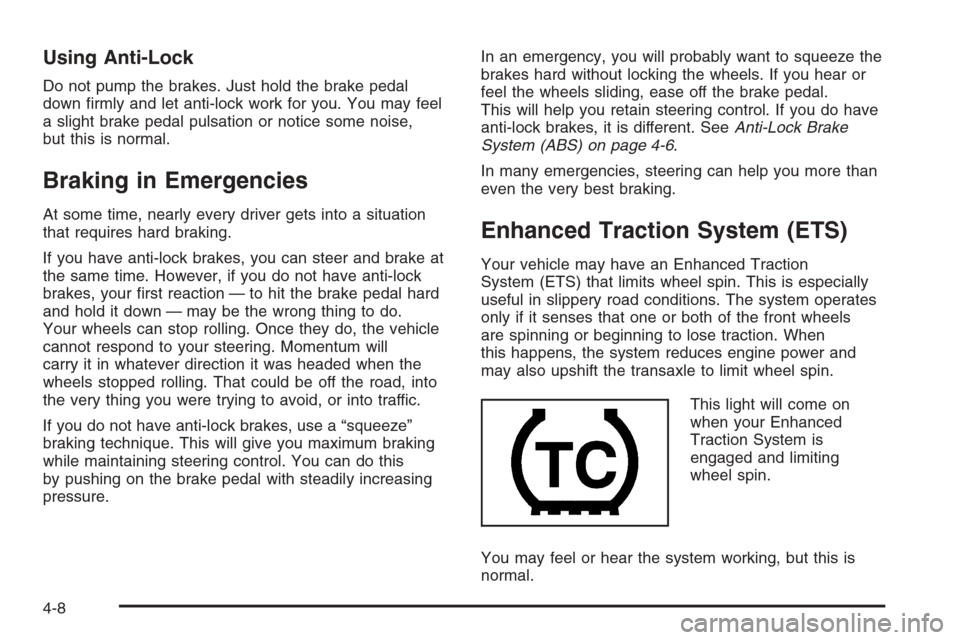
This light will come on
when your Enhanced
Traction System is
engaged and limiting
wheel spin.
You may feel or hear the system working, but this is
normal.
4-8