2005 CHEVROLET COLORADO instrument panel
[x] Cancel search: instrument panelPage 142 of 414
Fog Lamps
If your vehicle has fog lamps, you can use them for
better vision in foggy or misty conditions. Your parking
lamps and/or low-beam headlamps must be on for
your fog lamps to work.
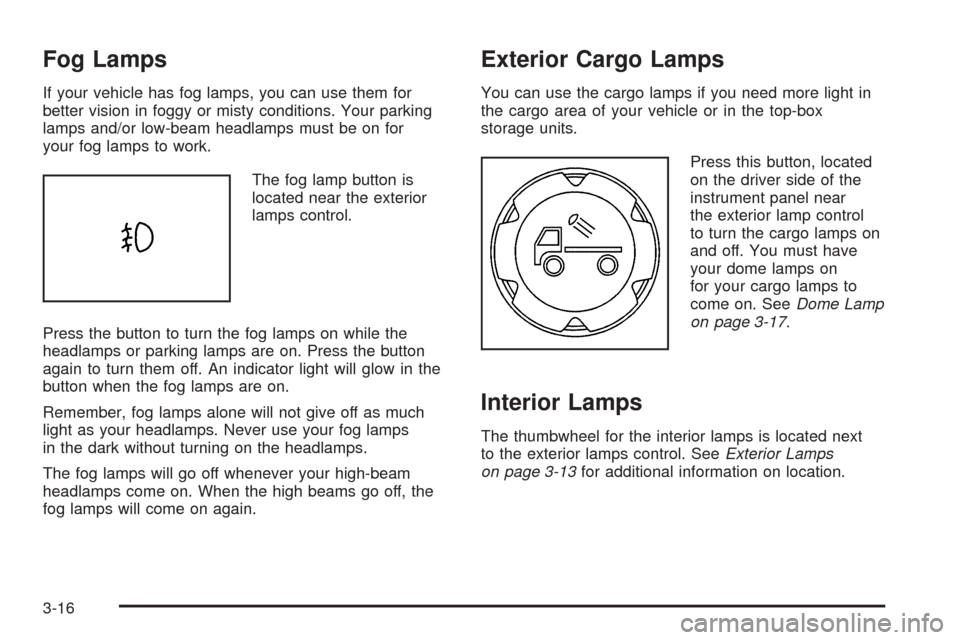
The fog lamp button is
located near the exterior
lamps control.
Press the button to turn the fog lamps on while the
headlamps or parking lamps are on. Press the button
again to turn them off. An indicator light will glow in the
button when the fog lamps are on.
Remember, fog lamps alone will not give off as much
light as your headlamps. Never use your fog lamps
in the dark without turning on the headlamps.
The fog lamps will go off whenever your high-beam
headlamps come on. When the high beams go off, the
fog lamps will come on again.
Exterior Cargo Lamps
You can use the cargo lamps if you need more light in
the cargo area of your vehicle or in the top-box
storage units.
Press this button, located
on the driver side of the
instrument panel near
the exterior lamp control
to turn the cargo lamps on
and off. You must have
your dome lamps on
for your cargo lamps to
come on. SeeDome Lamp
on page 3-17.
Interior Lamps
The thumbwheel for the interior lamps is located next
to the exterior lamps control. SeeExterior Lamps
on page 3-13for additional information on location.
3-16
Page 143 of 414
Instrument Panel Brightness
D(Instrument Panel Lights):Turn the thumbwheel
up or down to brighten or dim the instrument panel
lights and the radio display. This will only work if
the headlamps or parking lamps are on. SeeExterior
Lamps on page 3-13.
Dome Lamp
The dome lamp will come on when you open a door
and will slowly dim to off when all doors are closed.
You can also turn the dome lamp on manually by turning
the interior lamps thumbwheel all the way up. In this
position, the dome lamp will remain on whether a door
is opened or closed. SeeInterior Lamps on page 3-16
for additional information on location.
Dome Lamp Override
E(Dome Override):Press this button, located below
the exterior lamp control, to turn the dome lamp off
even when a door is opened. SeeExterior Lamps on
page 3-13for more information on location.
To return the lamp to automatic operation, press the
button again.
Exit Lighting
With exit lighting, the interior lamps will come on when
you remove the key from the ignition. The lamps will not
come on if the dome override button is pressed in.
Battery Run-Down Protection
This feature shuts off the dome lamp if it is left on for
more than 20 minutes when the ignition is in LOCK.
This will keep your battery from running down.
Accessory Power Outlets
Your vehicle may have accessory power outlets.
With accessory power outlets you can plug in auxiliary
electrical equipment such as a cellular telephone or
CB radio.
Your vehicle may have two accessory power outlets
located on the lower part of the instrument panel below
the climate control system and there may be one
located on the rear of the center console. A small cap
must be pulled down to access an accessory power
outlet. When not using an outlet be sure to cover it with
the protective cap.
Notice:Leaving electrical equipment on for
extended periods will drain the battery. Always turn
off electrical equipment when not in use and do
not plug in equipment that exceeds the maximum
amperage rating.
3-17
Page 145 of 414

Climate Controls
Climate Control System
With this system you can control the heating, cooling,
and ventilation for your vehicle.
Temperature Knob
The left knob on the control panel is used to adjust the
temperature of the air in the vehicle. Turn the knob
clockwise or counterclockwise to increase or decrease
the temperature.
Fan Knob
9
(Fan):The center knob on the control panel is
used to control the fan speed. Turn the knob clockwise
or counterclockwise to increase or decrease the fan
speed.
If the knob is set on “0” (zero), some outside air will
still enter the vehicle and will be directed according to
the position of the mode knob.
Mode Knob
The right knob on the control panel is used to direct
the air�ow inside your vehicle. Turn the knob to select
one of the following modes:
H(Vent):Select this mode to direct air to the
instrument panel outlets.
\(Bi-Level):Select this mode to direct approximately
half of the air to the instrument panel outlets, and the
remaining air to the �oor outlets and the defroster
and side window outlets. Cooler air is directed to the
upper outlets and warmer air to the �oor outlets.
[(Floor):Select this mode to direct air to the �oor
outlets. Enabling recirculation in heat mode may
cause interior window fogging under some conditions.
If this occurs, see “Defogging and Defrosting” following. Uplevel Climate Controls shown, Base similar
3-19
Page 149 of 414
Instrument Panel Cluster
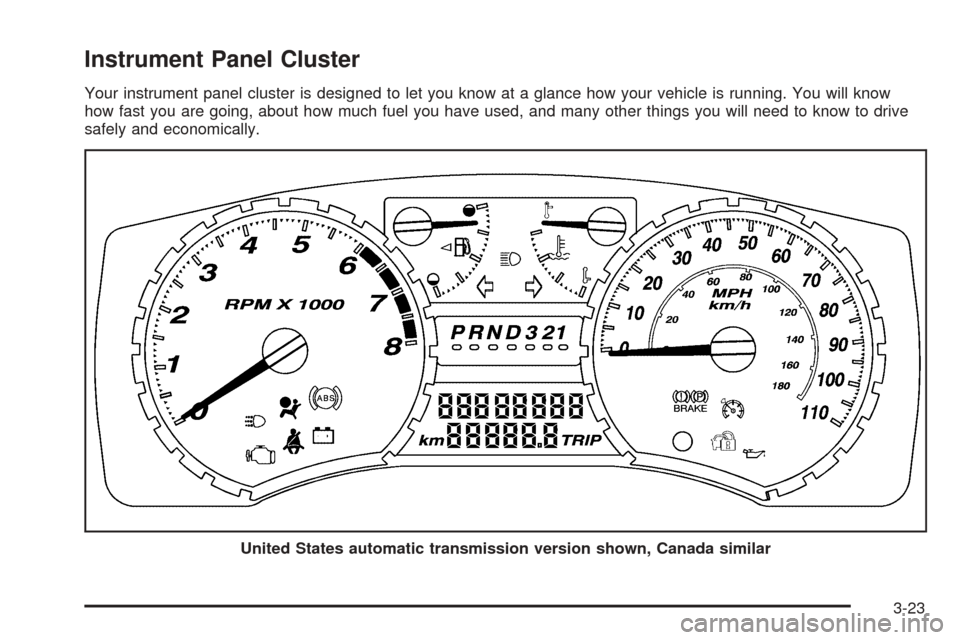
Your instrument panel cluster is designed to let you know at a glance how your vehicle is running. You will know
how fast you are going, about how much fuel you have used, and many other things you will need to know to drive
safely and economically.
United States automatic transmission version shown, Canada similar
3-23
Page 151 of 414

Airbag Readiness Light
There is an airbag readiness light on the instrument
panel, which shows the airbag symbol. The system
checks the airbag’s electrical system for malfunctions.
The light tells you if there is an electrical problem.
The system check includes the airbag sensors, the
airbag modules, the wiring and the crash sensing and
diagnostic module. For more information on the
airbag systems, seeAirbag System on page 1-62.
This light will come on
when you start your
vehicle, and it will �ash
for a few seconds.
Then the light should go
out. This means the
system is ready.
If the airbag readiness light stays on after you
start the vehicle or comes on when you are driving,
your airbag system may not work properly.
Have your vehicle serviced right away.{CAUTION:
If the airbag readiness light stays on after you
start your vehicle, it means the airbag system
may not be working properly. The airbags in
your vehicle may not in�ate in a crash, or they
could even in�ate without a crash. To help
avoid injury to yourself or others, have your
vehicle serviced right away if the airbag
readiness light stays on after you start your
vehicle.
The airbag readiness light should �ash for a few
seconds when you turn the ignition key to ON. If the
light does not come on then, have it �xed so it will
be ready to warn you if there is a problem.
3-25
Page 162 of 414
Driver Information Center (DIC)
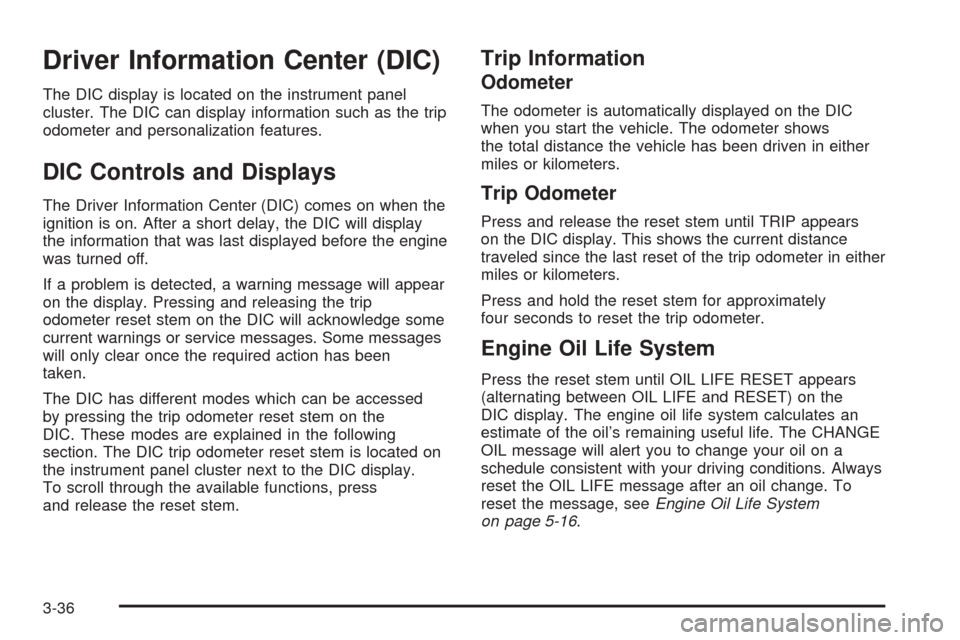
The DIC display is located on the instrument panel
cluster. The DIC can display information such as the trip
odometer and personalization features.
DIC Controls and Displays
The Driver Information Center (DIC) comes on when the
ignition is on. After a short delay, the DIC will display
the information that was last displayed before the engine
was turned off.
If a problem is detected, a warning message will appear
on the display. Pressing and releasing the trip
odometer reset stem on the DIC will acknowledge some
current warnings or service messages. Some messages
will only clear once the required action has been
taken.
The DIC has different modes which can be accessed
by pressing the trip odometer reset stem on the
DIC. These modes are explained in the following
section. The DIC trip odometer reset stem is located on
the instrument panel cluster next to the DIC display.
To scroll through the available functions, press
and release the reset stem.
Trip Information
Odometer
The odometer is automatically displayed on the DIC
when you start the vehicle. The odometer shows
the total distance the vehicle has been driven in either
miles or kilometers.
Trip Odometer
Press and release the reset stem until TRIP appears
on the DIC display. This shows the current distance
traveled since the last reset of the trip odometer in either
miles or kilometers.
Press and hold the reset stem for approximately
four seconds to reset the trip odometer.
Engine Oil Life System
Press the reset stem until OIL LIFE RESET appears
(alternating between OIL LIFE and RESET) on the
DIC display. The engine oil life system calculates an
estimate of the oil’s remaining useful life. The CHANGE
OIL message will alert you to change your oil on a
schedule consistent with your driving conditions. Always
reset the OIL LIFE message after an oil change. To
reset the message, seeEngine Oil Life System
on page 5-16.
3-36
Page 166 of 414
CHANGE OIL
This message will be displayed when the oil needs to
be changed. Check the oil in your vehicle as soon
as possible and have your vehicle serviced by your
GM dealer. SeeEngine Oil on page 5-13andScheduled
Maintenance on page 6-4for more information. Press
the reset stem to acknowledge the message and clear it
from the display.
DOORS
This message will be displayed on your DIC when one
or more of your doors is ajar. You should check all
the doors on your vehicle to make sure they are closed.
The message will clear from the display after all of
the doors are closed.
ENG (Engine) HOT
This message will be displayed when your engine
coolant temperature is hot. Check your engine coolant
temperature gage. SeeEngine Coolant Temperature
Gage on page 3-30for more information. You should
have your vehicle serviced by your GM dealer as soon
as possible if you suspect your engine is overheating.
SeeEngine Overheating on page 5-28for more
information.
FLUID
This message will be displayed if your brake �uid is low.
Check the brake �uid as soon as possible and have
your vehicle serviced by your GM dealer. SeeBrakes on
page 5-36for more information. Press the reset stem
to acknowledge the message and clear it from the DIC
display.
FUEL CAP
This message will be displayed if your vehicle’s fuel cap
is either off or loose. You should pull over and check
to see if your vehicle’s fuel cap is secure as soon
as possible. You may also see the check engine light
on the instrument panel cluster. SeeMalfunction
Indicator Lamp on page 3-30for more information. Press
the reset stem to acknowledge the message and
clear it from the display.
LOW FUEL
This message will be displayed if the level of fuel in
your vehicle is low. You should also check your
fuel gage. SeeFuel Gage on page 3-35for more
information. You should �ll your vehicle’s tank as soon
as possible.
3-40
Page 206 of 414
Remember: Anti-lock does not change the time you
need to get your foot up to the brake pedal or always
decrease stopping distance. If you get too close to
the vehicle in front of you, you will not have time to apply
your brakes if that vehicle suddenly slows or stops.
Always leave enough room up ahead to stop, even
though you have anti-lock brakes.
Using Anti-Lock
Do not pump the brakes. Just hold the brake pedal
down �rmly and let anti-lock work for you. You may feel
the brakes vibrate, or you may notice some noise,
but this is normal.
Braking in Emergencies
With anti-lock brakes, you can steer and brake at the
same time. In many emergencies, steering can help
you more than even the very best braking.
Traction Control System (TCS)
Your vehicle may have a Traction Control System (TCS)
that limits wheel spin. This is especially useful in
slippery road conditions. The system operates only if
it senses that one or both of the rear wheels are
spinning or beginning to lose traction. When this
happens, the system reduces engine power and may
also upshift the transmission to limit wheel spin.
You may feel or hear the system working, but this is
normal.
The TCS button is located
on your instrument panel.
Press this button to
turn the TCS off and on.
When the traction control system is turned off, an
indicator light on the button will illuminate.
If your vehicle is in cruise control when the traction
control system begins to limit wheel spin, the cruise
control will automatically disengage. When road
conditions allow you to safely use it again, you may
re-engage the cruise control. SeeCruise Control
on page 3-10.
4-8