2005 CHEVROLET COLORADO service schedule
[x] Cancel search: service schedulePage 1 of 414

Seats and Restraint Systems........................... 1-1
Front Seats
............................................... 1-3
Rear Seats
............................................... 1-8
Safety Belts
.............................................1-11
Child Restraints
.......................................1-32
Airbag System
.........................................1-62
Restraint System Check
............................1-75
Features and Controls..................................... 2-1
Keys
........................................................ 2-2
Doors and Locks
....................................... 2-7
Windows
.................................................2-12
Theft-Deterrent Systems
............................2-14
Starting and Operating Your Vehicle
...........2-16
Mirrors
....................................................2-35
OnStar
®System
......................................2-39
Storage Areas
.........................................2-41
Instrument Panel............................................. 3-1
Instrument Panel Overview
.......................... 3-4
Climate Controls
......................................3-19
Warning Lights, Gages, and Indicators
........3-22
Driver Information Center (DIC)
..................3-36
Audio System(s)
.......................................3-42Driving Your Vehicle....................................... 4-1
Your Driving, the Road, and Your Vehicle
..... 4-2
Towing
...................................................4-48
Service and Appearance Care.......................... 5-1
Service
..................................................... 5-3
Fuel
......................................................... 5-5
Checking Things Under the Hood
...............5-10
Rear Axle
...............................................5-44
Four-Wheel Drive
.....................................5-44
Front Axle
...............................................5-45
Bulb Replacement
....................................5-46
Windshield Wiper Blade Replacement
.........5-50
Tires
......................................................5-52
Appearance Care
.....................................5-88
Vehicle Identi�cation
.................................5-97
Electrical System
......................................5-98
Capacities and Speci�cations
...................5-103
Maintenance Schedule..................................... 6-1
Maintenance Schedule
................................ 6-2
Customer Assistance and Information.............. 7-1
Customer Assistance and Information
........... 7-2
Reporting Safety Defects
...........................7-10
Index................................................................ 1
2005 Chevrolet Colorado Owner ManualM
Page 159 of 414

This can happen if you have recently replaced your
battery or if your battery has run down. The diagnostic
system is designed to evaluate critical emission
control systems during normal driving. This may take
several days of routine driving. If you have done this and
your vehicle still does not pass the inspection for lack
of OBD system readiness, your GM dealer can prepare
the vehicle for inspection.
Oil Pressure Light
{CAUTION:
Do not keep driving if the oil pressure is low.
If you do, your engine can become so hot that
it catches �re. You or others could be burned.
Check your oil as soon as possible and have
your vehicle serviced.
Notice:Lack of proper engine oil maintenance may
damage the engine. The repairs would not be covered
by your warranty. Always follow the maintenance
schedule in this manual for changing engine oil.This light tells you if there
could be a problem with
your engine oil pressure.
The light goes on when you turn your key to ON or
START. It goes off once you start your engine. That’s a
check to be sure the light works. If it doesn’t come
on, be sure to have it �xed so it will be there to warn
you if something goes wrong.
When the light comes on and stays on, it means that oil
isn’t �owing through your engine properly. You could
be low on oil and you might have some other system
problem. SeeEngine Oil on page 5-13and “OIL” under
DIC Warnings and Messages on page 3-39for more
information.
3-33
Page 162 of 414
Driver Information Center (DIC)
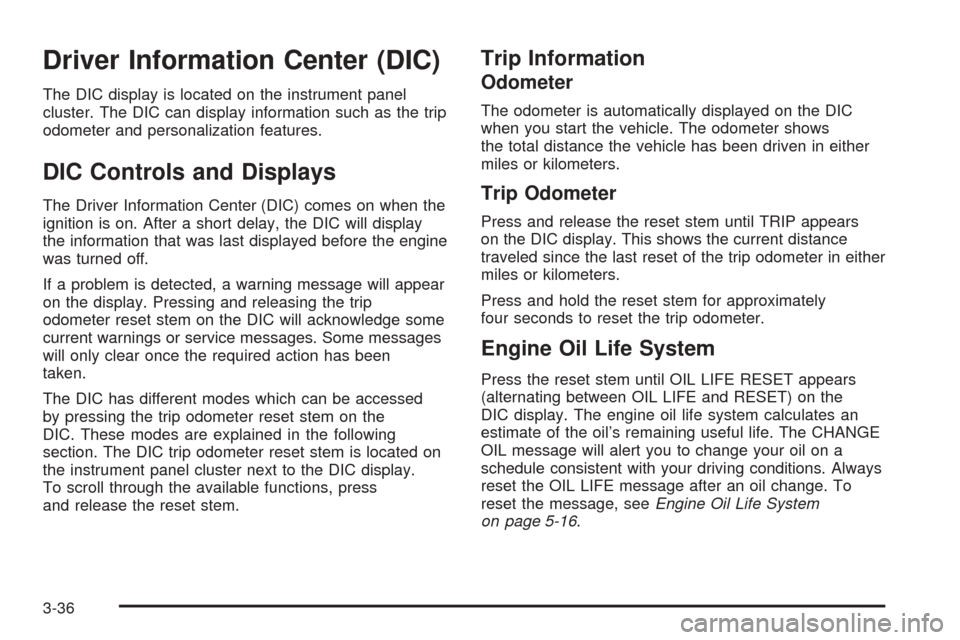
The DIC display is located on the instrument panel
cluster. The DIC can display information such as the trip
odometer and personalization features.
DIC Controls and Displays
The Driver Information Center (DIC) comes on when the
ignition is on. After a short delay, the DIC will display
the information that was last displayed before the engine
was turned off.
If a problem is detected, a warning message will appear
on the display. Pressing and releasing the trip
odometer reset stem on the DIC will acknowledge some
current warnings or service messages. Some messages
will only clear once the required action has been
taken.
The DIC has different modes which can be accessed
by pressing the trip odometer reset stem on the
DIC. These modes are explained in the following
section. The DIC trip odometer reset stem is located on
the instrument panel cluster next to the DIC display.
To scroll through the available functions, press
and release the reset stem.
Trip Information
Odometer
The odometer is automatically displayed on the DIC
when you start the vehicle. The odometer shows
the total distance the vehicle has been driven in either
miles or kilometers.
Trip Odometer
Press and release the reset stem until TRIP appears
on the DIC display. This shows the current distance
traveled since the last reset of the trip odometer in either
miles or kilometers.
Press and hold the reset stem for approximately
four seconds to reset the trip odometer.
Engine Oil Life System
Press the reset stem until OIL LIFE RESET appears
(alternating between OIL LIFE and RESET) on the
DIC display. The engine oil life system calculates an
estimate of the oil’s remaining useful life. The CHANGE
OIL message will alert you to change your oil on a
schedule consistent with your driving conditions. Always
reset the OIL LIFE message after an oil change. To
reset the message, seeEngine Oil Life System
on page 5-16.
3-36
Page 166 of 414
CHANGE OIL
This message will be displayed when the oil needs to
be changed. Check the oil in your vehicle as soon
as possible and have your vehicle serviced by your
GM dealer. SeeEngine Oil on page 5-13andScheduled
Maintenance on page 6-4for more information. Press
the reset stem to acknowledge the message and clear it
from the display.
DOORS
This message will be displayed on your DIC when one
or more of your doors is ajar. You should check all
the doors on your vehicle to make sure they are closed.
The message will clear from the display after all of
the doors are closed.
ENG (Engine) HOT
This message will be displayed when your engine
coolant temperature is hot. Check your engine coolant
temperature gage. SeeEngine Coolant Temperature
Gage on page 3-30for more information. You should
have your vehicle serviced by your GM dealer as soon
as possible if you suspect your engine is overheating.
SeeEngine Overheating on page 5-28for more
information.
FLUID
This message will be displayed if your brake �uid is low.
Check the brake �uid as soon as possible and have
your vehicle serviced by your GM dealer. SeeBrakes on
page 5-36for more information. Press the reset stem
to acknowledge the message and clear it from the DIC
display.
FUEL CAP
This message will be displayed if your vehicle’s fuel cap
is either off or loose. You should pull over and check
to see if your vehicle’s fuel cap is secure as soon
as possible. You may also see the check engine light
on the instrument panel cluster. SeeMalfunction
Indicator Lamp on page 3-30for more information. Press
the reset stem to acknowledge the message and
clear it from the display.
LOW FUEL
This message will be displayed if the level of fuel in
your vehicle is low. You should also check your
fuel gage. SeeFuel Gage on page 3-35for more
information. You should �ll your vehicle’s tank as soon
as possible.
3-40
Page 225 of 414
Your vehicle will require more frequent service due
to off-road use. Refer to the maintenance schedule for
additional information.
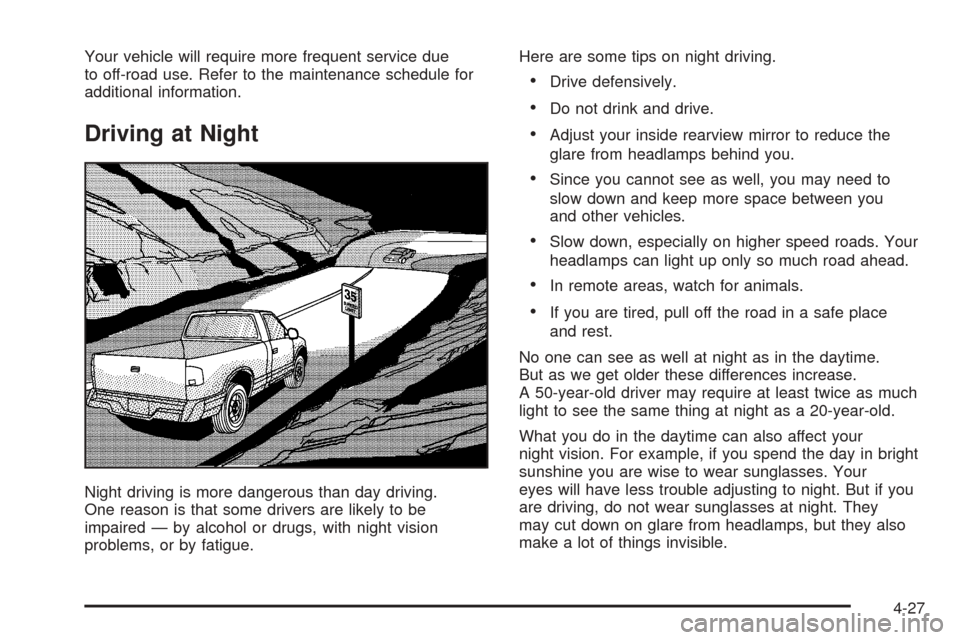
Driving at Night
Night driving is more dangerous than day driving.
One reason is that some drivers are likely to be
impaired — by alcohol or drugs, with night vision
problems, or by fatigue.Here are some tips on night driving.
Drive defensively.
Do not drink and drive.
Adjust your inside rearview mirror to reduce the
glare from headlamps behind you.
Since you cannot see as well, you may need to
slow down and keep more space between you
and other vehicles.
Slow down, especially on higher speed roads. Your
headlamps can light up only so much road ahead.
In remote areas, watch for animals.
If you are tired, pull off the road in a safe place
and rest.
No one can see as well at night as in the daytime.
But as we get older these differences increase.
A 50-year-old driver may require at least twice as much
light to see the same thing at night as a 20-year-old.
What you do in the daytime can also affect your
night vision. For example, if you spend the day in bright
sunshine you are wise to wear sunglasses. Your
eyes will have less trouble adjusting to night. But if you
are driving, do not wear sunglasses at night. They
may cut down on glare from headlamps, but they also
make a lot of things invisible.
4-27
Page 265 of 414
4. Reapply the regular brakes. Then apply your
parking brake, and then shift into PARK (P), or
REVERSE (R) for a manual transmission. See
Parking Brake on page 2-29for more information.
5. If you have a four-wheel-drive vehicle, be sure the
transfer case is in a drive gear and not in
NEUTRAL. SeeFour-Wheel Drive on page 2-25for
more information.
6. Release the regular brakes.
When You Are Ready to Leave After
Parking on a Hill
1. Apply your regular brakes and hold the pedal down
while you:
start your engine,
shift into a gear, and
release the parking brake.
2. Let up on the brake pedal.
3. Drive slowly until the trailer is clear of the chocks.
4. Stop and have someone pick up and store the
chocks.
Maintenance When Trailer Towing
Your vehicle will need service more often when you’re
pulling a trailer. SeeScheduled Maintenance on
page 6-4for more on this. Things that are especially
important in trailer operation are automatic transmission
�uid (don’t over�ll), engine oil, axle lubricant, belt,
cooling system and brake system. Each of these is
covered in this manual, and the Index will help you �nd
them quickly. If you’re trailering, it’s a good idea to
review these sections before you start your trip.
Check periodically to see that all hitch nuts and bolts
are tight.
Trailer Wiring Harness
Your vehicle may be equipped with a four-pin trailer
towing harness. This harness has a four-pin trailer
connector that is attached to a bracket on the hitch
platform. The four-wire harness contains the following
trailer circuits:
Yellow: Left Stop/Turn Signal
Green: Right Stop/Turn Signal
Brown: Taillamps/Park lamps
White: Ground
4-67
Page 288 of 414
How to Add Automatic Transmission
Fluid
Refer to the Maintenance Schedule to determine what
kind of transmission �uid to use. SeeRecommended
Fluids and Lubricants on page 6-12.
Add �uid only after checking the transmission �uid
while it is hot. A cold check is used only as a reference.
If the �uid level is low, add only enough of the proper
�uid to bring the level up to the HOT area for a hot
check. It does not take much �uid, generally less than
one pint (0.5 L). Do not over�ll.
Notice:Use of the incorrect automatic transmission
�uid may damage your vehicle, and the damages
may not be covered by your warranty. Always
use the automatic transmission �uid listed in
Recommended Fluids and Lubricants on page 6-12.
After adding �uid, recheck the �uid level as
described under “How to Check Automatic
Transmission Fluid,” earlier in this section.
When the correct �uid level is obtained, push the
dipstick back in all the way; then �ip the handle
down to lock the dipstick in place.
Manual Transmission Fluid
When to Check
A good time to have it checked is when the engine oil is
changed. However, the �uid in your manual transmission
does not require changing.
How to Check
Because this operation can be a little difficult, you may
choose to have this done at your GM dealership
service department.
If you do it yourself, be sure to follow all the instructions
here, or you could get a false reading.
Notice:Too much or too little �uid can damage
your transmission. Too little �uid could cause
the transmission to overheat. Be sure to get an
accurate reading if you check your transmission
�uid.
Check the �uid level only when your engine is off, the
vehicle is parked on a level place and the transmission
is cool enough for you to rest your �ngers on the
transmission case.
5-22
Page 310 of 414
Rear Axle
When to Check and Change Lubricant
It is not necessary to regularly check rear axle �uid
unless you suspect there is a leak or you hear an
unusual noise. A �uid loss could indicate a problem.
Have it inspected and repaired.
How to Check Lubricant
To get an accurate reading, the vehicle should be on
a level surface.
If the level is below the bottom of the �ller plug hole,
located on the rear axle, you will need to add some
lubricant. Add enough lubricant to raise the level to
the bottom of the �ller plug hole.
What to Use
SeeRecommended Fluids and Lubricants on page 6-12
to determine which kind of lubricant to use.
Four-Wheel Drive
Lubricant checks in this section apply to this vehicle.
There are two additional systems that need lubrication.
Transfer Case
When to Check Lubricant
Refer to the Maintenance Schedule to determine how
often to check the lubricant. SeeAdditional Required
Services on page 6-6.
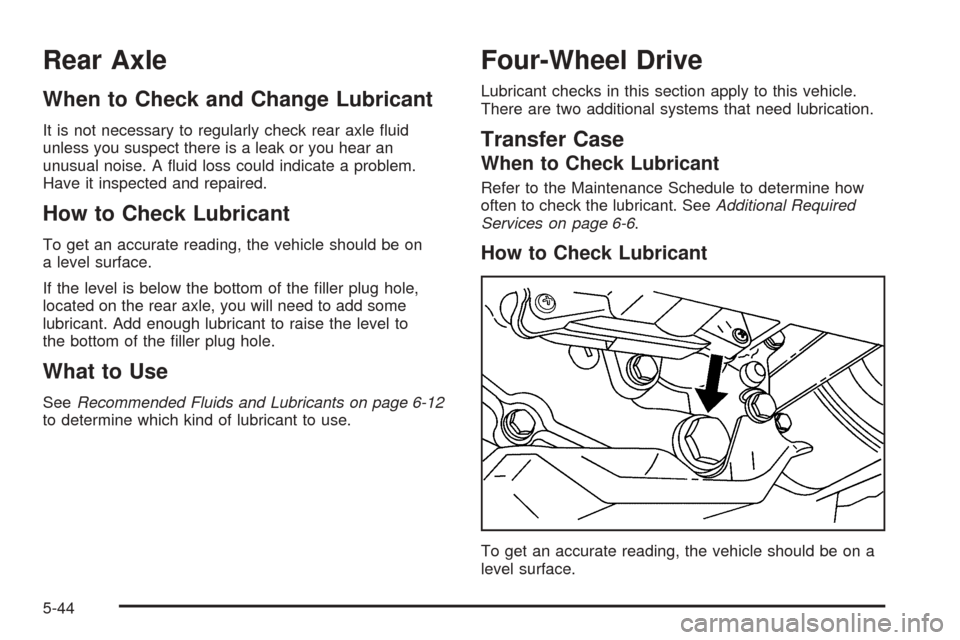
How to Check Lubricant
To get an accurate reading, the vehicle should be on a
level surface.
5-44