2005 CHEVROLET CLASSIC reset
[x] Cancel search: resetPage 100 of 320
Resuming a Set Speed
Suppose you set your cruise control at a desired
speed and then you apply the brake. This shuts off the
cruise control. But you do not need to reset it. Once
you are going about 25 mph (40 km/h) or more, you
can press the cruise control ACCEL RESUME button
briefly. You will go right back up to your chosen
speed and stay there.
If you press the ACCEL RESUME button briefly, the
vehicle will keep going faster until you release the switch
or apply the brake. So unless you want to go faster,
do not hold down the ACCEL RESUME button.
Increasing Speed While Using Cruise
Control
There are two ways to go to a higher speed.
•Use the accelerator pedal to get to the higher
speed. Press the SET DECEL button, then release
the button and the accelerator pedal. You will
now cruise at the higher speed.
•Press the ACCEL RESUME button. Hold it there until
you get up to the speed you want, and then release
the button. To increase your speed in very small
amounts, press the ACCEL RESUME button briefly
and then release it. Each time you do this, your
vehicle will go about 1 mph (1.6 km/h) faster.The accelerate feature will only work after you turn on
the cruise control by pressing the SET DECEL button.
Reducing Speed While Using Cruise
Control
There are two ways to reduce your speed while using
cruise control:
•Press the SET DECEL button until you reach the
lower speed you want, then release it.
•To slow down in very small amounts, press the
SET DECEL button briefly. Each time you do
this, you will go about 1 mph (1.6 km/h) slower.
Passing Another Vehicle While Using
Cruise Control
Use the accelerator pedal to increase your speed.
When you take your foot off the pedal, your vehicle will
slow down to the cruise control speed you set earlier.
3-12
Page 112 of 320
Speedometer and Odometer
Your speedometer lets you see your speed in miles
per hour (mph).
Your odometer shows how far your vehicle has been
driven in miles.
Your vehicle has a tamper resistant odometer. The
digital odometer will read 999,999 if someone tries to
turn it back.
Repair or replacement of you instrument panel cluster
should only be performed by an authorized GM dealer.
Trip Odometer
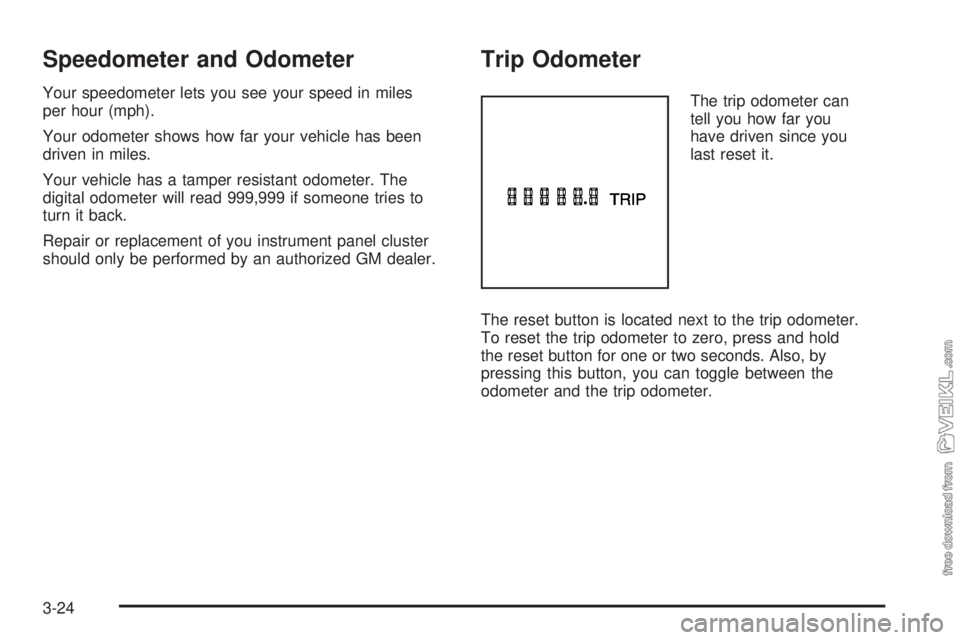
The trip odometer can
tell you how far you
have driven since you
last reset it.
The reset button is located next to the trip odometer.
To reset the trip odometer to zero, press and hold
the reset button for one or two seconds. Also, by
pressing this button, you can toggle between the
odometer and the trip odometer.
3-24
Page 116 of 320
If the light comes on while you are driving, pull off the
road and stop carefully. You may notice that the pedal
is harder to push. Or, the pedal may go closer to
the floor. It may take longer to stop. If the light is still
on, have the vehicle towed for service. SeeTowing Your
Vehicle on page 4-32.
{CAUTION:
Your brake system may not be working
properly if the brake system warning light is
on. Driving with the brake system warning
light on can lead to an accident. If the light
is still on after you have pulled off the road
and stopped carefully, have the vehicle towed
for service.
Anti-Lock Brake System Warning
Light
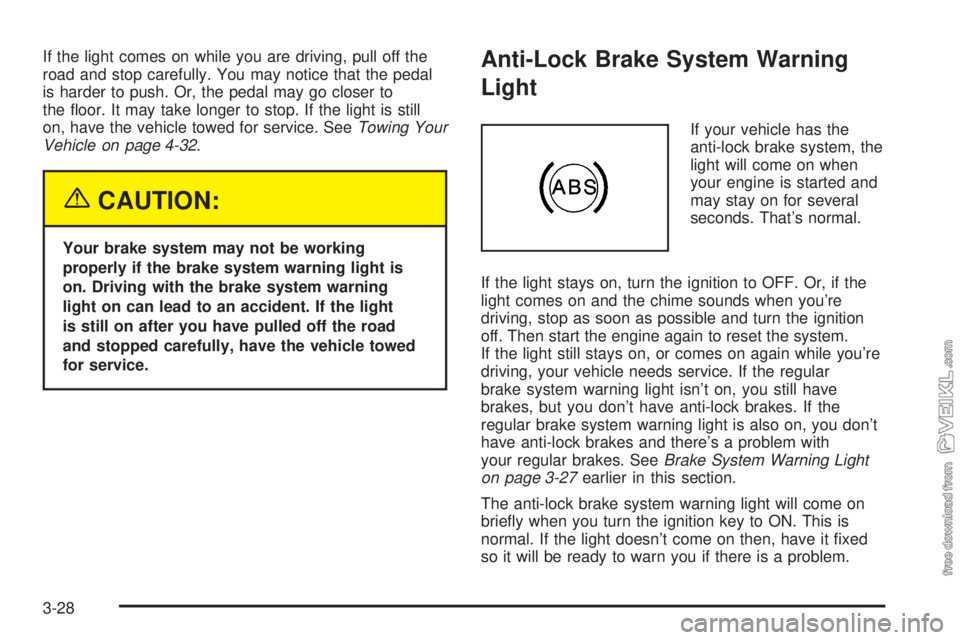
If your vehicle has the
anti-lock brake system, the
light will come on when
your engine is started and
may stay on for several
seconds. That’s normal.
If the light stays on, turn the ignition to OFF. Or, if the
light comes on and the chime sounds when you’re
driving, stop as soon as possible and turn the ignition
off. Then start the engine again to reset the system.
If the light still stays on, or comes on again while you’re
driving, your vehicle needs service. If the regular
brake system warning light isn’t on, you still have
brakes, but you don’t have anti-lock brakes. If the
regular brake system warning light is also on, you don’t
have anti-lock brakes and there’s a problem with
your regular brakes. SeeBrake System Warning Light
on page 3-27earlier in this section.
The anti-lock brake system warning light will come on
briefly when you turn the ignition key to ON. This is
normal. If the light doesn’t come on then, have it fixed
so it will be ready to warn you if there is a problem.
3-28
Page 125 of 320
Radio with CD
Playing the Radio
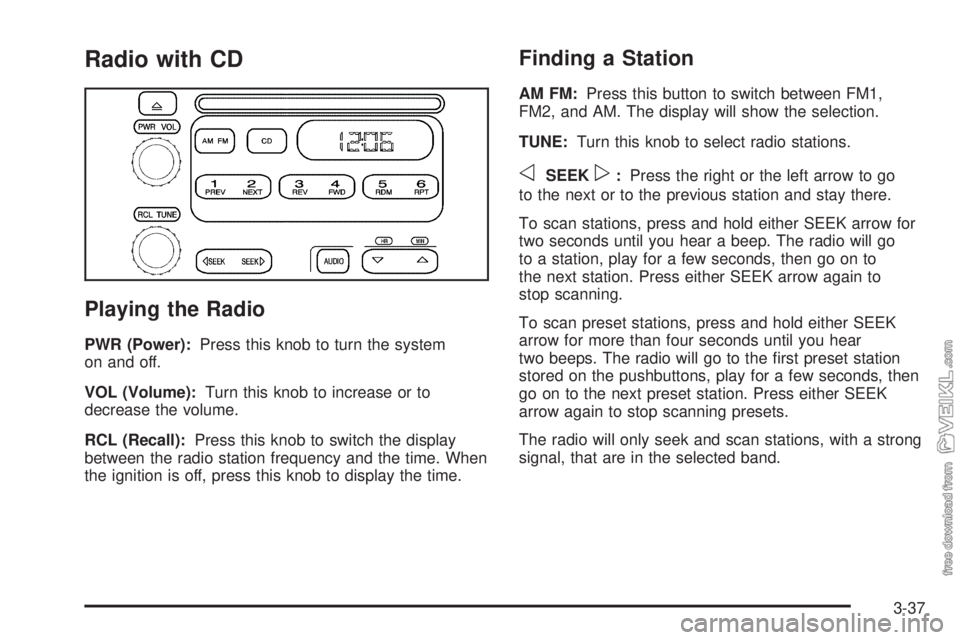
PWR (Power):Press this knob to turn the system
on and off.
VOL (Volume):Turn this knob to increase or to
decrease the volume.
RCL (Recall):Press this knob to switch the display
between the radio station frequency and the time. When
the ignition is off, press this knob to display the time.
Finding a Station
AM FM:Press this button to switch between FM1,
FM2, and AM. The display will show the selection.
TUNE:Turn this knob to select radio stations.
oSEEKp:Press the right or the left arrow to go
to the next or to the previous station and stay there.
To scan stations, press and hold either SEEK arrow for
two seconds until you hear a beep. The radio will go
to a station, play for a few seconds, then go on to
the next station. Press either SEEK arrow again to
stop scanning.
To scan preset stations, press and hold either SEEK
arrow for more than four seconds until you hear
two beeps. The radio will go to the first preset station
stored on the pushbuttons, play for a few seconds, then
go on to the next preset station. Press either SEEK
arrow again to stop scanning presets.
The radio will only seek and scan stations, with a strong
signal, that are in the selected band.
3-37
Page 126 of 320
Setting Preset Stations
Up to 18 stations (six FM1, six FM2, and six AM), can
be programmed on the six numbered pushbuttons,
by performing the following steps:
1. Turn the radio on.
2. Press AM FM to select FM1, FM2, or AM.
3. Tune in the desired station.
4. Press and hold one of the six numbered
pushbuttons until you hear a beep. Whenever that
numbered pushbutton is pressed, the station
that was set will return.
5. Repeat the steps for each pushbutton.
Setting the Tone (Bass/Treble)
AUDIO:To adjust the bass or the treble, press and
release the AUDIO button until BAS or TRE appears on
the display. Then press and hold the up or the down
arrow to increase or to decrease. If a station is weak or
noisy, decrease the treble.
To adjust bass or treble to the middle position, select
BAS or TRE. Then press and hold the AUDIO button for
more than two seconds until you hear a beep. B and
a zero or T and a zero will appear on the display.To adjust both tone controls and both speaker controls
to the middle position, first end out of audio mode
by pressing another button, causing the radio to perform
that function, or by waiting five seconds for the display
to return to the time of day. Then press and hold
the AUDIO button for more than two seconds until you
hear a beep. CEN will appear on the display.
Adjusting the Speakers (Balance/Fade)
AUDIO:To adjust the balance between the right
and the left speakers, press and release the AUDIO
button until BAL appears on the display. Then press and
hold the up or the down arrow to move the sound
toward the right or the left speakers.
To adjust the fade between the front and the rear
speakers, press and release the AUDIO button until
FAD appears on the display. Then press and hold the up
or the down arrow to move the sound toward the front
or the rear speakers.
To adjust balance or fade to the middle position, select
BAL or FAD. Then press and hold AUDIO for more
than two seconds until you hear a beep. L and a zero
or F and a zero will appear on the display.
3-38
Page 130 of 320
To change the default on the display, press the DISPL
knob until you see the display you want, then hold
the knob for two seconds. The radio will produce one
beep and the selected display will now be the default.
AUTO VOL (Automatic Volume):With automatic
volume, the audio system adjusts automatically to make
up for road and wind noise as you drive.
Set the volume at the desired level. Press this button
to select LOW, MEDIUM, or HIGH. AVOL will appear on
the display. Each higher setting will allow for more
volume compensation at faster vehicle speeds. NONE
will appear on the display if the radio cannot determine
the vehicle speed. To turn automatic volume off,
press this button until OFF appears on the display.
Finding a Station
BAND:Press this button to switch between FM1, FM2,
and AM. The display will show the selection.
TUNE:Turn this knob to select radio stations.
qSEEKr:Press the right or the left arrow to go to
the next or to the previous station and stay there.
The radio will only seek stations with a strong signal
that are in the selected band.
qPSCANr(Preset Scan):Press and hold either
arrow for more than two seconds until SCAN appears on
the display and you hear a beep. The radio will go to
the first preset station, play for a few seconds, then go
on to the next preset station. Press either arrow
again or one of the pushbuttons to stop scanning
presets.
The radio will only scan stations with a strong signal
that are in the selected band.
Setting Preset Stations
Up to 18 stations (six FM1, six FM2, and six AM), can
be programmed on the six numbered pushbuttons,
by performing the following steps:
1. Turn the radio on.
2. Press BAND to select FM1, FM2, or AM.
3. Tune in the desired station.
4. Press AUTO TONE to select the equalization.
5. Press and hold one of the six numbered
pushbuttons until you hear a beep. Whenever that
numbered pushbutton is pressed, the station
that was set will return and the equalization that
was selected will be stored for that pushbutton.
6. Repeat the steps for each pushbutton.
3-42
Page 140 of 320
The tape player should be cleaned regularly after every
50 hours of use. The radio may display CLEAN TAPE
to indicate that the tape player has been used for
50 hours without resetting the tape clean timer. If this
message appears on the display, the cassette tape
player needs to be cleaned. It will still play tapes, but it
should be cleaned as soon as possible to prevent
damage to the tapes and player. If there is a reduction
in sound quality, try a known good cassette to see if
the tape or the tape player is at fault. If this other
cassette has no improvement in sound quality, clean
the tape player.
For best results, use a scrubbing action, non-abrasive
cleaning cassette with pads which scrub the tape
head as the hubs of the cleaner cassette turn. The
recommended cleaning cassette is available through
your dealer.
The broken tape detection feature of the cassette
tape player may identify the cleaning cassette as a
damaged tape, in error. To prevent the cleaning cassette
from being ejected, use the following steps:
1. Turn the ignition on.
2. Turn the radio off.
3. Press and hold the TAPE CD button for five seconds.
READY will appear on the display and a cassette
symbol will flash for five seconds.4. Insert the scrubbing action cleaning cassette.
5. Eject the cleaning cassette after the manufacturer’s
recommended cleaning time.
After the cleaning cassette is ejected, the broken
tape detection feature will be active again.
A non-scrubbing action, wet-type cleaner which uses a
cassette with a fabric belt to clean the tape head
can be used. This type of cleaning cassette will not
eject on its own. A non-scrubbing action cleaner may not
clean as thoroughly as the scrubbing type cleaner.
The use of a non-scrubbing action, dry-type cleaning
cassette is not recommended.
After the player is cleaned, press and hold the cassette
eject button for two seconds to reset the clean tape
timer. The radio will display TP DECK CLEANED
to show the indicator was reset.
Cassettes are subject to wear and the sound quality
may degrade over time. Always make sure the cassette
tape is in good condition before the tape player is
serviced.
3-52
Page 242 of 320
Temperature – A, B, C
The temperature grades are A (the highest), B, and C,
representing the tire’s resistance to the generation
of heat and its ability to dissipate heat when tested
under controlled conditions on a specified indoor
laboratory test wheel. Sustained high temperature can
cause the material of the tire to degenerate and
reduce tire life, and excessive temperature can lead to
sudden tire failure. The grade C corresponds to a
level of performance which all passenger car tires must
meet under the Federal Motor Vehicle Safety Standard
No. 109. Grades B and A represent higher levels of
performance on the laboratory test wheel than the
minimum required by law.
Warning: The temperature grade for this tire is
established for a tire that is properly inflated and not
overloaded. Excessive speed, underinflation, or
excessive loading, either separately or in combination,
can cause heat buildup and possible tire failure.
Wheel Alignment and Tire Balance
The wheels on your vehicle were aligned and balanced
carefully at the factory to give you the longest tire life
and best overall performance.If you notice unusual tire wear or your vehicle pulling
one way or the other, the alignment may need to
be reset. If you notice your vehicle vibrating when driving
on a smooth road, your wheels may need to be
rebalanced.
Wheel Replacement
Replace any wheel that is bent, cracked or badly rusted
or corroded. If wheel nuts keep coming loose, the
wheel, wheel bolts and wheel nuts should be replaced.
If the wheel leaks air, replace it (except some
aluminum wheels, which can sometimes be repaired).
See your dealer if any of these conditions exist.
Your dealer will know the kind of wheel you need.
Each new wheel should have the same load-carrying
capacity, diameter, width, offset and be mounted
the same way as the one it replaces.
If you need to replace any of your wheels, wheel
bolts or wheel nuts, replace them only with new GM
original equipment parts. This way, you will be sure to
have the right wheel, wheel bolts and wheel nuts
for your vehicle.
5-58