2005 CHEVROLET CLASSIC cooling
[x] Cancel search: coolingPage 71 of 320

Lockout Protection
Lockout protection is intended to provide additional
security and convenience. While any door is open and
the key is in the ignition, the doors cannot be locked
by using the power door locks.
To override this feature, while the key is in the ignition
and any door is open, press and hold down the
power door lock switch for three seconds.
This feature cannot guarantee that you will never be
locked out of your vehicle. If the key is not in the ignition,
or if you use the manual door lock or the remote
keyless entry transmitter, you could still lock your key
inside your vehicle. Always remember to take your
key with you.
Trunk
To unlock the trunk from the outside, insert the key
and turn the trunk lock cylinder. When closing the trunk
lid, push the truck lid in the center to ensure that the
lock fully latches.
{CAUTION:
It can be dangerous to drive with the trunk lid
open because carbon monoxide (CO) gas can
come into your vehicle. You cannot see or
smell CO. It can cause unconsciousness and
even death. If you must drive with the trunk lid
open or if electrical wiring or other cable
connections must pass through the seal
between the body and the trunk lid:
Make sure all other windows are shut.
Turn the fan on your heating or cooling
system to its highest speed and select the
control setting that will force outside air
into your vehicle. See Climate Control
System in the Index.
If you have air outlets on or under the
instrument panel, open them all the way.
SeeEngine Exhaust on page 2-25.
2-11
Page 106 of 320
Ashtrays and Cigarette Lighter
The ashtray is located at the lower part of the center
of the instrument panel. To remove the ashtray for
cleaning, pull up on the metal tab and pull the bin out.
Notice:If you put papers, pins, or other �ammable
items in the ashtray, hot cigarettes or other
smoking materials could ignite them and possibly
damage your vehicle. Never put �ammable items in
the ashtray.
The cigarette lighter is located above the ashtray.
To use it, just push it in all the way and let go. When
it’s ready, it will pop back out by itself.
Notice:Holding a cigarette lighter in while it is
heating will not allow the lighter to back away from
the heating element when it is hot. Damage from
overheating may occur to the lighter or heating
element. Do not hold a cigarette lighter in while it
is heating.
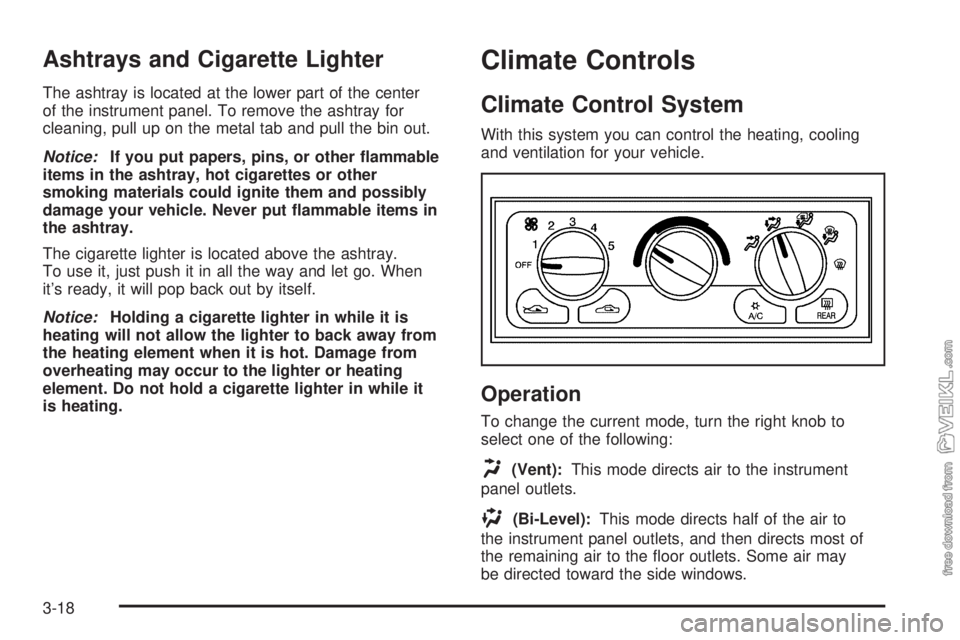
Climate Controls
Climate Control System
With this system you can control the heating, cooling
and ventilation for your vehicle.
Operation
To change the current mode, turn the right knob to
select one of the following:
H(Vent):This mode directs air to the instrument
panel outlets.
)(Bi-Level):This mode directs half of the air to
the instrument panel outlets, and then directs most of
the remaining air to the floor outlets. Some air may
be directed toward the side windows.
3-18
Page 117 of 320
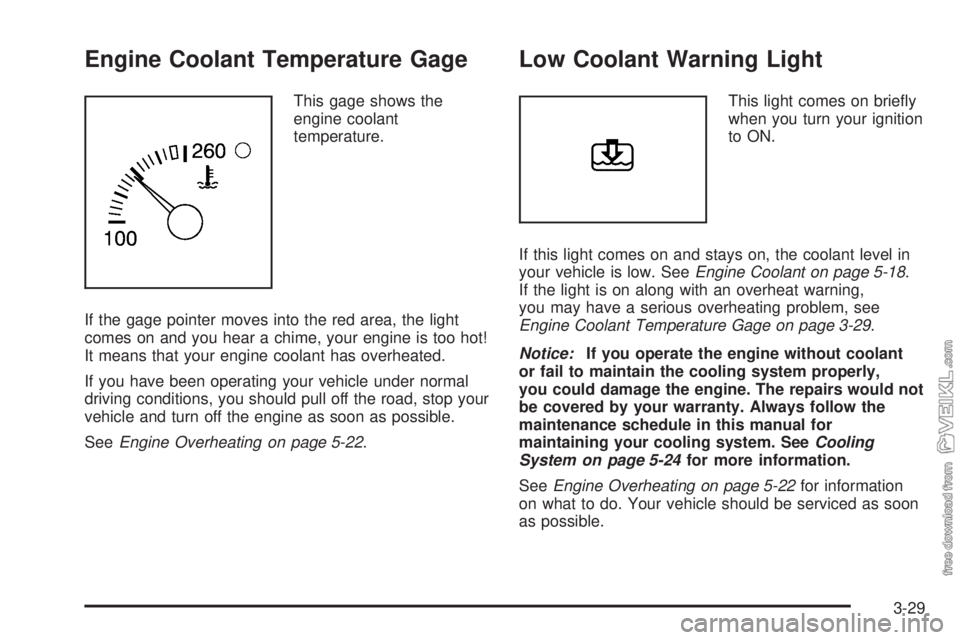
Engine Coolant Temperature Gage
This gage shows the
engine coolant
temperature.
If the gage pointer moves into the red area, the light
comes on and you hear a chime, your engine is too hot!
It means that your engine coolant has overheated.
If you have been operating your vehicle under normal
driving conditions, you should pull off the road, stop your
vehicle and turn off the engine as soon as possible.
SeeEngine Overheating on page 5-22.
Low Coolant Warning Light
This light comes on briefly
when you turn your ignition
to ON.
If this light comes on and stays on, the coolant level in
your vehicle is low. SeeEngine Coolant on page 5-18.
If the light is on along with an overheat warning,
you may have a serious overheating problem, see
Engine Coolant Temperature Gage on page 3-29.
Notice:If you operate the engine without coolant
or fail to maintain the cooling system properly,
you could damage the engine. The repairs would not
be covered by your warranty. Always follow the
maintenance schedule in this manual for
maintaining your cooling system. SeeCooling
System on page 5-24for more information.
SeeEngine Overheating on page 5-22for information
on what to do. Your vehicle should be serviced as soon
as possible.
3-29
Page 163 of 320
If you drive regularly in steep country, or if you are
planning to visit there, here are some tips that can
make your trips safer and more enjoyable.
•Keep your vehicle in good shape. Check all fluid
levels and also the brakes, tires, cooling system,
and transaxle. These parts can work hard on
mountain roads.
•Know how to go down hills. The most important
thing to know is this: let your engine do some of
the slowing down. Shift to a lower gear when you
go down a steep or long hill.
{CAUTION:
If you do not shift down, your brakes could
get so hot that they would not work well. You
would then have poor braking or even none
going down a hill. You could crash. Shift down
to let your engine assist your brakes on a
steep downhill slope.
{CAUTION:
Coasting downhill in NEUTRAL (N) or with the
ignition off is dangerous. Your brakes will have
to do all the work of slowing down. They could
get so hot that they would not work well. You
would then have poor braking or even none
going down a hill. You could crash. Always
have your engine running and your vehicle in
gear when you go downhill.
•Know how to go uphill. Drive in the highest gear
possible.
•Stay in your own lane when driving on two-lane
roads in hills or mountains. Do not swing wide
or cut across the center of the road. Drive at speeds
that let you stay in your own lane.
•As you go over the top of a hill, be alert. There could
be something in your lane, like a stalled car or an
accident.
•You may see highway signs on mountains that warn
of special problems. Examples are long grades,
passing or no-passing zones, a falling rocks area, or
winding roads. Be alert to these and take appropriate
action.
4-21
Page 183 of 320
When You Are Ready to Leave After
Parking on a Hill
1. Apply your regular brakes and hold the pedal down
while you:
•start your engine,
•shift into a gear, and
•release the parking brake.
2. Let up on the brake pedal.
3. Drive slowly until the trailer is clear of the chocks.
4. Stop and have someone pick up and store the
chocks.
Maintenance When Trailer Towing
Your vehicle will need service more often when you
are pulling a trailer. SeePart A: Scheduled Maintenance
Services on page 6-4for more on this. Things that
are especially important in trailer operation are
automatic transaxle fluid (do not overfill), engine oil,
drive belt, cooling system and brake system.
Each of these is covered in this manual, and the Index
will help you find them quickly. If you’re trailering, it
is a good idea to review this information before you
start your trip.
Check periodically to see that all hitch nuts and bolts
are tight.
Engine Cooling When Trailer Towing
Your cooling system may temporarily overheat during
severe operating conditions. SeeEngine Overheating
on page 5-22.
4-41
Page 185 of 320
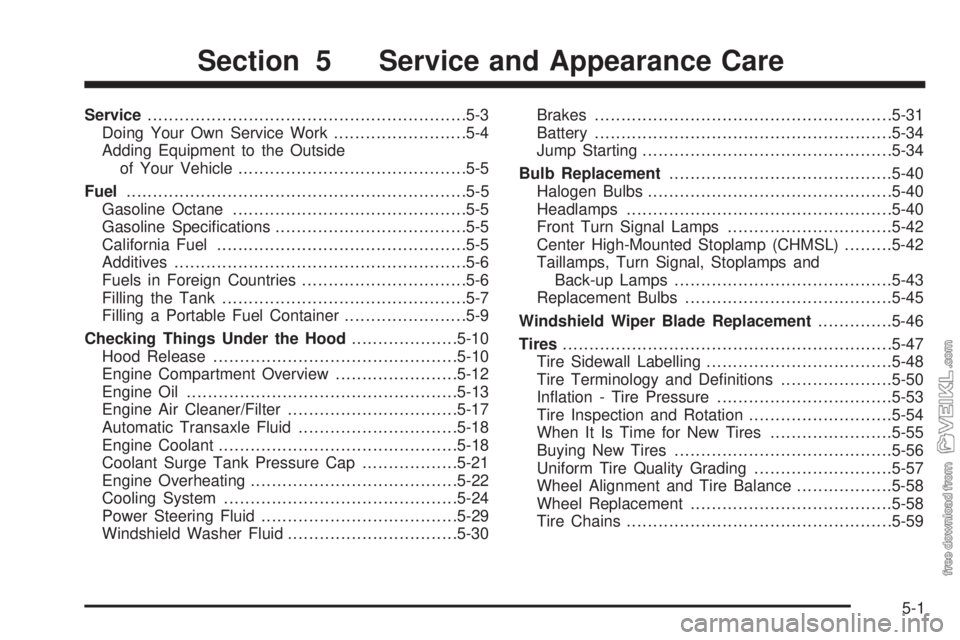
Service............................................................5-3
Doing Your Own Service Work.........................5-4
Adding Equipment to the Outside
of Your Vehicle...........................................5-5
Fuel................................................................5-5
Gasoline Octane............................................5-5
Gasoline Specifications....................................5-5
California Fuel...............................................5-5
Additives.......................................................5-6
Fuels in Foreign Countries...............................5-6
Filling the Tank..............................................5-7
Filling a Portable Fuel Container.......................5-9
Checking Things Under the Hood....................5-10
Hood Release..............................................5-10
Engine Compartment Overview.......................5-12
Engine Oil...................................................5-13
Engine Air Cleaner/Filter................................5-17
Automatic Transaxle Fluid..............................5-18
Engine Coolant.............................................5-18
Coolant Surge Tank Pressure Cap..................5-21
Engine Overheating.......................................5-22
Cooling System............................................5-24
Power Steering Fluid.....................................5-29
Windshield Washer Fluid................................5-30Brakes........................................................5-31
Battery........................................................5-34
Jump Starting...............................................5-34
Bulb Replacement..........................................5-40
Halogen Bulbs..............................................5-40
Headlamps..................................................5-40
Front Turn Signal Lamps...............................5-42
Center High-Mounted Stoplamp (CHMSL).........5-42
Taillamps, Turn Signal, Stoplamps and
Back-up Lamps.........................................5-43
Replacement Bulbs.......................................5-45
Windshield Wiper Blade Replacement..............5-46
Tires..............................................................5-47
Tire Sidewall Labelling...................................5-48
Tire Terminology and Definitions.....................5-50
Inflation - Tire Pressure.................................5-53
Tire Inspection and Rotation...........................5-54
When It Is Time for New Tires.......................5-55
Buying New Tires.........................................5-56
Uniform Tire Quality Grading..........................5-57
Wheel Alignment and Tire Balance..................5-58
Wheel Replacement......................................5-58
Tire Chains..................................................5-59
Section 5 Service and Appearance Care
5-1
Page 197 of 320
A. Engine Coolant Surge Tank. SeeCooling System
on page 5-24.
B. Ground. SeeJump Starting on page 5-34.
C. Engine Oil Dipstick. See “Checking Engine Oil”
underEngine Oil on page 5-13.
D. Engine Oil Fill Cap. See “When to Add Engine Oil”
underEngine Oil on page 5-13.
E. Brake Fluid Reservoir. See “Brake Fluid” under
Brakes on page 5-31.
F. Power Steering Fluid Reservoir. SeePower Steering
Fluid on page 5-29.
G. Engine Compartment Fuse Block. SeeEngine
Compartment Fuse Block on page 5-83.
H. Engine Air Cleaner/Filter. SeeEngine Air
Cleaner/Filter on page 5-17.
I. Battery. SeeBattery on page 5-34.
J. Windshield Washer Fluid Reservoir. See “Adding
Washer Fluid” underWindshield Washer Fluid
on page 5-30.Engine Oil
Checking Engine Oil
It is a good idea to check your engine oil every time you
get fuel. In order to get an accurate reading, the oil
must be warm and the vehicle must be on level ground.
The engine oil dipstick handle is a yellow loop. See
Engine Compartment Overview on page 5-12for
the location of the engine oil dipstick.
1. Turn off the engine and give the oil several minutes
to drain back into the oil pan. If you do not do this,
the oil dipstick might not show the actual level.
2. Pull the dipstick and clean it with a paper towel or
cloth, then push it back in all the way. Remove it
again, keeping the tip down and check the level.
5-13
Page 202 of 320
Refer to the Maintenance Schedule to determine when
to replace the air filter. SeePart A: Scheduled
Maintenance Services on page 6-4.
{CAUTION:
Operating the engine with the air cleaner/�lter
off can cause you or others to be burned. The
air cleaner not only cleans the air; it helps to
stop �ame if the engine back�res. If it is not
there and the engine back�res, you could
be burned. Do not drive with it off, and be
careful working on the engine with the air
cleaner/�lter off.
Notice:If the air cleaner/�lter is off, a back�re
can cause a damaging engine �re. And, dirt
can easily get into your engine, which will damage
it. Always have the air cleaner/�lter in place
when you are driving.
Automatic Transaxle Fluid
It is not necessary to check the transaxle fluid level.
A transaxle fluid leak is the only reason for fluid loss.
If a leak occurs, take the vehicle to the dealership
service department and have it repaired as soon as
possible.
Change the fluid and filter at the intervals listed in
Part A: Scheduled Maintenance Services on page 6-4,
and be sure to use the transaxle fluid listed in
Part D: Recommended Fluids and Lubricants on
page 6-22.
Notice:Use of the incorrect automatic transaxle
�uid may damage your vehicle, and the damages
may not be covered by your warranty. Always
use the automatic transaxle �uid listed in
Part D: Recommended Fluids and Lubricants on
page 6-22.
Engine Coolant
The cooling system in your vehicle is filled with
DEX-COOL®engine coolant. This coolant is designed
to remain in your vehicle for five years or 150,000 miles
(240 000 km), whichever occurs first, if you add only
DEX-COOL
®extended life coolant.
5-18