2005 BUICK LACROSSE maintenance schedule
[x] Cancel search: maintenance schedulePage 1 of 410

Seats and Restraint Systems........................... 1-1
Front Seats
............................................... 1-3
Rear Seats
............................................... 1-8
Safety Belts
.............................................1-10
Child Restraints
.......................................1-31
Airbag System
.........................................1-51
Restraint System Check
............................1-65
Features and Controls..................................... 2-1
Keys
........................................................ 2-2
Doors and Locks
......................................2-10
Windows
.................................................2-15
Theft-Deterrent Systems
............................2-17
Starting and Operating Your Vehicle
...........2-21
Mirrors
....................................................2-32
OnStar
®System
......................................2-34
HomeLink®Transmitter
.............................2-36
Storage Areas
.........................................2-40
Sunroof
..................................................2-42
Instrument Panel............................................. 3-1
Instrument Panel Overview
.......................... 3-4
Climate Controls
......................................3-21
Warning Lights, Gages, and Indicators
........3-30
Driver Information Center (DIC)
..................3-47
Audio System(s)
.......................................3-79Driving Your Vehicle....................................... 4-1
Your Driving, the Road, and Your Vehicle
..... 4-2
Towing
...................................................4-34
Service and Appearance Care.......................... 5-1
Service
..................................................... 5-3
Fuel
......................................................... 5-5
Checking Things Under the Hood
...............5-10
Headlamp Aiming
.....................................5-43
Bulb Replacement
....................................5-45
Windshield Wiper Blade Replacement
.........5-51
Tires
......................................................5-52
Appearance Care
.....................................5-78
Vehicle Identi�cation
.................................5-86
Electrical System
......................................5-87
Capacities and Speci�cations
.....................5-92
Maintenance Schedule..................................... 6-1
Maintenance Schedule
................................ 6-2
Customer Assistance and Information.............. 7-1
Customer Assistance and Information
........... 7-2
Reporting Safety Defects
...........................7-10
Index................................................................ 1
2005 Buick LaCrosse Owner ManualM
Page 140 of 410

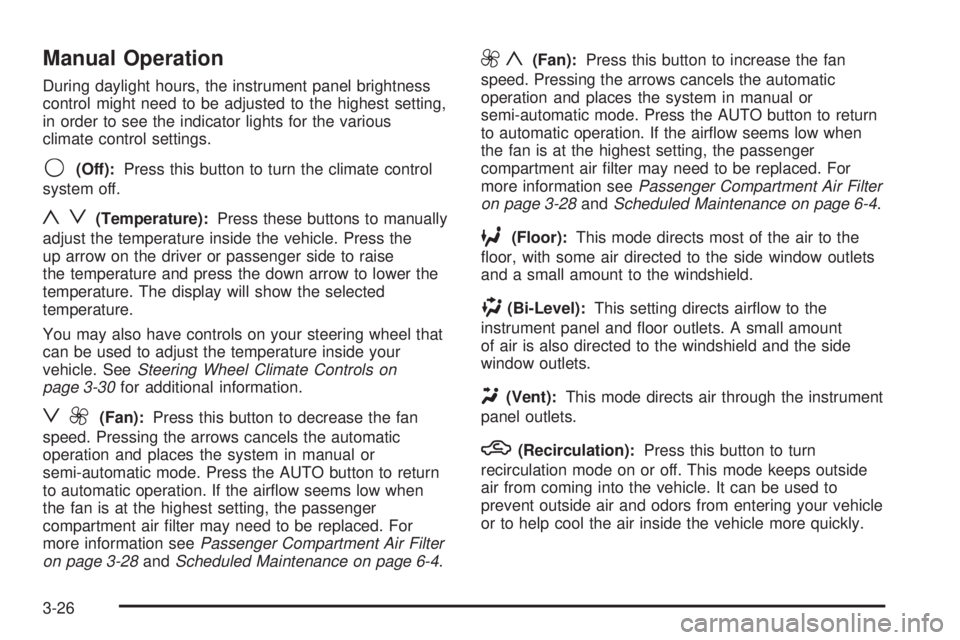
Manual Operation
During daylight hours, the instrument panel brightness
control might need to be adjusted to the highest setting,
in order to see the indicator lights for the various
climate control settings.
9(Off):Press this button to turn the climate control
system off.
yz(Temperature):Press these buttons to manually
adjust the temperature inside the vehicle. Press the
up arrow on the driver or passenger side to raise
the temperature and press the down arrow to lower the
temperature. The display will show the selected
temperature.
You may also have controls on your steering wheel that
can be used to adjust the temperature inside your
vehicle. SeeSteering Wheel Climate Controls on
page 3-30for additional information.
z9(Fan):Press this button to decrease the fan
speed. Pressing the arrows cancels the automatic
operation and places the system in manual or
semi-automatic mode. Press the AUTO button to return
to automatic operation. If the air�ow seems low when
the fan is at the highest setting, the passenger
compartment air �lter may need to be replaced. For
more information seePassenger Compartment Air Filter
on page 3-28andScheduled Maintenance on page 6-4.
9y(Fan):Press this button to increase the fan
speed. Pressing the arrows cancels the automatic
operation and places the system in manual or
semi-automatic mode. Press the AUTO button to return
to automatic operation. If the air�ow seems low when
the fan is at the highest setting, the passenger
compartment air �lter may need to be replaced. For
more information seePassenger Compartment Air Filter
on page 3-28andScheduled Maintenance on page 6-4.
6(Floor):This mode directs most of the air to the
�oor, with some air directed to the side window outlets
and a small amount to the windshield.
)(Bi-Level):This setting directs air�ow to the
instrument panel and �oor outlets. A small amount
of air is also directed to the windshield and the side
window outlets.
Y(Vent):This mode directs air through the instrument
panel outlets.
h(Recirculation):Press this button to turn
recirculation mode on or off. This mode keeps outside
air from coming into the vehicle. It can be used to
prevent outside air and odors from entering your vehicle
or to help cool the air inside the vehicle more quickly.
3-26
Page 142 of 410

Rear Window Defogger
The rear window defogger uses a warming grid to
remove fog or frost from the rear window. The rear
window defogger will only work when the engine
is running.
=(Rear Window Defogger):Press this button to
turn the rear window defogger on and off. Be sure
to clear as much snow from the rear window as possible.
The rear window defogger will turn off approximately
20 minutes after the button is pressed. If turned on
again, the defogger will only run for approximately
20 minutes before turning off. The defogger can also be
turned off by pressing the button again or by turning
off the engine.
Do not drive the vehicle until all the windows are clear.
Notice:Using a razor blade or sharp object to
clear the inside rear window may damage the rear
window defogger. Repairs would not be covered
by your warranty. Do not clear the inside of the rear
window with sharp objects.
Outlet Adjustment
Use the thumbwheels located between the center
outlets to open and close the outlets. Move the lever in
the center of each air outlet to adjust the direction of
the air�ow.
Operation Tips
Clear away any ice, snow or leaves from the air
inlets at the base of the windshield that may
block the �ow of air into the vehicle.
Use of non-GM approved hood de�ectors may
adversely affect the performance of the system.
Keep the path under the front seats clear of
objects to help circulate the air inside of the
vehicle more effectively.
If the vehicle has a passenger compartment air �lter
and the air�ow seems low when the fan is at the
highest setting it may need to be replaced. For more
information, seePassenger Compartment Air
Filter on page 3-28.
Passenger Compartment Air Filter
The passenger compartment air �lter is located in
the engine compartment below the air inlet grille, near
the passenger’s side windshield wiper arm. See
Engine Compartment Overview on page 5-12.
The �lter traps most of the pollen from the air entering
the air conditioning module. Like the engine’s air cleaner
�lter, it may need to be changed periodically. For
information on how often to change the passenger
compartment air �lter, seeScheduled Maintenance on
page 6-4.
3-28
Page 156 of 410

Oil Pressure Light
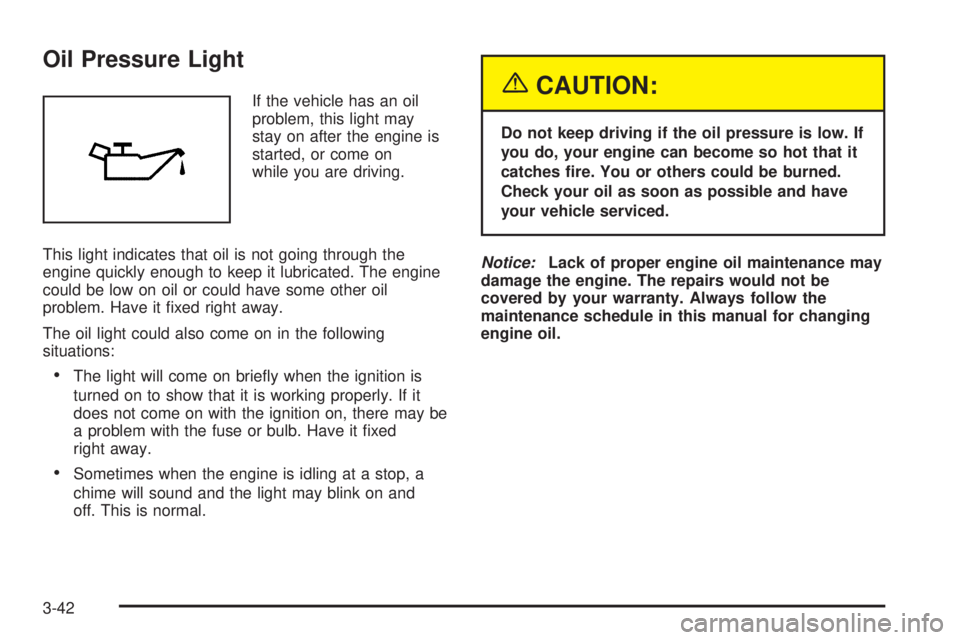
If the vehicle has an oil
problem, this light may
stay on after the engine is
started, or come on
while you are driving.
This light indicates that oil is not going through the
engine quickly enough to keep it lubricated. The engine
could be low on oil or could have some other oil
problem. Have it �xed right away.
The oil light could also come on in the following
situations:
The light will come on brie�y when the ignition is
turned on to show that it is working properly. If it
does not come on with the ignition on, there may be
a problem with the fuse or bulb. Have it �xed
right away.
Sometimes when the engine is idling at a stop, a
chime will sound and the light may blink on and
off. This is normal.
{CAUTION:
Do not keep driving if the oil pressure is low. If
you do, your engine can become so hot that it
catches �re. You or others could be burned.
Check your oil as soon as possible and have
your vehicle serviced.
Notice:Lack of proper engine oil maintenance may
damage the engine. The repairs would not be
covered by your warranty. Always follow the
maintenance schedule in this manual for changing
engine oil.
3-42
Page 157 of 410

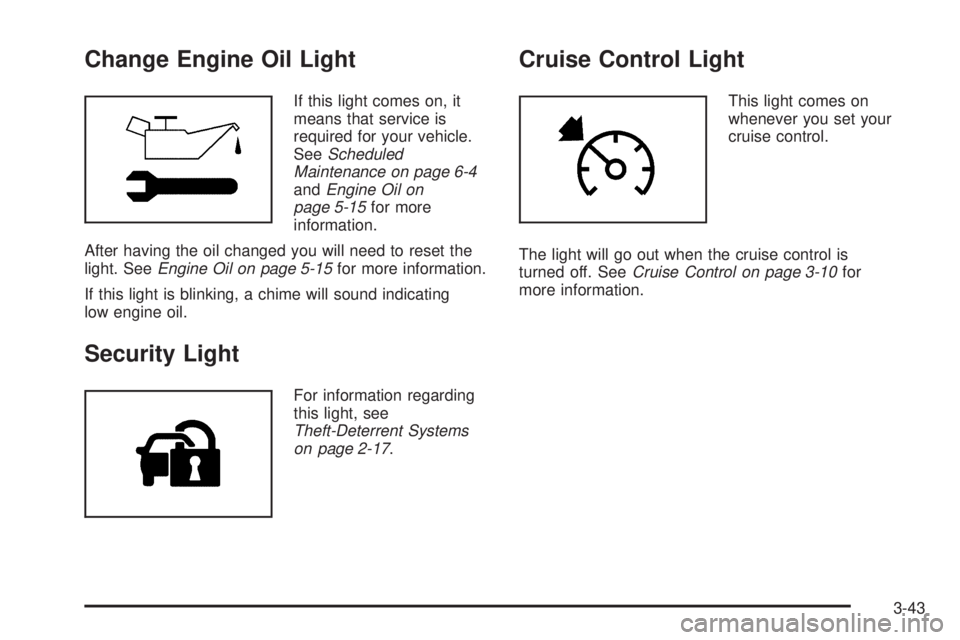
Change Engine Oil Light
If this light comes on, it
means that service is
required for your vehicle.
SeeScheduled
Maintenance on page 6-4
andEngine Oil on
page 5-15for more
information.
After having the oil changed you will need to reset the
light. SeeEngine Oil on page 5-15for more information.
If this light is blinking, a chime will sound indicating
low engine oil.
Security Light
For information regarding
this light, see
Theft-Deterrent Systems
on page 2-17.
Cruise Control Light
This light comes on
whenever you set your
cruise control.
The light will go out when the cruise control is
turned off. SeeCruise Control on page 3-10for
more information.
3-43
Page 165 of 410

If there is a problem with the battery charging system, a
DIC message will display. SeeDIC Warnings and
Messages on page 3-53for more information.
Your vehicle’s charging system regulates voltage based
on the state of the battery. The battery voltage may
�uctuate when viewing this information on the DIC. This
is normal.
Oil Life
Press the gages button until OIL LIFE displays. This
mode shows an estimate of the oil’s remaining useful
life. If you see OIL LIFE 99% on the display, that means
99% of the current oil life remains. The engine oil life
system will alert you to change your oil on a schedule
consistent with your driving conditions.
When the remaining oil life is low, the CHANGE OIL
SOON message will appear on the display. You should
change your oil as soon as possible. SeeEngine Oil
on page 5-15. In addition to the engine oil life system
monitoring the oil life, additional maintenance is
recommended in the Maintenance Schedule in this
manual. SeeScheduled Maintenance on page 6-4for
more information.
Remember, you must reset the OIL LIFE yourself after
each oil change. It will not reset itself. Also, be
careful not to reset the OIL LIFE accidentally at any
time other than when the oil has just been changed. It
cannot be reset accurately until the next oil change.To reset the engine oil life system, press and hold the
set/reset button while OIL LIFE is displayed. The display
will show 100% when the system is reset. SeeEngine
Oil Life System on page 5-18for more information.
Option Menu Items (Uplevel Only)
4
(Option):Press this button to scroll through the
following menu items:
Units
Press the option button until UNITS displays. This mode
allows you to select between English or Metric units
of measurement. Once in this mode, press the set/reset
button to select between ENGLISH or METRIC units.
Language
Press the option button until the language screen
displays. This mode allows you to select the language
in which the DIC messages will appear. Once in
this mode, press the set/reset button to select among
the following choices:
English
Francais (French)
Espanol (Spanish)
3-51
Page 168 of 410

A/C OFF FOR ENGINE PROTECTION
This message will display when the engine coolant
becomes hotter than the normal operating temperature.
SeeEngine Coolant Temperature Gage on page 3-38.
To avoid added strain on a hot engine, the air
conditioning compressor is automatically turned off.
When the coolant temperature returns to normal, the air
conditioning compressor will turn back on. You can
continue to drive your vehicle.
This message will come on while the ignition is in RUN.
Press any of the DIC buttons to acknowledge this
warning message and to clear it from the screen.
This message will continue to display for two seconds if
it has not been acknowledged when the engine is
turned off. It will also re-display for two seconds if the
message has been acknowledged, but the condition still
exists when the engine is turned off.
If the condition still exists, the message will re-appear
when the engine is turned on. If this message continues
to appear, have the system repaired by your GM dealer
as soon as possible to avoid damage to your engine.
BATTERY SAVER ACTIVE
This message will display when the system detects that
the battery voltage is dropping beyond a reasonable
level. The battery saver system will start reducing certain
features of the vehicle that you may be able to notice.At the point that the features are disabled, this message
is displayed. It means that the vehicle is trying to
save the charge in the battery.
Turn off all unnecessary accessories to allow the battery
to recharge.
The normal battery voltage range is 11.5 to 15.5 volts. If
you have an uplevel DIC, you can monitor the battery
voltage by pressing the gages button until BATTERY
displays.
CHANGE OIL SOON
This message will display when service is required for
the vehicle. See your GM dealer. SeeEngine Oil
on page 5-15andScheduled Maintenance on page 6-4
for more information.
The CHANGE OIL SOON message is reset by
acknowledging the message. The OIL LIFE screen
under the gages menu on the DIC must also be reset.
See “Oil Life” underDIC Operation and Displays on
page 3-47andEngine Oil Life System on page 5-18.
This message will display while the ignition is in
RUN. Press any of the DIC buttons to acknowledge this
message and to clear it from the screen.
3-54
Page 275 of 410

When You Are Ready to Leave After
Parking on a Hill
1. Apply the regular brakes and hold the pedal down
while you:
Start the engine.
Shift into a gear.
Release the parking brake.
2. Let up on the brake pedal.
3. Drive slowly until the trailer is clear of the chocks.
4. Stop and have someone pick up and store
the chocks.
Maintenance When Trailer Towing
The vehicle will need service more often when it pulls a
trailer. SeeScheduled Maintenance on page 6-4for
more information. Things that are especially important in
trailer operation are automatic transaxle �uid; which
should not be over�lled; engine oil, drive belt(s),
and cooling and brake systems. Each of these is
covered in this manual, and the Index will help you �nd
them quickly. If trailering, it is a good idea to review
this information before starting on a trip.
Check periodically to see that all hitch nuts and bolts
are tight.
Engine Cooling When Trailer Towing
The cooling system may temporarily overheat during
severe operating conditions. SeeEngine Overheating on
page 5-24.
4-41