2005 BUICK CENTURY brake
[x] Cancel search: brakePage 67 of 348

Keys...............................................................2-2
Remote Keyless Entry System.........................2-4
Remote Keyless Entry System Operation...........2-5
Doors and Locks............................................2-10
Door Locks..................................................2-10
Power Door Locks........................................2-11
Programmable Automatic Door Locks..............2-11
Lockout Protection........................................2-12
Leaving Your Vehicle....................................2-12
Trunk..........................................................2-12
Windows........................................................2-14
Power Windows............................................2-15
Sun Visors...................................................2-15
Theft-Deterrent Systems..................................2-16
PASS-Key
®II ...............................................2-16
Starting and Operating Your Vehicle................2-17
New Vehicle Break-In....................................2-17
Ignition Positions..........................................2-18
Retained Accessory Power (RAP)...................2-19Starting Your Engine.....................................2-19
Engine Coolant Heater..................................2-20
Automatic Transaxle Operation.......................2-21
Parking Brake..............................................2-24
Shifting Into Park (P).....................................2-25
Shifting Out of Park (P).................................2-26
Parking Over Things That Burn.......................2-27
Engine Exhaust............................................2-27
Running Your Engine While You Are Parked.......2-28
Mirrors...........................................................2-29
Manual Rearview Mirror.................................2-29
Manual Rearview Mirror with OnStar
®..............2-29
Outside Power Mirrors...................................2-30
Outside Convex Mirror...................................2-30
OnStar
®System.............................................2-31
Storage Areas................................................2-33
Glove Box...................................................2-33
Front Storage Area.......................................2-33
Convenience Net..........................................2-33
Section 2 Features and Controls
2-1
Page 74 of 348

Programming Delayed Locking
Delayed locking has two modes.
Mode One (One Chime):Delayed locking is turned off.
Mode Two (Two Chimes):Delayed locking is
turned on.
1. Close the doors.
2. Move the ignition key to the RUN position.
3. Apply the regular brakes.
4. Press and hold the power door unlock switch. While
holding the power door unlock switch, move the
shift lever out of and back into PARK (P).
One or two chimes will sound indicating what mode
the delayed locking is in.
5. Release the power door unlock switch, after one
of the chime mode sequences, to set the
desired mode.
Illumination on Remote Activation
This feature provides interior lighting when a remote
keyless entry door unlock command is received by the
vehicle. The ignition must be off for this feature to
work. The interior lamps will stay on until either the
ignition is turned to RUN or until 40 seconds has
elapsed. If a door is opened during this time, the timed
lighting will be canceled, and the interior lamps will
remain on. Also see “Entry Lighting” underInterior
Lamps on page 3-15for more information.
Matching Transmitter(s) to
Your Vehicle
Each remote keyless entry transmitter is uniquely coded
to prevent another transmitter from unlocking your
vehicle. If a transmitter is lost or stolen, a replacement
can be purchased through your dealer. Remember
to bring any additional transmitters so they also can be
re-coded to match the new transmitter. Once your
dealer has coded the new transmitter, the lost
transmitter cannot unlock the vehicle. The vehicle can
have a maximum of four transmitters coded to it.
2-8
Page 77 of 348

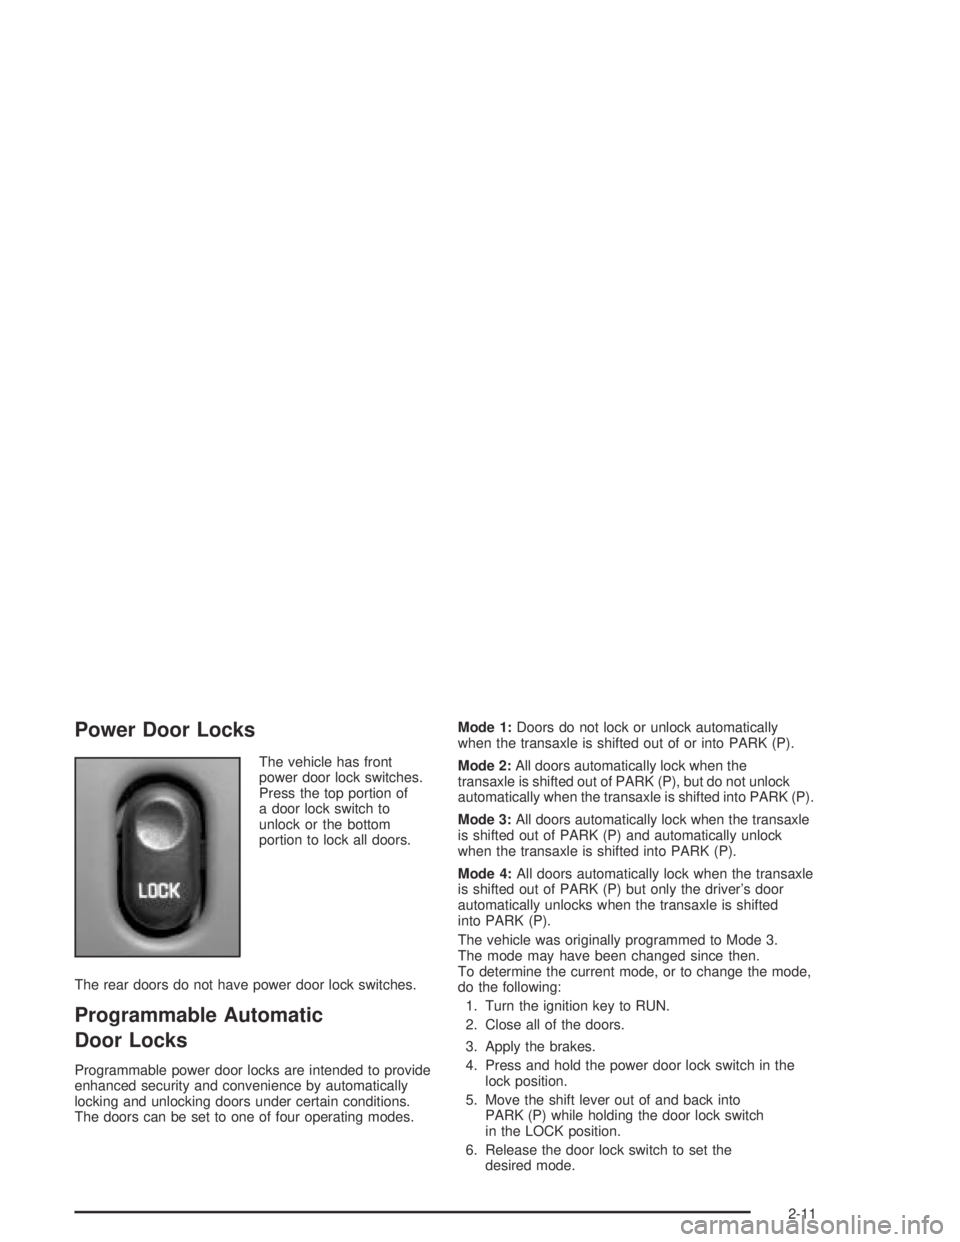
Power Door Locks
The vehicle has front
power door lock switches.
Press the top portion of
a door lock switch to
unlock or the bottom
portion to lock all doors.
The rear doors do not have power door lock switches.
Programmable Automatic
Door Locks
Programmable power door locks are intended to provide
enhanced security and convenience by automatically
locking and unlocking doors under certain conditions.
The doors can be set to one of four operating modes.Mode 1:Doors do not lock or unlock automatically
when the transaxle is shifted out of or into PARK (P).
Mode 2:All doors automatically lock when the
transaxle is shifted out of PARK (P), but do not unlock
automatically when the transaxle is shifted into PARK (P).
Mode 3:All doors automatically lock when the transaxle
is shifted out of PARK (P) and automatically unlock
when the transaxle is shifted into PARK (P).
Mode 4:All doors automatically lock when the transaxle
is shifted out of PARK (P) but only the driver’s door
automatically unlocks when the transaxle is shifted
into PARK (P).
The vehicle was originally programmed to Mode 3.
The mode may have been changed since then.
To determine the current mode, or to change the mode,
do the following:
1. Turn the ignition key to RUN.
2. Close all of the doors.
3. Apply the brakes.
4. Press and hold the power door lock switch in the
lock position.
5. Move the shift lever out of and back into
PARK (P) while holding the door lock switch
in the LOCK position.
6. Release the door lock switch to set the
desired mode.
2-11
Page 83 of 348

If a key is accidentally used that has a damaged or
missing resistor pellet, the starter will not work.
The SECURITY warning light on the instrument panel
will then come on. But you do not have to wait three
minutes before trying another ignition key.
See your dealer or a locksmith who can service the
PASS-Key
®II to have a new key made.
If the SECURITY warning light comes on the instrument
panel while the vehicle is being driven, the engine
will still be able to be started after it is turned off.
The PASS-Key
®II system, however, is not working
properly and must be serviced by your dealer.
The vehicle is not protected by the PASS-Key
®II
system when this happens.
If a PASS-Key
®II ignition key is lost or damaged,
see your dealer or a locksmith who can service
PASS-Key
®II to have a new key made. Also, see
Roadside Assistance Program on page 7-6for
more information.
Starting and Operating
Your Vehicle
New Vehicle Break-In
Notice:Your vehicle does not need an elaborate
“break-in.” But it will perform better in the long run
if you follow these guidelines:
Do not drive at any one speed — fast or
slow — for the �rst 500 miles (805 km).
Do not make full-throttle starts.
Avoid making hard stops for the �rst 200 miles
(322 km) or so. During this time your new
brake linings are not yet broken in. Hard stops
with new linings can mean premature wear
and earlier replacement. Follow this
breaking-in guideline every time you
get new brake linings.
Do not tow a trailer during break-in. SeeTowing
a Trailer on page 4-38for more information.
2-17
Page 87 of 348

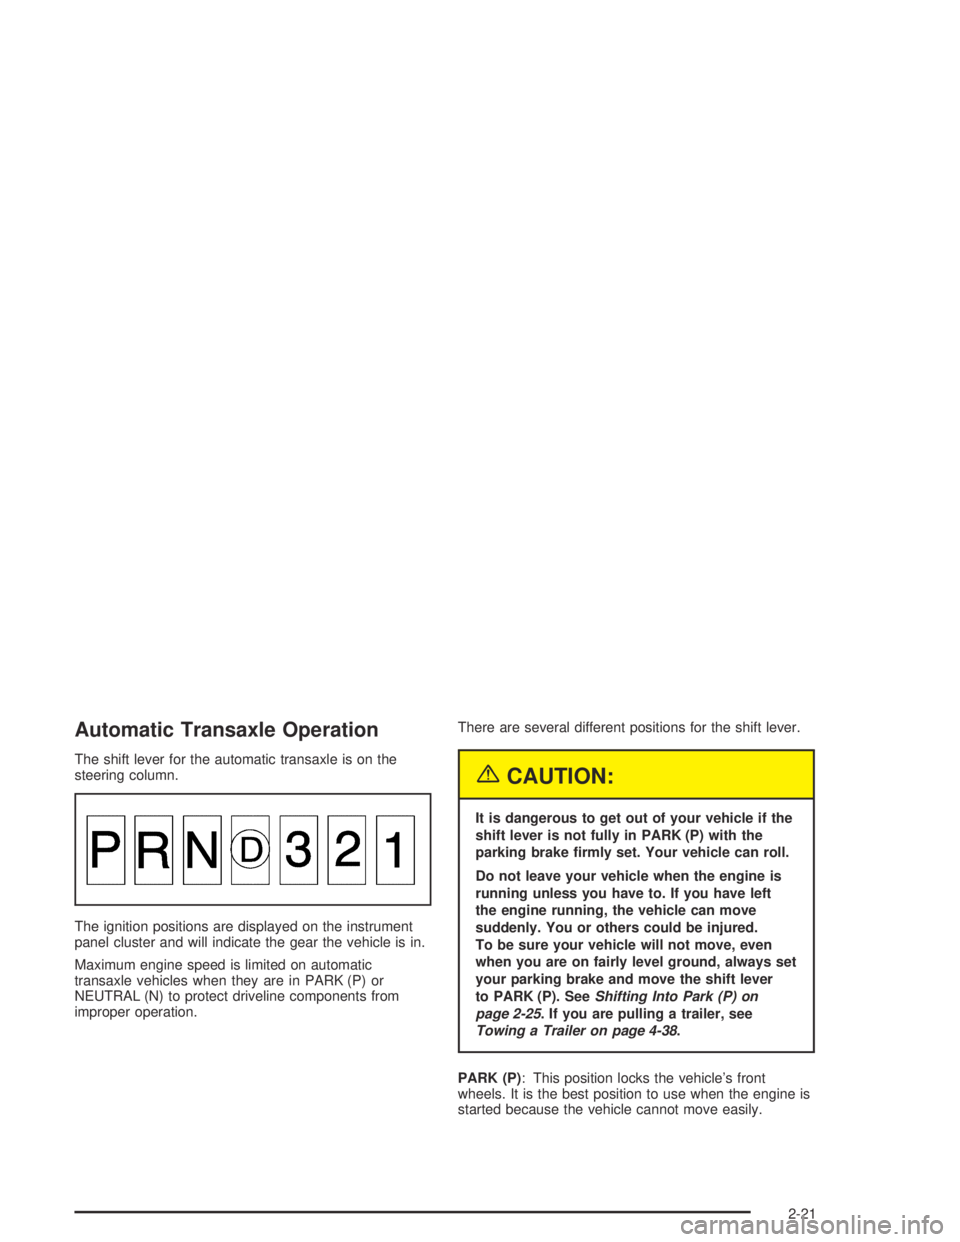
Automatic Transaxle Operation
The shift lever for the automatic transaxle is on the
steering column.
The ignition positions are displayed on the instrument
panel cluster and will indicate the gear the vehicle is in.
Maximum engine speed is limited on automatic
transaxle vehicles when they are in PARK (P) or
NEUTRAL (N) to protect driveline components from
improper operation.There are several different positions for the shift lever.
{CAUTION:
It is dangerous to get out of your vehicle if the
shift lever is not fully in PARK (P) with the
parking brake �rmly set. Your vehicle can roll.
Do not leave your vehicle when the engine is
running unless you have to. If you have left
the engine running, the vehicle can move
suddenly. You or others could be injured.
To be sure your vehicle will not move, even
when you are on fairly level ground, always set
your parking brake and move the shift lever
to PARK (P). SeeShifting Into Park (P) on
page 2-25. If you are pulling a trailer, see
Towing a Trailer on page 4-38.
PARK (P): This position locks the vehicle’s front
wheels. It is the best position to use when the engine is
started because the vehicle cannot move easily.
2-21
Page 88 of 348

Make sure the shift lever is fully in PARK (P) before
starting the engine. The vehicle has an automatic
transaxle shift lock control system. The regular brakes
must be fully applied before shifting from PARK (P)
when the ignition is in RUN. If the vehicle cannot
be shifted out of PARK (P), increase pressure on the
shift lever by pushing it all the way into PARK (P) while
keeping the brake pedal pushed down. Then move
the shift lever out of PARK (P). SeeShifting Out of
Park (P) on page 2-26.
Notice:Shifting to REVERSE (R) while your vehicle
is moving forward could damage the transaxle.
The repairs would not be covered by your warranty.
Shift to REVERSE (R) only after your vehicle
is stopped.
REVERSE (R): Use this gear to back up.
To rock the vehicle back and forth in order to get it out
of snow, ice, or sand without damaging the transaxle,
seeIf You Are Stuck: In Sand, Mud, Ice or Snow
on page 4-30.
NEUTRAL (N): In this position, the engine does not
connect with the wheels. To restart when the vehicle is
already moving, use NEUTRAL (N) only. Also, use
NEUTRAL (N) when the vehicle is being towed.
{CAUTION:
Shifting into a drive gear while your engine is
running at high speed is dangerous. Unless
your foot is �rmly on the brake pedal, your
vehicle could move very rapidly. You could
lose control and hit people or objects. Do not
shift into a drive gear while your engine is
running at high speed.
Notice:Shifting out of PARK (P) or NEUTRAL (N)
with the engine racing may damage the transaxle.
The repairs would not be covered by your warranty.
Be sure the engine is not racing when shifting
your vehicle.
Notice:Driving your vehicle if you notice that it is
moving slowly or not shifting gears as you
increase speed may damage the transaxle. Have
your vehicle serviced right away. You can drive in
SECOND (2) when you are driving less than 35 mph
(55 km/h) and AUTOMATIC OVERDRIVE (D) for
higher speeds until then.
2-22
Page 89 of 348

AUTOMATIC OVERDRIVE (X): This position is for
normal driving. If more power is needed for passing, and
the vehicle is:
Going less than 35 mph (55 km/h), push the
accelerator pedal about halfway down.
Going about 35 mph (55 km/h) or more, push the
accelerator pedal all the way down.
By doing this the vehicle will shift down to the next gear
and have more power.
THIRD (3): This position is also used for normal driving,
but it offers more power and lower fuel economy than
AUTOMATIC OVERDRIVE (
X).
Here are some times you might choose THIRD (3)
instead of AUTOMATIC OVERDRIVE (
X):
When driving on hilly, winding roads.
When towing a trailer, so there is less shifting
between gears.
When going down a steep hill.
When driving in no-highway scenarios such as
city streets.Notice:Driving in SECOND (2) for more than
25 miles (40 km) or at speeds over 55 mph (90 km/h)
may damage the transaxle. Also, shifting into
SECOND (2) at speeds above 65 mph (105 km/h) can
cause damage. Drive in THIRD (3) or AUTOMATIC
OVERDRIVE (D) instead of SECOND (2).
SECOND (2): This position gives the vehicle more
power than THIRD (3) but lower fuel economy
than THIRD (3). You can use SECOND (2) on hills. It
can help control the speed going down steep mountain
roads, but then you would also want to use your
brakes off and on.
FIRST (1): This position gives the vehicle even more
power but lower fuel economy than SECOND (2). It can
be used on very steep hills, or in deep snow or mud.
If the shift lever is put in FIRST (1), the transaxle will
not shift into �rst gear until the vehicle is going
slowly enough.
Notice:Spinning the tires or holding the vehicle in
one place on a hill using only the accelerator
pedal may damage the transaxle. If you are stuck,
do not spin the tires. When stopping on a hill,
use the brakes to hold the vehicle in place.
2-23
Page 90 of 348

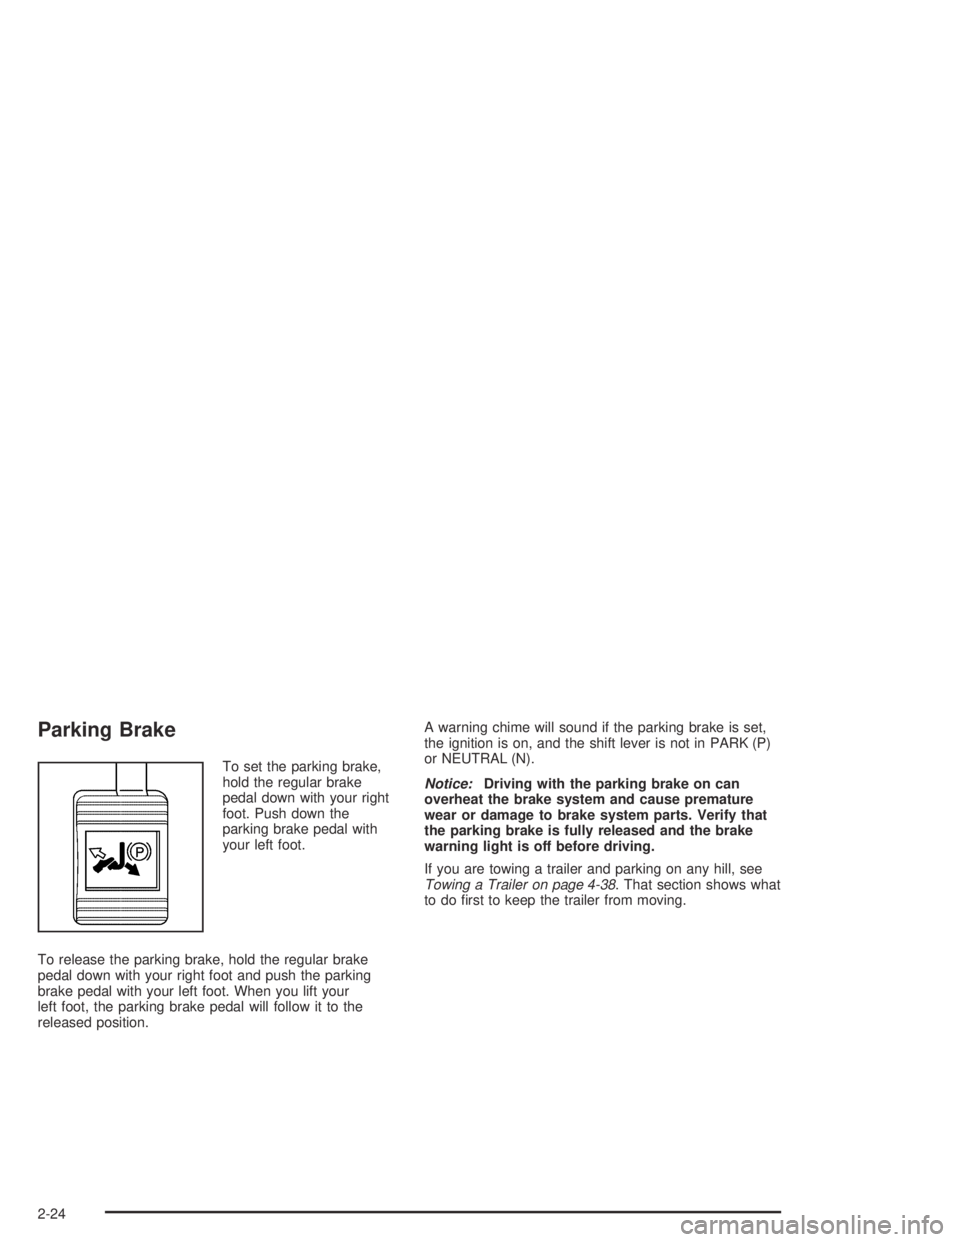
Parking Brake
To set the parking brake,
hold the regular brake
pedal down with your right
foot. Push down the
parking brake pedal with
your left foot.
To release the parking brake, hold the regular brake
pedal down with your right foot and push the parking
brake pedal with your left foot. When you lift your
left foot, the parking brake pedal will follow it to the
released position.A warning chime will sound if the parking brake is set,
the ignition is on, and the shift lever is not in PARK (P)
or NEUTRAL (N).
Notice:Driving with the parking brake on can
overheat the brake system and cause premature
wear or damage to brake system parts. Verify that
the parking brake is fully released and the brake
warning light is off before driving.
If you are towing a trailer and parking on any hill, see
Towing a Trailer on page 4-38. That section shows what
to do �rst to keep the trailer from moving.
2-24