2005 BMW Z4 2.5I key
[x] Cancel search: keyPage 50 of 120
Everything under control
48 4.Press button1 repeatedly until the required
minutes are set
5.Press button2 to confirm the settings.
The set time of day is transferred to the car
radio display or appears in the instrument clus-
ter display.
Display mode
In ignition key position 0:
Press button1.
The time of day is displayed for several sec-
onds.
Computer*
Mode selection
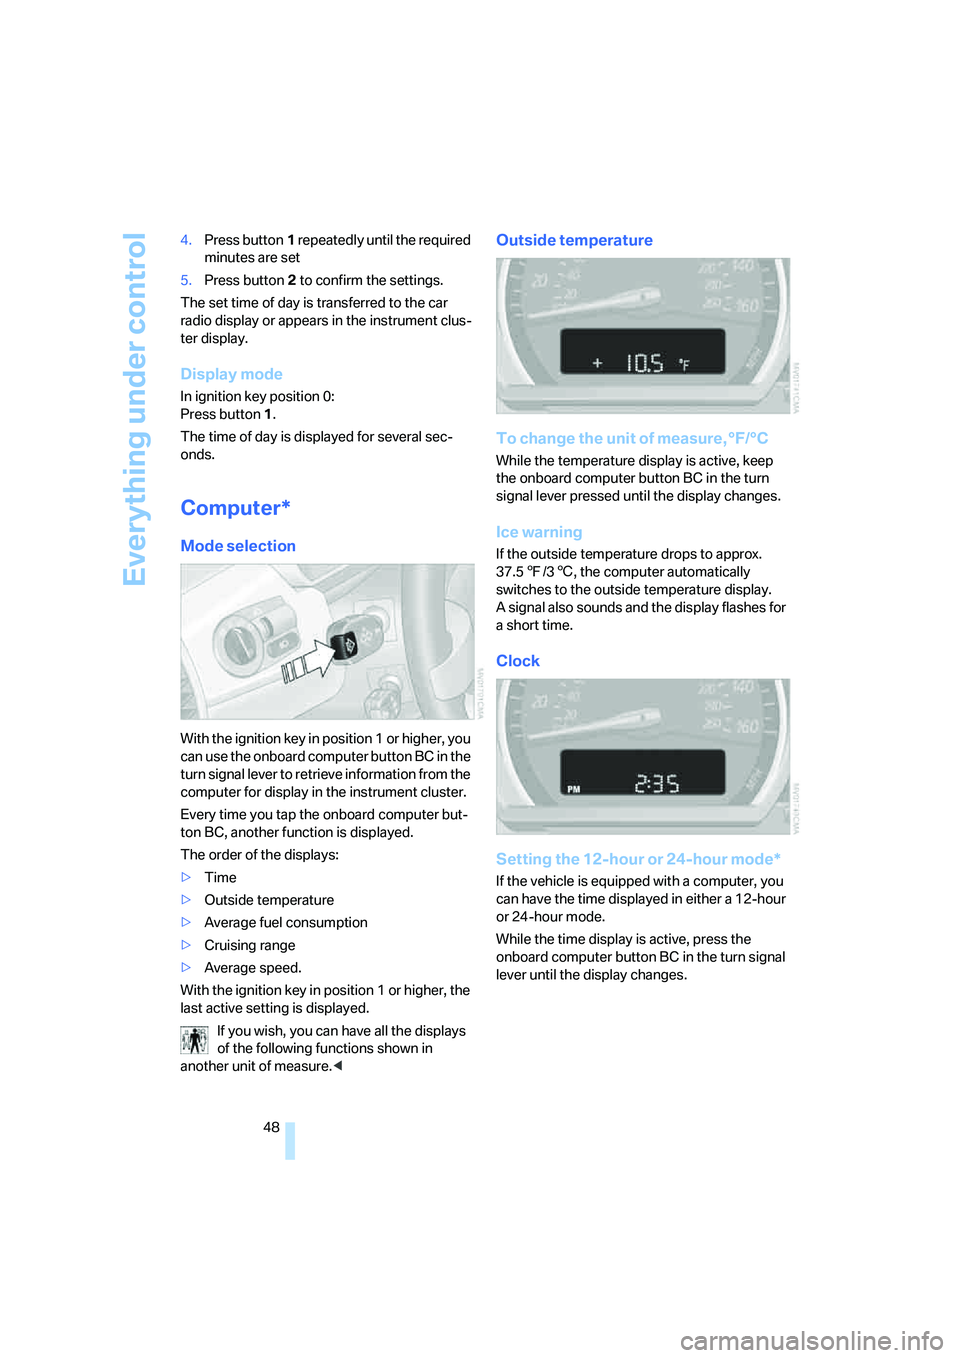
With the ignition key in position 1 or higher, you
can use the onboard computer button BC in the
turn signal lever to retrieve information from the
computer for display in the instrument cluster.
Every time you tap the onboard computer but-
ton BC, another function is displayed.
The order of the displays:
>Time
>Outside temperature
>Average fuel consumption
>Cruising range
>Average speed.
With the ignition key in position 1 or higher, the
last active setting is displayed.
If you wish, you can have all the displays
of the following functions shown in
another unit of measure.<
Outside temperature
To change the unit of measure, °F/°C
While the temperature display is active, keep
the onboard computer button BC in the turn
signal lever pressed until the display changes.
Ice warning
If the outside temperature drops to approx.
37.57/36, the computer automatically
switches to the outside temperature display.
A signal also sounds and the display flashes for
a short time.
Clock
Setting the 12-hour or 24-hour mode*
If the vehicle is equipped with a computer, you
can have the time displayed in either a 12-hour
or 24-hour mode.
While the time display is active, press the
onboard computer button BC in the turn signal
lever until the display changes.
Page 56 of 120
Technology for safety and driving convenience
54 For information on the correct seating position,
refer to page27.
Do not apply adhesive materials to the
cover panels of the airbags, cover them or
modify them in any other way. Do not attempt to
remove the airbag retention system from the
vehicle. Never modify or tamper with either the
wiring or the individual components in the air-
bag system. This category includes the uphol-
stery in the center of the steering wheel, on the
instrument panel, and the side trim panels on
the doors. Do not attempt to remove or disman-
tle the steering wheel.
Do not touch the individual components
directly after the system has been triggered,
because there is a danger of burns.
If you note any indication of system malfunc-
tion, if you desire to have an airbag deactivated,
or if the airbag retention system is triggered in
response to an accident, you should always
entrust all inspection, repair and dismantling
operations to your BMW center.
Unprofessional attempts to service the system
could lead to failure in an emergency or to
undesired airbag activation, either of which
could result in personal injury.
To ensure compliance with official safety regu-
lations, please also entrust disposal of airbag
generators to a BMW center.<
Airbag warning information is also provided on
the sun visors.
Automatic deactivation of the
passenger airbags
Before transporting a child on the pas-
senger seat be sure to observe the infor-
mation/instructions under Transporting chil-
dren safely, refer to page33.<
Your BMW has a seat occupation detection
system. By evaluating the weight on the pas-
senger's seat, the system detects whether or
not the seat is occupied by a child in the child-
restraint system or an adult.
>When a child is seated in the child-restraint
system or in an empty seat, the front, side
and knee airbags are automatically deacti-
vated on the passenger's side>When an adult is traveling in the passen-
ger's seat, the front, side and knee airbags
remain active on the passenger's side.
Although not desired, it can occur in the
case of heavier children that the passen-
ger airbags remain active or, in the case of very
light adults or young persons, that the passen-
ger airbags are deactivated. The condition of
the passenger airbag system will be shown by
the indicator lamp in the central console, refer
to Passenger airbag status lamp below. If the
indicator lamp indicates that the passenger air-
bags are active and you want them to be deac-
tivated, the airbags have to be deactivated with
the vehicle ignition key and the key switch on
the outer passenger's side of the instrument
panel. Apart from passengers, do not place any
additional objects on the passenger seat. Do
not fit seat covers, seat cushion padding, ball
mats or other items to the passenger seat
unless they are specifically recommended by
BMW. Do not place any items under the seat.
Otherwise, the function of the seat occupation
detection could be impaired.<
Operational readiness of the airbag
system
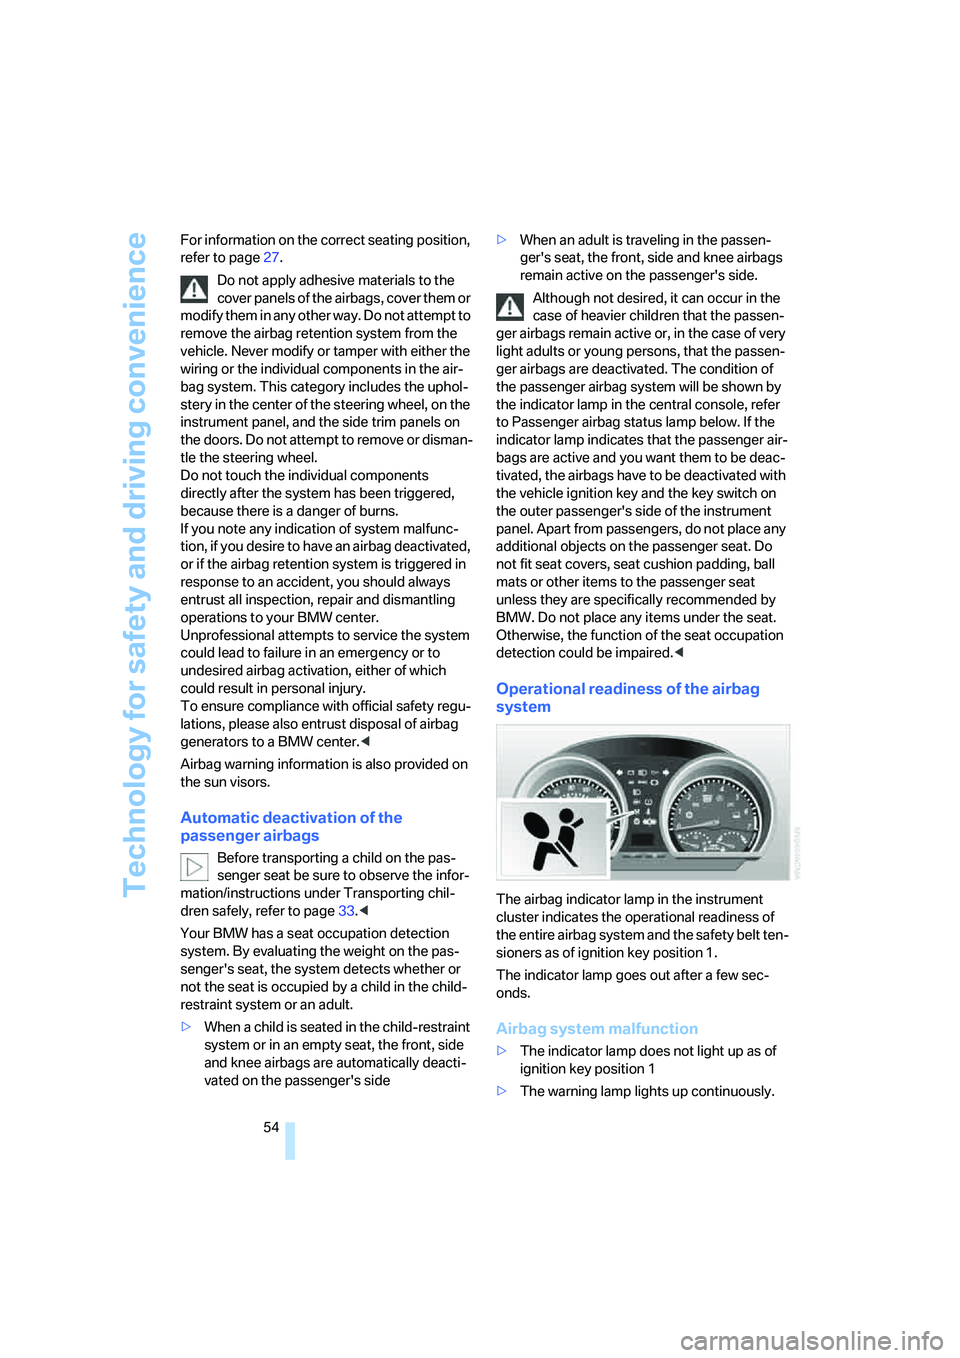
The airbag indicator lamp in the instrument
cluster indicates the operational readiness of
the entire airbag system and the safety belt ten-
sioners as of ignition key position 1.
The indicator lamp goes out after a few sec-
onds.
Airbag system malfunction
>The indicator lamp does not light up as of
ignition key position 1
>The warning lamp lights up continuously.
Page 57 of 120
Reference
At a glance
Controls
Driving tips
Mobility
55
In the event of a malfunction, have the air-
bag system checked immediately. Other-
wise, there is a risk that the system may not
respond in the expected manner to an impact
occurring within its normal response range.<
Passenger airbag status lamp
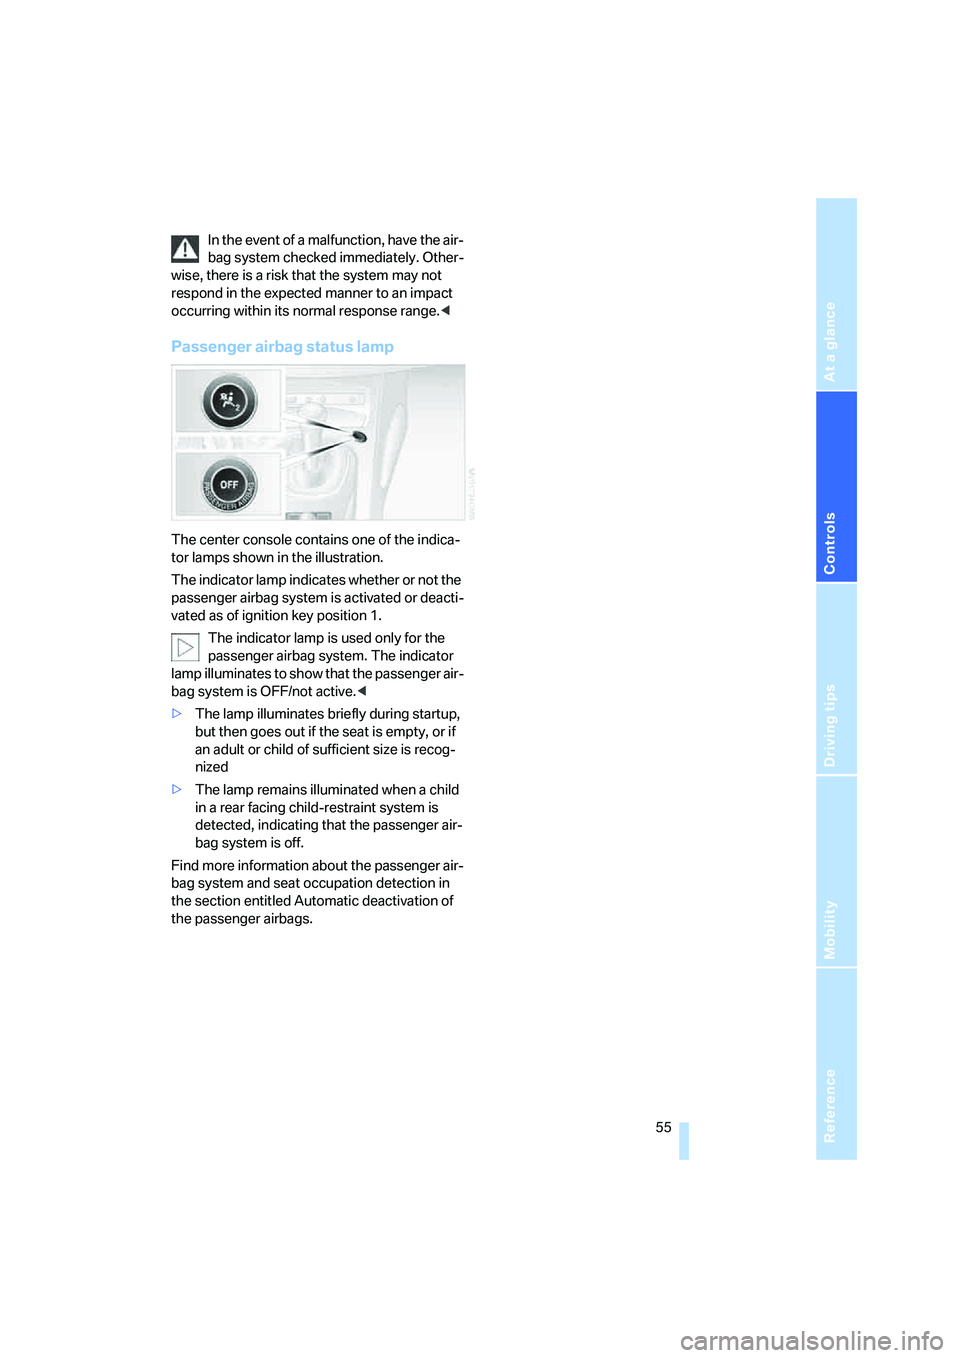
The center console contains one of the indica-
tor lamps shown in the illustration.
The indicator lamp indicates whether or not the
passenger airbag system is activated or deacti-
vated as of ignition key position 1.
The indicator lamp is used only for the
passenger airbag system. The indicator
lamp illuminates to show that the passenger air-
bag system is OFF/not active.<
>The lamp illuminates briefly during startup,
but then goes out if the seat is empty, or if
an adult or child of sufficient size is recog-
nized
>The lamp remains illuminated when a child
in a rear facing child-restraint system is
detected, indicating that the passenger air-
bag system is off.
Find more information about the passenger air-
bag system and seat occupation detection in
the section entitled Automatic deactivation of
the passenger airbags.
Page 58 of 120
Lamps
56
Lamps
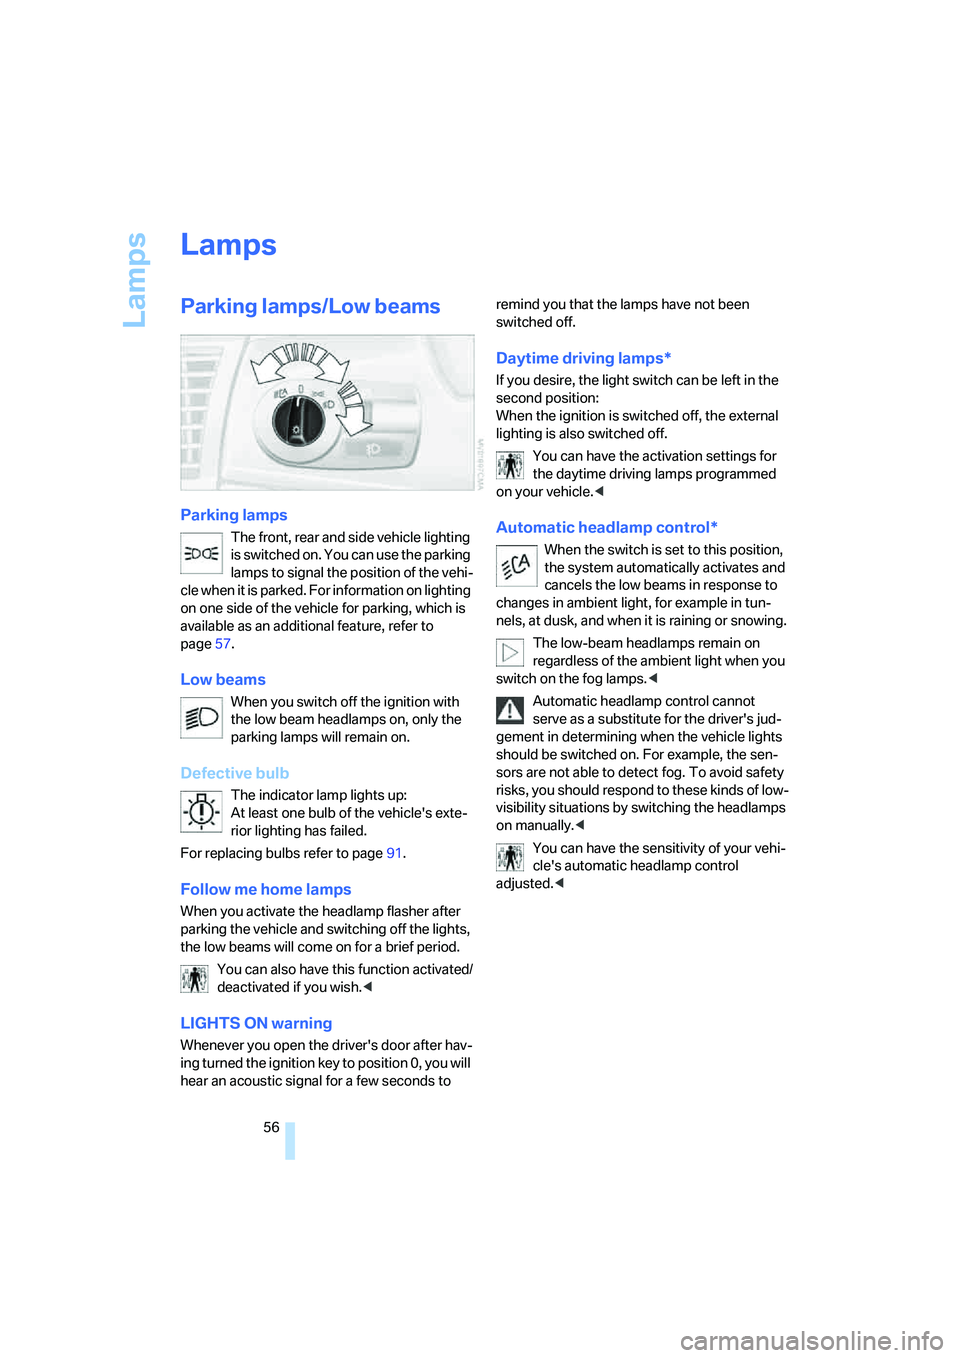
Parking lamps/Low beams
Parking lamps
The front, rear and side vehicle lighting
is switched on. You can use the parking
lamps to signal the position of the vehi-
cle when it is parked. For information on lighting
on one side of the vehicle for parking, which is
available as an additional feature, refer to
page57.
Low beams
When you switch off the ignition with
the low beam headlamps on, only the
parking lamps will remain on.
Defective bulb
The indicator lamp lights up:
At least one bulb of the vehicle's exte-
rior lighting has failed.
For replacing bulbs refer to page91.
Follow me home lamps
When you activate the headlamp flasher after
parking the vehicle and switching off the lights,
the low beams will come on for a brief period.
You can also have this function activated/
deactivated if you wish.<
LIGHTS ON warning
Whenever you open the driver's door after hav-
ing turned the ignition key to position 0, you will
hear an acoustic signal for a few seconds to remind you that the lamps have not been
switched off.
Daytime driving lamps*
If you desire, the light switch can be left in the
second position:
When the ignition is switched off, the external
lighting is also switched off.
You can have the activation settings for
the daytime driving lamps programmed
on your vehicle.<
Automatic headlamp control*
When the switch is set to this position,
the system automatically activates and
cancels the low beams in response to
changes in ambient light, for example in tun-
nels, at dusk, and when it is raining or snowing.
The low-beam headlamps remain on
regardless of the ambient light when you
switch on the fog lamps.<
Automatic headlamp control cannot
serve as a substitute for the driver's jud-
gement in determining when the vehicle lights
should be switched on. For example, the sen-
sors are not able to detect fog. To avoid safety
risks, you should respond to these kinds of low-
visibility situations by switching the headlamps
on manually.<
You can have the sensitivity of your vehi-
cle's automatic headlamp control
adjusted.<
Page 59 of 120
Reference
At a glance
Controls
Driving tips
Mobility
57
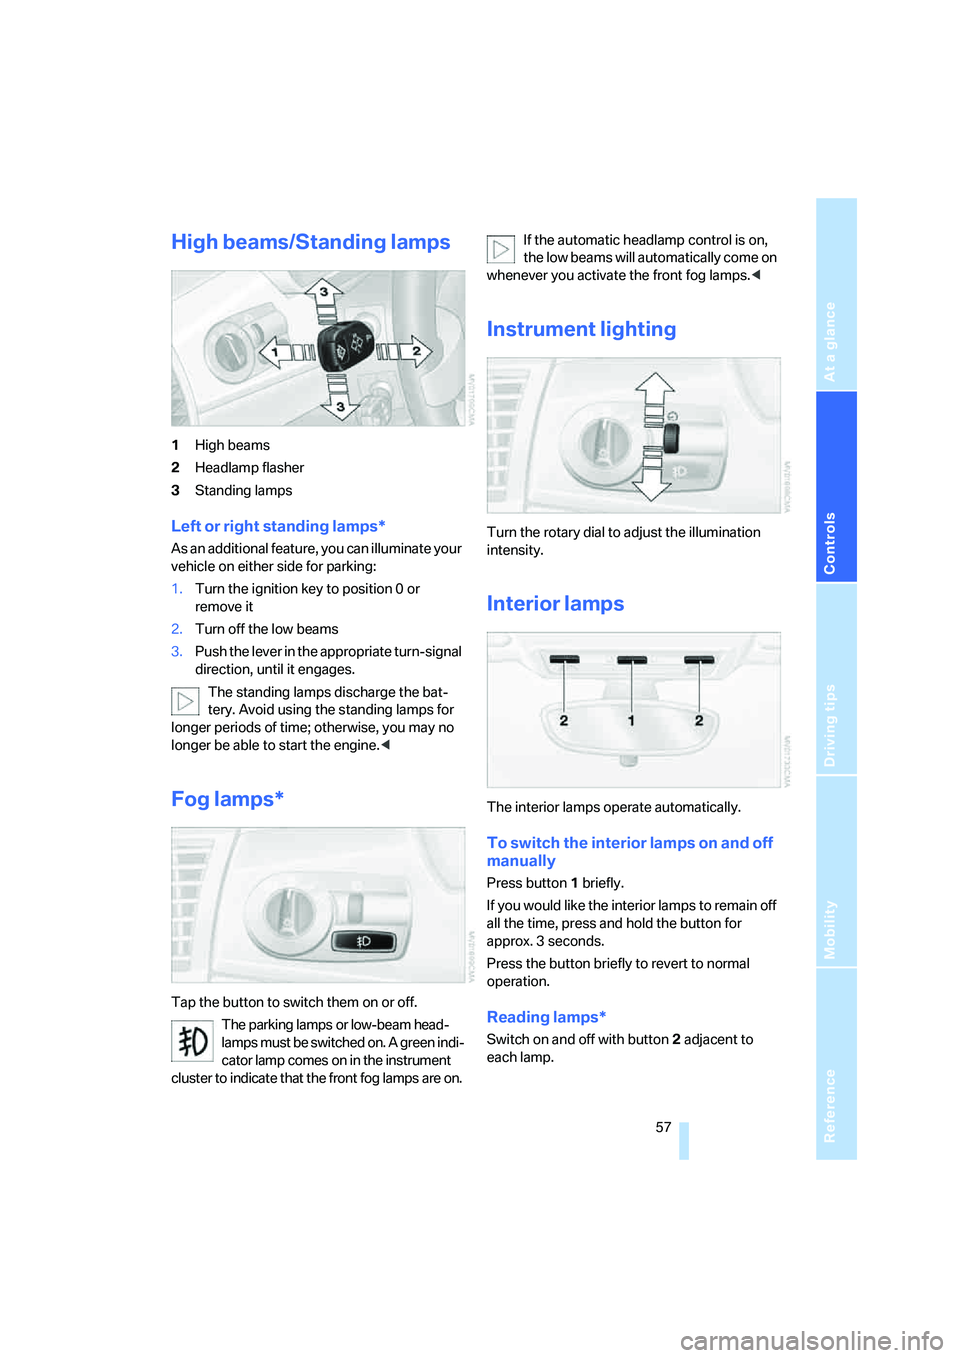
High beams/Standing lamps
1High beams
2Headlamp flasher
3Standing lamps
Left or right standing lamps*
As an additional feature, you can illuminate your
vehicle on either side for parking:
1.Turn the ignition key to position 0 or
remove it
2.Turn off the low beams
3.Push the lever in the appropriate turn-signal
direction, until it engages.
The standing lamps discharge the bat-
tery. Avoid using the standing lamps for
longer periods of time; otherwise, you may no
longer be able to start the engine.<
Fog lamps*
Tap the button to switch them on or off.
The parking lamps or low-beam head-
lamps must be switched on. A green indi-
cator lamp comes on in the instrument
cluster to indicate that the front fog lamps are on.If the automatic headlamp control is on,
the low beams will automatically come on
whenever you activate the front fog lamps.<
Instrument lighting
Turn the rotary dial to adjust the illumination
intensity.
Interior lamps
The interior lamps operate automatically.
To switch the interior lamps on and off
manually
Press button1 briefly.
If you would like the interior lamps to remain off
all the time, press and hold the button for
approx. 3 seconds.
Press the button briefly to revert to normal
operation.
Reading lamps*
Switch on and off with button2 adjacent to
each lamp.
Page 67 of 120
Reference
At a glance
Controls
Driving tips
Mobility
65
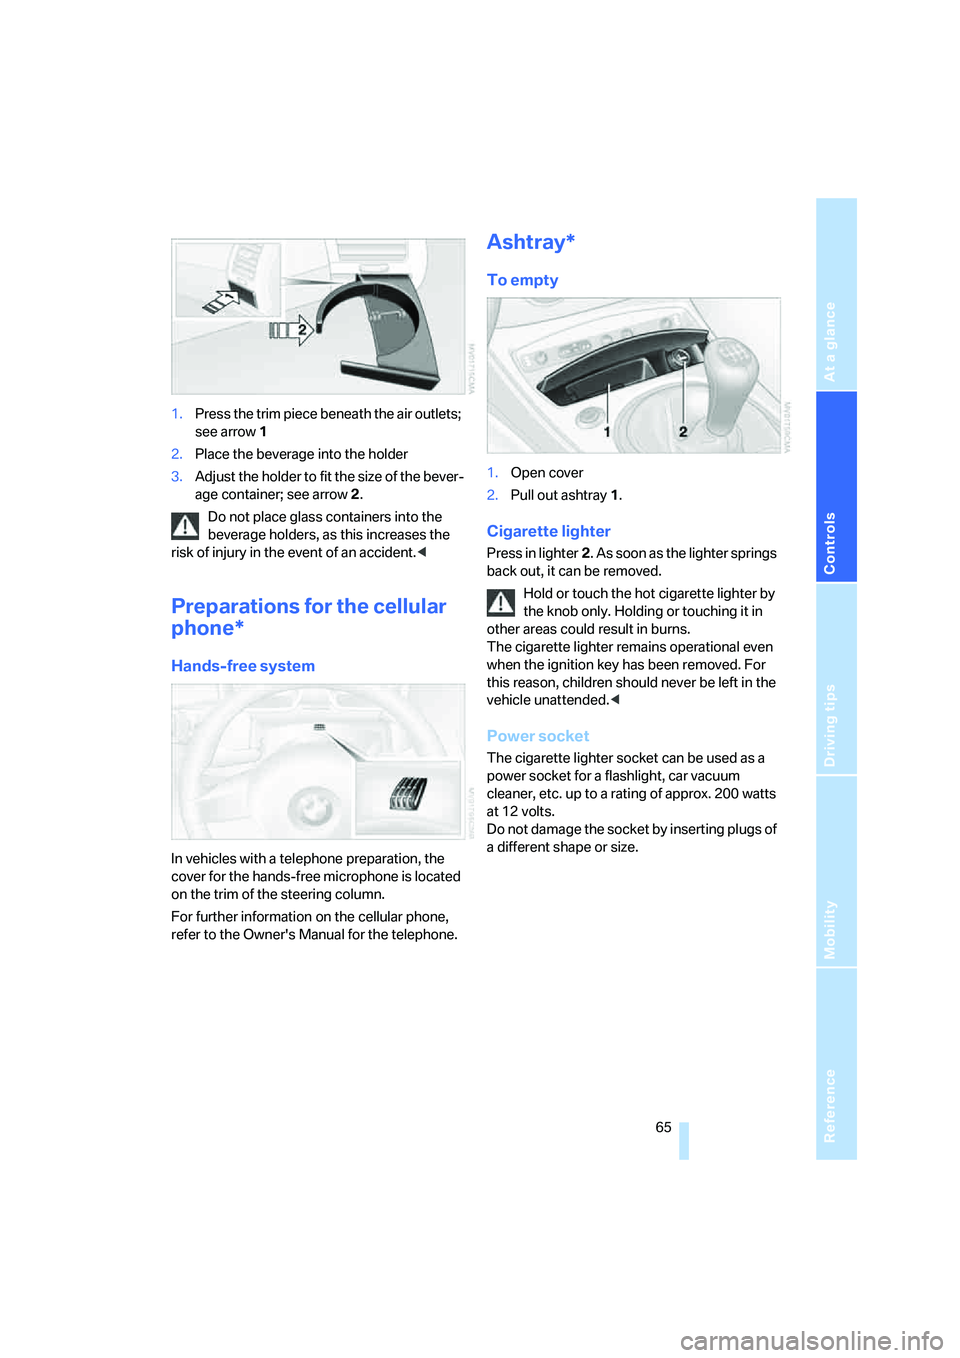
1.Press the trim piece beneath the air outlets;
see arrow1
2.Place the beverage into the holder
3.Adjust the holder to fit the size of the bever-
age container; see arrow2.
Do not place glass containers into the
beverage holders, as this increases the
risk of injury in the event of an accident.<
Preparations for the cellular
phone*
Hands-free system
In vehicles with a telephone preparation, the
cover for the hands-free microphone is located
on the trim of the steering column.
For further information on the cellular phone,
refer to the Owner's Manual for the telephone.
Ashtray*
To empty
1.Open cover
2.Pull out ashtray1.
Cigarette lighter
Press in lighter2. As soon as the lighter springs
back out, it can be removed.
Hold or touch the hot cigarette lighter by
the knob only. Holding or touching it in
other areas could result in burns.
The cigarette lighter remains operational even
when the ignition key has been removed. For
this reason, children should never be left in the
vehicle unattended.<
Power socket
The cigarette lighter socket can be used as a
power socket for a flashlight, car vacuum
cleaner, etc. up to a rating of approx. 200 watts
at 12 volts.
Do not damage the socket by inserting plugs of
a different shape or size.
Page 98 of 120
Giving and receiving assistance
96
Giving and receiving assistance
Receiving assistance
The BMW Group's Mobile Service offers you
24-hour assistance in the event of a breakdown,
even on weekends and holidays.
The telephone number of the Mobile Service
control center in your country is listed in the
Contact brochure.
If your vehicle has the necessary equipment,
you can contact the Mobile Service or issue an
emergency call using buttons in the center con-
sole, behind the parking brake under a cover.
When the emergency call is initiated, a tele-
phone connection is established with the BMW
Assist response center.
If your vehicle is equipped with an activated
BMW Assist and the current location of the
vehicle can be determined, this location is
transmitted to the BMW Assist response cen-
ter.
Requirements for initiating an emergency call or
contacting Mobile Service:
>Ignition key in position 1 or higher
>The car phone must be registered with a
mobile network
>The emergency call system must be opera-
tional.
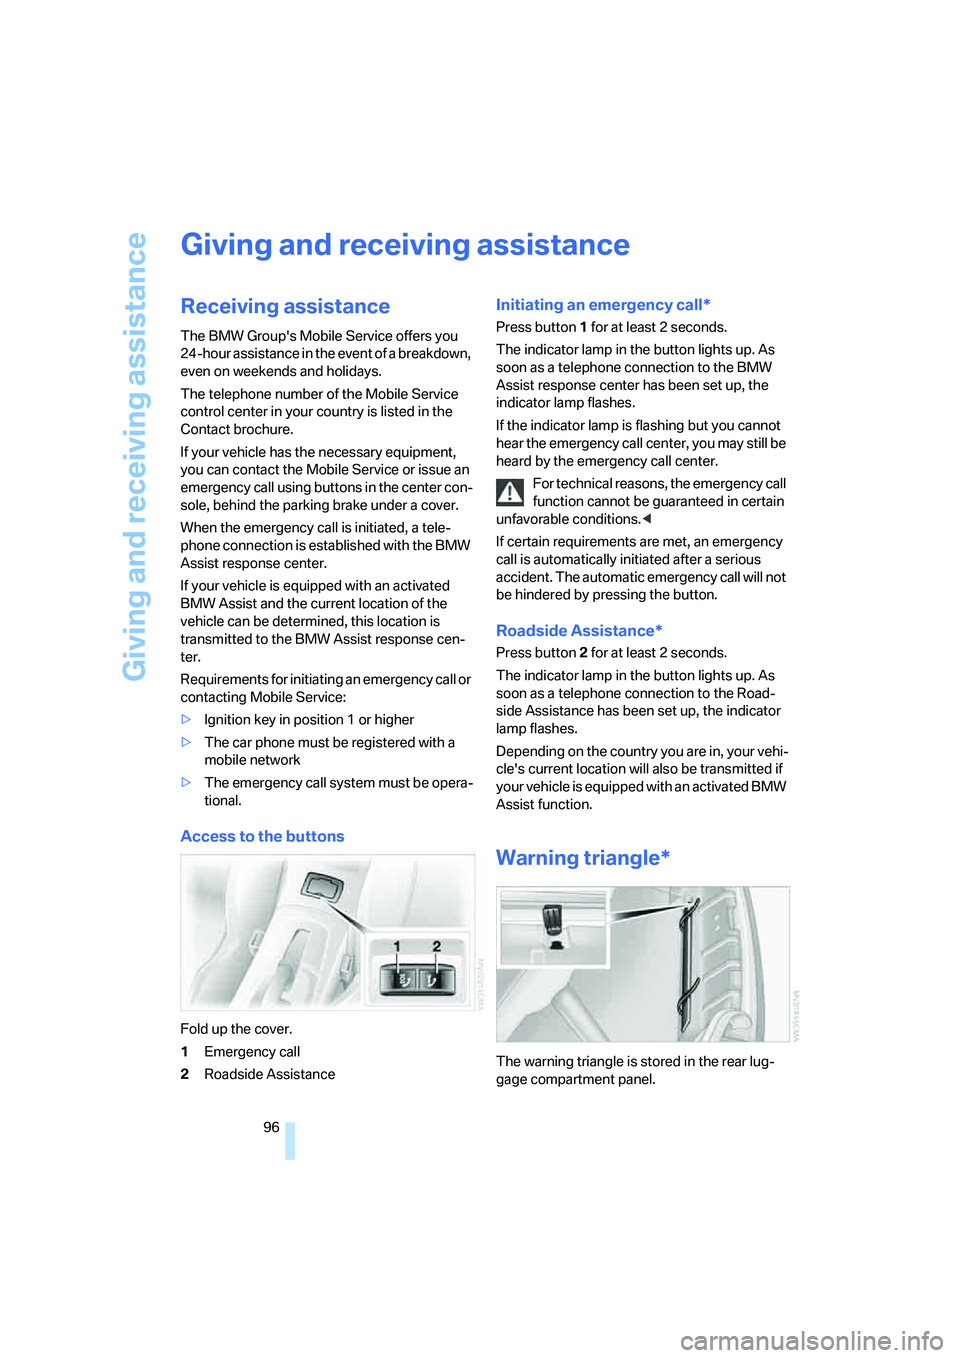
Access to the buttons
Fold up the cover.
1Emergency call
2Roadside Assistance
Initiating an emergency call*
Press button1 for at least 2 seconds.
The indicator lamp in the button lights up. As
soon as a telephone connection to the BMW
Assist response center has been set up, the
indicator lamp flashes.
If the indicator lamp is flashing but you cannot
hear the emergency call center, you may still be
heard by the emergency call center.
For technical reasons, the emergency call
function cannot be guaranteed in certain
unfavorable conditions.<
If certain requirements are met, an emergency
call is automatically initiated after a serious
accident. The automatic emergency call will not
be hindered by pressing the button.
Roadside Assistance*
Press button2 for at least 2 seconds.
The indicator lamp in the button lights up. As
soon as a telephone connection to the Road-
side Assistance has been set up, the indicator
lamp flashes.
Depending on the country you are in, your vehi-
cle's current location will also be transmitted if
your vehicle is equipped with an activated BMW
Assist function.
Warning triangle*
The warning triangle is stored in the rear lug-
gage compartment panel.
Page 100 of 120
Giving and receiving assistance
98 positive terminal of the battery or to an aux-
iliary jump-starting terminal of the vehicle to
be jump-started.
Your BMW is equipped with a special nut,
refer also to the engine compartment over-
view on page85
3.With the– jumper cable, connect the nega-
tive terminals of both vehicles.
To do this:
Attach one cable clamp to the negative bat-
tery terminal or to a suitable ground on the
engine or body work of the support vehicle.
Attach the second cable clamp to the nega-
tive battery terminal or to a suitable ground
on the engine or body work of the vehicle to
be jump-started.
Starting the engine
1.Start the engine of the support vehicle and
let it run for several minutes at a slightly ele-
vated engine idle speed
2.Start the engine of the other vehicle as
usual.
If the first start attempt is not successful,
wait a few minutes before another attempt
in order to allow the discharged battery to
recharge
3.Allow the engines to run for several minutes
4.Then disconnect the jumper cables in
reverse sequence
5.Depending on the cause of the fault, have
the battery checked and recharged.
Never use spray starter fluids to start the
engine.<
Towing and tow-starting the
vehicle
Using the towing eyelet
The screw-in towing eyelet is stored in the
onboard tool kit; be sure that it remains in the
vehicle at all times. It can be attached at the
front or rear of your BMW.
Observe the following instructions in
order to avoid damaging the towing eye-
let or the vehicle: use only the towing eyelet
supplied with the vehicle, and screw it in firmly
until it stops. Use the towing eyelet for towing
on paved roads only. Avoid subjecting the tow-
ing eyelet to lateral loads, e.g. do not lift the
vehicle using the towing eyelet.<
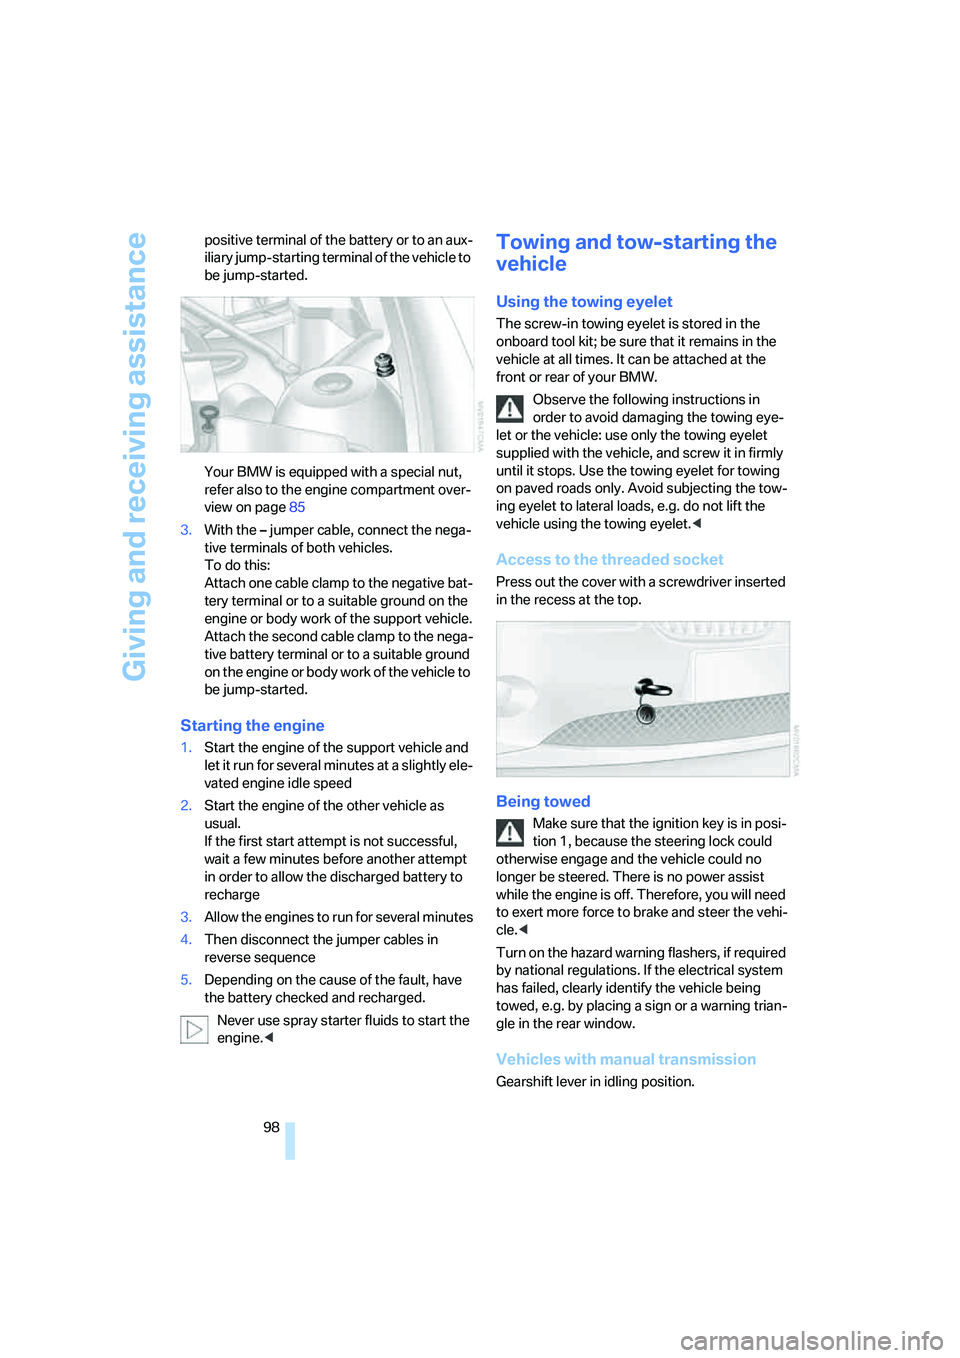
Access to the threaded socket
Press out the cover with a screwdriver inserted
in the recess at the top.
Being towed
Make sure that the ignition key is in posi-
tion 1, because the steering lock could
otherwise engage and the vehicle could no
longer be steered. There is no power assist
while the engine is off. Therefore, you will need
to exert more force to brake and steer the vehi-
cle.<
Turn on the hazard warning flashers, if required
by national regulations. If the electrical system
has failed, clearly identify the vehicle being
towed, e.g. by placing a sign or a warning trian-
gle in the rear window.
Vehicles with manual transmission
Gearshift lever in idling position.