2005 BMW Z4 2.5I warning light
[x] Cancel search: warning lightPage 56 of 120
Technology for safety and driving convenience
54 For information on the correct seating position,
refer to page27.
Do not apply adhesive materials to the
cover panels of the airbags, cover them or
modify them in any other way. Do not attempt to
remove the airbag retention system from the
vehicle. Never modify or tamper with either the
wiring or the individual components in the air-
bag system. This category includes the uphol-
stery in the center of the steering wheel, on the
instrument panel, and the side trim panels on
the doors. Do not attempt to remove or disman-
tle the steering wheel.
Do not touch the individual components
directly after the system has been triggered,
because there is a danger of burns.
If you note any indication of system malfunc-
tion, if you desire to have an airbag deactivated,
or if the airbag retention system is triggered in
response to an accident, you should always
entrust all inspection, repair and dismantling
operations to your BMW center.
Unprofessional attempts to service the system
could lead to failure in an emergency or to
undesired airbag activation, either of which
could result in personal injury.
To ensure compliance with official safety regu-
lations, please also entrust disposal of airbag
generators to a BMW center.<
Airbag warning information is also provided on
the sun visors.
Automatic deactivation of the
passenger airbags
Before transporting a child on the pas-
senger seat be sure to observe the infor-
mation/instructions under Transporting chil-
dren safely, refer to page33.<
Your BMW has a seat occupation detection
system. By evaluating the weight on the pas-
senger's seat, the system detects whether or
not the seat is occupied by a child in the child-
restraint system or an adult.
>When a child is seated in the child-restraint
system or in an empty seat, the front, side
and knee airbags are automatically deacti-
vated on the passenger's side>When an adult is traveling in the passen-
ger's seat, the front, side and knee airbags
remain active on the passenger's side.
Although not desired, it can occur in the
case of heavier children that the passen-
ger airbags remain active or, in the case of very
light adults or young persons, that the passen-
ger airbags are deactivated. The condition of
the passenger airbag system will be shown by
the indicator lamp in the central console, refer
to Passenger airbag status lamp below. If the
indicator lamp indicates that the passenger air-
bags are active and you want them to be deac-
tivated, the airbags have to be deactivated with
the vehicle ignition key and the key switch on
the outer passenger's side of the instrument
panel. Apart from passengers, do not place any
additional objects on the passenger seat. Do
not fit seat covers, seat cushion padding, ball
mats or other items to the passenger seat
unless they are specifically recommended by
BMW. Do not place any items under the seat.
Otherwise, the function of the seat occupation
detection could be impaired.<
Operational readiness of the airbag
system
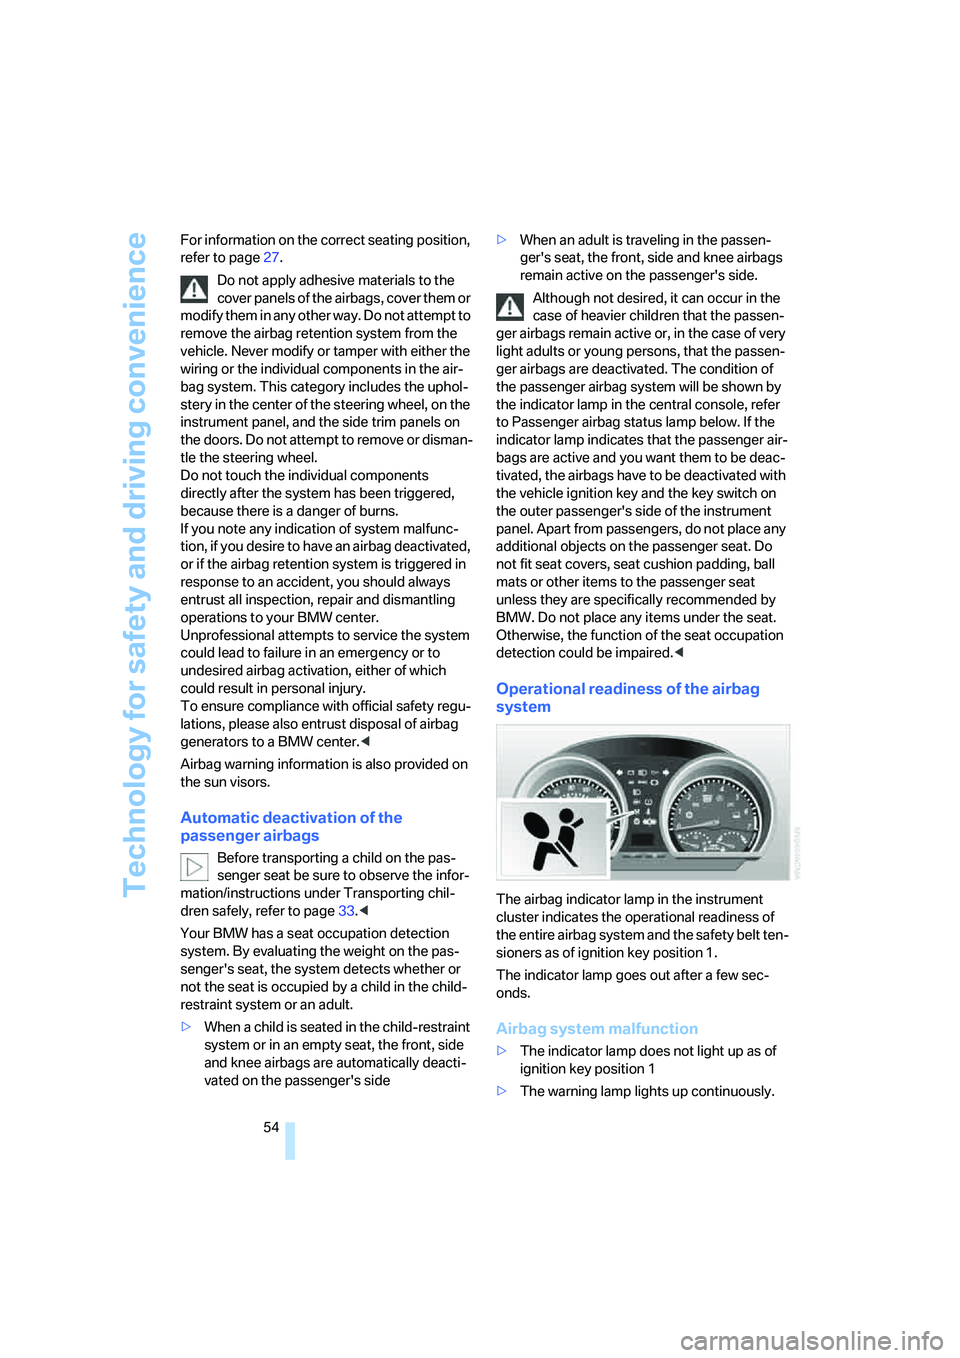
The airbag indicator lamp in the instrument
cluster indicates the operational readiness of
the entire airbag system and the safety belt ten-
sioners as of ignition key position 1.
The indicator lamp goes out after a few sec-
onds.
Airbag system malfunction
>The indicator lamp does not light up as of
ignition key position 1
>The warning lamp lights up continuously.
Page 58 of 120
Lamps
56
Lamps
Parking lamps/Low beams
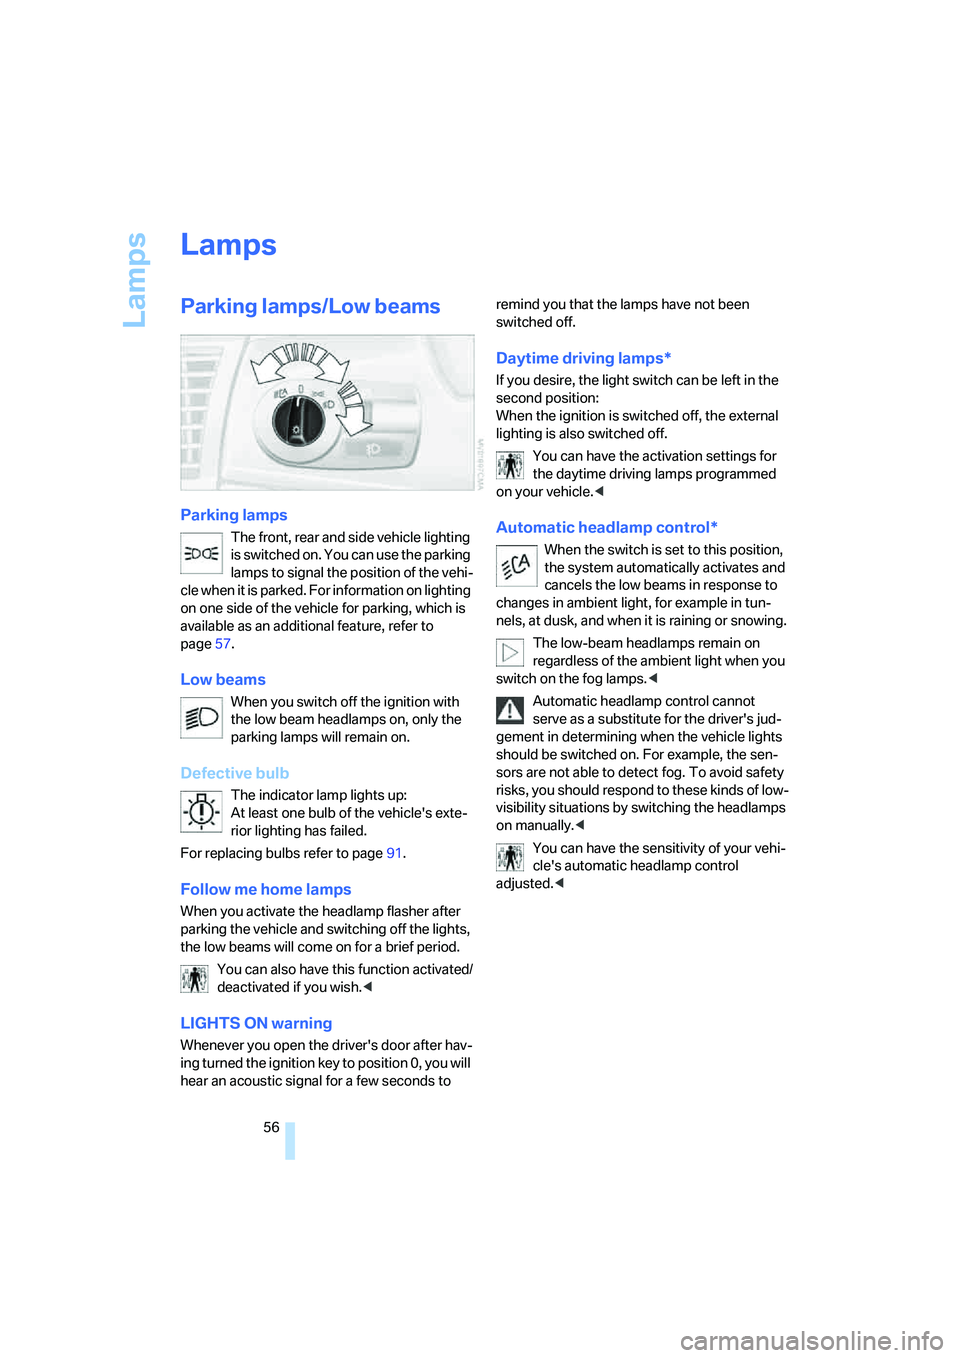
Parking lamps
The front, rear and side vehicle lighting
is switched on. You can use the parking
lamps to signal the position of the vehi-
cle when it is parked. For information on lighting
on one side of the vehicle for parking, which is
available as an additional feature, refer to
page57.
Low beams
When you switch off the ignition with
the low beam headlamps on, only the
parking lamps will remain on.
Defective bulb
The indicator lamp lights up:
At least one bulb of the vehicle's exte-
rior lighting has failed.
For replacing bulbs refer to page91.
Follow me home lamps
When you activate the headlamp flasher after
parking the vehicle and switching off the lights,
the low beams will come on for a brief period.
You can also have this function activated/
deactivated if you wish.<
LIGHTS ON warning
Whenever you open the driver's door after hav-
ing turned the ignition key to position 0, you will
hear an acoustic signal for a few seconds to remind you that the lamps have not been
switched off.
Daytime driving lamps*
If you desire, the light switch can be left in the
second position:
When the ignition is switched off, the external
lighting is also switched off.
You can have the activation settings for
the daytime driving lamps programmed
on your vehicle.<
Automatic headlamp control*
When the switch is set to this position,
the system automatically activates and
cancels the low beams in response to
changes in ambient light, for example in tun-
nels, at dusk, and when it is raining or snowing.
The low-beam headlamps remain on
regardless of the ambient light when you
switch on the fog lamps.<
Automatic headlamp control cannot
serve as a substitute for the driver's jud-
gement in determining when the vehicle lights
should be switched on. For example, the sen-
sors are not able to detect fog. To avoid safety
risks, you should respond to these kinds of low-
visibility situations by switching the headlamps
on manually.<
You can have the sensitivity of your vehi-
cle's automatic headlamp control
adjusted.<
Page 78 of 120

Refueling
76
Refueling
Fuel filler door
1.Open fuel filler door
2.Turn the gas cap in a counter-clockwise
direction
3.Place the cap in the bracket on the filler
door.
Releasing manually
If an electrical malfunction occurs, you can
unlock the fuel filler door manually:
1.Remove the covers of the tail lamps by turn-
ing the lock to the right; refer also to
page93
2.Pull the luggage compartment trim panel
slightly toward the interior.
The green button with the fuel pump sym-
bol becomes visible
3.Undo the adhesive strip and pull off
4.Pull the button
The fuel filler door is released.
Pull on the button slowly and carefully
as it could otherwise be torn off.<
Note when refueling
When handling fuels, comply with all of
the applicable safety precautions posted
at the service station.<
When refueling, insert the filler nozzle com-
pletely into the filler pipe. Lifting the nozzle dur-
ing refueling
>results in premature shutoff
>and will reduce the effect of the vapor
recovery system on the pump.
The fuel tank is full when the filler nozzle shuts
off the first time.
Closing the fuel filler cap
Place the cap in position and turn it clockweise
until a clearly audible click is heard.
Close the filler cap carefully after refueling
until a click is heard. While closing, be
sure not to squeeze the strap which is fastened
to the cap. A loose or missing cap will activate
the Check gas cap lamp
*.<
Warning lamp
* lights up.
The gas cap is not properly closed or is
missing. Check if the gas cap is prop-
erly closed.
Contents of the fuel tank
Approx. 14.5 gallons/55 liters, of which approx.
2.1 gallons/8 liters are reserve capacity.
Fill the fuel tank before it is completely
empty. Driving to the last drop of fuel can
prevent the engine from operating properly and
result in damage.<
Fuel specifications
The engine uses lead-free gasoline only.
Required fuel
Premium Unleaded Gasoline, Minimum Octane
Rating: 91.
Page 88 of 120

In the engine compartment
86
Washer fluids for washer
systems
Headlamp* and windshield washer
system
Capacity of windshield washer system: approx.
3.2 quarts/3 liters.
Capacity when equipped with headlamp
washer system: approx. 5.3 quarts/5 liters.
Fill with water and, if required, with an antifreeze
agent according to the manufacturer's recom-
mendations.
We recommend that you mix the washer
fluid before adding it to the reservoir.<
Antifreeze agents for the washing sys-
tems are highly flammable. For this rea-
son, keep them away from sources of flame and
store them only in their original containers.
Store them so that they are inaccessible to chil-
dren. Comply with the instructions on the con-
tainers.<
Engine oil
Oil consumption is directly influenced by your
driving style and vehicle operating conditions.
Warning lamp
Engine oil pressure
The warning lamp lights up in red:
The engine oil pressure is too low.
Stop the vehicle immediately and
switch off the engine. Check the engine oil level
and top up if necessary. If the oil level is correct,
please contact the nearest BMW center.Do not continue driving, as the engine
could sustain serious damage from inad-
equate lubrication.<
Engine oil level
The warning lamp lights up in yellow
while driving:
The oil level is at the absolute mini-
mum; refill as soon as possible. Do not drive
more than 30 miles/50 km before refilling.
The warning lamp lights up in yellow
after the engine has been switched off:
Add engine oil at the earliest opportu-
nity, e.g. when you stop to refuel.
Engine oil sensor
The warning lamp lights up in yellow
within 20 seconds after the engine is
started:
The oil level sensor is defective. Please have it
checked by a BMW center.
Checking the oil level
1.With the vehicle's engine at normal operat-
ing temperature, i.e. after uninterrupted
driving for at least 6 miles/10 km, park the
vehicle on a level surface
2.Switch off the engine
3.After approx. 5 minutes, pull the dipstick
out and wipe it off with a clean lint-free
cloth, paper towel, or similar material
4.Carefully push the dipstick all the way into
the guide tube and pull it out again
5.The oil level should be between the two
marks on the dipstick
Page 89 of 120
Reference
At a glance
Controls
Driving tips
Mobility
87
6.Return the dipstick to the guide tube,
inserting it as far as it will go.
As with fuel economy, oil consumption is
directly influenced by your driving style and
vehicle operating conditions.
The oil volume between the two marks on the
dipstick corresponds to approx. 1.1 quarts/
1 liter.
Do not fill beyond the upper mark on the
dipstick. Excess oil will damage the
engine.<
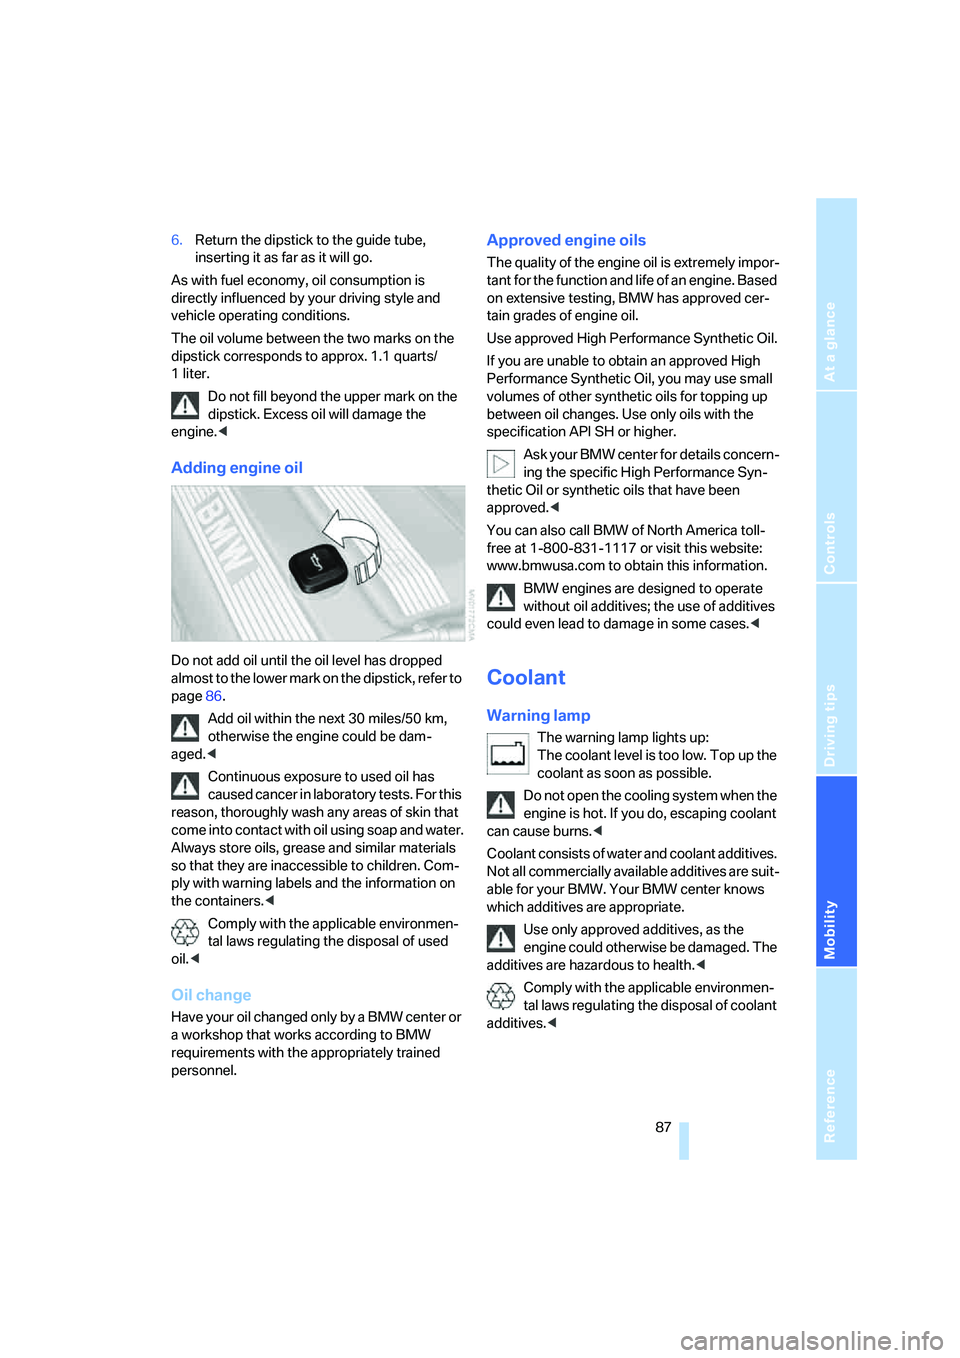
Adding engine oil
Do not add oil until the oil level has dropped
almost to the lower mark on the dipstick, refer to
page86.
Add oil within the next 30 miles/50 km,
otherwise the engine could be dam-
aged.<
Continuous exposure to used oil has
caused cancer in laboratory tests. For this
reason, thoroughly wash any areas of skin that
come into contact with oil using soap and water.
Always store oils, grease and similar materials
so that they are inaccessible to children. Com-
ply with warning labels and the information on
the containers.<
Comply with the applicable environmen-
tal laws regulating the disposal of used
oil.<
Oil change
Have your oil changed only by a BMW center or
a workshop that works according to BMW
requirements with the appropriately trained
personnel.
Approved engine oils
The quality of the engine oil is extremely impor-
tant for the function and life of an engine. Based
on extensive testing, BMW has approved cer-
tain grades of engine oil.
Use approved High Performance Synthetic Oil.
If you are unable to obtain an approved High
Performance Synthetic Oil, you may use small
volumes of other synthetic oils for topping up
between oil changes. Use only oils with the
specification API SH or higher.
Ask your BMW center for details concern-
ing the specific High Performance Syn-
thetic Oil or synthetic oils that have been
approved.<
You can also call BMW of North America toll-
free at 1-800-831-1117 or visit this website:
www.bmwusa.com to obtain this information.
BMW engines are designed to operate
without oil additives; the use of additives
could even lead to damage in some cases.<
Coolant
Warning lamp
The warning lamp lights up:
The coolant level is too low. Top up the
coolant as soon as possible.
Do not open the cooling system when the
engine is hot. If you do, escaping coolant
can cause burns.<
Coolant consists of water and coolant additives.
Not all commercially available additives are suit-
able for your BMW. Your BMW center knows
which additives are appropriate.
Use only approved additives, as the
engine could otherwise be damaged. The
additives are hazardous to health.<
Comply with the applicable environmen-
tal laws regulating the disposal of coolant
additives.<
Page 90 of 120

In the engine compartment
88
Checking the coolant level
1.The engine must be at ambient tempera-
ture
2.Open the cap of the expansion tank by turn-
ing it slightly counterclockwise to allow
accumulated pressure to escape, then
open completely
3.The coolant level is correct when the upper
end of the red float is at least even with the
upper edge of the filler neck but no more
than 3/4 in/2 cm above it, that is up to the
second mark on the float. Refer also to the
schematic diagram next to the filler neck
4.Slowly add coolant, if necessary, until the
correct level is reached; do not overfill
5.Turn the cap clockwise until it is tightly
closed
6.Have the cause for the coolant loss
removed as soon as possible.
Brake system
Malfunction
Brake fluid
The warning lamp lights up although
the parking brake is not engaged:
Stop the vehicle immediately.
The brake fluid level in the reservoir is too low.
At the same time, you may notice that brake
pedal travel is longer. Have the system checked
as soon as possible.
If you continue driving, extended pedal
travel may be necessary and braking dis-
tances may be significantly longer. Be sure to
adapt your driving style accordingly.
Brake pads
The warning lamp lights up. The brake
pads have worn down to the minimum
safe limit. Have the brake pads
replaced as soon as possible.
For your own safety: use only brake pads
which BMW has approved for your spe-
cific vehicle model. BMW cannot evaluate non-
approved brake pads to determine if they are
suitable for use, and therefore cannot guaran-
tee the operating safety of the vehicle in the
event of their use.<
Page 98 of 120
Giving and receiving assistance
96
Giving and receiving assistance
Receiving assistance
The BMW Group's Mobile Service offers you
24-hour assistance in the event of a breakdown,
even on weekends and holidays.
The telephone number of the Mobile Service
control center in your country is listed in the
Contact brochure.
If your vehicle has the necessary equipment,
you can contact the Mobile Service or issue an
emergency call using buttons in the center con-
sole, behind the parking brake under a cover.
When the emergency call is initiated, a tele-
phone connection is established with the BMW
Assist response center.
If your vehicle is equipped with an activated
BMW Assist and the current location of the
vehicle can be determined, this location is
transmitted to the BMW Assist response cen-
ter.
Requirements for initiating an emergency call or
contacting Mobile Service:
>Ignition key in position 1 or higher
>The car phone must be registered with a
mobile network
>The emergency call system must be opera-
tional.
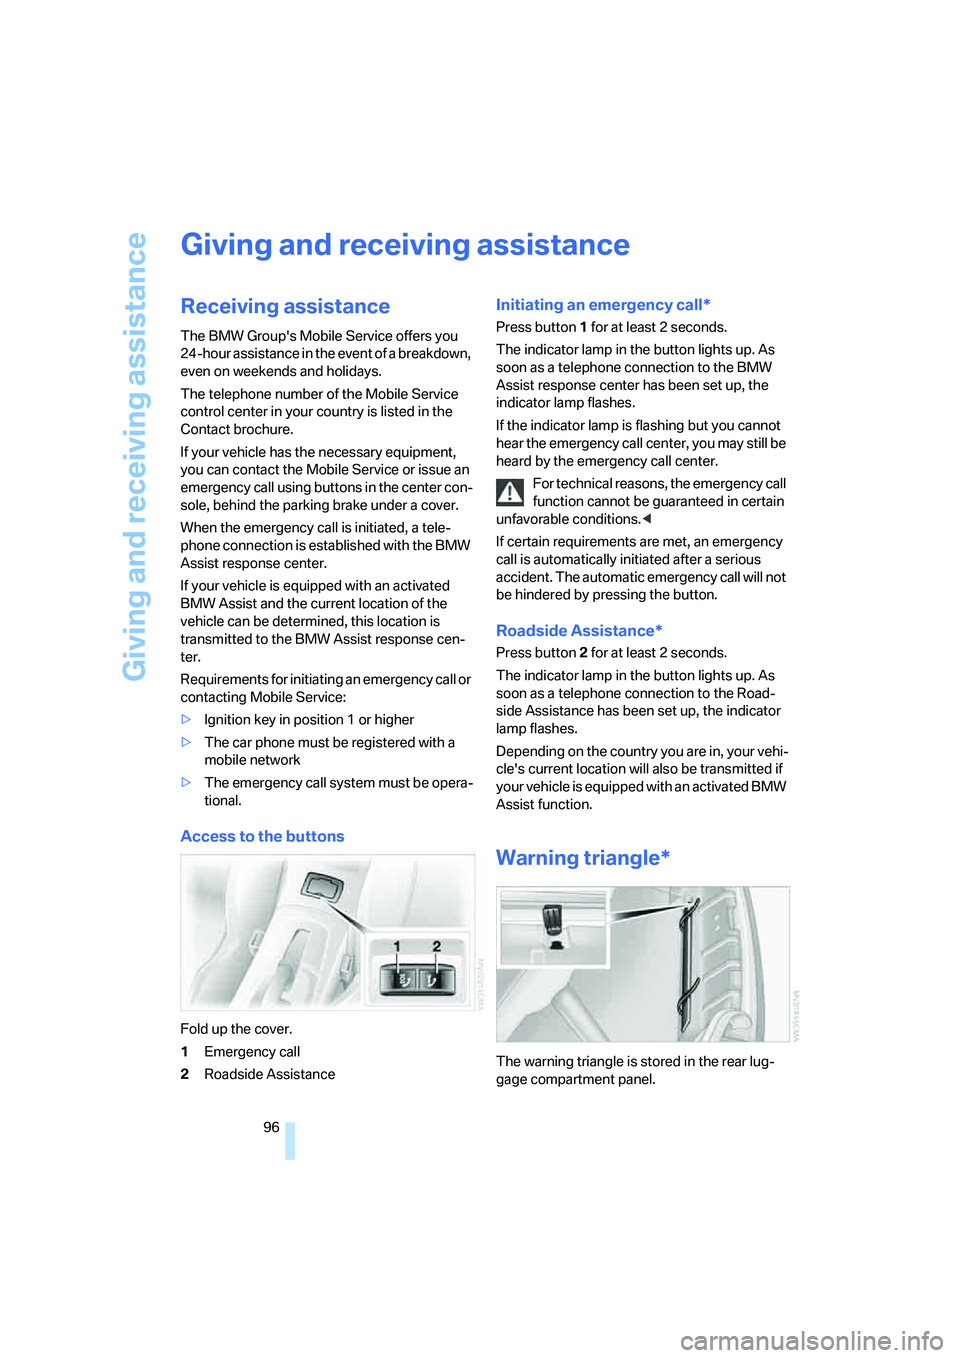
Access to the buttons
Fold up the cover.
1Emergency call
2Roadside Assistance
Initiating an emergency call*
Press button1 for at least 2 seconds.
The indicator lamp in the button lights up. As
soon as a telephone connection to the BMW
Assist response center has been set up, the
indicator lamp flashes.
If the indicator lamp is flashing but you cannot
hear the emergency call center, you may still be
heard by the emergency call center.
For technical reasons, the emergency call
function cannot be guaranteed in certain
unfavorable conditions.<
If certain requirements are met, an emergency
call is automatically initiated after a serious
accident. The automatic emergency call will not
be hindered by pressing the button.
Roadside Assistance*
Press button2 for at least 2 seconds.
The indicator lamp in the button lights up. As
soon as a telephone connection to the Road-
side Assistance has been set up, the indicator
lamp flashes.
Depending on the country you are in, your vehi-
cle's current location will also be transmitted if
your vehicle is equipped with an activated BMW
Assist function.
Warning triangle*
The warning triangle is stored in the rear lug-
gage compartment panel.
Page 100 of 120
Giving and receiving assistance
98 positive terminal of the battery or to an aux-
iliary jump-starting terminal of the vehicle to
be jump-started.
Your BMW is equipped with a special nut,
refer also to the engine compartment over-
view on page85
3.With the– jumper cable, connect the nega-
tive terminals of both vehicles.
To do this:
Attach one cable clamp to the negative bat-
tery terminal or to a suitable ground on the
engine or body work of the support vehicle.
Attach the second cable clamp to the nega-
tive battery terminal or to a suitable ground
on the engine or body work of the vehicle to
be jump-started.
Starting the engine
1.Start the engine of the support vehicle and
let it run for several minutes at a slightly ele-
vated engine idle speed
2.Start the engine of the other vehicle as
usual.
If the first start attempt is not successful,
wait a few minutes before another attempt
in order to allow the discharged battery to
recharge
3.Allow the engines to run for several minutes
4.Then disconnect the jumper cables in
reverse sequence
5.Depending on the cause of the fault, have
the battery checked and recharged.
Never use spray starter fluids to start the
engine.<
Towing and tow-starting the
vehicle
Using the towing eyelet
The screw-in towing eyelet is stored in the
onboard tool kit; be sure that it remains in the
vehicle at all times. It can be attached at the
front or rear of your BMW.
Observe the following instructions in
order to avoid damaging the towing eye-
let or the vehicle: use only the towing eyelet
supplied with the vehicle, and screw it in firmly
until it stops. Use the towing eyelet for towing
on paved roads only. Avoid subjecting the tow-
ing eyelet to lateral loads, e.g. do not lift the
vehicle using the towing eyelet.<
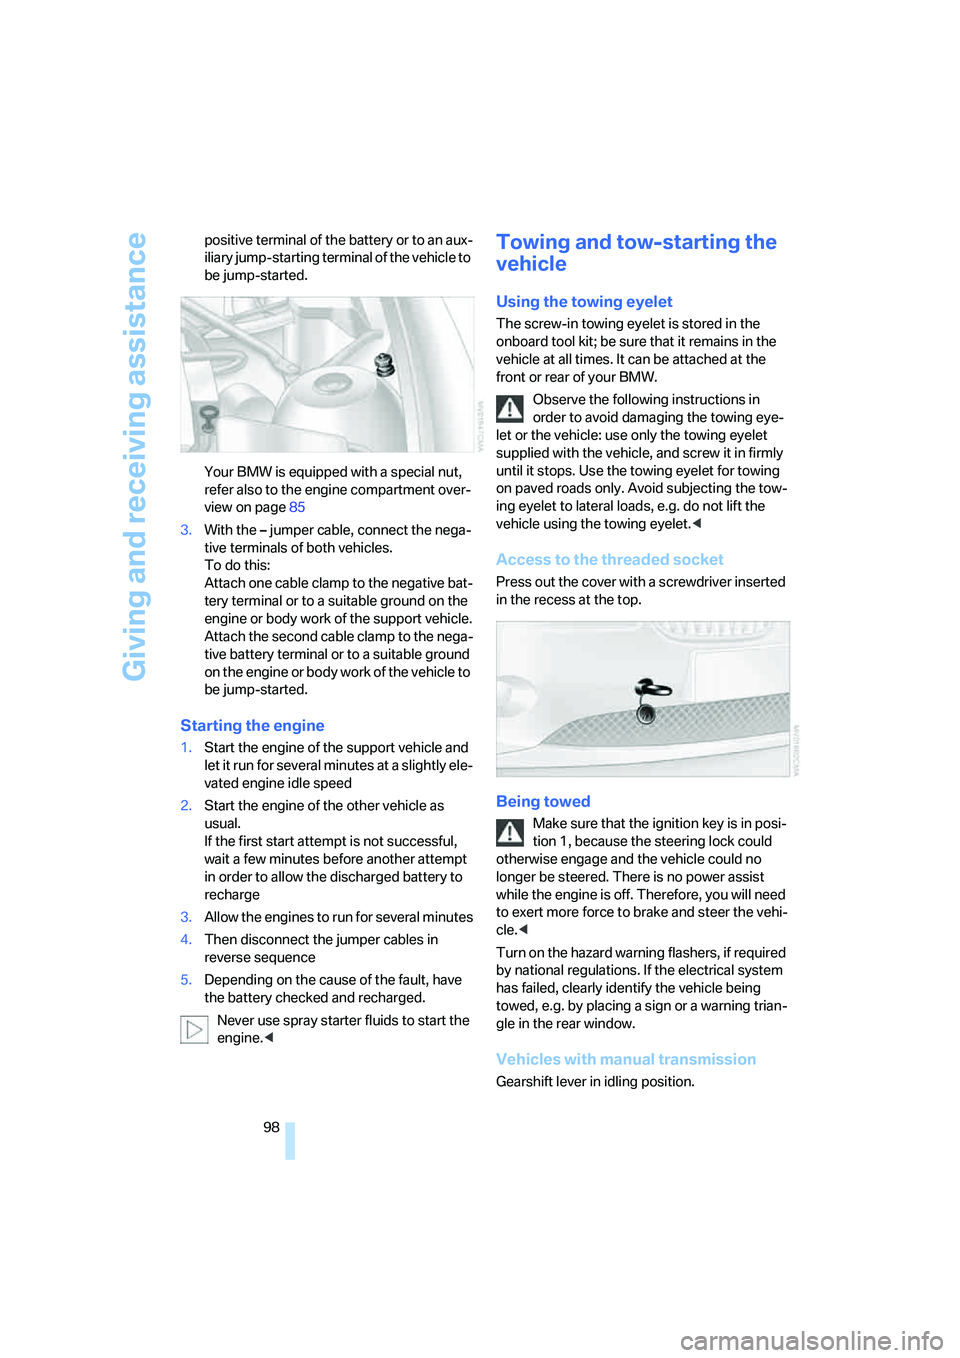
Access to the threaded socket
Press out the cover with a screwdriver inserted
in the recess at the top.
Being towed
Make sure that the ignition key is in posi-
tion 1, because the steering lock could
otherwise engage and the vehicle could no
longer be steered. There is no power assist
while the engine is off. Therefore, you will need
to exert more force to brake and steer the vehi-
cle.<
Turn on the hazard warning flashers, if required
by national regulations. If the electrical system
has failed, clearly identify the vehicle being
towed, e.g. by placing a sign or a warning trian-
gle in the rear window.
Vehicles with manual transmission
Gearshift lever in idling position.