2005 BMW 760LI SEDAN ESP
[x] Cancel search: ESPPage 49 of 239
Controls
47Reference
At a glance
Driving tips
Communications
Navigation
Entertainment
Mobility
Seats
Note before adjusting
Never attempt to adjust your seat
while operating the vehicle. The seat
could respond with unexpected movement,
and the ensuing loss of vehicle control
could lead to an accident.
Also on the passenger's side, do not incline
the backrest too far to the rear while the
vehicle is being driven, as otherwise there
is a danger in the event of an accident of
'sliding under' the safety belt, eliminating
the protection normally provided by the
belt.<
Please observe the information on damage
to safety belts provided on page51 and the
information on the active head restraints on
page49.
The concept
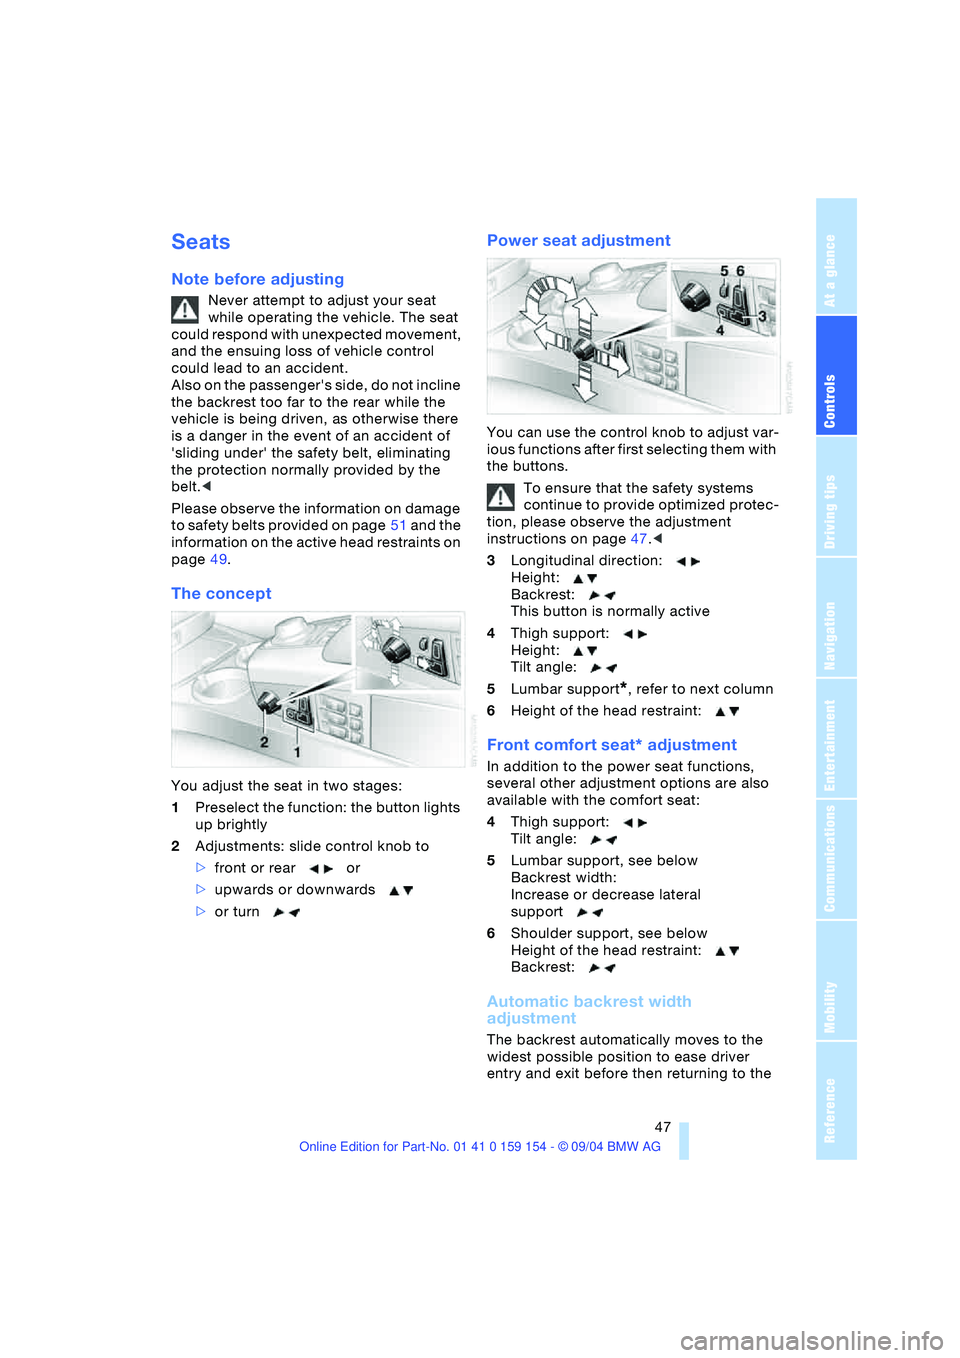
You adjust the seat in two stages:
1Preselect the function: the button lights
up brightly
2Adjustments: slide control knob to
>front or rear or
>upwards or downwards
>or turn
Power seat adjustment
You can use the control knob to adjust var-
ious functions after first selecting them with
the buttons.
To ensure that the safety systems
continue to provide optimized protec-
tion, please observe the adjustment
instructions on page47.<
3Longitudinal direction:
Height:
Backrest:
This button is normally active
4Thigh support:
Height:
Tilt angle:
5Lumbar support
*, refer to next column
6Height of the head restraint:
Front comfort seat* adjustment
In addition to the power seat functions,
several other adjustment options are also
available with the comfort seat:
4Thigh support:
Tilt angle:
5Lumbar support, see below
Backrest width:
Increase or decrease lateral
support
6Shoulder support, see below
Height of the head restraint:
Backrest:
Automatic backrest width
adjustment
The backrest automatically moves to the
widest possible position to ease driver
entry and exit before then returning to the
Page 51 of 239
Controls
49Reference
At a glance
Driving tips
Communications
Navigation
Entertainment
Mobility
1Longitudinal direction:
Height:
Backrest:
2Height of the head restraint:
Press the button again, refer to arrow, to
deactivate this function.
Resetting to standard adjustment
position
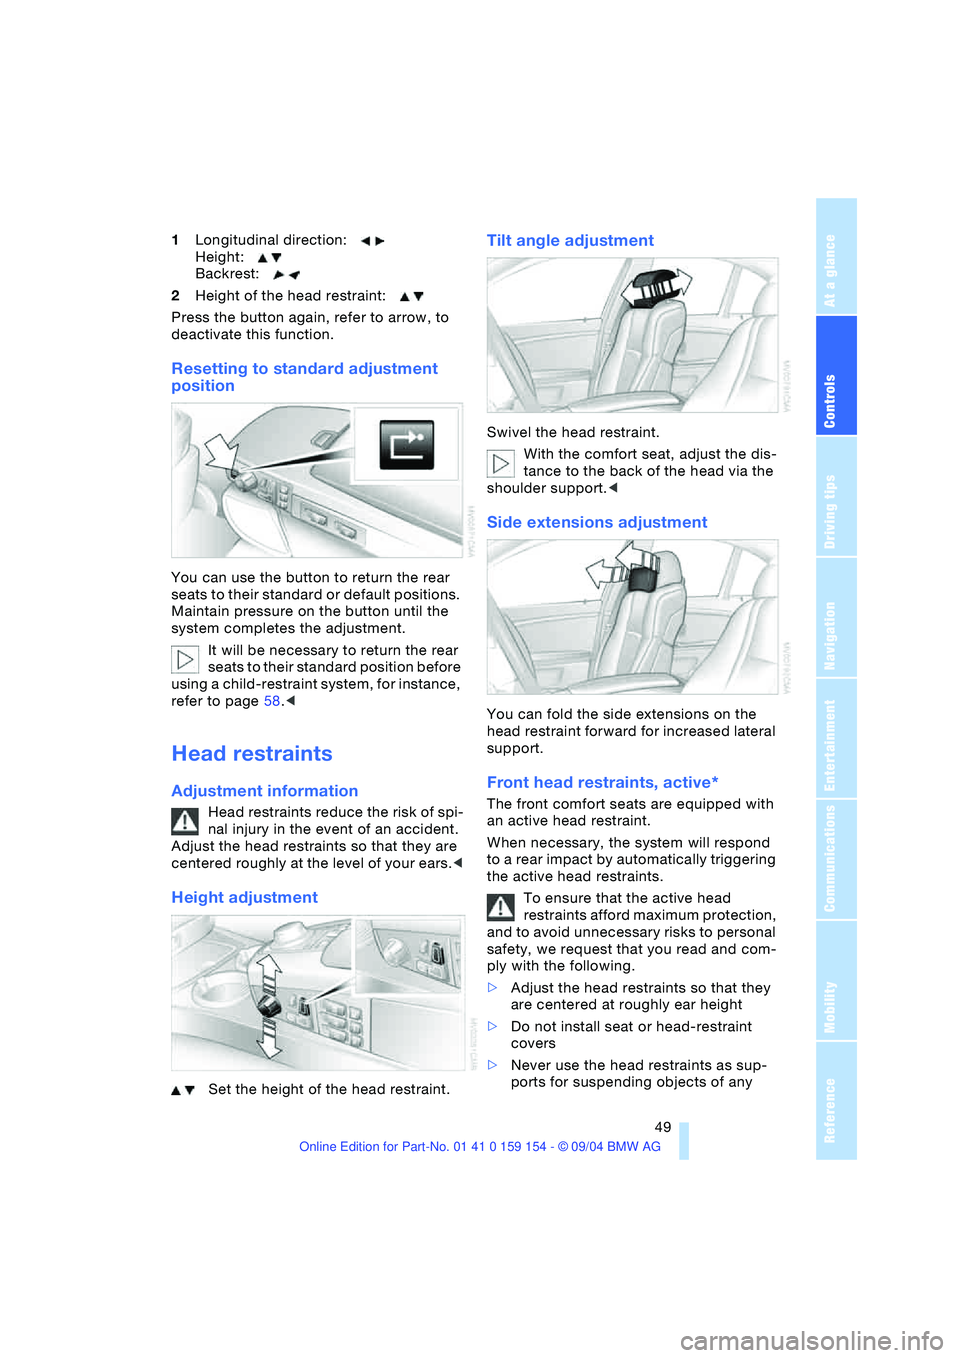
You can use the button to return the rear
seats to their standard or default positions.
Maintain pressure on the button until the
system completes the adjustment.
It will be necessary to return the rear
seats to their standard position before
using a child-restraint system, for instance,
refer to page58.<
Head restraints
Adjustment information
Head restraints reduce the risk of spi-
nal injury in the event of an accident.
Adjust the head restraints so that they are
centered roughly at the level of your ears.<
Height adjustment
Set the height of the head restraint.
Tilt angle adjustment
Swivel the head restraint.
With the comfort seat, adjust the dis-
tance to the back of the head via the
shoulder support.<
Side extensions adjustment
You can fold the side extensions on the
head restraint forward for increased lateral
support.
Front head restraints, active*
The front comfort seats are equipped with
an active head restraint.
When necessary, the system will respond
to a rear impact by automatically triggering
the active head restraints.
To ensure that the active head
restraints afford maximum protection,
and to avoid unnecessary risks to personal
safety, we request that you read and com-
ply with the following.
>Adjust the head restraints so that they
are centered at roughly ear height
>Do not install seat or head-restraint
covers
>Never use the head restraints as sup-
ports for suspending objects of any
Page 53 of 239
Controls
51Reference
At a glance
Driving tips
Communications
Navigation
Entertainment
Mobility
You can also adjust the height of the head
restraint electrically.
To prevent possible personal injury
and property damage, always ensure
that the area above the head restraints is
clear and unobstructed before extending
them upward.<
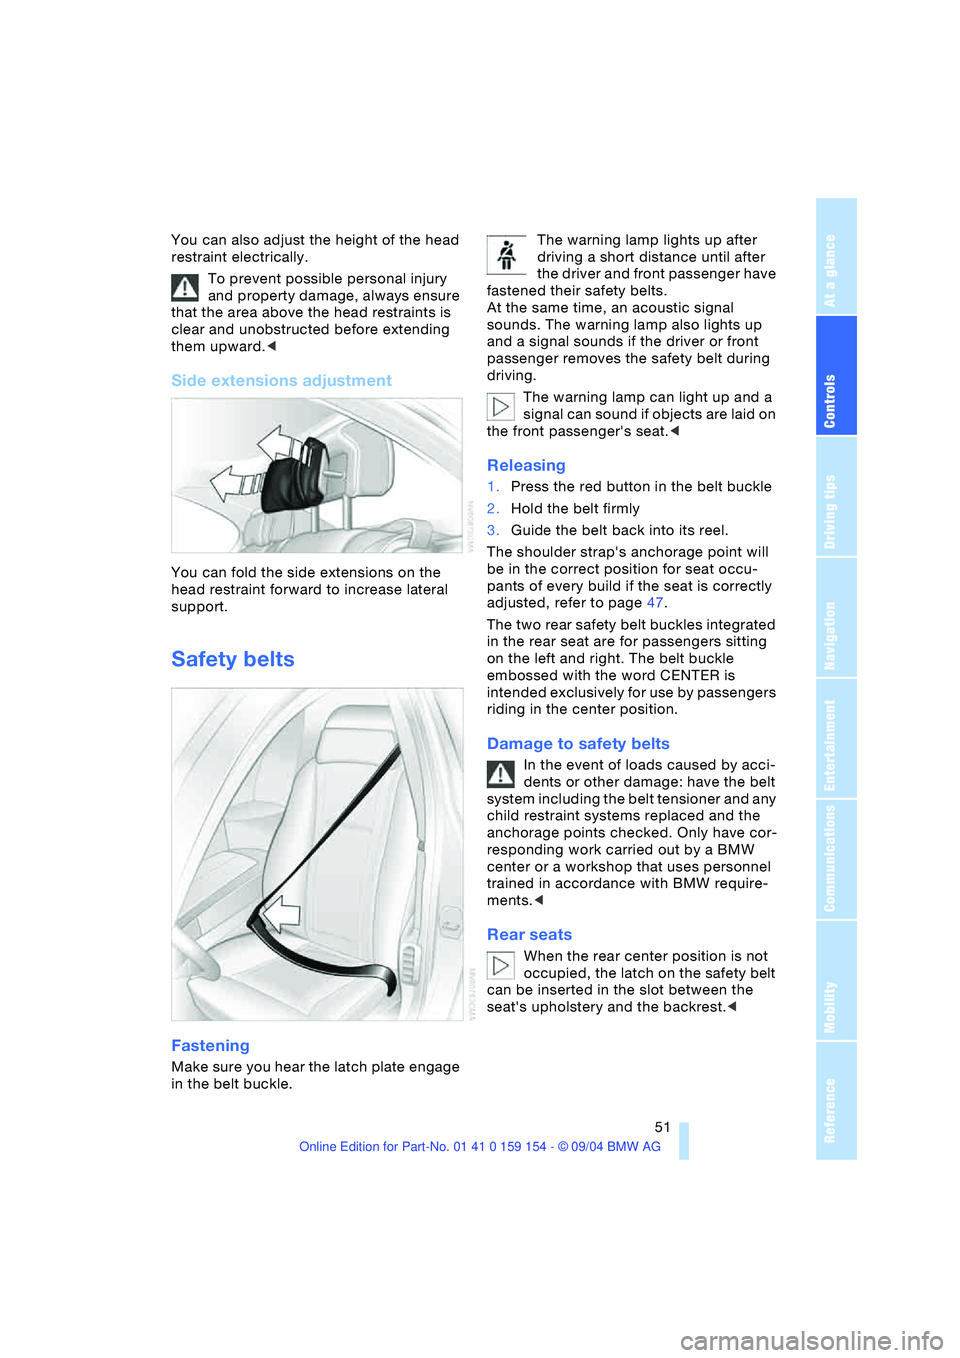
Side extensions adjustment
You can fold the side extensions on the
head restraint forward to increase lateral
support.
Safety belts
Fastening
Make sure you hear the latch plate engage
in the belt buckle. The warning lamp lights up after
driving a short distance until after
the driver and front passenger have
fastened their safety belts.
At the same time, an acoustic signal
sounds. The warning lamp also lights up
and a signal sounds if the driver or front
passenger removes the safety belt during
driving.
The warning lamp can light up and a
signal can sound if objects are laid on
the front passenger's seat.<
Releasing
1.Press the red button in the belt buckle
2.Hold the belt firmly
3.Guide the belt back into its reel.
The shoulder strap's anchorage point will
be in the correct position for seat occu-
pants of every build if the seat is correctly
adjusted, refer to page47.
The two rear safety belt buckles integrated
in the rear seat are for passengers sitting
on the left and right. The belt buckle
embossed with the word CENTER is
intended exclusively for use by passengers
riding in the center position.
Damage to safety belts
In the event of loads caused by acci-
dents or other damage: have the belt
system including the belt tensioner and any
child restraint systems replaced and the
anchorage points checked. Only have cor-
responding work carried out by a BMW
center or a workshop that uses personnel
trained in accordance with BMW require-
ments.<
Rear seats
When the rear center position is not
occupied, the latch on the safety belt
can be inserted in the slot between the
seat's upholstery and the backrest.<
Page 58 of 239
Adjustments
56
Tilt function, passenger-side mirror
Automatic curb monitor
Activating
1.Select the driver's mirror with the mirror
selector switch
2.When you select the transmission
position R, the exterior mirror glass on
the front passenger side tilts downward
slightly. This allows the driver to see the
area immediately adjacent to the vehi-
cle – such as a curb – when parking, etc.
Deactivating
Slide the mirror selection switch to the pas-
senger's side position.
Vehicle Memory,
Key Memory
How the system functions
Doubtless you have often reflected on how
great it would be if you could configure
your vehicle's various adjustment settings
to meet your own personal requirements.
In developing your vehicle, BMW has incor-
porated a number of options for personal
adjustment which you can set with the
Control Center or you can have these pro-
grammed at your BMW center.
There are vehicle-related and person-
related adjustments: Vehicle Memory and
Key Memory. You can have up to four dif-
ferent basic settings adjusted for four dif-
ferent persons. The only requirement is that
each person uses his or her own remote
control. When your vehicle is unlocked with the
remote control, the vehicle recognizes the
individual user by means of a data
exchange with the key, and makes adjust-
ments accordingly.
To differentiate
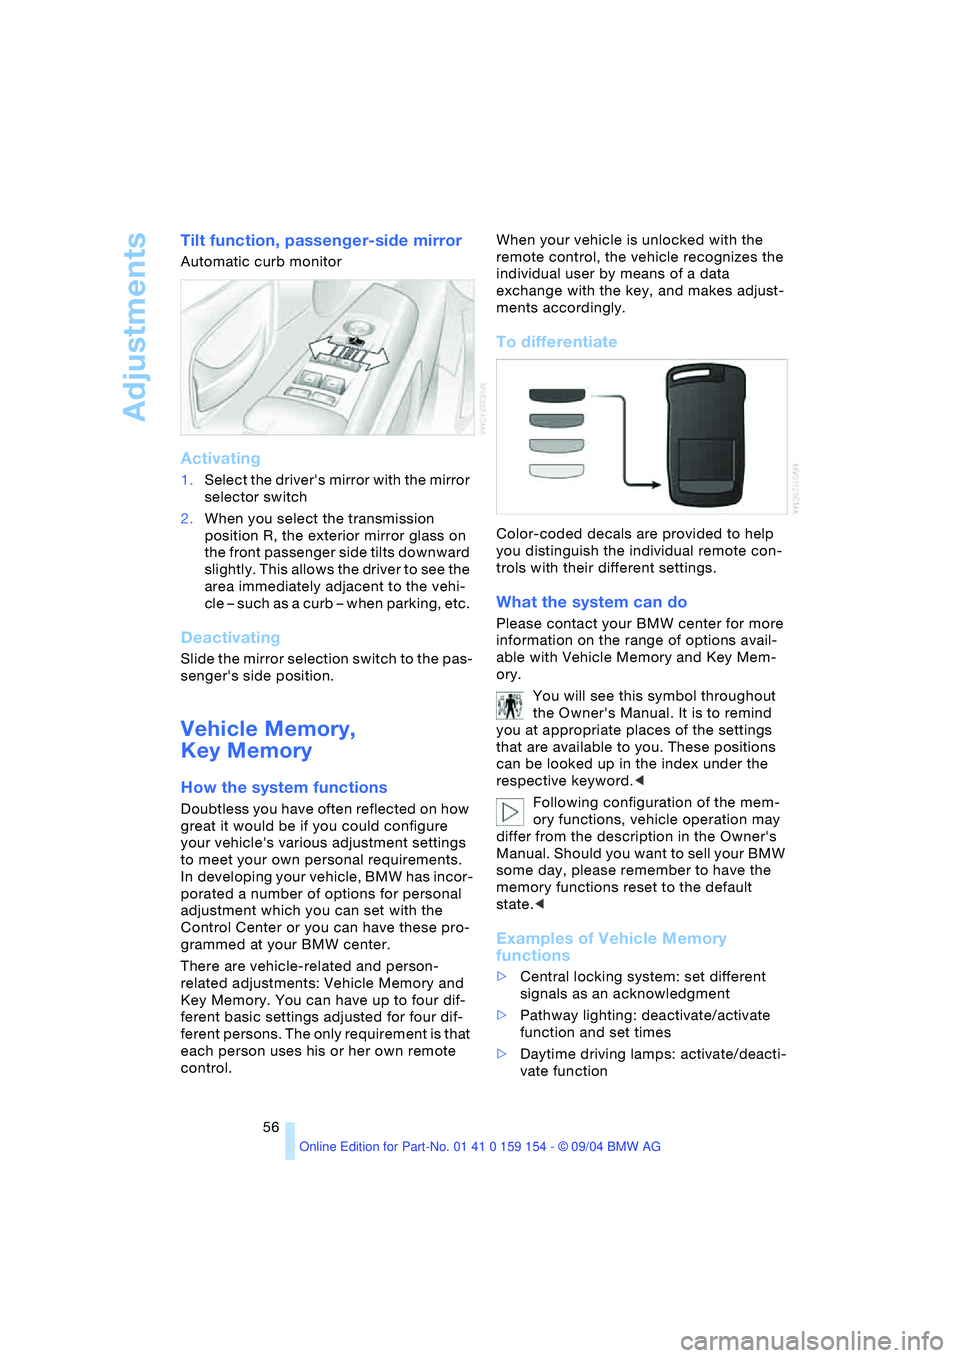
Color-coded decals are provided to help
you distinguish the individual remote con-
trols with their different settings.
What the system can do
Please contact your BMW center for more
information on the range of options avail-
able with Vehicle Memory and Key Mem-
ory.
You will see this symbol throughout
the Owner's Manual. It is to remind
you at appropriate places of the settings
that are available to you. These positions
can be looked up in the index under the
respective keyword.<
Following configuration of the mem-
ory functions, vehicle operation may
differ from the description in the Owner's
Manual. Should you want to sell your BMW
some day, please remember to have the
memory functions reset to the default
state.<
Examples of Vehicle Memory
functions
>Central locking system: set different
signals as an acknowledgment
>Pathway lighting: deactivate/activate
function and set times
>Daytime driving lamps: activate/deacti-
vate function
Page 61 of 239
Controls
59Reference
At a glance
Driving tips
Communications
Navigation
Entertainment
Mobility
child restraint system and the affected
vehicle safety-belt system checked and,
if necessary, replaced. Only have corre-
sponding work carried out by a BMW cen-
ter or a workshop that uses personnel
trained in accordance with BMW require-
ments.<
Commercially-available child-restraint sys-
tems are designed to be secured with a lap
belt or with the lap belt portion of a combi-
nation lap/shoulder belt. Improperly or
inadequately installed restraint systems
can increase the risk of injury to children.
Always read and follow the instructions that
come with the system.
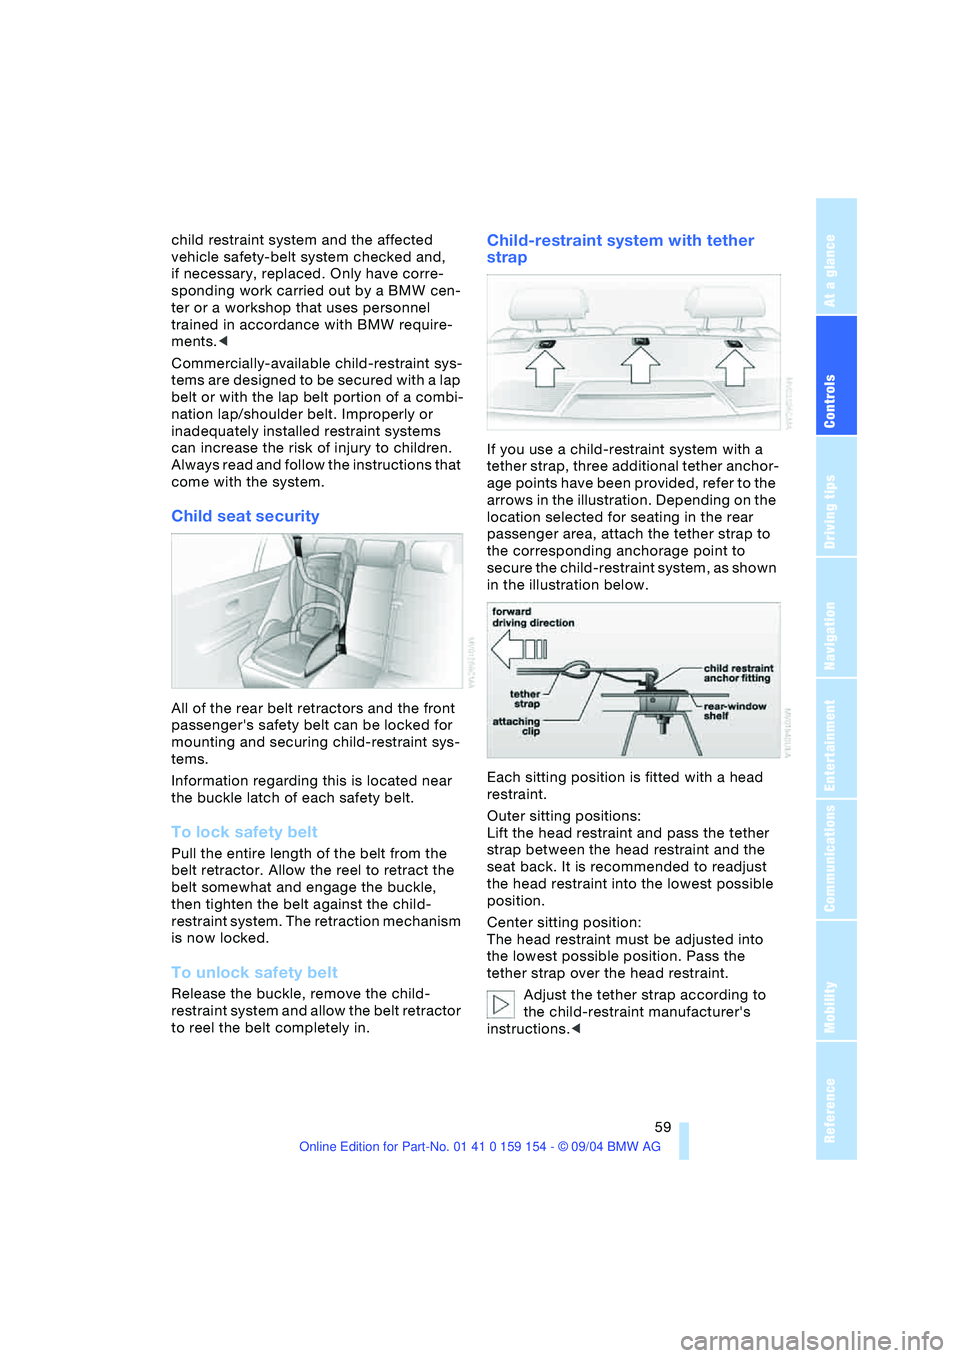
Child seat security
All of the rear belt retractors and the front
passenger's safety belt can be locked for
mounting and securing child-restraint sys-
tems.
Information regarding this is located near
the buckle latch of each safety belt.
To lock safety belt
Pull the entire length of the belt from the
belt retractor. Allow the reel to retract the
belt somewhat and engage the buckle,
then tighten the belt against the child-
restraint system. The retraction mechanism
is now locked.
To unlock safety belt
Release the buckle, remove the child-
restraint system and allow the belt retractor
to reel the belt completely in.
Child-restraint system with tether
strap
If you use a child-restraint system with a
tether strap, three additional tether anchor-
age points have been provided, refer to the
arrows in the illustration. Depending on the
location selected for seating in the rear
passenger area, attach the tether strap to
the corresponding anchorage point to
secure the child-restraint system, as shown
in the illustration below.
Each sitting position is fitted with a head
restraint.
Outer sitting positions:
Lift the head restraint and pass the tether
strap between the head restraint and the
seat back. It is recommended to readjust
the head restraint into the lowest possible
position.
Center sitting position:
The head restraint must be adjusted into
the lowest possible position. Pass the
tether strap over the head restraint.
Adjust the tether strap according to
the child-restraint manufacturer's
instructions.<
Page 65 of 239
Controls
63Reference
At a glance
Driving tips
Communications
Navigation
Entertainment
Mobility
gong will sound and a message will appear
in the Info Display.
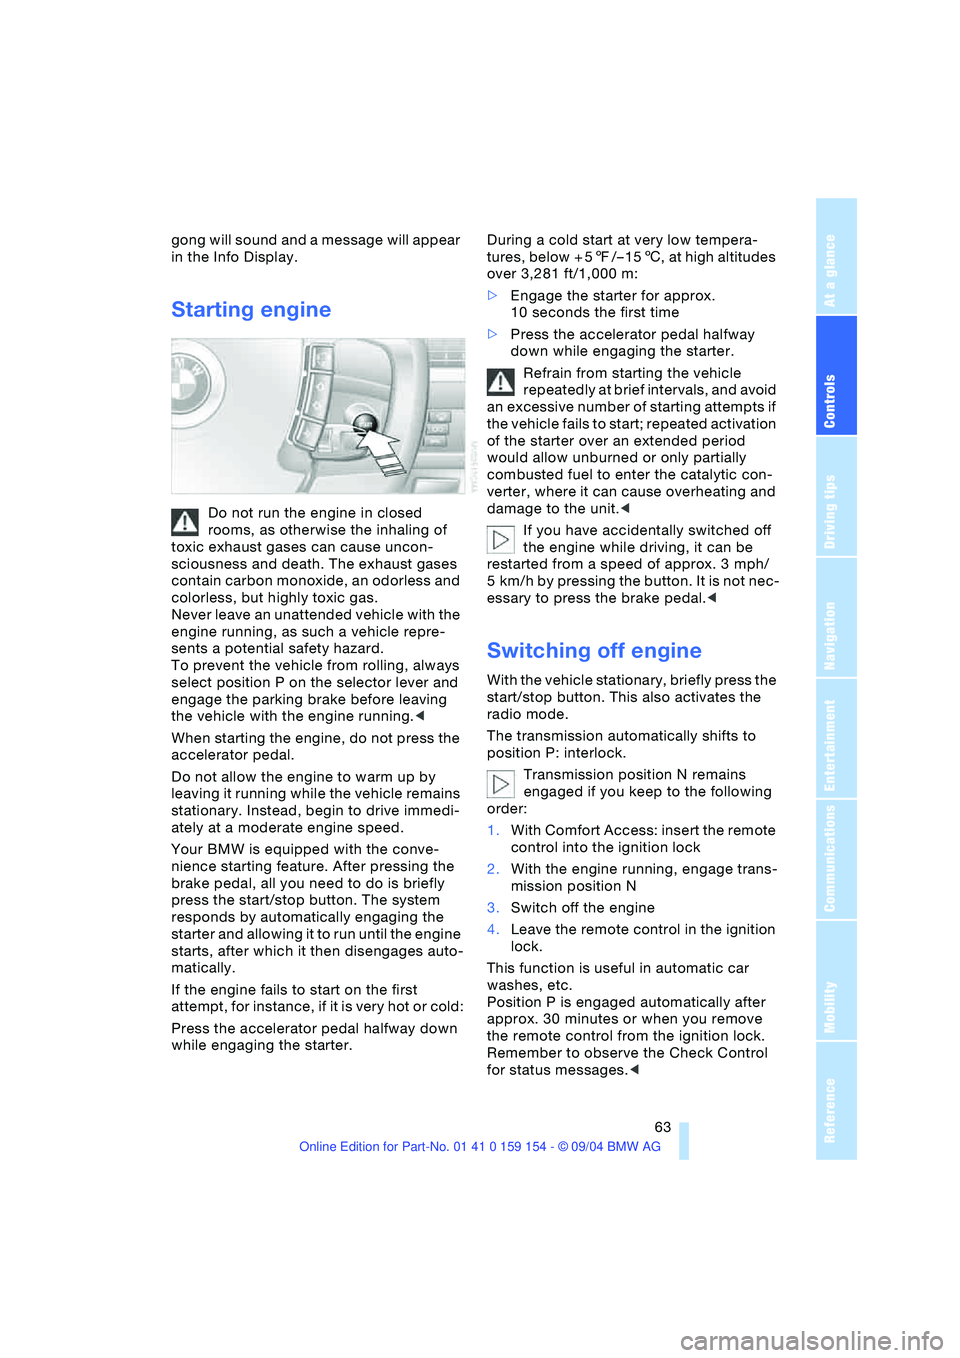
Starting engine
Do not run the engine in closed
rooms, as otherwise the inhaling of
toxic exhaust gases can cause uncon-
sciousness and death. The exhaust gases
contain carbon monoxide, an odorless and
colorless, but highly toxic gas.
Never leave an unattended vehicle with the
engine running, as such a vehicle repre-
sents a potential safety hazard.
To prevent the vehicle from rolling, always
select position P on the selector lever and
engage the parking brake before leaving
the vehicle with the engine running.<
When starting the engine, do not press the
accelerator pedal.
Do not allow the engine to warm up by
leaving it running while the vehicle remains
stationary. Instead, begin to drive immedi-
ately at a moderate engine speed.
Your BMW is equipped with the conve-
nience starting feature. After pressing the
brake pedal, all you need to do is briefly
press the start/stop button. The system
responds by automatically engaging the
starter and allowing it to run until the engine
starts, after which it then disengages auto-
matically.
If the engine fails to start on the first
attempt, for instance, if it is very hot or cold:
Press the accelerator pedal halfway down
while engaging the starter.During a cold start at very low tempera-
tures, below + 57/– 156, at high altitudes
over 3,281 ft/1,000 m:
>Engage the starter for approx.
10 seconds the first time
>Press the accelerator pedal halfway
down while engaging the starter.
Refrain from starting the vehicle
repeatedly at brief intervals, and avoid
an excessive number of starting attempts if
the vehicle fails to start; repeated activation
of the starter over an extended period
would allow unburned or only partially
combusted fuel to enter the catalytic con-
verter, where it can cause overheating and
damage to the unit.<
If you have accidentally switched off
the engine while driving, it can be
restarted from a speed of approx. 3 mph/
5 km/h by pressing the button. It is not nec-
essary to press the brake pedal.<
Switching off engine
With the vehicle stationary, briefly press the
start/stop button. This also activates the
radio mode.
The transmission automatically shifts to
position P: interlock.
Transmission position N remains
engaged if you keep to the following
order:
1.With Comfort Access: insert the remote
control into the ignition lock
2.With the engine running, engage trans-
mission position N
3.Switch off the engine
4.Leave the remote control in the ignition
lock.
This function is useful in automatic car
washes, etc.
Position P is engaged automatically after
approx. 30 minutes or when you remove
the remote control from the ignition lock.
Remember to observe the Check Control
for status messages.<
Page 66 of 239
Driving
64 Should exceptional circumstances
render it necessary for you to switch
off the engine while the vehicle is moving,
press the start/stop button for approxi-
mately 1 second.
If you maintain pressure on the start/stop
button for longer than two seconds while
switching off the ignition, the remote con-
trol will be ejected.<
Before leaving the vehicle, remove
the remote control from the ignition
lock; with Comfort Access, always take the
remote control with you.<
Parking brake
The concept
Your BMW is equipped with an electrome-
chanical parking brake.
The parking brake is primarily intended to
prevent the vehicle from rolling while
parked.
You can operate or use the parking brake in
two different ways:
>Manually, by briefly pressing the button
>Automatically, through activation of the
Automatic Hold mode, refer to page65.
An electrohydraulic mechanism then
engages the parking brake to prevent the
rear wheels from turning whenever you
switch off the engine.
When the engine is running, parking brake
engagement is controlled by the brake sys-
tem's hydraulic circuits, which act on the
disc brakes at the front and rear wheels.
Brake pedal feel
Because this function is activated using
the brake system's hydraulic circuits, the
response of the brake pedal may change
slightly. Engagement may also be accom-
panied by activation noise – this is normal.
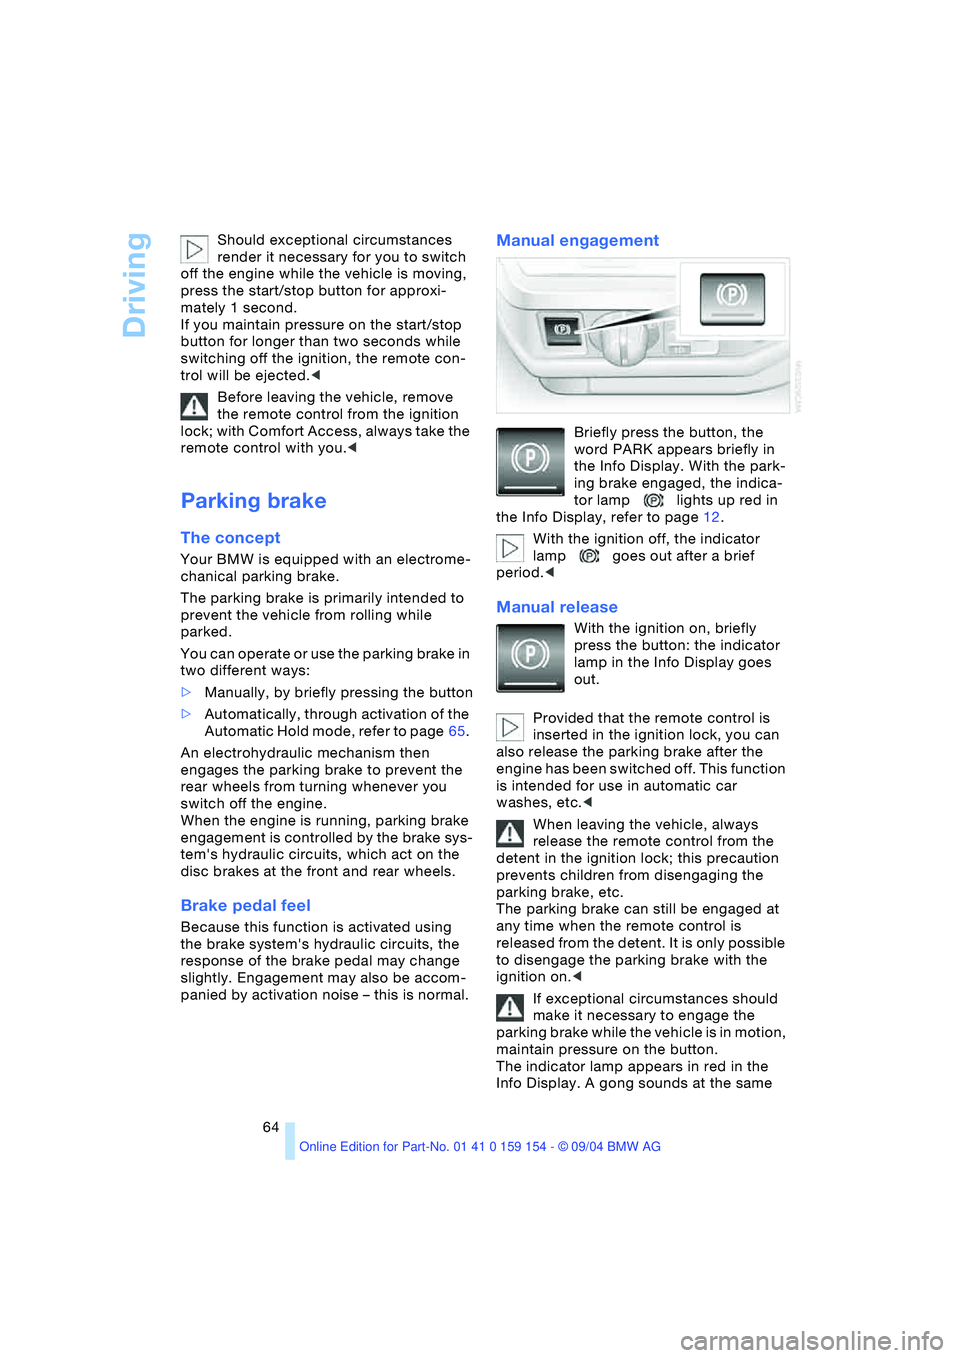
Manual engagement
Briefly press the button, the
word PARK appears briefly in
the Info Display. With the park-
ing brake engaged, the indica-
tor lamp lights up red in
the Info Display, refer to page12.
With the ignition off, the indicator
lamp goes out after a brief
period.<
Manual release
With the ignition on, briefly
press the button: the indicator
lamp in the Info Display goes
out.
Provided that the remote control is
inserted in the ignition lock, you can
also release the parking brake after the
engine has been switched off. This function
is intended for use in automatic car
washes, etc.<
When leaving the vehicle, always
release the remote control from the
detent in the ignition lock; this precaution
prevents children from disengaging the
parking brake, etc.
The parking brake can still be engaged at
any time when the remote control is
released from the detent. It is only possible
to disengage the parking brake with the
ignition on.<
If exceptional circumstances should
make it necessary to engage the
parking brake while the vehicle is in motion,
maintain pressure on the button.
The indicator lamp appears in red in the
Info Display. A gong sounds at the same
Page 68 of 239
Driving
66 Provided that the remote control is
inserted in the ignition lock, you can
also release the parking brake manually
after the engine has been switched off,
refer to page64. This function is useful in
automatic car washes, etc.
Automatic Hold is deactivated.<
When leaving the vehicle, always
release the remote control from the
detent in the ignition lock; this precaution
prevents children from disengaging the
parking brake, etc.<
For your safety
Automatic Hold is automatically deacti-
vated when
>the engine is switched off
>the system detects that the driver's seat
is not occupied while the engine is run-
ning
>the hood is opened while the engine is
running
>the luggage compartment is opened
with the transmission in position R while
the engine is running, and
>when the parking brake is used to bring
the vehicle to a stop.
The indicator lamp changes from
green to red, and the AUTO P letters in the
Info Display disappear.
Before starting off again, briefly press the
button to disengage the parking brake
manually, refer to page64, or reactivate
Automatic Hold, refer to page65.
Before leaving the vehicle with the
engine running, always move the
automatic transmission's selector lever to
position P and ensure that the parking
brake is engaged. The vehicle could start to
roll if you fail to observe these precautions.
Never leave an unattended vehicle with the
engine running, as such a vehicle repre-
sents a potential safety hazard.<
Automatic Hold is automatically deac-
tivated whenever the system detects
any tendency for the wheels to spin in
response to slippery road surfaces. Note the status reports in the Check Control.
You can find additional information on the
Check Control on page83.<
Malfunction
If a malfunction occurs, the indicator
lamp lights up yellow in the Info Dis-
play and a status report will appear in the
Check Control. Please note any supple-
mentary information that appears on the
Control Display.
Releasing parking brake manually
You can respond to any interruptions in the
supply of electrical power, for instance, if
the battery is discharged or disconnected,
by releasing the parking brake manually.
Before proceeding to release the
parking brake manually, and each
time you park the vehicle without engaging
the parking brake, always ensure that the
automatic transmission's selector lever is in
position P, refer to page68. Note the range
indicated in the Info Display.
If the wheel must be changed on a surface
with a more severe slope, take additional
precautions to secure the vehicle from roll-
ing e.g. with a chock, refer to page204
Otherwise there is a danger that the vehicle
could start to roll if parked on a steep
slope.<
Should it also be necessary to release the
automatic transmission's lockout manually,
for instance, if the battery is discharged,
always adhere to the following sequence:
1.If necessary, start by manually releasing
the parking brake
2.Then release the automatic transmis-
sion's lockout manually, refer to
page70.
Jump-starting and towing, refer to
pages209 and210.