2005 BMW 645CI CONVERTIBLE check control message
[x] Cancel search: check control messagePage 73 of 217
Everything under control
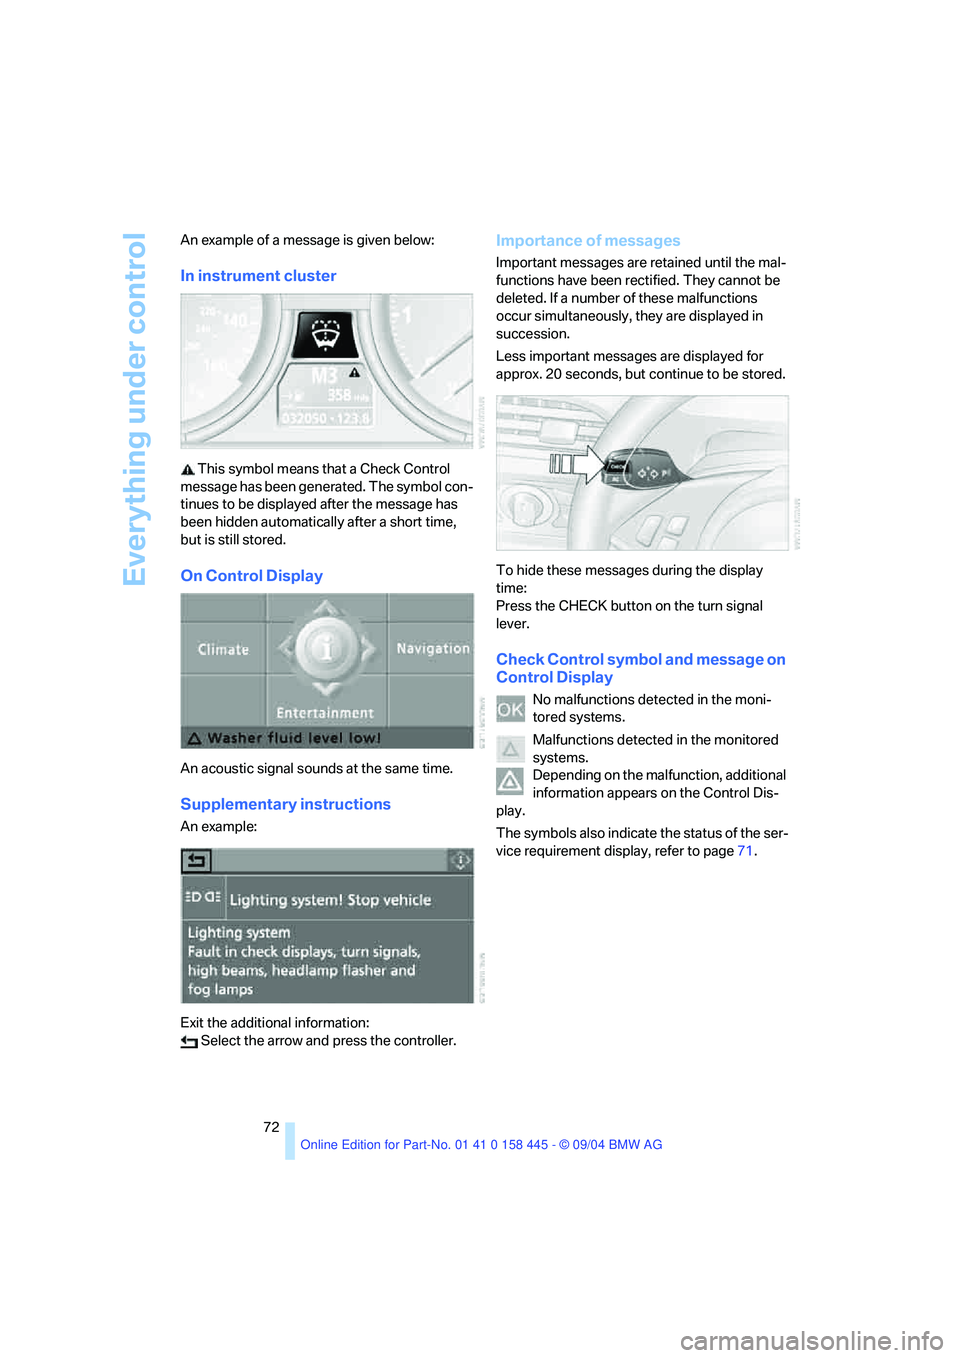
72 An example of a message is given below:
In instrument cluster
This symbol means that a Check Control
message has been generated. The symbol con-
tinues to be displayed after the message has
been hidden automatically after a short time,
but is still stored.
On Control Display
An acoustic signal sounds at the same time.
Supplementary instructions
An example:
Exit the additional information:
Select the arrow and press the controller.
Importance of messages
Important messages are retained until the mal-
functions have been rectified. They cannot be
deleted. If a number of these malfunctions
occur simultaneously, they are displayed in
succession.
Less important messages are displayed for
approx. 20 seconds, but continue to be stored.
To hide these messages during the display
time:
Press the CHECK button on the turn signal
lever.
Check Control symbol and message on
Control Display
No malfunctions detected in the moni-
tored systems.
Malfunctions detected in the monitored
systems.
Depending on the malfunction, additional
information appears on the Control Dis-
play.
The symbols also indicate the status of the ser-
vice requirement display, refer to page71.
Page 74 of 217
Controls
73Reference
At a glance
Driving tips
Communications
Navigation
Entertainment
Mobility
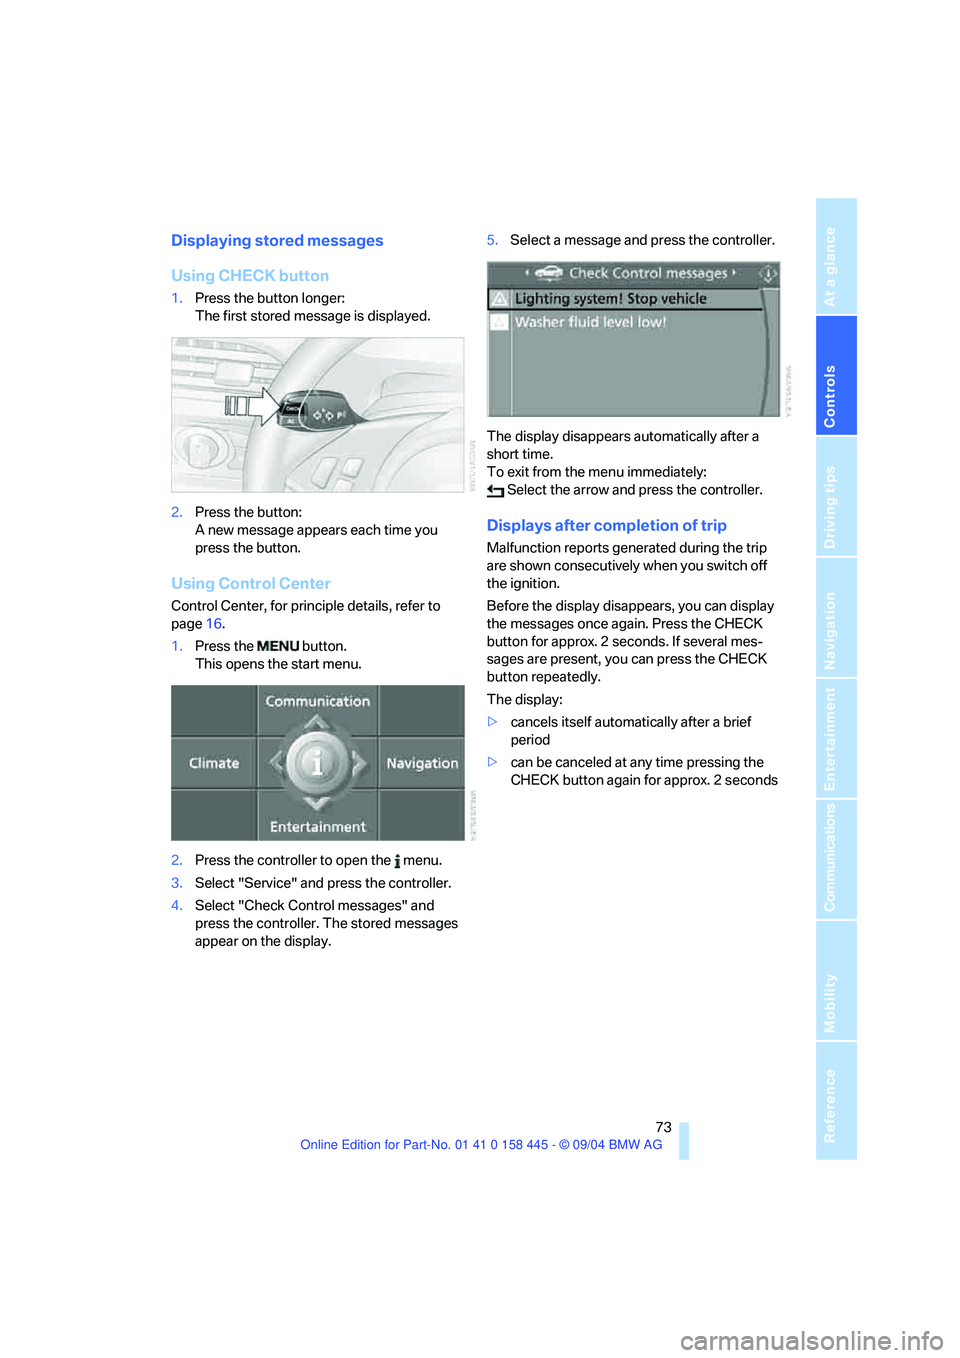
Displaying stored messages
Using CHECK button
1.Press the button longer:
The first stored message is displayed.
2.Press the button:
A new message appears each time you
press the button.
Using Control Center
Control Center, for principle details, refer to
page16.
1.Press the button.
This opens the start menu.
2.Press the controller to open the menu.
3.Select "Service" and press the controller.
4.Select "Check Control messages" and
press the controller. The stored messages
appear on the display.5.Select a message and press the controller.
The display disappears automatically after a
short time.
To exit from the menu immediately:
Select the arrow and press the controller.
Displays after completion of trip
Malfunction reports generated during the trip
are shown consecutively when you switch off
the ignition.
Before the display disappears, you can display
the messages once again. Press the CHECK
button for approx. 2 seconds. If several mes-
sages are present, you can press the CHECK
button repeatedly.
The display:
>cancels itself automatically after a brief
period
>can be canceled at any time pressing the
CHECK button again for approx. 2 seconds
Page 77 of 217
Everything under control
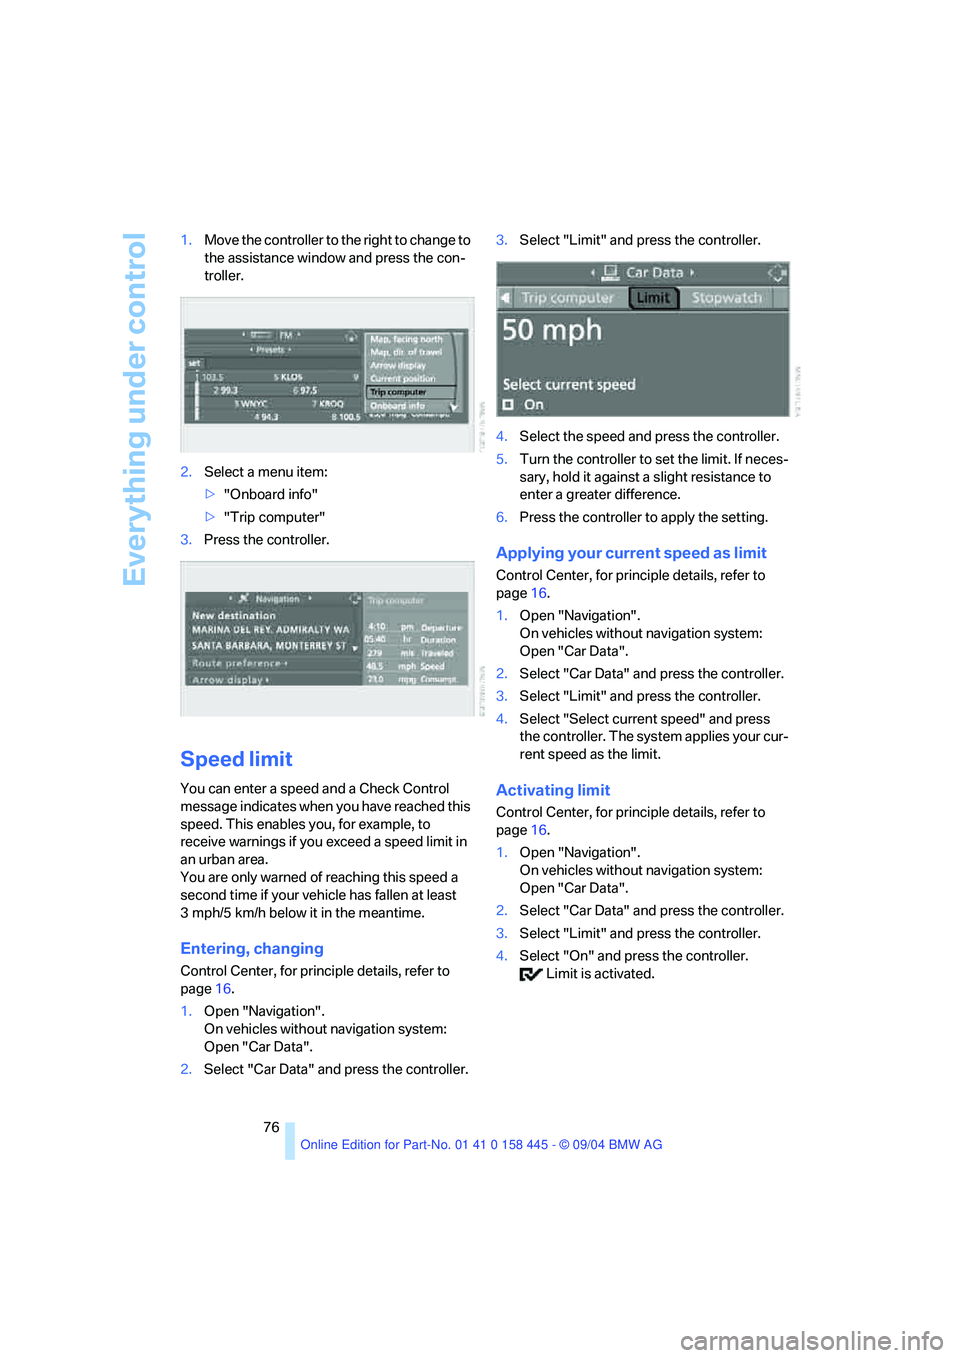
76 1.Move the controller to the right to change to
the assistance window and press the con-
troller.
2.Select a menu item:
>"Onboard info"
>"Trip computer"
3.Press the controller.
Speed limit
You can enter a speed and a Check Control
message indicates when you have reached this
speed. This enables you, for example, to
receive warnings if you exceed a speed limit in
an urban area.
You are only warned of reaching this speed a
second time if your vehicle has fallen at least
3 mph/5 km/h below it in the meantime.
Entering, changing
Control Center, for principle details, refer to
page16.
1.Open "Navigation".
On vehicles without navigation system:
Open "Car Data".
2.Select "Car Data" and press the controller.3.Select "Limit" and press the controller.
4.Select the speed and press the controller.
5.Turn the controller to set the limit. If neces-
sary, hold it against a slight resistance to
enter a greater difference.
6.Press the controller to apply the setting.
Applying your current speed as limit
Control Center, for principle details, refer to
page16.
1.Open "Navigation".
On vehicles without navigation system:
Open "Car Data".
2.Select "Car Data" and press the controller.
3.Select "Limit" and press the controller.
4.Select "Select current speed" and press
the controller. The system applies your cur-
rent speed as the limit.
Activating limit
Control Center, for principle details, refer to
page16.
1.Open "Navigation".
On vehicles without navigation system:
Open "Car Data".
2.Select "Car Data" and press the controller.
3.Select "Limit" and press the controller.
4.Select "On" and press the controller.
Limit is activated.
Page 81 of 217
Technology for comfort, convenience and safety
80
Technology for comfort, convenience and
safety
PDC Park Distance Control*
The concept
The PDC assists you when you are parking.
Audible signals and an optical display
* indicate
that you are approaching an object in front of or
behind your vehicle. To measure the distance,
there are four ultrasonic sensors in each
bumper. The sensors at the front and at the two
rear corners have a range of approx. 24 in/
60 cm; the rear middle sensors have approx.
5ft/1.50m.
PDC is a parking aid that can indicate
objects when they are approached
slowly, as is usually the case when parking.
Avoid approaching an object at high speed, as
otherwise the physical circumstances would
mean that the system warning was too late.<
Automatic mode
In ignition key position 2, the system automati-
cally assumes operational status after approx.
1 second each time you shift into reverse or
move the selector-lever to position R.
Wait this short period before driving. The sys-
tem switches off when you disengage the
reverse gear.
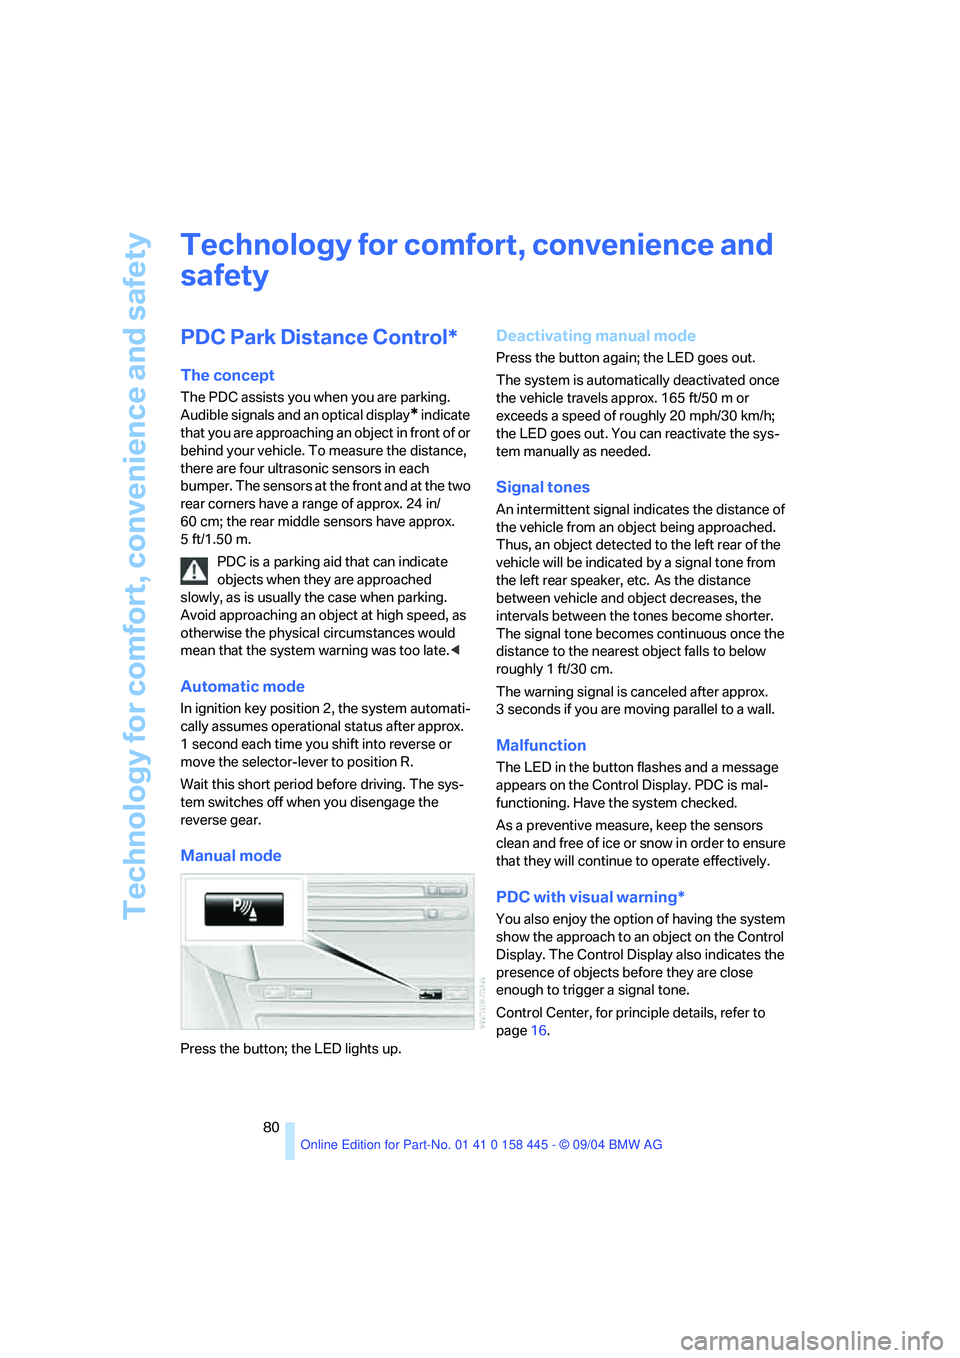
Manual mode
Press the button; the LED lights up.
Deactivating manual mode
Press the button again; the LED goes out.
The system is automatically deactivated once
the vehicle travels approx. 165 ft/50 m or
exceeds a speed of roughly 20 mph/30 km/h;
the LED goes out. You can reactivate the sys-
tem manually as needed.
Signal tones
An intermittent signal indicates the distance of
the vehicle from an object being approached.
Thus, an object detected to the left rear of the
vehicle will be indicated by a signal tone from
the left rear speaker, etc. As the distance
between vehicle and object decreases, the
intervals between the tones become shorter.
The signal tone becomes continuous once the
distance to the nearest object falls to below
roughly 1 ft/30 cm.
The warning signal is canceled after approx.
3 seconds if you are moving parallel to a wall.
Malfunction
The LED in the button flashes and a message
appears on the Control Display. PDC is mal-
functioning. Have the system checked.
As a preventive measure, keep the sensors
clean and free of ice or snow in order to ensure
that they will continue to operate effectively.
PDC with visual warning*
You also enjoy the option of having the system
show the approach to an object on the Control
Display. The Control Display also indicates the
presence of objects before they are close
enough to trigger a signal tone.
Control Center, for principle details, refer to
page16.
Page 84 of 217
Controls
83Reference
At a glance
Driving tips
Communications
Navigation
Entertainment
Mobility
To control
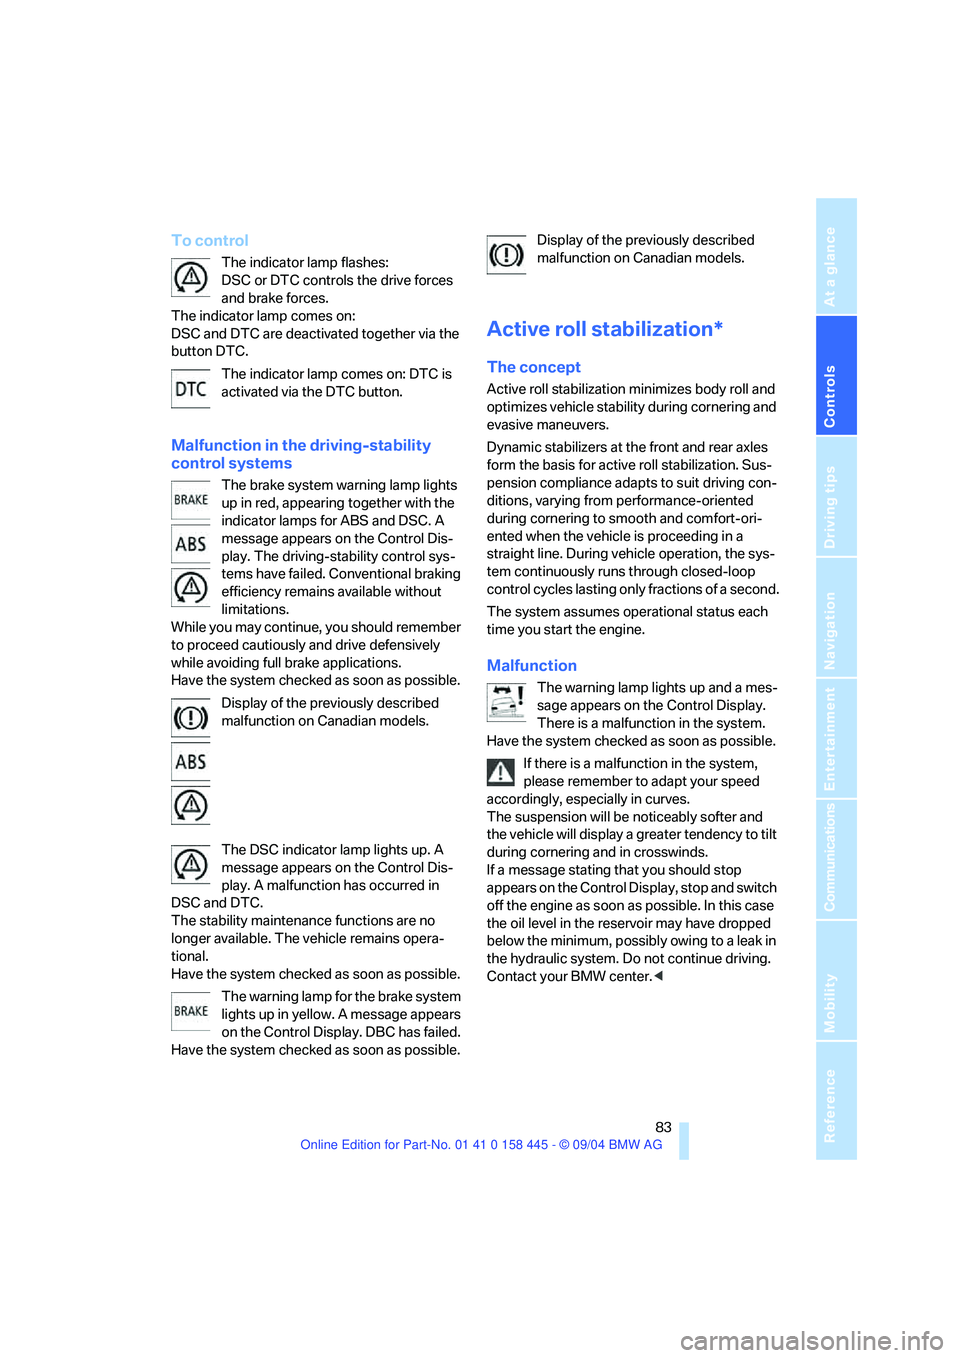
The indicator lamp flashes:
DSC or DTC controls the drive forces
and brake forces.
The indicator lamp comes on:
DSC and DTC are deactivated together via the
button DTC.
The indicator lamp comes on: DTC is
activated via the DTC button.
Malfunction in the driving-stability
control systems
The brake system warning lamp lights
up in red, appearing together with the
indicator lamps for ABS and DSC. A
message appears on the Control Dis-
play. The driving-stability control sys-
tems have failed. Conventional braking
efficiency remains available without
limitations.
While you may continue, you should remember
to proceed cautiously and drive defensively
while avoiding full brake applications.
Have the system checked as soon as possible.
Display of the previously described
malfunction on Canadian models.
The DSC indicator lamp lights up. A
message appears on the Control Dis-
play. A malfunction has occurred in
DSC and DTC.
The stability maintenance functions are no
longer available. The vehicle remains opera-
tional.
Have the system checked as soon as possible.
The warning lamp for the brake system
lights up in yellow. A message appears
on the Control Display. DBC has failed.
Have the system checked as soon as possible.Display of the previously described
malfunction on Canadian models.
Active roll stabilization*
The concept
Active roll stabilization minimizes body roll and
optimizes vehicle stability during cornering and
evasive maneuvers.
Dynamic stabilizers at the front and rear axles
form the basis for active roll stabilization. Sus-
pension compliance adapts to suit driving con-
ditions, varying from performance-oriented
during cornering to smooth and comfort-ori-
ented when the vehicle is proceeding in a
straight line. During vehicle operation, the sys-
tem continuously runs through closed-loop
control cycles lasting only fractions of a second.
The system assumes operational status each
time you start the engine.
Malfunction
The warning lamp lights up and a mes-
sage appears on the Control Display.
There is a malfunction in the system.
Have the system checked as soon as possible.
If there is a malfunction in the system,
please remember to adapt your speed
accordingly, especially in curves.
The suspension will be noticeably softer and
the vehicle will display a greater tendency to tilt
during cornering and in crosswinds.
If a message stating that you should stop
appears on the Control Display, stop and switch
off the engine as soon as possible. In this case
the oil level in the reservoir may have dropped
below the minimum, possibly owing to a leak in
the hydraulic system. Do not continue driving.
Contact your BMW center.<
Page 86 of 217
Controls
85Reference
At a glance
Driving tips
Communications
Navigation
Entertainment
Mobility
Report of a flat tire
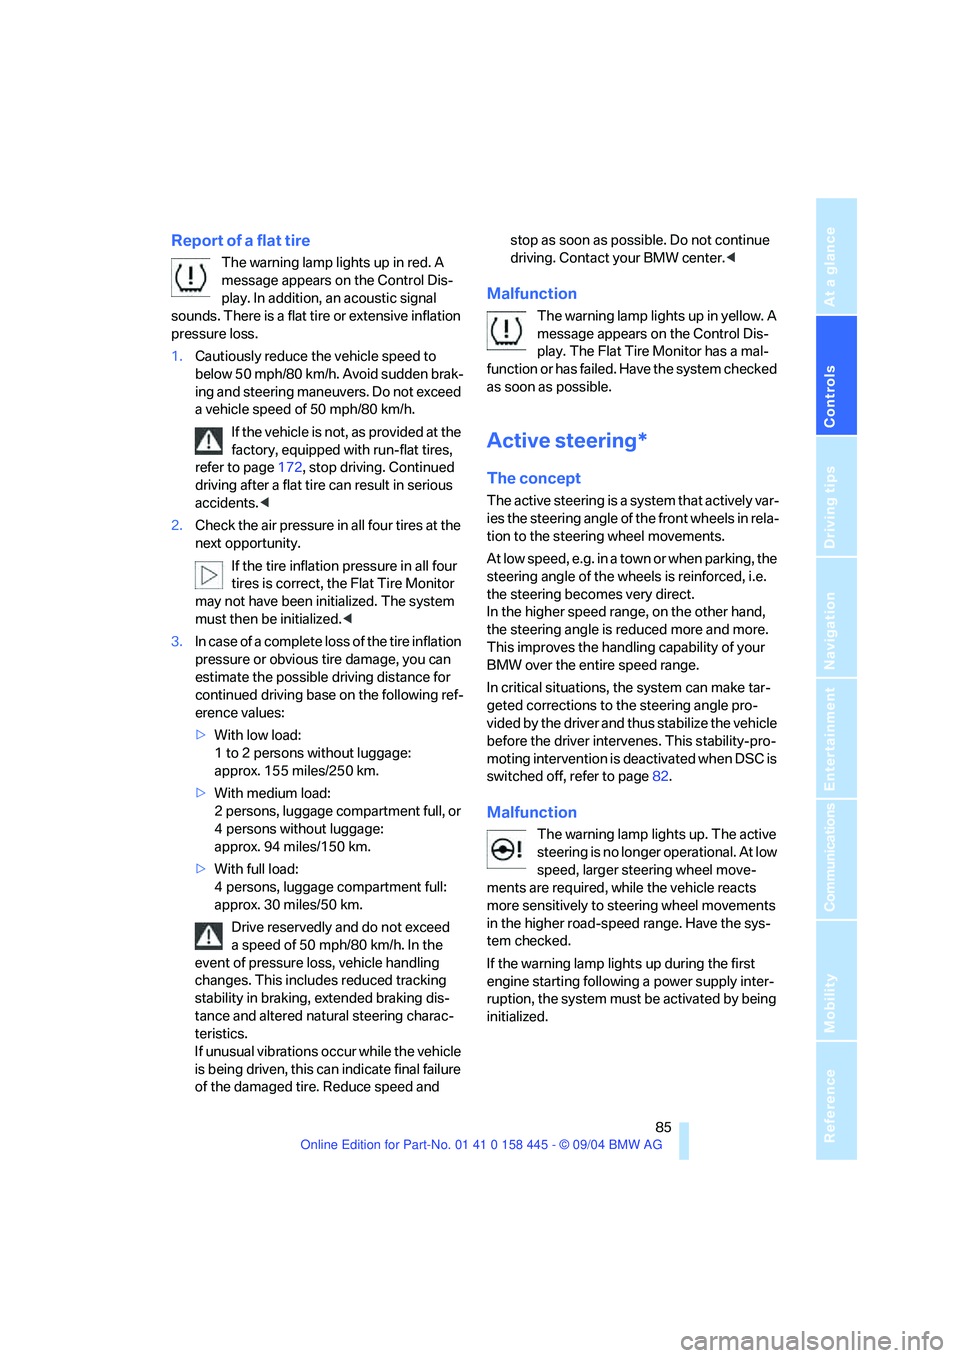
The warning lamp lights up in red. A
message appears on the Control Dis-
play. In addition, an acoustic signal
sounds. There is a flat tire or extensive inflation
pressure loss.
1.Cautiously reduce the vehicle speed to
below 50 mph/80 km/h. Avoid sudden brak-
ing and steering maneuvers. Do not exceed
a vehicle speed of 50 mph/80 km/h.
If the vehicle is not, as provided at the
factory, equipped with run-flat tires,
refer to page172, stop driving. Continued
driving after a flat tire can result in serious
accidents.<
2.Check the air pressure in all four tires at the
next opportunity.
If the tire inflation pressure in all four
tires is correct, the Flat Tire Monitor
may not have been initialized. The system
must then be initialized.<
3.In case of a complete loss of the tire inflation
pressure or obvious tire damage, you can
estimate the possible driving distance for
continued driving base on the following ref-
erence values:
>With low load:
1 to 2 persons without luggage:
approx. 155 miles/250 km.
>With medium load:
2 persons, luggage compartment full, or
4 persons without luggage:
approx. 94 miles/150 km.
>With full load:
4 persons, luggage compartment full:
approx. 30 miles/50 km.
Drive reservedly and do not exceed
a speed of 50 mph/80 km/h. In the
event of pressure loss, vehicle handling
changes. This includes reduced tracking
stability in braking, extended braking dis-
tance and altered natural steering charac-
teristics.
If unusual vibrations occur while the vehicle
is being driven, this can indicate final failure
of the damaged tire. Reduce speed and stop as soon as possible. Do not continue
driving. Contact your BMW center.<
Malfunction
The warning lamp lights up in yellow. A
message appears on the Control Dis-
play. The Flat Tire Monitor has a mal-
function or has failed. Have the system checked
as soon as possible.
Active steering*
The concept
The active steering is a system that actively var-
ies the steering angle of the front wheels in rela-
tion to the steering wheel movements.
A t l o w s p e e d , e . g . i n a t o w n o r w h e n p a r k i n g , t h e
steering angle of the wheels is reinforced, i.e.
the steering becomes very direct.
In the higher speed range, on the other hand,
the steering angle is reduced more and more.
This improves the handling capability of your
BMW over the entire speed range.
In critical situations, the system can make tar-
geted corrections to the steering angle pro-
vided by the driver and thus stabilize the vehicle
before the driver intervenes. This stability-pro-
moting intervention is deactivated when DSC is
switched off, refer to page82.
Malfunction
The warning lamp lights up. The active
steering is no longer operational. At low
speed, larger steering wheel move-
ments are required, while the vehicle reacts
more sensitively to steering wheel movements
in the higher road-speed range. Have the sys-
tem checked.
If the warning lamp lights up during the first
engine starting following a power supply inter-
ruption, the system must be activated by being
initialized.
Page 167 of 217
Refueling
166
Refueling
Always switch off the engine before refu-
eling. If you do not, fuel cannot be dis-
pensed into the tank and a message on the
Control Display will appear.<
Always observe all applicable precautions
and regulations when handling fuels.
Never carry spare fuel containers in your vehi-
cle. Whether empty or full, these containers can
leak, cause an explosion, and lead to fire in the
event of a collision.<
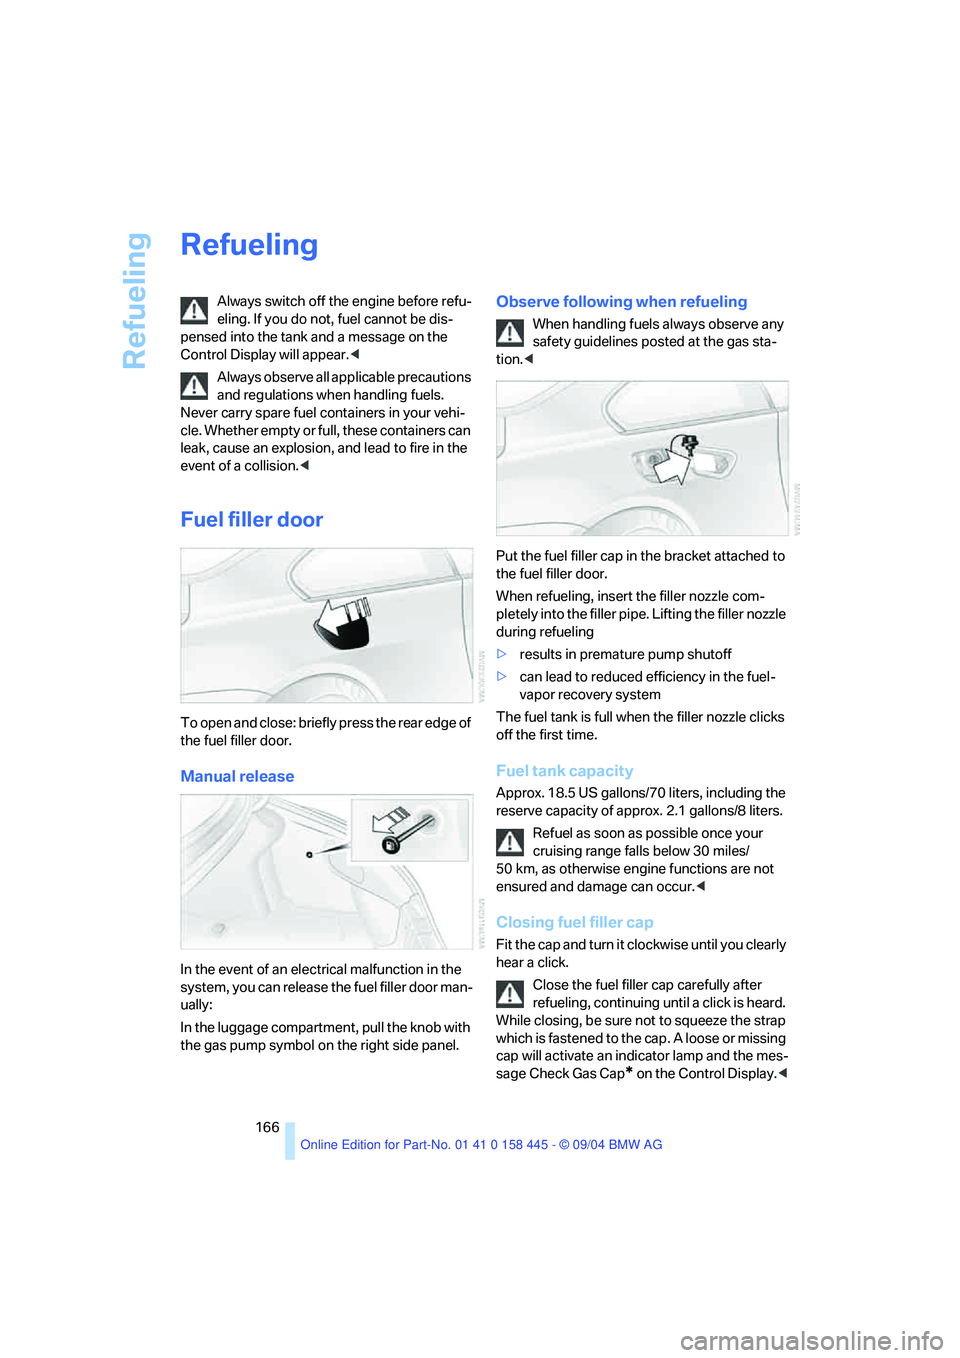
Fuel filler door
To open and close: briefly press the rear edge of
the fuel filler door.
Manual release
In the event of an electrical malfunction in the
system, you can release the fuel filler door man-
ually:
In the luggage compartment, pull the knob with
the gas pump symbol on the right side panel.
Observe following when refueling
When handling fuels always observe any
safety guidelines posted at the gas sta-
tion.<
Put the fuel filler cap in the bracket attached to
the fuel filler door.
When refueling, insert the filler nozzle com-
pletely into the filler pipe. Lifting the filler nozzle
during refueling
>results in premature pump shutoff
>can lead to reduced efficiency in the fuel-
vapor recovery system
The fuel tank is full when the filler nozzle clicks
off the first time.
Fuel tank capacity
Approx. 18.5 US gallons/70 liters, including the
reserve capacity of approx. 2.1 gallons/8 liters.
Refuel as soon as possible once your
cruising range falls below 30 miles/
50 km, as otherwise engine functions are not
ensured and damage can occur.<
Closing fuel filler cap
Fit the cap and turn it clockwise until you clearly
hear a click.
Close the fuel filler cap carefully after
refueling, continuing until a click is heard.
While closing, be sure not to squeeze the strap
which is fastened to the cap. A loose or missing
cap will activate an indicator lamp and the mes-
sage Check Gas Cap
* on the Control Display.<
Page 177 of 217
Under the hood
176
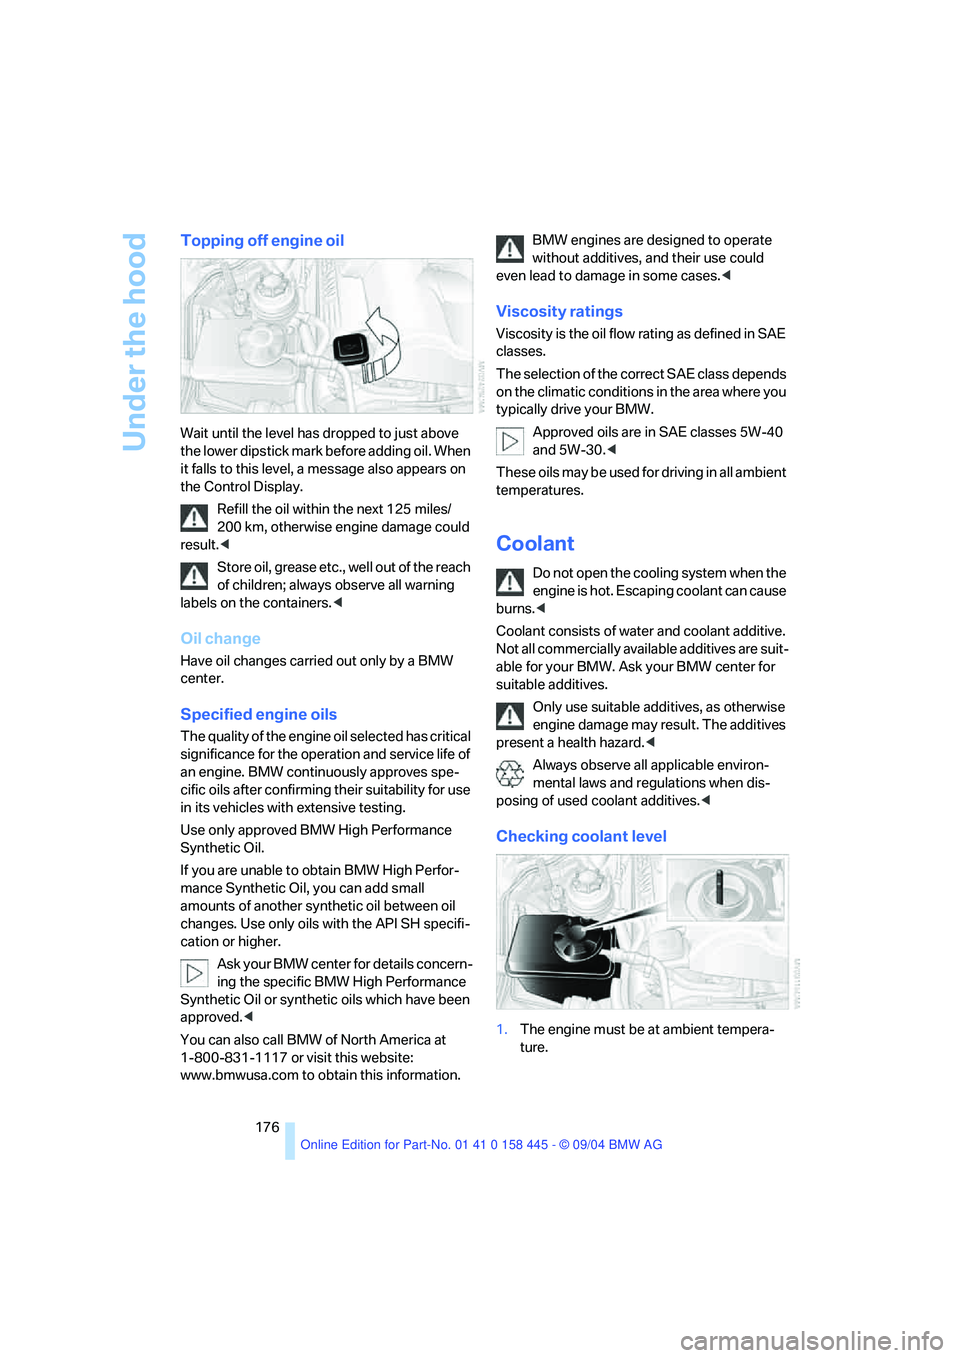
Topping off engine oil
Wait until the level has dropped to just above
the lower dipstick mark before adding oil. When
it falls to this level, a message also appears on
the Control Display.
Refill the oil within the next 125 miles/
200 km, otherwise engine damage could
result.<
Store oil, grease etc., well out of the reach
of children; always observe all warning
labels on the containers.<
Oil change
Have oil changes carried out only by a BMW
center.
Specified engine oils
The quality of the engine oil selected has critical
significance for the operation and service life of
an engine. BMW continuously approves spe-
cific oils after confirming their suitability for use
in its vehicles with extensive testing.
Use only approved BMW High Performance
Synthetic Oil.
If you are unable to obtain BMW High Perfor-
mance Synthetic Oil, you can add small
amounts of another synthetic oil between oil
changes. Use only oils with the API SH specifi-
cation or higher.
Ask your BMW center for details concern-
ing the specific BMW High Performance
Synthetic Oil or synthetic oils which have been
approved.<
You can also call BMW of North America at
1-800-831-1117 or visit this website:
www.bmwusa.com to obtain this information.BMW engines are designed to operate
without additives, and their use could
even lead to damage in some cases.<
Viscosity ratings
Viscosity is the oil flow rating as defined in SAE
classes.
The selection of the correct SAE class depends
on the climatic conditions in the area where you
typically drive your BMW.
Approved oils are in SAE classes 5W-40
and 5W-30.<
These oils may be used for driving in all ambient
temperatures.
Coolant
Do not open the cooling system when the
engine is hot. Escaping coolant can cause
burns.<
Coolant consists of water and coolant additive.
Not all commercially available additives are suit-
able for your BMW. Ask your BMW center for
suitable additives.
Only use suitable additives, as otherwise
engine damage may result. The additives
present a health hazard.<
Always observe all applicable environ-
mental laws and regulations when dis-
posing of used coolant additives.<
Checking coolant level
1.The engine must be at ambient tempera-
ture.