2005 BMW 545I SEDAN lights
[x] Cancel search: lightsPage 14 of 221

At a glance
13Reference
Controls
Driving tips
Communication
Navigation
Entertainment
Mobility
Indicator and warning lamps
The concept
Indicator and warning lamps and their combina-
tions are displayed in the display region1 and in
the display2. To better differentiate between
malfunctions, different symbols can be shown
on the display2.
Some lights in the display region1 are tested
for proper function by briefly lighting up during
starting of the engine or when the ignition is
switched on.
Acknowledging active functions
The following indicator lamps in the display
region1 indicate that the associated functions
are activated:
What to do in case of a malfunction
All warning lamps and indicator lamps not yet
listed are also accompanied by text messages
on the Control Display. These may contain
more information as to the cause of a malfunc-
tion and instructions on what to do.
Sometimes, warning lamps are also accompa-
nied by supplemental text messages on the
Control Display that are shown immediately.
Text messages that do not appear immediately
are stored and can be displayed subsequently.
For further information on displaying these
messages later, refer to Check Control on
page 67. Turn signals56
Handbrake engaged52
Handbrake engaged for Canadian
models
Front fog lamps88
DTC Dynamic Traction Control78
High beams/headlamp flasher88
DSC Dynamic Stability Control78
Page 35 of 221

Opening and closing
34 The system indicates that it has been correctly
armed by switching on the hazard warning
flashers for a single cycle and by emitting an
acoustic signal.
You can also open the luggage compartment lid
with the system armed using the button on
the remote control, refer to page30. When the
luggage compartment lid is closed, it is locked
again and monitored.
Switching off alarm
>Unlock the vehicle using the remote control,
refer to page29
>or turn the ignition key to position 1, refer to
page51.
Indicator lamp displays
>The indicator lamp under the inside rear-
view mirror flashes continuously: the sys-
tem is armed.
>The indicator lamp flashes after locking: the
doors or luggage compartment lid are not
properly closed. Even if you do not close the
alerted area, the system begins to monitor
the remaining areas, and the indicator lamp
flashes continuously after approx. 10 sec-
onds. However, the interior motion sensor
is not activated.
>The indicator lamp goes out after unlocking:
your vehicle has not been disturbed while
you were away.
>The indicator lamp flashes after unlocking
until the key is inserted into the lock, but can
blink for up to approx. 5 minutes: your vehi-
cle has been disturbed while you were
away.
Tilt alarm sensor and interior motion
sensor
Tilt alarm sensor
The tilt of the vehicle is monitored. The alarm
system reacts, e.g. in case of an attempted
wheel theft or towing.
Interior motion sensor
In order for the interior motion sensor to func-
tion properly, the windows and glass sunroof
must be completely closed.
Avoiding unintentional alarms
The tilt alarm sensor and interior motion sensor
may be switched off at the same time. This pre-
vents unintentional alarms, e.g. in the following
situations:
>In stacking garages
>When transporting on car-carrying trains
>When animals are to remain in the vehicle
Switching off tilt alarm sensor and
interior motion sensor
Press the button on the remote control
once again directly after locking.
The indicator lamp lights up briefly and then
flashes continuously. The tilt alarm sensor and
the interior motion sensor are switched off until
the next time the vehicle is unlocked and subse-
quently locked again.
Windows
To prevent injuries, exercise care when
closing the windows and keep them in
your field of vision until they are shut.
When leaving the vehicle, always remove the
ignition key and close the doors to prevent chil-
dren from operating the windows and injuring
themselves etc.<
Page 36 of 221
Controls
35Reference
At a glance
Driving tips
Communication
Navigation
Entertainment
Mobility
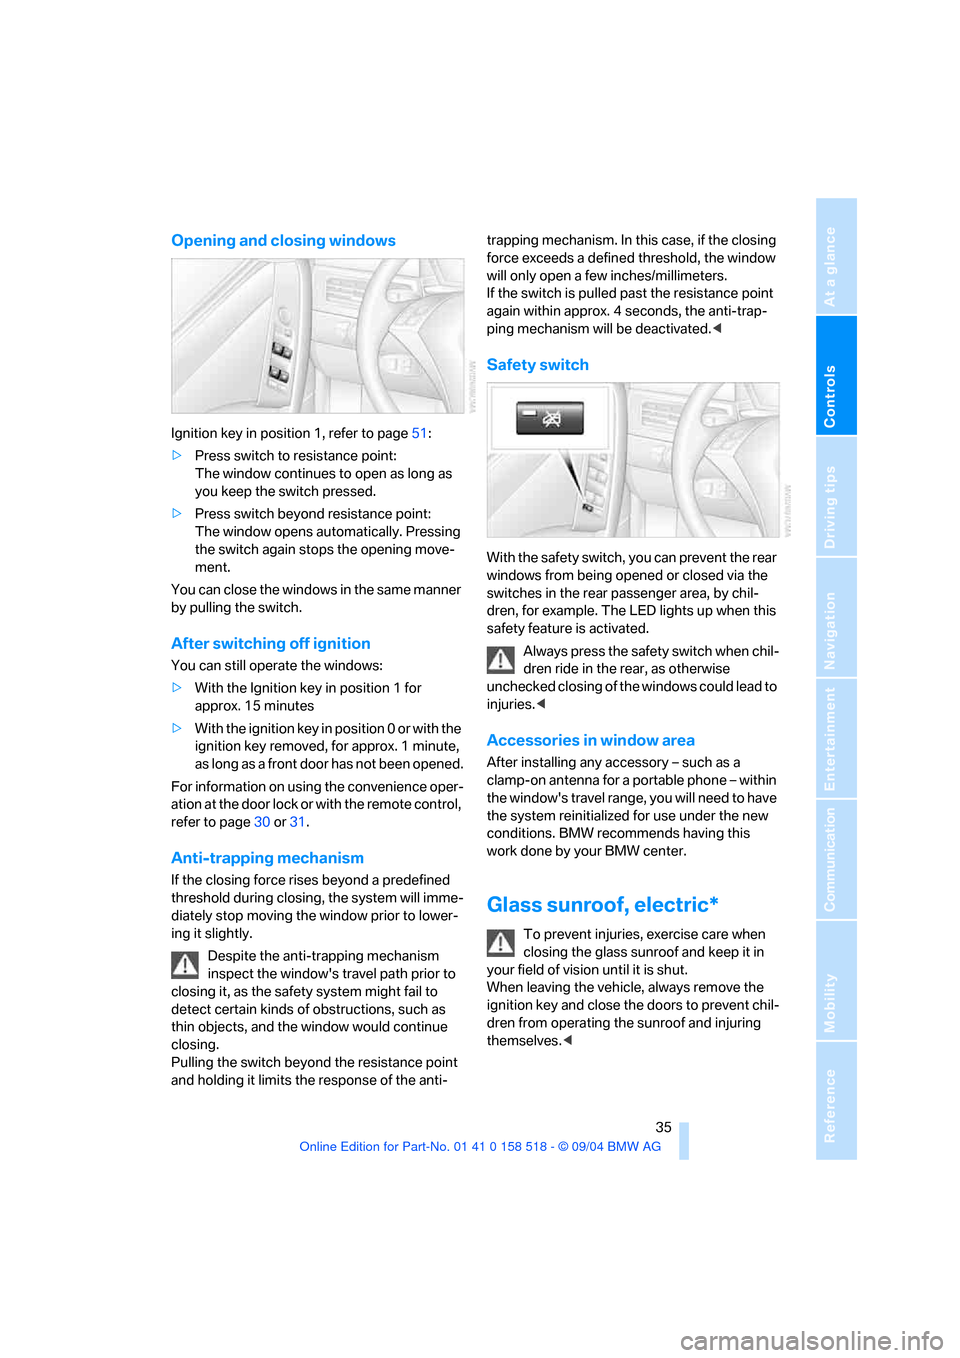
Opening and closing windows
Ignition key in position 1, refer to page51:
>Press switch to resistance point:
The window continues to open as long as
you keep the switch pressed.
>Press switch beyond resistance point:
The window opens automatically. Pressing
the switch again stops the opening move-
ment.
You can close the windows in the same manner
by pulling the switch.
After switching off ignition
You can still operate the windows:
>With the Ignition key in position 1 for
approx. 15 minutes
>With the ignition key in position 0 or with the
ignition key removed, for approx. 1 minute,
as long as a front door has not been opened.
For information on using the convenience oper-
ation at the door lock or with the remote control,
refer to page30 or31.
Anti-trapping mechanism
If the closing force rises beyond a predefined
threshold during closing, the system will imme-
diately stop moving the window prior to lower-
ing it slightly.
Despite the anti-trapping mechanism
inspect the window's travel path prior to
closing it, as the safety system might fail to
detect certain kinds of obstructions, such as
thin objects, and the window would continue
closing.
Pulling the switch beyond the resistance point
and holding it limits the response of the anti-trapping mechanism. In this case, if the closing
force exceeds a defined threshold, the window
will only open a few inches/millimeters.
If the switch is pulled past the resistance point
again within approx. 4 seconds, the anti-trap-
ping mechanism will be deactivated.<
Safety switch
With the safety switch, you can prevent the rear
windows from being opened or closed via the
switches in the rear passenger area, by chil-
dren, for example. The LED lights up when this
safety feature is activated.
Always press the safety switch when chil-
dren ride in the rear, as otherwise
unchecked closing of the windows could lead to
injuries.<
Accessories in window area
After installing any accessory – such as a
clamp-on antenna for a portable phone – within
the window's travel range, you will need to have
the system reinitialized for use under the new
conditions. BMW recommends having this
work done by your BMW center.
Glass sunroof, electric*
To prevent injuries, exercise care when
closing the glass sunroof and keep it in
your field of vision until it is shut.
When leaving the vehicle, always remove the
ignition key and close the doors to prevent chil-
dren from operating the sunroof and injuring
themselves.<
Page 41 of 221
Adjustments
40 The upper hips and spinal column receive sup-
plementary support to help you maintain a
relaxed, upright sitting position.
>Increase or decrease curvature: push
switch forward or back.
>Shift curvature up or down: push switch up
or down.
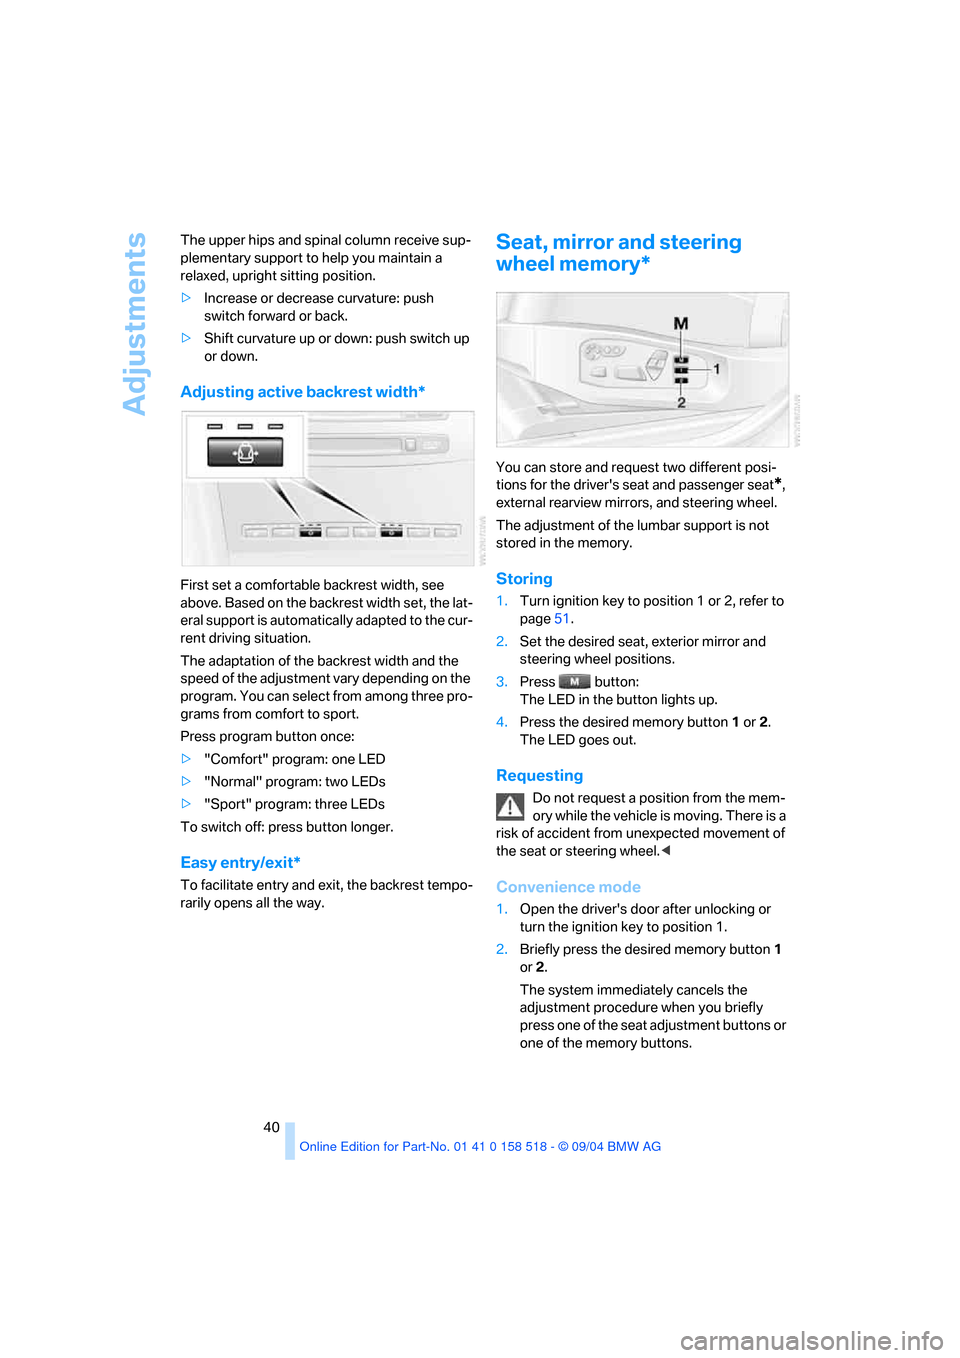
Adjusting active backrest width*
First set a comfortable backrest width, see
above. Based on the backrest width set, the lat-
eral support is automatically adapted to the cur-
rent driving situation.
The adaptation of the backrest width and the
speed of the adjustment vary depending on the
program. You can select from among three pro-
grams from comfort to sport.
Press program button once:
>"Comfort" program: one LED
>"Normal" program: two LEDs
>"Sport" program: three LEDs
To switch off: press button longer.
Easy entry/exit*
To facilitate entry and exit, the backrest tempo-
rarily opens all the way.
Seat, mirror and steering
wheel memory*
You can store and request two different posi-
tions for the driver's seat and passenger seat
*,
external rearview mirrors, and steering wheel.
The adjustment of the lumbar support is not
stored in the memory.
Storing
1.Turn ignition key to position 1 or 2, refer to
page51.
2.Set the desired seat, exterior mirror and
steering wheel positions.
3.Press button:
The LED in the button lights up.
4.Press the desired memory button1 or2.
The LED goes out.
Requesting
Do not request a position from the mem-
ory while the vehicle is moving. There is a
risk of accident from unexpected movement of
the seat or steering wheel.<
Convenience mode
1.Open the driver's door after unlocking or
turn the ignition key to position 1.
2.Briefly press the desired memory button1
or2.
The system immediately cancels the
adjustment procedure when you briefly
press one of the seat adjustment buttons or
one of the memory buttons.
Page 44 of 221
Controls
43Reference
At a glance
Driving tips
Communication
Navigation
Entertainment
Mobility
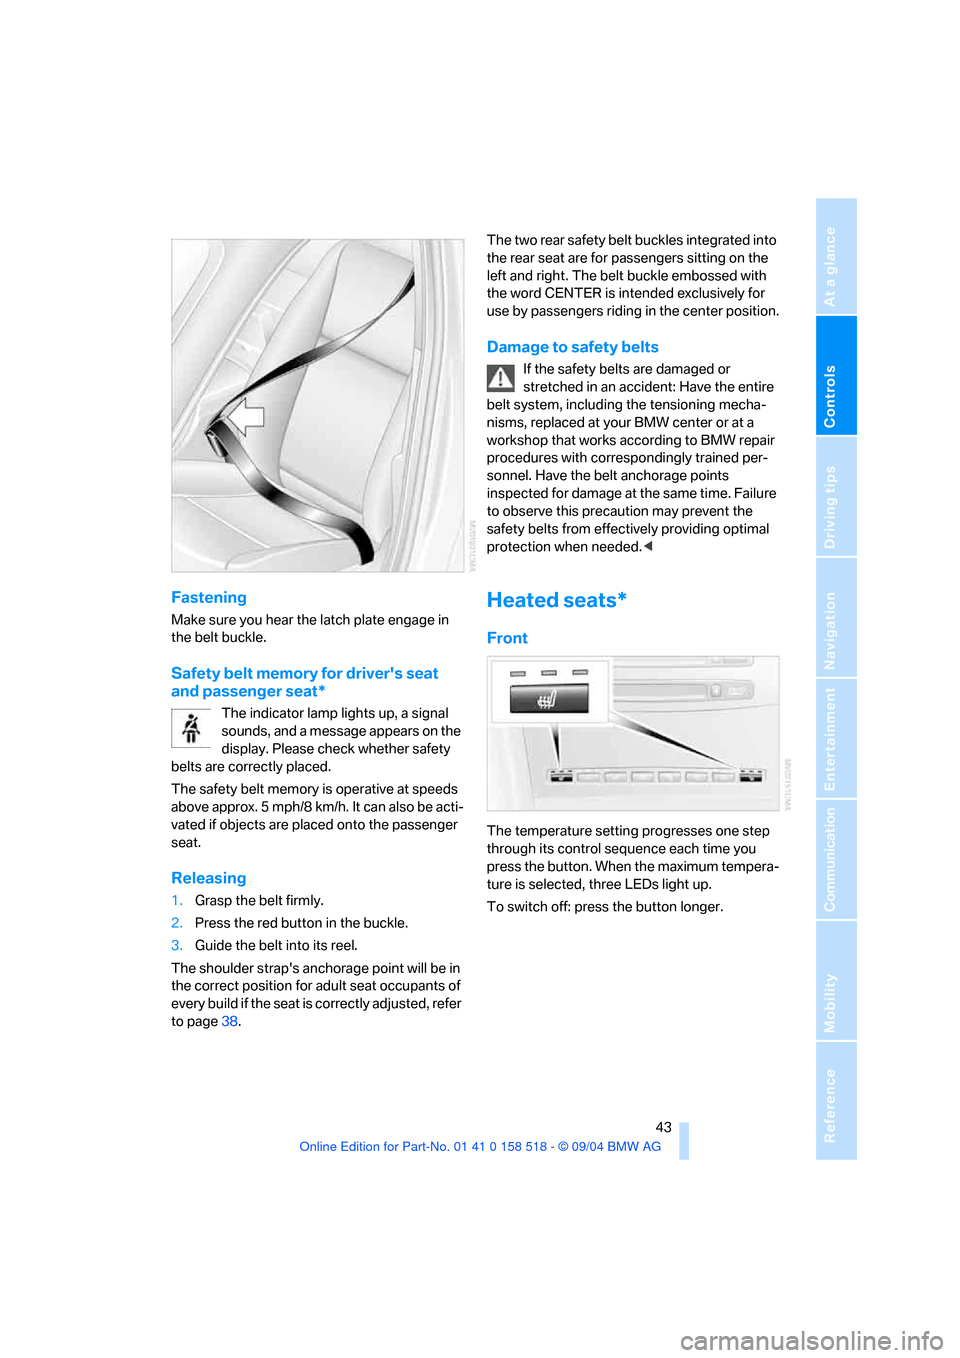
Fastening
Make sure you hear the latch plate engage in
the belt buckle.
Safety belt memory for driver's seat
and passenger seat*
The indicator lamp lights up, a signal
sounds, and a message appears on the
display. Please check whether safety
belts are correctly placed.
The safety belt memory is operative at speeds
above approx. 5 mph/8 km/h. It can also be acti-
vated if objects are placed onto the passenger
seat.
Releasing
1.Grasp the belt firmly.
2.Press the red button in the buckle.
3.Guide the belt into its reel.
The shoulder strap's anchorage point will be in
the correct position for adult seat occupants of
every build if the seat is correctly adjusted, refer
to page38.The two rear safety belt buckles integrated into
the rear seat are for passengers sitting on the
left and right. The belt buckle embossed with
the word CENTER is intended exclusively for
use by passengers riding in the center position.
Damage to safety belts
If the safety belts are damaged or
stretched in an accident: Have the entire
belt system, including the tensioning mecha-
nisms, replaced at your BMW center or at a
workshop that works according to BMW repair
procedures with correspondingly trained per-
sonnel. Have the belt anchorage points
inspected for damage at the same time. Failure
to observe this precaution may prevent the
safety belts from effectively providing optimal
protection when needed.<
Heated seats*
Front
The temperature setting progresses one step
through its control sequence each time you
press the button. When the maximum tempera-
ture is selected, three LEDs light up.
To switch off: press the button longer.
Page 45 of 221
Adjustments
44
Rear
The operating concept is the same as for the
front heated seats.
Temperature distribution in front
The heat output can be distributed variously in
the seat cushion and the backrest.
Control Center, for principle details, refer to
page16.
Ignition key in position 2:
1.Select "Climate".
2.Select "Seat heater distribution" and press
the controller.
3.Move the controller to the left or right to
select "Driver" or "Passenger".
4.Turn the controller. The adjustment is
applied; the field can be changed.
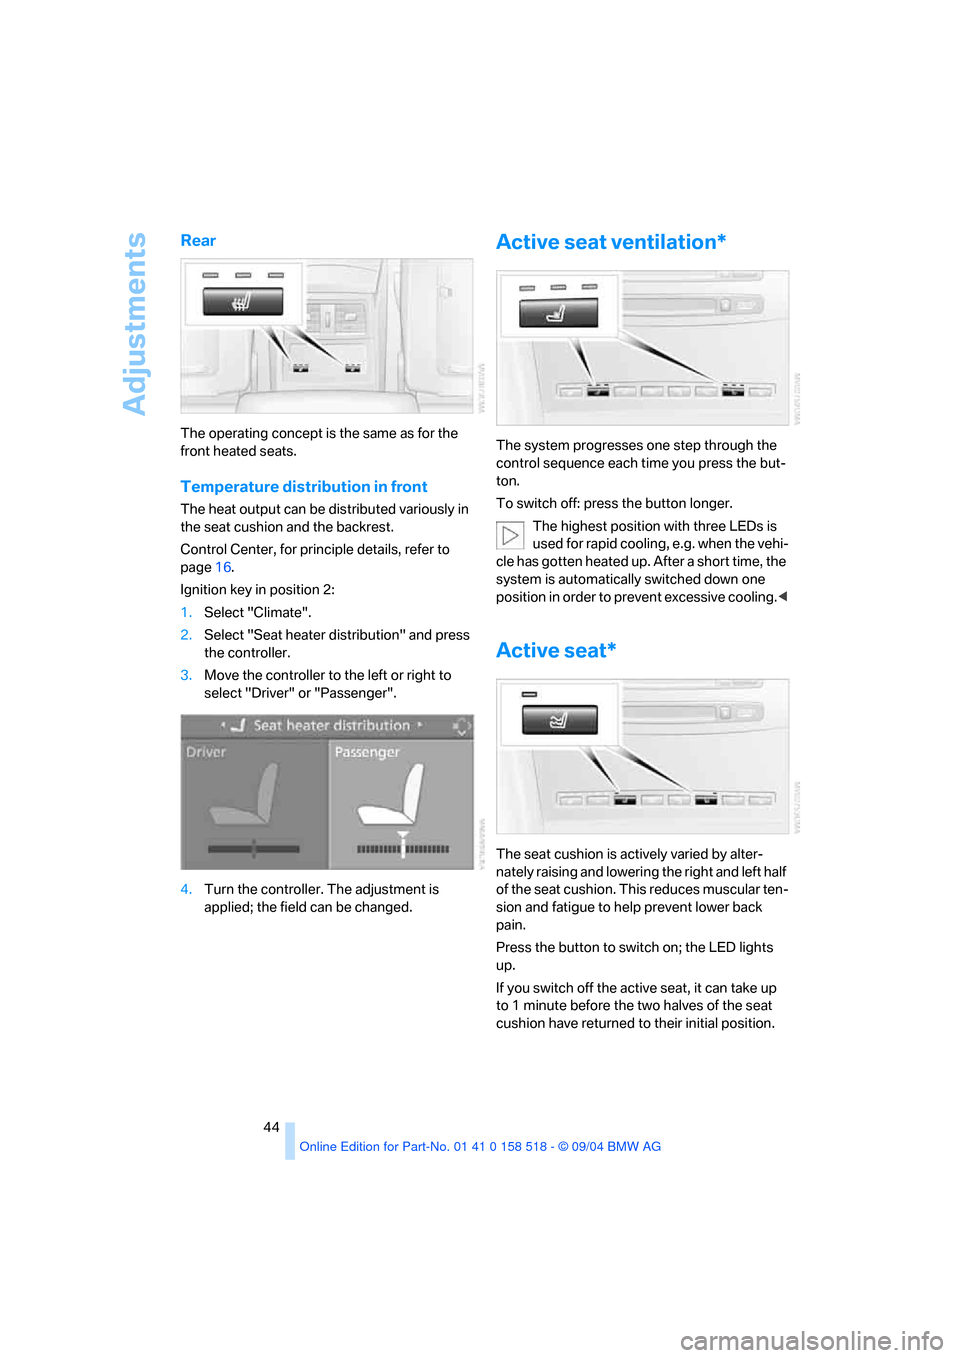
Active seat ventilation*
The system progresses one step through the
control sequence each time you press the but-
ton.
To switch off: press the button longer.
The highest position with three LEDs is
used for rapid cooling, e.g. when the vehi-
cle has gotten heated up. After a short time, the
system is automatically switched down one
position in order to prevent excessive cooling.<
Active seat*
The seat cushion is actively varied by alter-
nately raising and lowering the right and left half
of the seat cushion. This reduces muscular ten-
sion and fatigue to help prevent lower back
pain.
Press the button to switch on; the LED lights
up.
If you switch off the active seat, it can take up
to 1 minute before the two halves of the seat
cushion have returned to their initial position.
Page 47 of 221
Adjustments
46
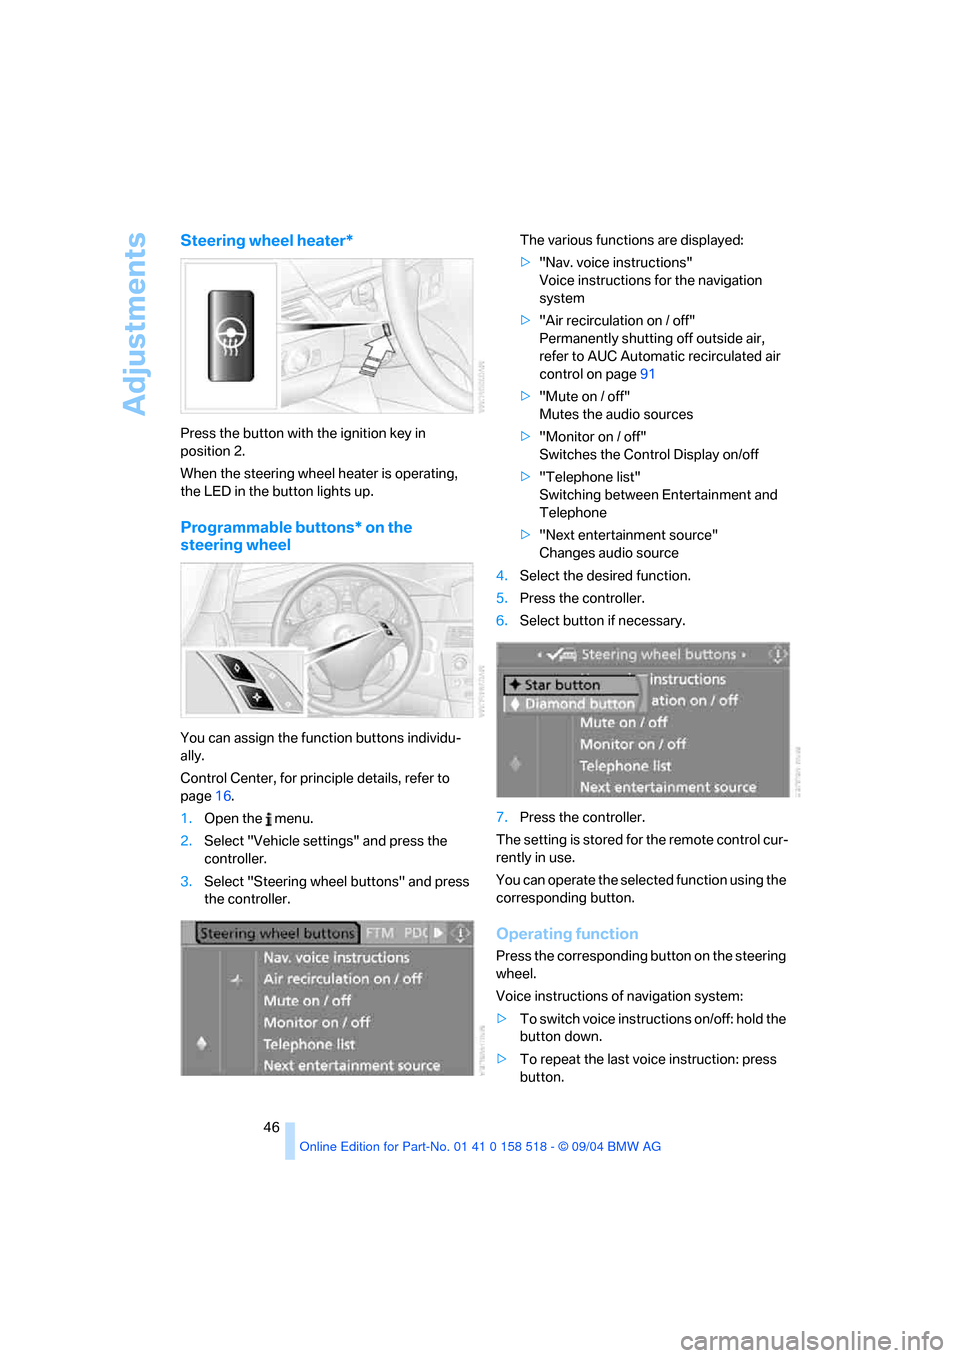
Steering wheel heater*
Press the button with the ignition key in
position 2.
When the steering wheel heater is operating,
the LED in the button lights up.
Programmable buttons* on the
steering wheel
You can assign the function buttons individu-
ally.
Control Center, for principle details, refer to
page16.
1.Open the menu.
2.Select "Vehicle settings" and press the
controller.
3.Select "Steering wheel buttons" and press
the controller.The various functions are displayed:
>"Nav. voice instructions"
Voice instructions for the navigation
system
>"Air recirculation on / off"
Permanently shutting off outside air,
refer to AUC Automatic recirculated air
control on page91
>"Mute on / off"
Mutes the audio sources
>"Monitor on / off"
Switches the Control Display on/off
>"Telephone list"
Switching between Entertainment and
Telephone
>"Next entertainment source"
Changes audio source
4.Select the desired function.
5.Press the controller.
6.Select button if necessary.
7.Press the controller.
The setting is stored for the remote control cur-
rently in use.
You can operate the selected function using the
corresponding button.
Operating function
Press the corresponding button on the steering
wheel.
Voice instructions of navigation system:
>To switch voice instructions on/off: hold the
button down.
>To repeat the last voice instruction: press
button.
Page 53 of 221

Driving
52
SMG Sequential manual transmission
and automatic transmission
Your BMW is equipped with the convenience
starting feature. It is sufficient to turn the igni-
tion key into position 3 for only a short time and
then release it again. The system responds by
automatically engaging the starter for a certain
period and allowing it to run until the engine
starts, after which it then disengages automati-
cally.
SMG Sequential manual transmission
1.Press the brake pedal.
2.Place selector lever in position N.
3.Start the engine.
If the engine does not start, shift back to
the last gear selected, refer to Instrument
cluster display, and then shift into position N.<
Automatic transmission
1.Press the brake pedal.
2.Place selector lever in position P or N.
3.Start the engine.
Switching off engine
Do not remove the ignition key while the
vehicle is rolling, as otherwise the steer-
ing wheel lock will immobilize the steering.
When leaving the vehicle, remove the ignition
key and lock the steering. When parking on a
downhill incline, apply the handbrake, as other-
wise the vehicle could roll away.<
Manual transmission
1.Turn the ignition key to position 1 or 0.
2.Shift into first gear or reverse.
SMG Sequential manual transmission
1.Engage a driving position.
2.Turn the ignition key to position 1 or 0.
A signal sounds if the transmission is in
Neutral when the engine is switched off.
Automatic transmission
1.Engage selector lever position P.
2.Turn the ignition key to position 1 or 0.
Handbrake
The handbrake is primarily intended to prevent
the vehicle from rolling while parked; it brakes
the rear wheels.
Indicator lamp
The indicator lamp lights up, and an
acoustic signal also sounds when start-
ing off. The handbrake is applied.
Indicator lamp for Canadian models.
Applying
The lever locks in position automatically.
Releasing
Pull slightly upwards, press the button and
lower the lever.
If it becomes necessary under special cir-
cumstances to use the handbrake while
driving, it must not be pulled too sharply. In
doing so, continuously press the button of the
handbrake lever. Strong application of the
handbrake can lead to overbraking of the rear
axle and associated 'fishtailing' of the vehicle
rear end.
The brake lamps do not light up when the hand-
brake is applied.<
To prevent corrosion and one-sided brak-
ing action, occasionally apply the hand-