2005 BMW 330XI IDRIVE SEDAN phone
[x] Cancel search: phonePage 37 of 223
Opening and closing
36 action is interrupted immediately and the win-
dow reopens slightly.
Despite the anti-trapping mechanism
inspect the window's travel path prior to
closing it, as the safety system might fail to
detect certain kinds of obstructions, such as
thin objects, and the window would continue
closing.
Pulling the switch beyond the resistance point
and holding it limits the response of the anti-
trapping mechanism. In this case, if the closing
force exceeds a defined threshold, the window
will only open a few fractions of an inch/a few
millimeters.
If the switch is pulled past the resistance point
again within approx. 4 seconds, the anti-trap-
ping mechanism will be deactivated.<
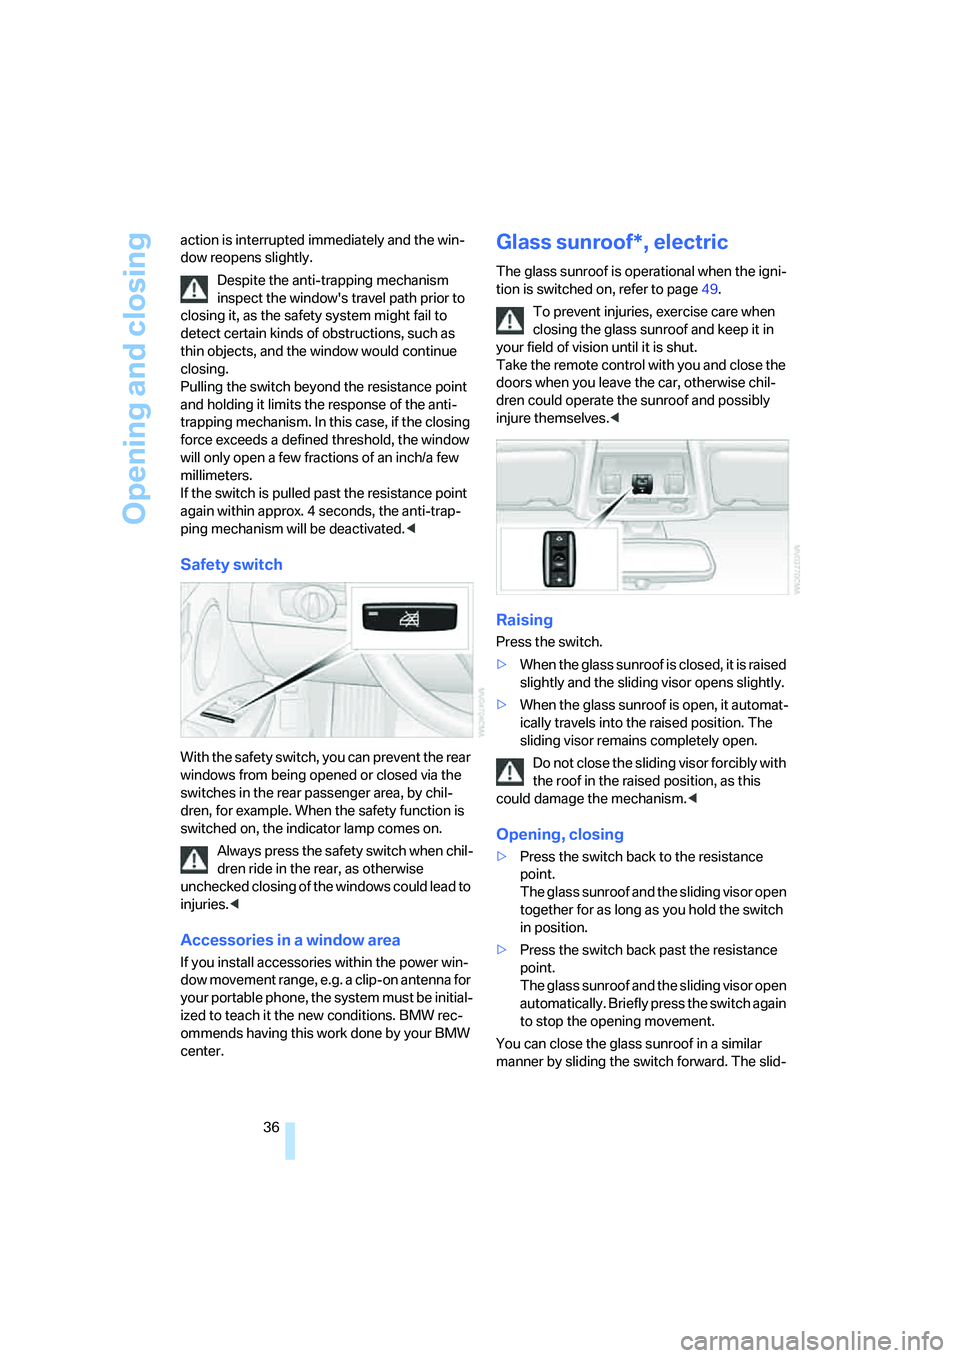
Safety switch
With the safety switch, you can prevent the rear
windows from being opened or closed via the
switches in the rear passenger area, by chil-
dren, for example. When the safety function is
switched on, the indicator lamp comes on.
Always press the safety switch when chil-
dren ride in the rear, as otherwise
unchecked closing of the windows could lead to
injuries.<
Accessories in a window area
If you install accessories within the power win-
dow movement range, e.g. a clip-on antenna for
your portable phone, the system must be initial-
ized to teach it the new conditions. BMW rec-
ommends having this work done by your BMW
center.
Glass sunroof*, electric
The glass sunroof is operational when the igni-
tion is switched on, refer to page49.
To prevent injuries, exercise care when
closing the glass sunroof and keep it in
your field of vision until it is shut.
Take the remote control with you and close the
doors when you leave the car, otherwise chil-
dren could operate the sunroof and possibly
injure themselves.<
Raising
Press the switch.
>When the glass sunroof is closed, it is raised
slightly and the sliding visor opens slightly.
>When the glass sunroof is open, it automat-
ically travels into the raised position. The
sliding visor remains completely open.
Do not close the sliding visor forcibly with
the roof in the raised position, as this
could damage the mechanism.<
Opening, closing
>Press the switch back to the resistance
point.
The glass sunroof and the sliding visor open
together for as long as you hold the switch
in position.
>Press the switch back past the resistance
point.
The glass sunroof and the sliding visor open
automatically. Briefly press the switch again
to stop the opening movement.
You can close the glass sunroof in a similar
manner by sliding the switch forward. The slid-
Page 46 of 223
Controls
45Reference
At a glance
Driving tips
Communications
Navigation
Entertainment
Mobility
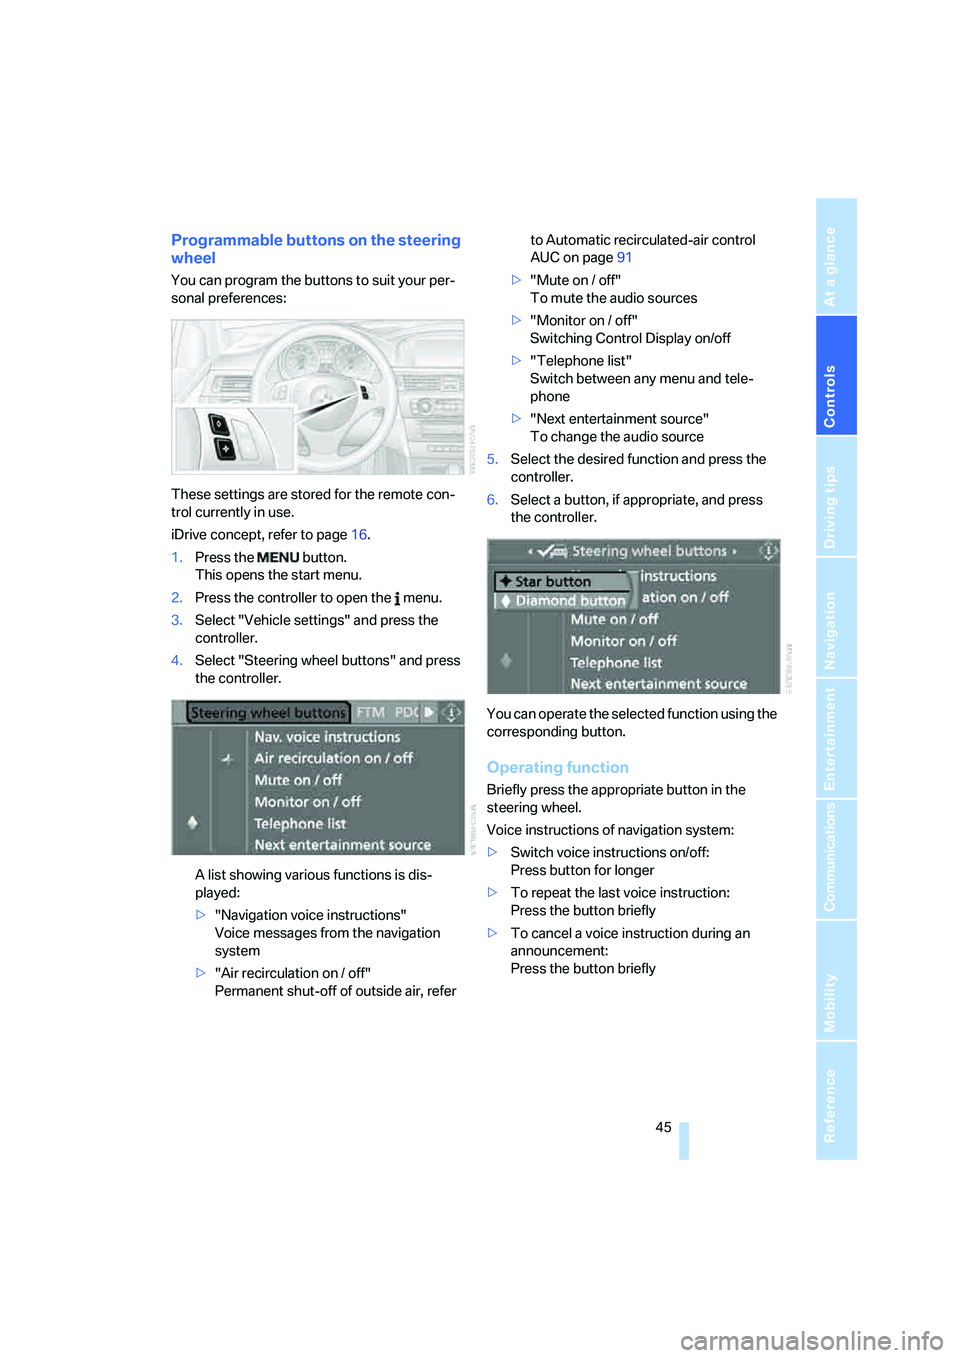
Programmable buttons on the steering
wheel
You can program the buttons to suit your per-
sonal preferences:
These settings are stored for the remote con-
trol currently in use.
iDrive concept, refer to page16.
1.Press the button.
This opens the start menu.
2.Press the controller to open the menu.
3.Select "Vehicle settings" and press the
controller.
4.Select "Steering wheel buttons" and press
the controller.
A list showing various functions is dis-
played:
>"Navigation voice instructions"
Voice messages from the navigation
system
>"Air recirculation on / off"
Permanent shut-off of outside air, refer to Automatic recirculated-air control
AUC on page91
>"Mute on / off"
To mute the audio sources
>"Monitor on / off"
Switching Control Display on/off
>"Telephone list"
Switch between any menu and tele-
phone
>"Next entertainment source"
To change the audio source
5.Select the desired function and press the
controller.
6.Select a button, if appropriate, and press
the controller.
.
You can operate the selected function using the
corresponding button.
Operating function
Briefly press the appropriate button in the
steering wheel.
Voice instructions of navigation system:
>Switch voice instructions on/off:
Press button for longer
>To repeat the last voice instruction:
Press the button briefly
>To cancel a voice instruction during an
announcement:
Press the button briefly
Page 97 of 223
Practical interior accessories
96
Roller sun blind for rear side window
Pull loop of roller sun blind and hook onto
bracket.
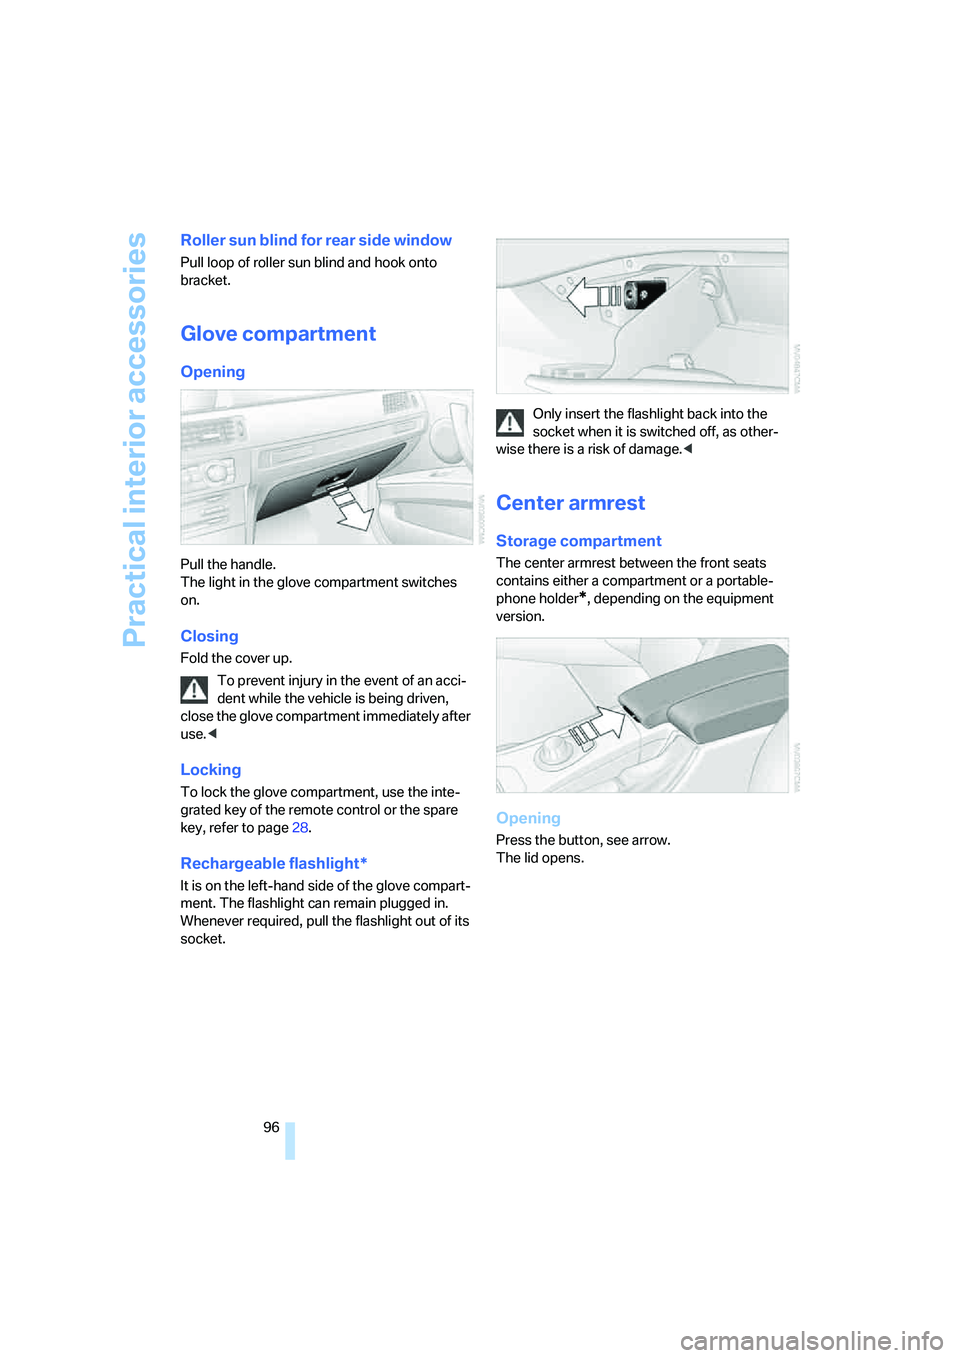
Glove compartment
Opening
Pull the handle.
The light in the glove compartment switches
on.
Closing
Fold the cover up.
To prevent injury in the event of an acci-
dent while the vehicle is being driven,
close the glove compartment immediately after
use.<
Locking
To lock the glove compartment, use the inte-
grated key of the remote control or the spare
key, refer to page28.
Rechargeable flashlight*
It is on the left-hand side of the glove compart-
ment. The flashlight can remain plugged in.
Whenever required, pull the flashlight out of its
socket.Only insert the flashlight back into the
socket when it is switched off, as other-
wise there is a risk of damage.<
Center armrest
Storage compartment
The center armrest between the front seats
contains either a compartment or a portable-
phone holder
*, depending on the equipment
version.
Opening
Press the button, see arrow.
The lid opens.
Page 107 of 223
Things to remember when driving
106
Things to remember when driving
Break-in period
Moving parts need breaking-in time to adjust to
each other. Please follow the instructions below
in order to achieve the optimal service life and
economy of operation for your vehicle.
Engine and differential
Up to 1,250 miles/2,000 km:
Attempt to vary both engine and vehicle
speeds, but refrain from exceeding an engine
speed of 4,500 rpm or a driving speed of
100 mph or 160 km/h.
Always obey all official speed limits.
Avoid full-throttle operation and use of the
transmission's kick-down mode.
Once you have driven 1,250 miles/2,000 km,
the engine and vehicle speeds can be gradually
increased.
Tires
Due to technical factors associated with their
manufacture, tires do not achieve their full trac-
tion potential until after an initial break-in
period. Therefore, drive reservedly during the
first 200 miles/300 km.
Brake system
Brakes require an initial break-in period of
approx. 300 miles/500 km to achieve optimized
contact and wear patterns between brake pads
and rotors. Drive with caution during this break-
in period.
Clutch
The function of the clutch reaches its optimal
level only after a distance driven of approx.
300 miles/500 km. During this break-in period,
engage the clutch gently.
Following part replacement
The same break-in procedures should be
observed if any of the components mentioned above have to be renewed in the course of the
vehicle's operating life.
General driving notes
Closing the luggage compartment lid
Operate the vehicle only when the lug-
gage compartment lid is completely
closed. Otherwise, exhaust fumes could enter
the interior of the vehicle.<
If special circumstances make it absolutely nec-
essary to drive with the luggage compartment
lid open:
1.Close all windows and the glass sunroof.
2.Increase the air flow rate of the automatic
climate control considerably, refer to
page91.
Hot exhaust system
As in all vehicles equipped with a catalytic
converter, extremely high temperatures
are generated in this vehicle. Do not remove the
heat shields installed adjacent to various sec-
tions of the exhaust system, and never apply
undercoating to them. When driving, standing
at idle and while parking, take care to avoid pos-
sible contact between the hot exhaust system
and any highly flammable materials such as hay,
leaves, grass, etc. Such contact could lead to a
fire, with the risk of serious personal injuries and
property damage.<
Portable phone in the vehicle
BMW discourages the use of mobile
communications devices, e.g. portable
phones, inside the vehicle without a direct con-
nection to an outside antenna. Otherwise, the
vehicle electronics and mobile communication
device can influence one another. In addition,
there is no assurance that the radiation which
results from transmission will be dissipated
from the vehicle interior.<
Page 121 of 223
Destination entry
120 Select "Select as destination" and press
the controller.
>To establish a telephone connection:
Select "Call" and press the controller.
To exit from the menu:
Select the arrow and press the controller.
Destination list
The last 20 destinations entered into the sys-
tem are shown in the destination list. You can
call up these destinations and adopt them for
destination guidance.
If you are planning a longer journey, for exam-
ple, you can store all the destinations you wish
to drive to in the destination list in advance,
refer to Entering a destination manually on
page115.
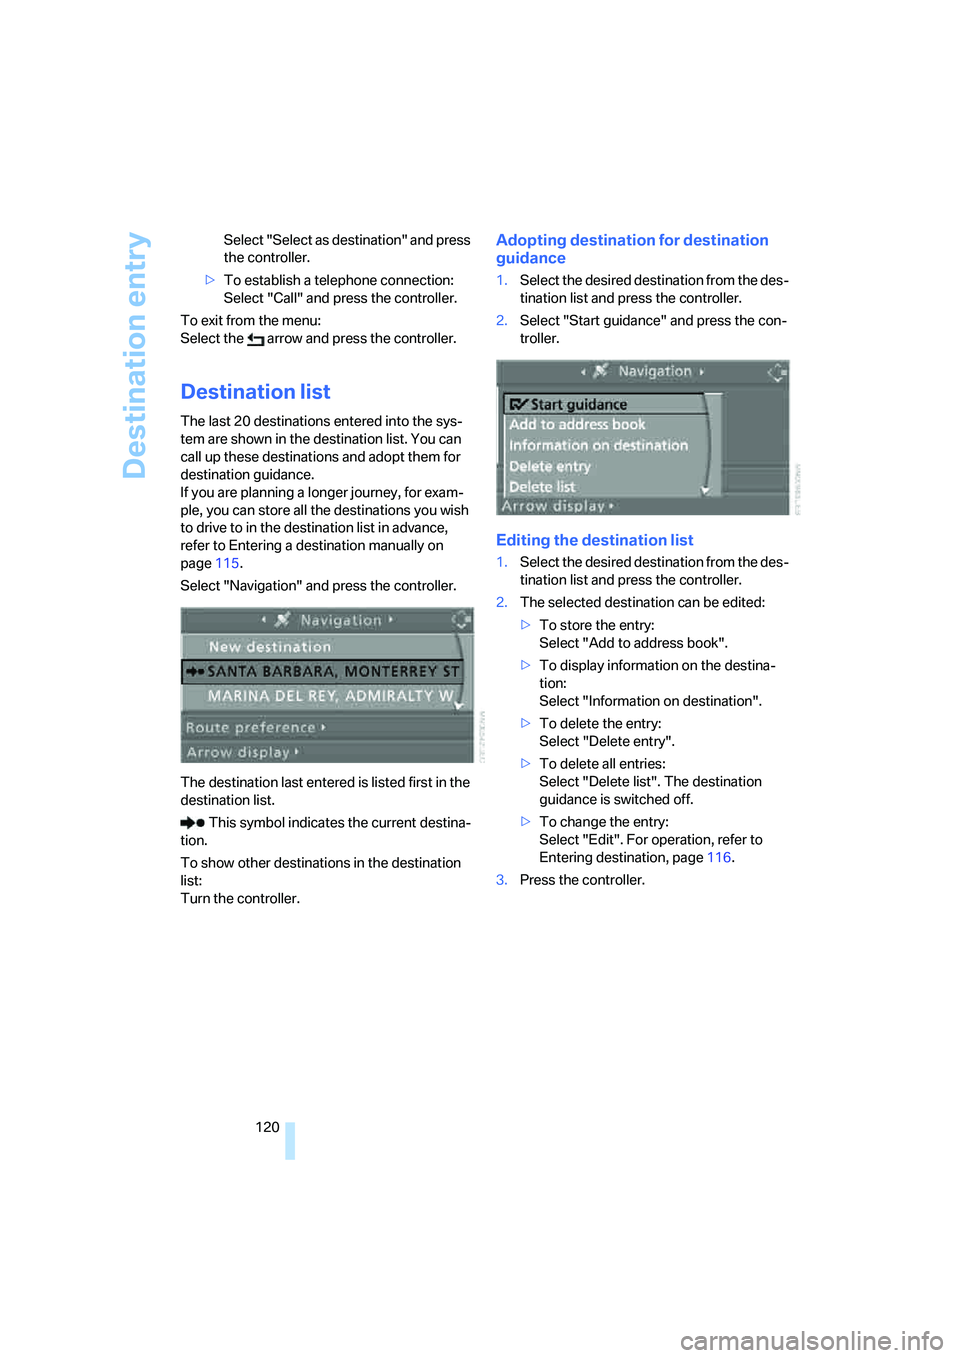
Select "Navigation" and press the controller.
The destination last entered is listed first in the
destination list.
This symbol indicates the current destina-
tion.
To show other destinations in the destination
list:
Turn the controller.
Adopting destination for destination
guidance
1.Select the desired destination from the des-
tination list and press the controller.
2.Select "Start guidance" and press the con-
troller.
Editing the destination list
1.Select the desired destination from the des-
tination list and press the controller.
2.The selected destination can be edited:
>To store the entry:
Select "Add to address book".
>To display information on the destina-
tion:
Select "Information on destination".
>To delete the entry:
Select "Delete entry".
>To delete all entries:
Select "Delete list". The destination
guidance is switched off.
>To change the entry:
Select "Edit". For operation, refer to
Entering destination, page116.
3.Press the controller.
Page 143 of 223
Radio
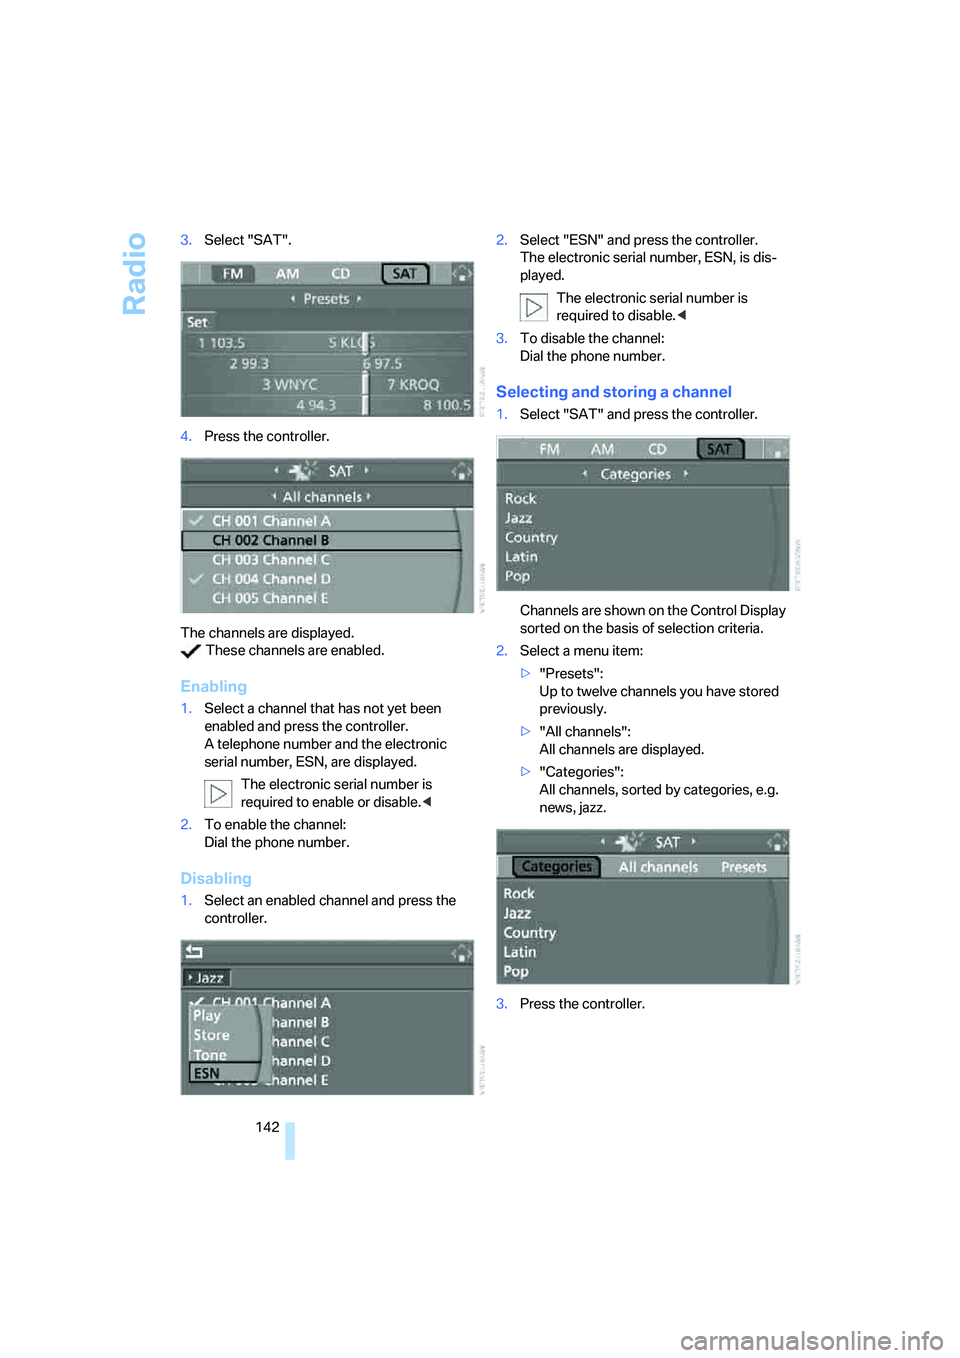
142 3.Select "SAT".
4.Press the controller.
The channels are displayed.
These channels are enabled.
Enabling
1.Select a channel that has not yet been
enabled and press the controller.
A telephone number and the electronic
serial number, ESN, are displayed.
The electronic serial number is
required to enable or disable.<
2.To enable the channel:
Dial the phone number.
Disabling
1.Select an enabled channel and press the
controller.2.Select "ESN" and press the controller.
The electronic serial number, ESN, is dis-
played.
The electronic serial number is
required to disable.<
3.To disable the channel:
Dial the phone number.
Selecting and storing a channel
1.Select "SAT" and press the controller.
Channels are shown on the Control Display
sorted on the basis of selection criteria.
2.Select a menu item:
>"Presets":
Up to twelve channels you have stored
previously.
>"All channels":
All channels are displayed.
>"Categories":
All channels, sorted by categories, e.g.
news, jazz.
3.Press the controller.
Page 153 of 223
Telephoning
152
Telephoning
Safety notes
For your own safety
A car phone makes life more convenient in
many ways, and can even save lives in an emer-
gency. While you should consult your portable
phone's separate Owner's Manual for a detailed
description of safety precautions and informa-
tion, we request that you direct your particular
attention to the following:
Adjustments
Only make entries when the traffic situa-
tion allows you to do so. Do not hold the
portable phone in your hand while you are driv-
ing; use the hands-free system instead. If you
do not observe this precaution, your being dis-
tracted can endanger vehicle occupants and
other road users.
BMW discourages the use of portable phones
or other mobile communications devices inside
the vehicle without a direct connection to an
outside antenna. Otherwise, interferences
between vehicle electronics systems and the
mobile communication device cannot be ruled
out. Moreover, there is no guarantee that the
radiation generated when such devices are
transmitting will be dissipated out of the vehi-
cle's interior.<
Care instructions
You can find what you need to know about car-
ing for your portable phone in the separate Car-
ing for your vehicle brochure and in the portable
phone Owner's Manual.
Operating options
You can operate the portable phone* using:
>The steering wheel, refer to page10
>iDrive, refer to page153>Voice commands, refer to page156
You can get information about activating the
portable phone in the separate Owner's Manual
for the Full Preparation Package Cellphone.
Making calls with the car phone:
BMW Assist calls
You can use the car phone via the hands-free
system for BMW Assist calls.
When the status information "BMW Assist" or
"BMW Service" is displayed in "Communica-
tion", only BMW Assist calls are possible.
It may not be possible to establish a telephone
connection using the portable phone while a
connection is being established to BMW Assist
or while a call to BMW Assist is already in
progress. If this happens, you must unpair the
portable phone and the vehicle if you wish to
place a call with the portable phone.
Hands-free system
The hands-free microphone is located on the
headliner.
The hands-free system is activated whenever
you establish or receive a call using:
>The buttons on the steering wheel
>iDrive
>Voice commands
Page 154 of 223
153
Entertainment
Reference
At a glance
Controls
Driving tips Communications
Navigation
Mobility
Adjusting volume
Turn the knob during a call to select the desired
volume.
This volume for the hands-free system is main-
tained, even if the other audio sources are set to
minimum volume.
The setting is stored for the remote control cur-
rently in use.
Operation via iDrive
Once the portable phone is connected to the
vehicle via Bluetooth, the following functions
can be used via iDrive:
>Dialing phone numbers
>Phone book
>Top 8
>Redialing
>Displaying accepted calls
>Displaying missed calls
iDrive concept, refer to page16.
1.Press the button.
This opens the start menu.
2.Move the controller forwards to call up
"Communication".
Receiving calls
If you have the phone number of the caller
stored in the phone book and the phone num-
ber is transmitted, the name of the entry is dis-
played.
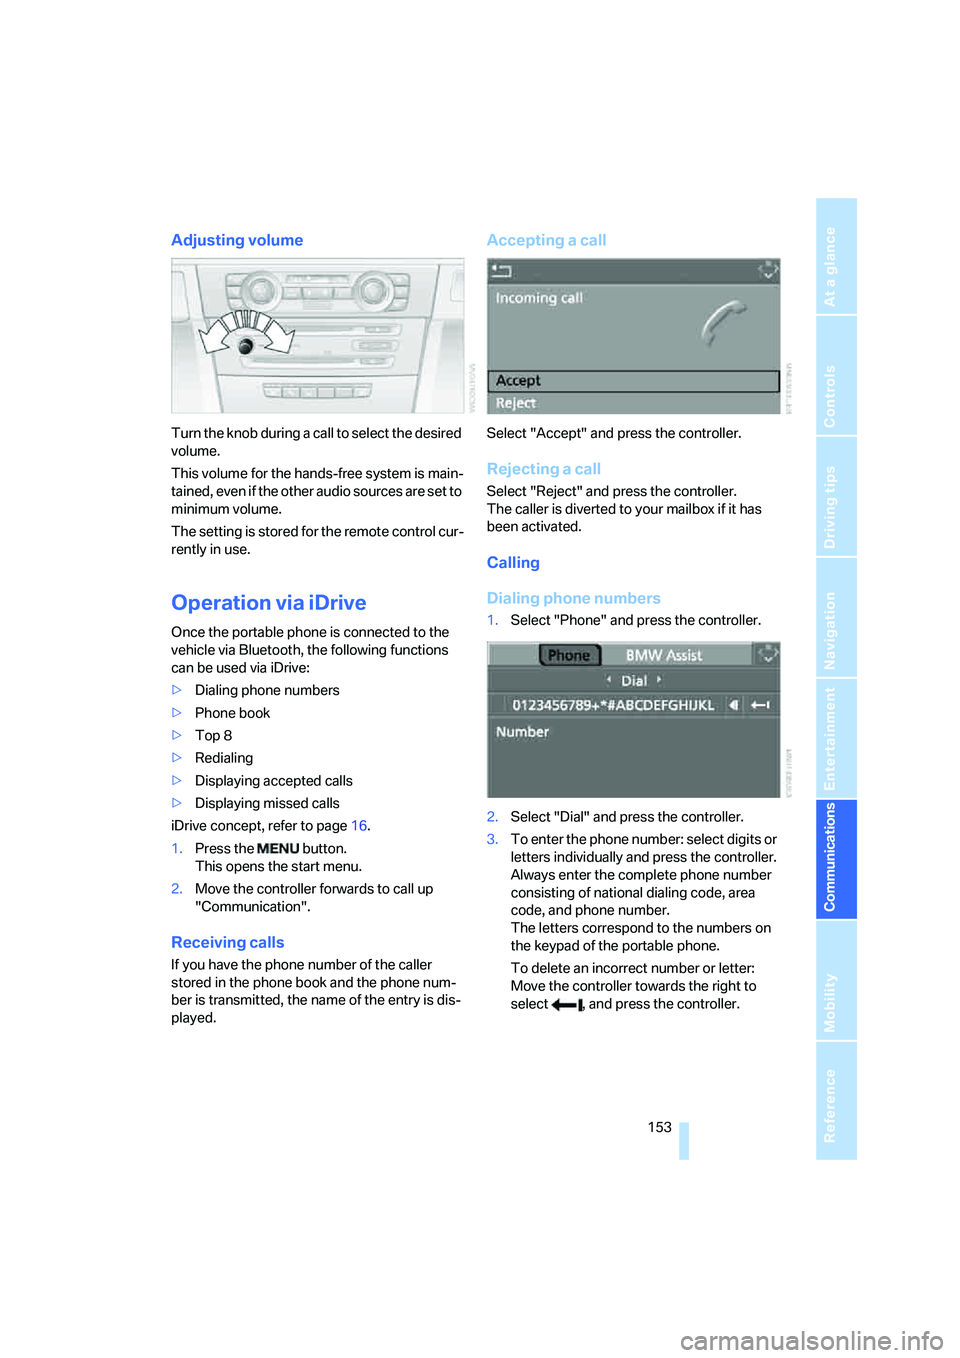
Accepting a call
Select "Accept" and press the controller.
Rejecting a call
Select "Reject" and press the controller.
The caller is diverted to your mailbox if it has
been activated.
Calling
Dialing phone numbers
1.Select "Phone" and press the controller.
2.Select "Dial" and press the controller.
3.To enter the phone number: select digits or
letters individually and press the controller.
Always enter the complete phone number
consisting of national dialing code, area
code, and phone number.
The letters correspond to the numbers on
the keypad of the portable phone.
To delete an incorrect number or letter:
Move the controller towards the right to
select , and press the controller.