Page 290 of 416
8-37
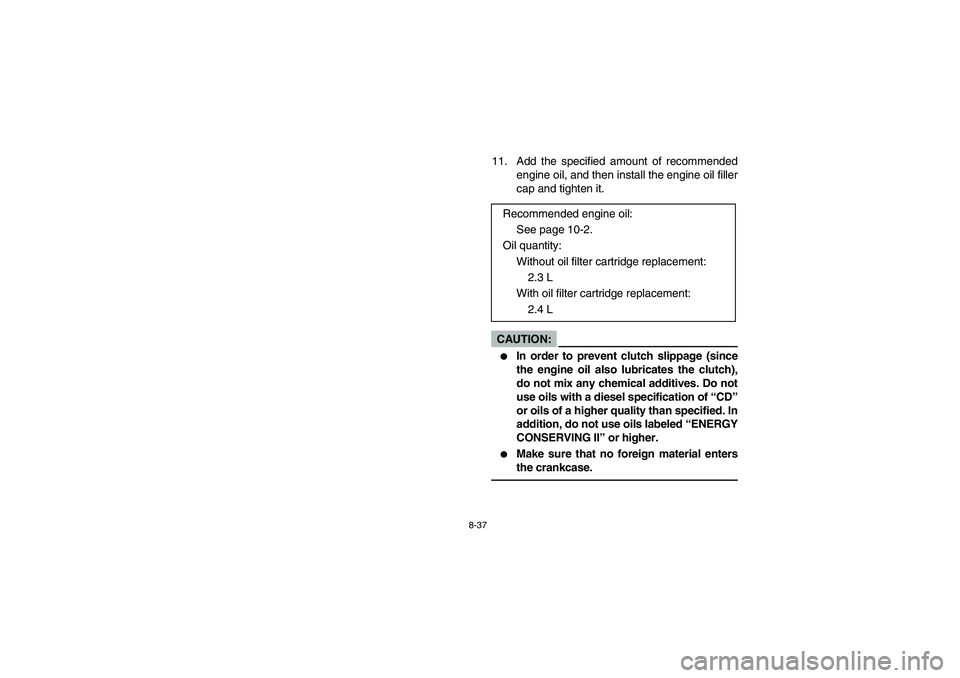
11. Add the specified amount of recommended
engine oil, and then install the engine oil filler
cap and tighten it.CAUTION:_ �
In order to prevent clutch slippage (since
the engine oil also lubricates the clutch),
do not mix any chemical additives. Do not
use oils with a diesel specification of “CD”
or oils of a higher quality than specified. In
addition, do not use oils labeled “ENERGY
CONSERVING II” or higher.
�
Make sure that no foreign material enters
the crankcase.
_
Recommended engine oil:
See page 10-2.
Oil quantity:
Without oil filter cartridge replacement:
2.3 L
With oil filter cartridge replacement:
2.4 L
U5VH61.book Page 37 Friday, May 2, 2003 2:19 PM
Page 292 of 416
 8-39
‘1. Final gear oil
2. Final gear oil filler bolt
3. Proper oil level
1. Huile de transmission finale
2. Boulon de remplissage d’huile du carter de transmission finale
3. Niveau correct
1. Ace")
8-39
‘1. Final gear oil
2. Final gear oil filler bolt
3. Proper oil level
1. Huile de transmission finale
2. Boulon de remplissage d’huile du carter de transmission finale
3. Niveau correct
1. Aceite de la transmisión final
2. Perno del orificio de llenado de aceite de la transmisión final
3. Nivel de aceite adecuado
12. Start the engine and warm it up for several
minutes. While warming up, check for oil
leakage. If oil leakage is found, turn the en-
gine off immediately and check for the cause.
13. Turn the engine off, and then check the oil
level and correct it if necessary.
14. Install panel F.
EBU01145
Final gear oil
Final gear oil measurement
1. Place the machine on a level surface.
2. Remove the oil filler bolt, and then check the
oil level in the final gear case.NOTE:_ The oil level should be at the brim of the filler hole. _3. If the oil is below the brim of the filler hole,
add sufficient oil of the recommended type to
raise it to the correct level.CAUTION:_ Be sure no foreign material enters the final
gear case. _4. Install the oil filler bolt.
U5VH61.book Page 39 Friday, May 2, 2003 2:19 PM
Page 298 of 416
8-45 1. Coolant reservoir cap
2. Maximum level mark
3. Minimum level mark
1. Bouchon du vase d’expansion
2. Repère de niveau maximum
3. Repère de niveau minimum
1. Tapa del depósito de refrigerante
2. Marca de nivel máximo
3. Marca de nivel mínimo
EBU01321
Cooling system
1. Place the ATV on a level surface.
2. Check the coolant level in the coolant reser-
voir when the engine is cold as the coolant
level will vary with engine temperature.NOTE:_ The coolant level should be between the minimum
and maximum level marks. _3. If the coolant is at or below the minimum level
mark, remove panel D. (See pages 8-17–8-19
for panel removal and installation proce-
dures.)
U5VH61.book Page 45 Friday, May 2, 2003 2:19 PM
Page 302 of 416
8-49 1. Coolant drain bolt
1. Boulon de vidange du liquide de refroidissement
1. Perno de drenaje de refrigerante
1. Trough
1. Feuille de papier repliée en forme de conduit
1. Elemento de paso
EBU13221
Changing the coolant
WARNING
_ Wait for the engine and radiator to cool before
removing the radiator cap. You could be
burned by hot fluid and steam blown out under
pressure. Always put a thick rag over the cap
when opening. Allow any remaining pressure
to escape before completely removing the cap. _1. Place the ATV on a level surface.
2. Remove panels E and F. (See pages 8-25–
8-27 for panel removal and installation proce-
dures.)
3. Place a container under the engine, and then
remove the coolant drain bolt. (Use a trough
or a similar object as shown to prevent cool-
ant from spilling on the footrest.)
4. Remove the front carrier and panel C. (See
pages 8-23 and 8-25 for panel removal and
installation procedures.)
U5VH61.book Page 49 Friday, May 2, 2003 2:19 PM
Page 306 of 416
8-53
11. Connect the coolant reservoir hose.
12. Pour the recommended coolant into the res-
ervoir to the maximum level mark, and then
install the reservoir cap and panel D.
13. Pour the recommended coolant into the radi-
ator until it is full, and then install the radiator
cap.CAUTION:_ Hard water or salt water is harmful to the en-
gine. You may use soft water if you cannot get
distilled water. _
Recommended antifreeze:
High quality ethylene glycol antifreeze
containing corrosion inhibitors for aluminum
engines.
Antifreeze and water mixing ratio:
1:1
Total amount:
1.32 L
Coolant reservoir capacity
(up to the maximum level mark):
0.25 L
U5VH61.book Page 53 Friday, May 2, 2003 2:19 PM
Page 308 of 416
8-55
14. Start the engine and let it idle for several min-
utes. Stop the engine, and then check the
coolant level in the radiator. If it is low, add
more coolant until it reaches the top of the ra-
diator.
15. Check for coolant leakage.NOTE:_ If any leakage is found, ask a Yamaha dealer to in-
spect the cooling system. _16. Install the panels and the front carrier.
U5VH61.book Page 55 Friday, May 2, 2003 2:19 PM
Page 312 of 416
8-59
Inspection
The spark plug is an important engine component
and is easy to inspect. The condition of the spark
plug can indicate the condition of the engine.
The ideal color on the white insulator around the
center electrode is a medium-to-light tan color for a
ATV that is being ridden normally.
Do not attempt to diagnose such problems your-
self.
Instead, take the ATV to a Yamaha dealer. You
should periodically remove and inspect the spark
plug because heat and deposits will cause the
spark plug to slowly break down and erode. If elec-
trode erosion becomes excessive, or if carbon and
other deposits are excessive, you should replace
the spark plug with the specified plug.
Specified spark plug:
DR8EA (NGK)
U5VH61.book Page 59 Friday, May 2, 2003 2:19 PM
Page 318 of 416
8-65 1. Air filter element
1.Élément du filtre à air
1. Elemento del filtro de aire
1. Air filter element frame
2. Air filter element
1. Armature d’élément de filtre à air
2.Élément du filtre à air
1. Bastidor del elemento del filtro de aire
2. Element del filtro de aire
3. Remove the air filter element, and then re-
move it from its frame.
4. Wash the element gently but thoroughly in
solvent.
WARNING
_ Always use parts cleaning solvent to clean the
air filter element. Never use low flash point sol-
vents or gasoline to clean the air filter element
because the engine could catch fire or ex-
plode. _
U5VH61.book Page 65 Friday, May 2, 2003 2:19 PM
 8-45 1. Coolant reservoir cap
2. Maximum level mark
3. Minimum level mark
1. Bouchon du vase d’expansion
2. Repère de niveau maximum
3. Repère de niveau minimum
1. Tapa del depósito de refrigeran")
 8-49 1. Coolant drain bolt
1. Boulon de vidange du liquide de refroidissement
1. Perno de drenaje de refrigerante
1. Trough
1. Feuille de papier repliée en forme de conduit
1. Elemento de paso
EBU132")
 8-53
11. Connect the coolant reservoir hose.
12. Pour the recommended coolant into the res-
ervoir to the maximum level mark, and then
install the reservoir cap and panel D.
13. Pour the recommended c")
 8-55
14. Start the engine and let it idle for several min-
utes. Stop the engine, and then check the
coolant level in the radiator. If it is low, add
more coolant until it reaches the top of the ra-
d")
 8-59
Inspection
The spark plug is an important engine component
and is easy to inspect. The condition of the spark
plug can indicate the condition of the engine.
The ideal color on the white insulat")
 8-65 1. Air filter element
1.Élément du filtre à air
1. Elemento del filtro de aire
1. Air filter element frame
2. Air filter element
1. Armature d’élément de filtre à air
2.Élément du filtr")