Page 65 of 92

PERIODIC MAINTENANCE AND MINOR REPAIR
6-24
2
3
4
5
67
8
9
EAU22760
Drive chain slack
The drive chain slack should be
checked before each ride and adjusted
if necessary.
EAU22770
To check the drive chain slack
1. Place the motorcycle on a level
surface and hold it in an upright po-
sition.
NOTE:
When checking and adjusting the drive
chain slack, the motorcycle should be
positioned straight up and there should
be no weight on it.
2. Shift the transmission into the neu-
tral position.
3. Move the rear wheel by pushing
the motorcycle to locate the tight-
est portion of the drive chain, and
then measure the drive chain slack
as shown.4. If the drive chain slack is incorrect,
adjust it as follows.
EAU22950
To adjust the drive chain slack
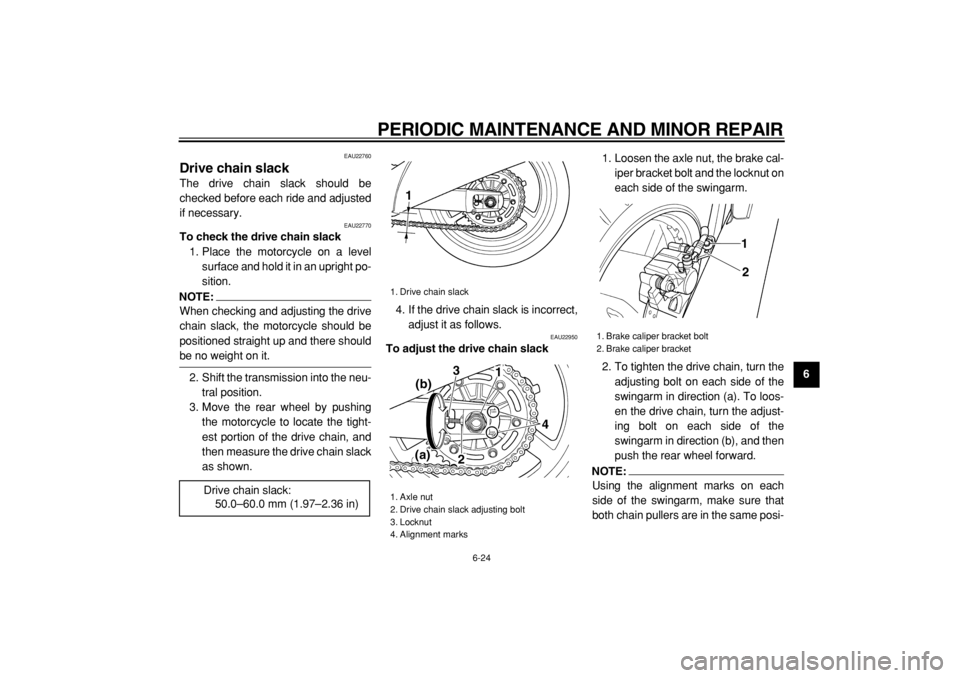
1. Loosen the axle nut, the brake cal-
iper bracket bolt and the locknut on
each side of the swingarm.
2. To tighten the drive chain, turn the
adjusting bolt on each side of the
swingarm in direction (a). To loos-
en the drive chain, turn the adjust-
ing bolt on each side of the
swingarm in direction (b), and then
push the rear wheel forward.
NOTE:
Using the alignment marks on each
side of the swingarm, make sure that
both chain pullers are in the same posi- Drive chain slack:
50.0–60.0 mm (1.97–2.36 in)
1. Drive chain slack
1. Axle nut
2. Drive chain slack adjusting bolt
3. Locknut
4. Alignment marks
1
3
4 1
2 (b)
(a)
1. Brake caliper bracket bolt
2. Brake caliper bracket
1
2
Page 66 of 92

PERIODIC MAINTENANCE AND MINOR REPAIR
6-25
1
2
3
4
5
6
7
8
9
tion for proper wheel alignment.
CAUTION:
ECA10570
Improper drive chain slack will over-
load the engine as well as other vital
parts of the motorcycle and can lead
to chain slippage or breakage. To
prevent this from occurring, keep
the drive chain slack within the
specified limits.
3. Tighten the locknuts, and then
tighten the axle nut and the brake
caliper bracket bolt to the specified
torques.
EAU23020
Lubricating the drive chain
The drive chain must be cleaned and
lubricated at the intervals specified in
the periodic maintenance and lubrica-
tion chart, otherwise it will quickly wear
out, especially when riding in dusty or
wet areas. Service the drive chain as
follows.
CAUTION:
ECA10580
The drive chain must be lubricated
after washing the motorcycle or
riding in the rain.
1. Clean the drive chain with kero-
sene and a small soft brush.
CAUTION:
ECA11120
To prevent damaging the O-rings, do
not clean the drive chain with steam
cleaners, high-pressure washers or
inappropriate solvents.
2. Wipe the drive chain dry.
3. Thoroughly lubricate the drive
chain with a special O-ring chain
lubricant.
CAUTION:
ECA11110
Do not use engine oil or any other lu-
bricants for the drive chain, as they
may contain substances that could
damage the O-rings.
Tightening torque:
Axle nut:
150 Nm (15.0 m·kgf,
108.5 ft·lbf)
Brake caliper bracket bolt:
40 Nm (4.0 m·kgf, 29 ft·lbf)
Page 77 of 92
PERIODIC MAINTENANCE AND MINOR REPAIR
6-36
2
3
4
5
67
8
9
7. Push down hard on the handlebar
several times to check for proper
fork operation.
EAU25080
Rear wheel
EAU25330
To remove the rear wheel
WARNING
EWA10820
�
It is advisable to have a Yamaha
dealer service the wheel.
�
Securely support the motorcy-
cle so that there is no danger of
it falling over.
1. Remove the drive chain cover by
removing the quick fasteners and
the bolts.
2. Loosen the axle nut and the brake
caliper bracket bolt.
1. Bolt
2. Quick fastener
12
1. Axle nut
2. Drive chain slack adjusting bolt
3. Locknut
4. Alignment marks
1. Brake caliper bracket bolt
2. Brake caliper bracket
(a)
(b)3
(a)1
4
2
1
2